Adding and Updating Rates
In this tutorial you will learn how to add new rates, and update existing rates.
Step-by-Step Guide
Finance
Setup
Step 1
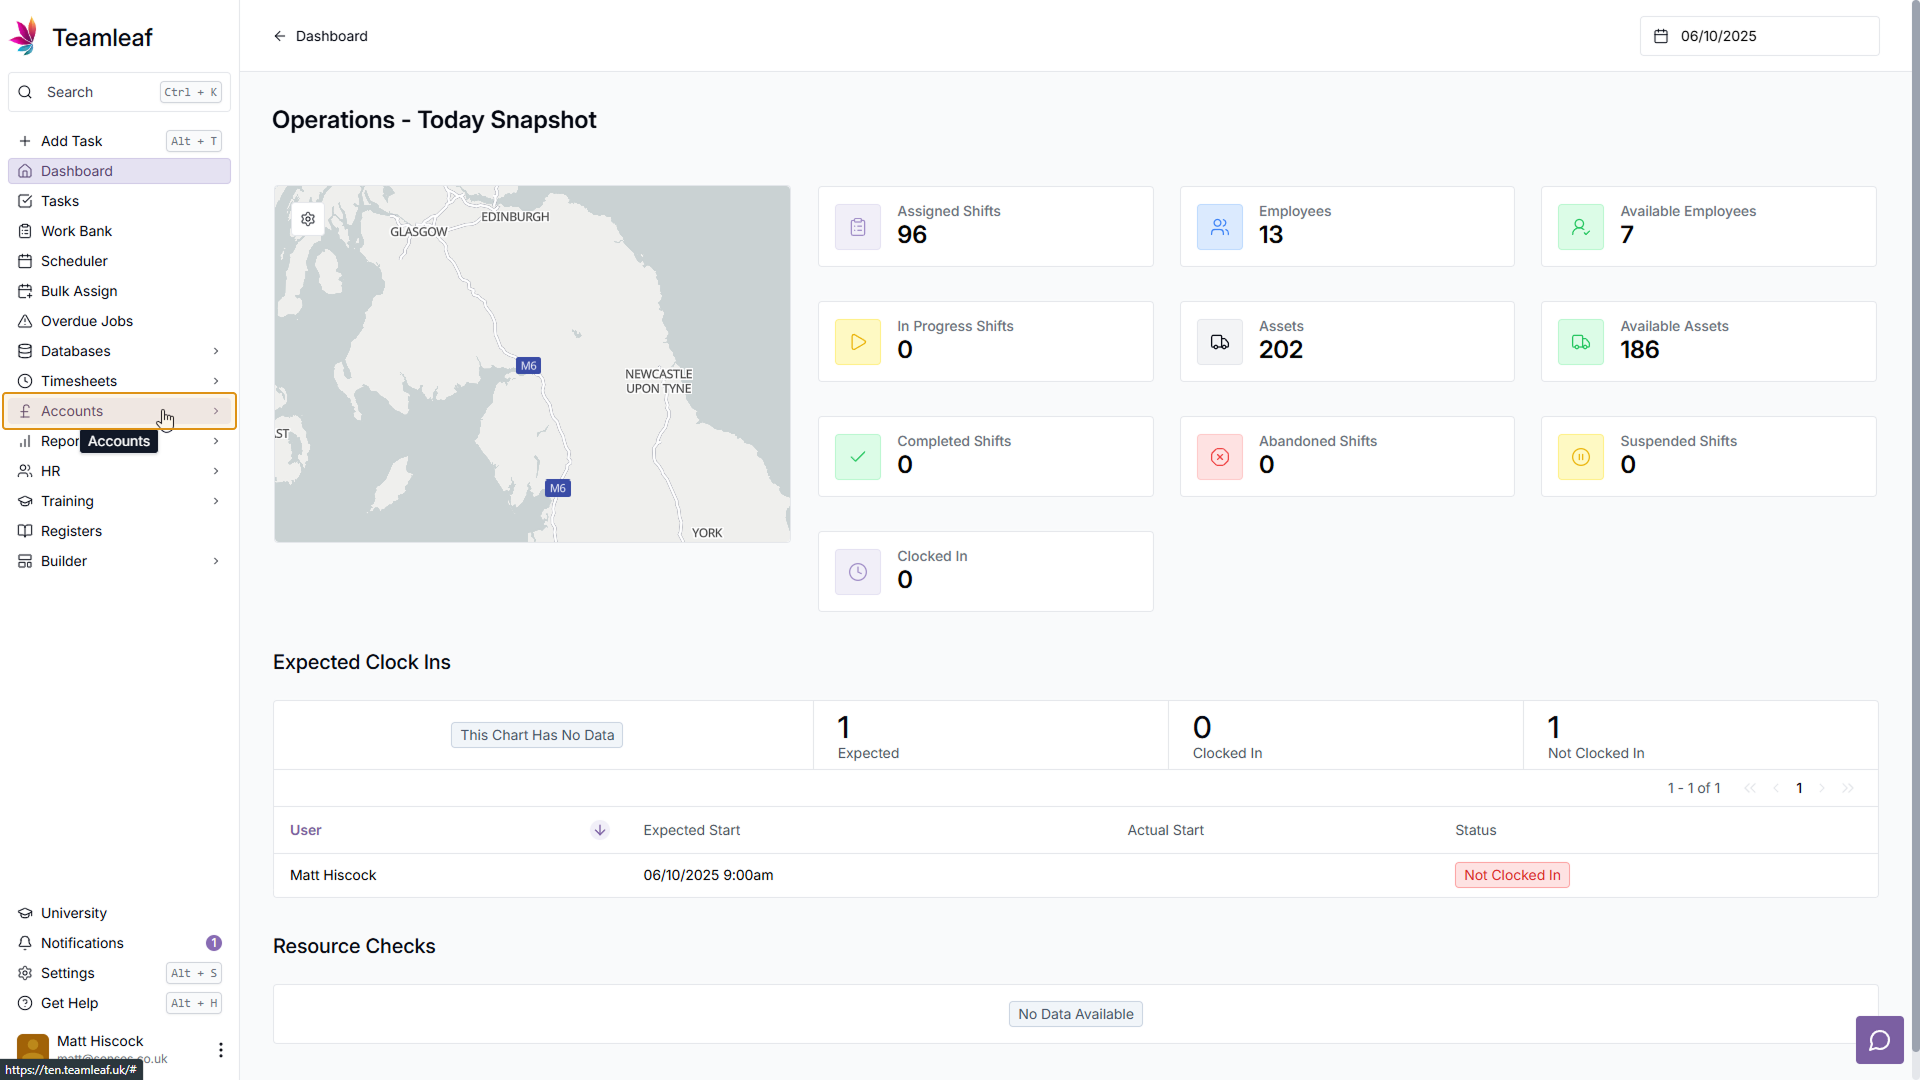
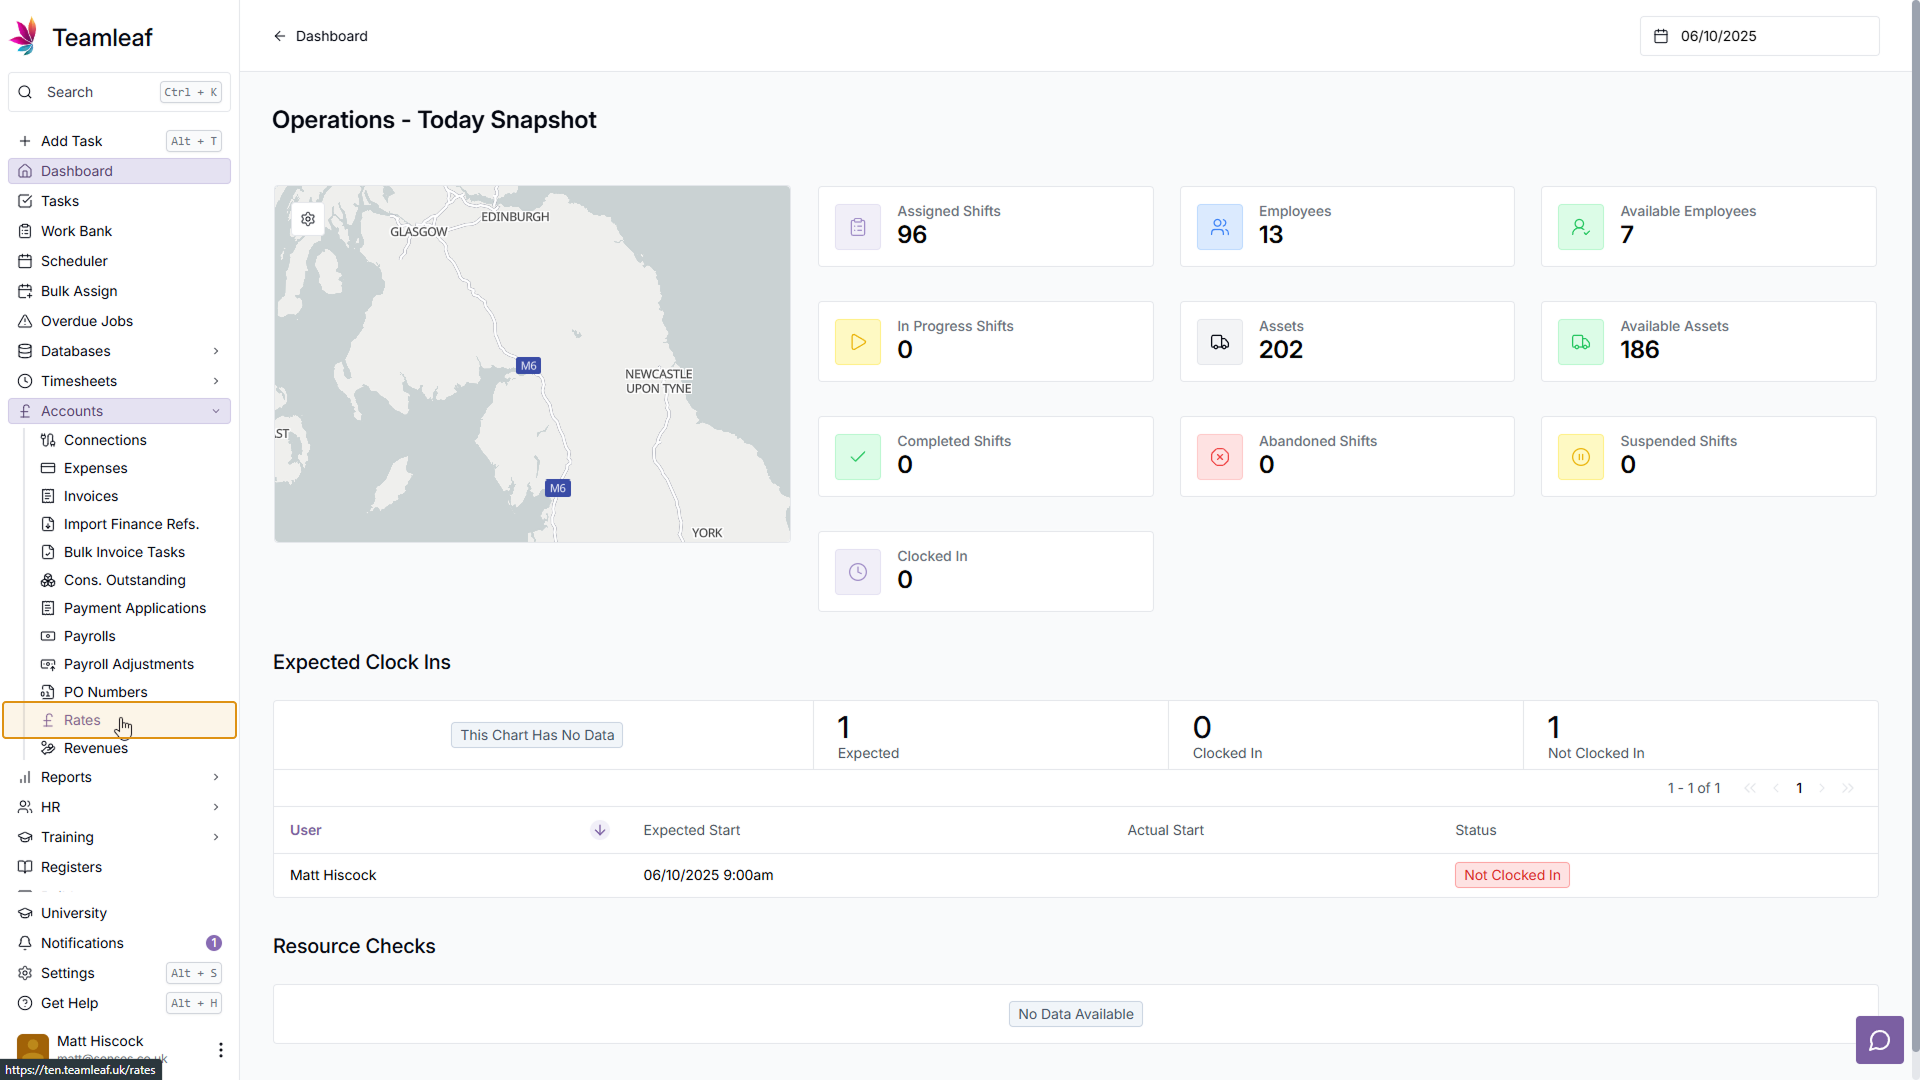
Go to Rates
To start adding rates, go to the 'Rates' page, by clicking 'Accounts' and going to 'Rates' in the submenu
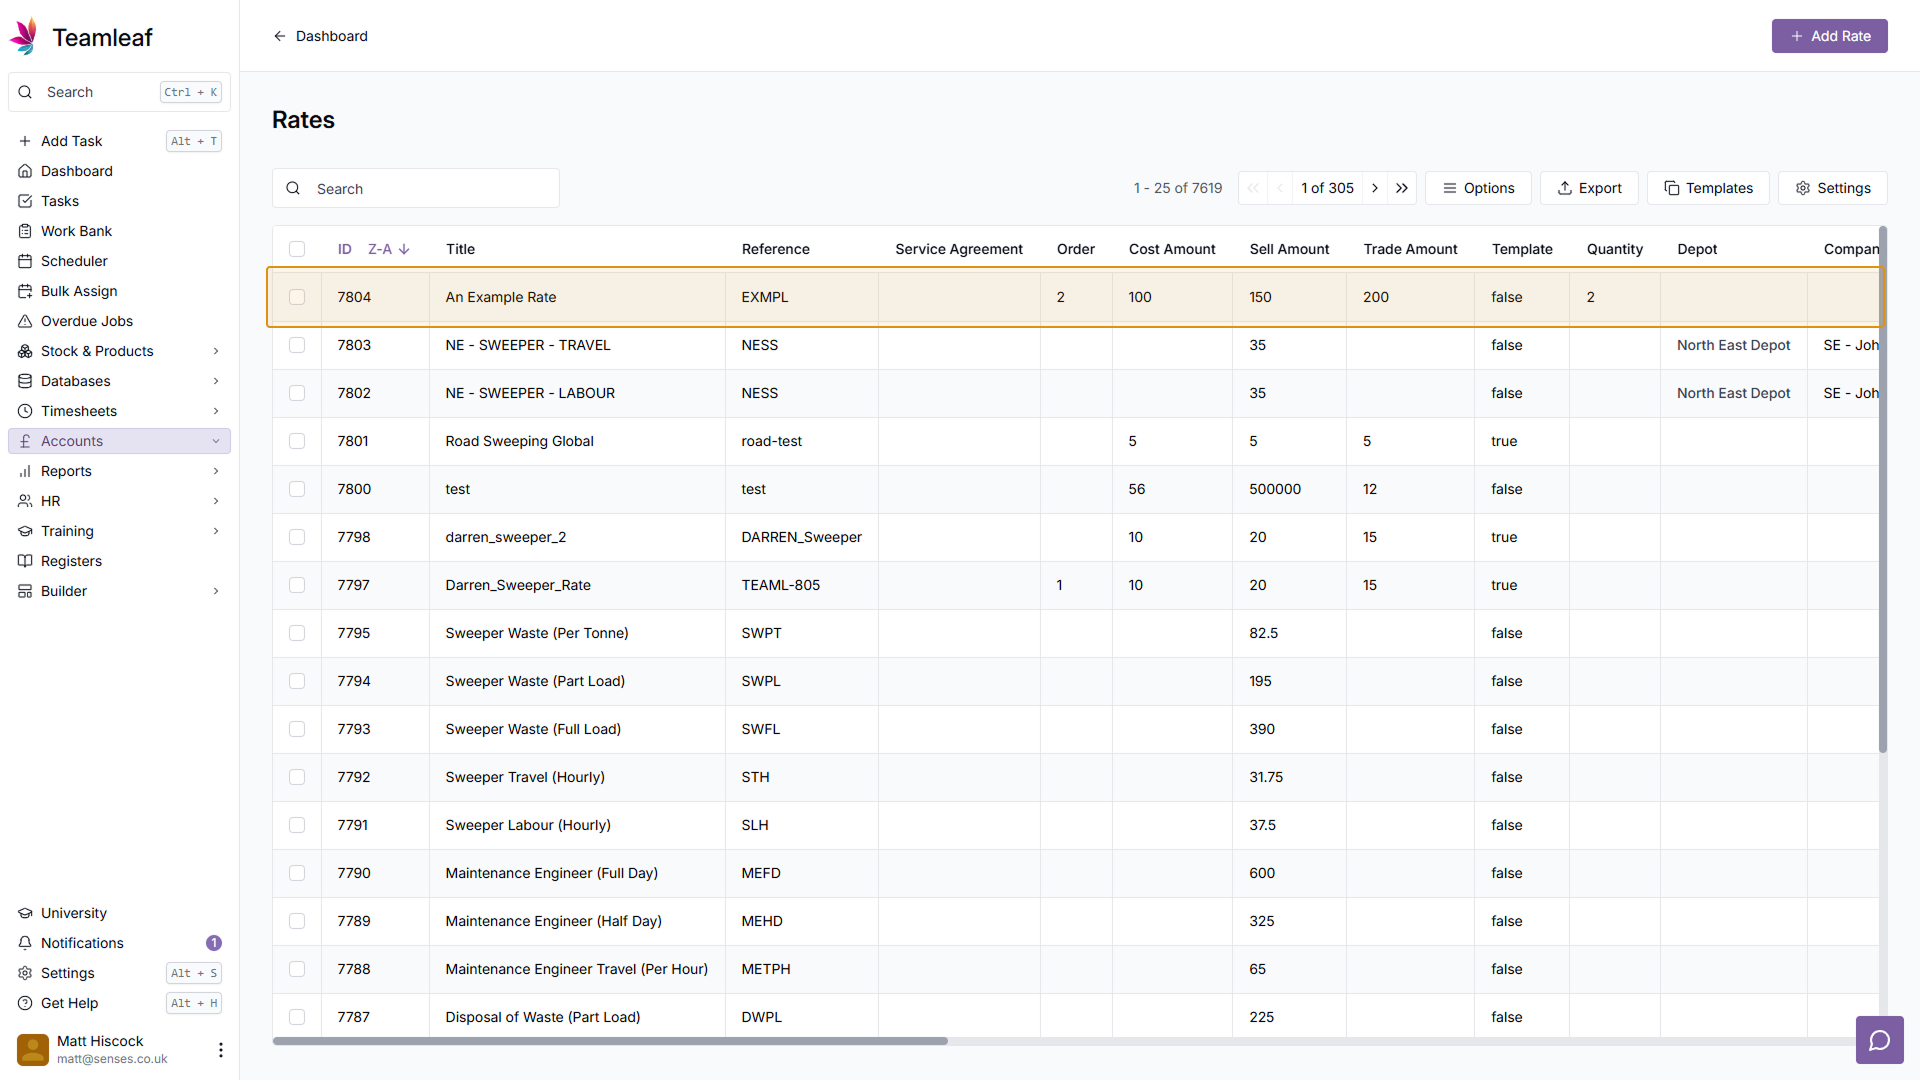
Step 2
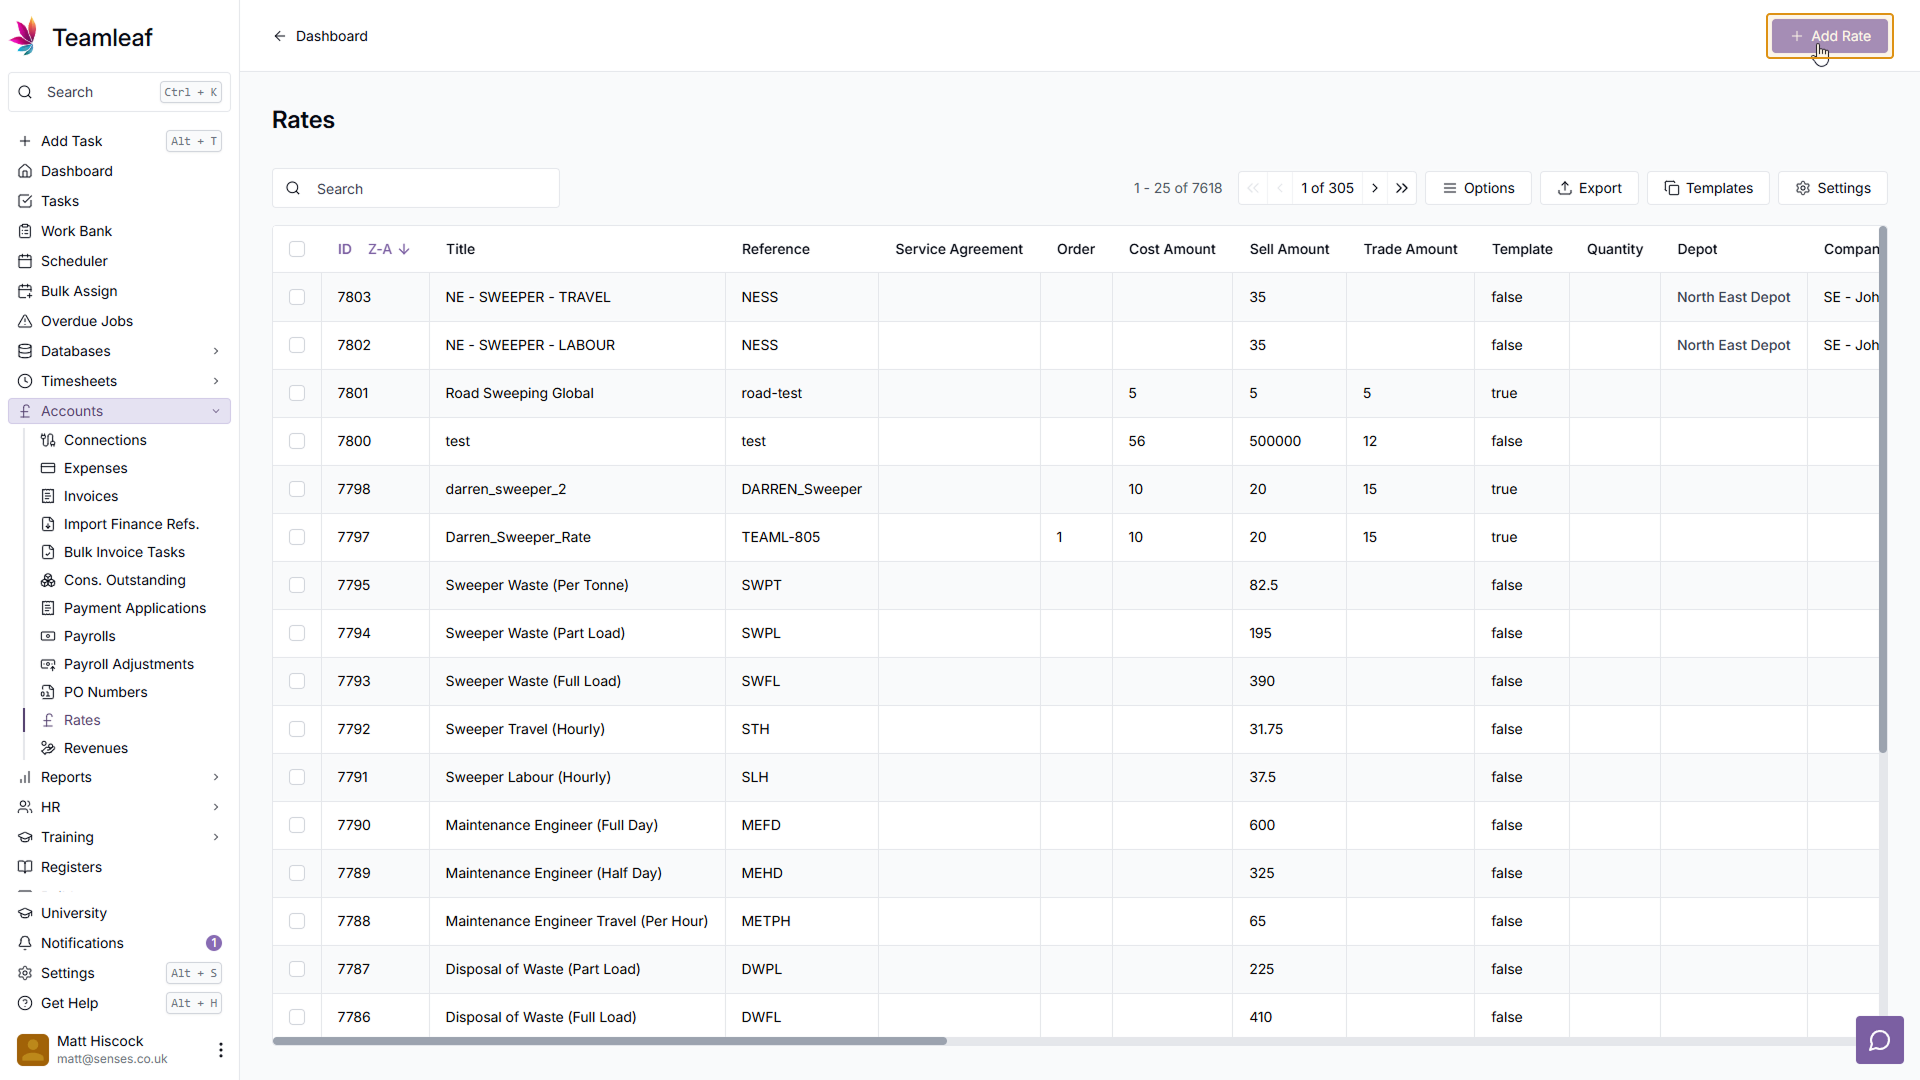
Click 'Add Rate'
On the 'Rates' page, click 'Add Rate' in the top right
Step 3
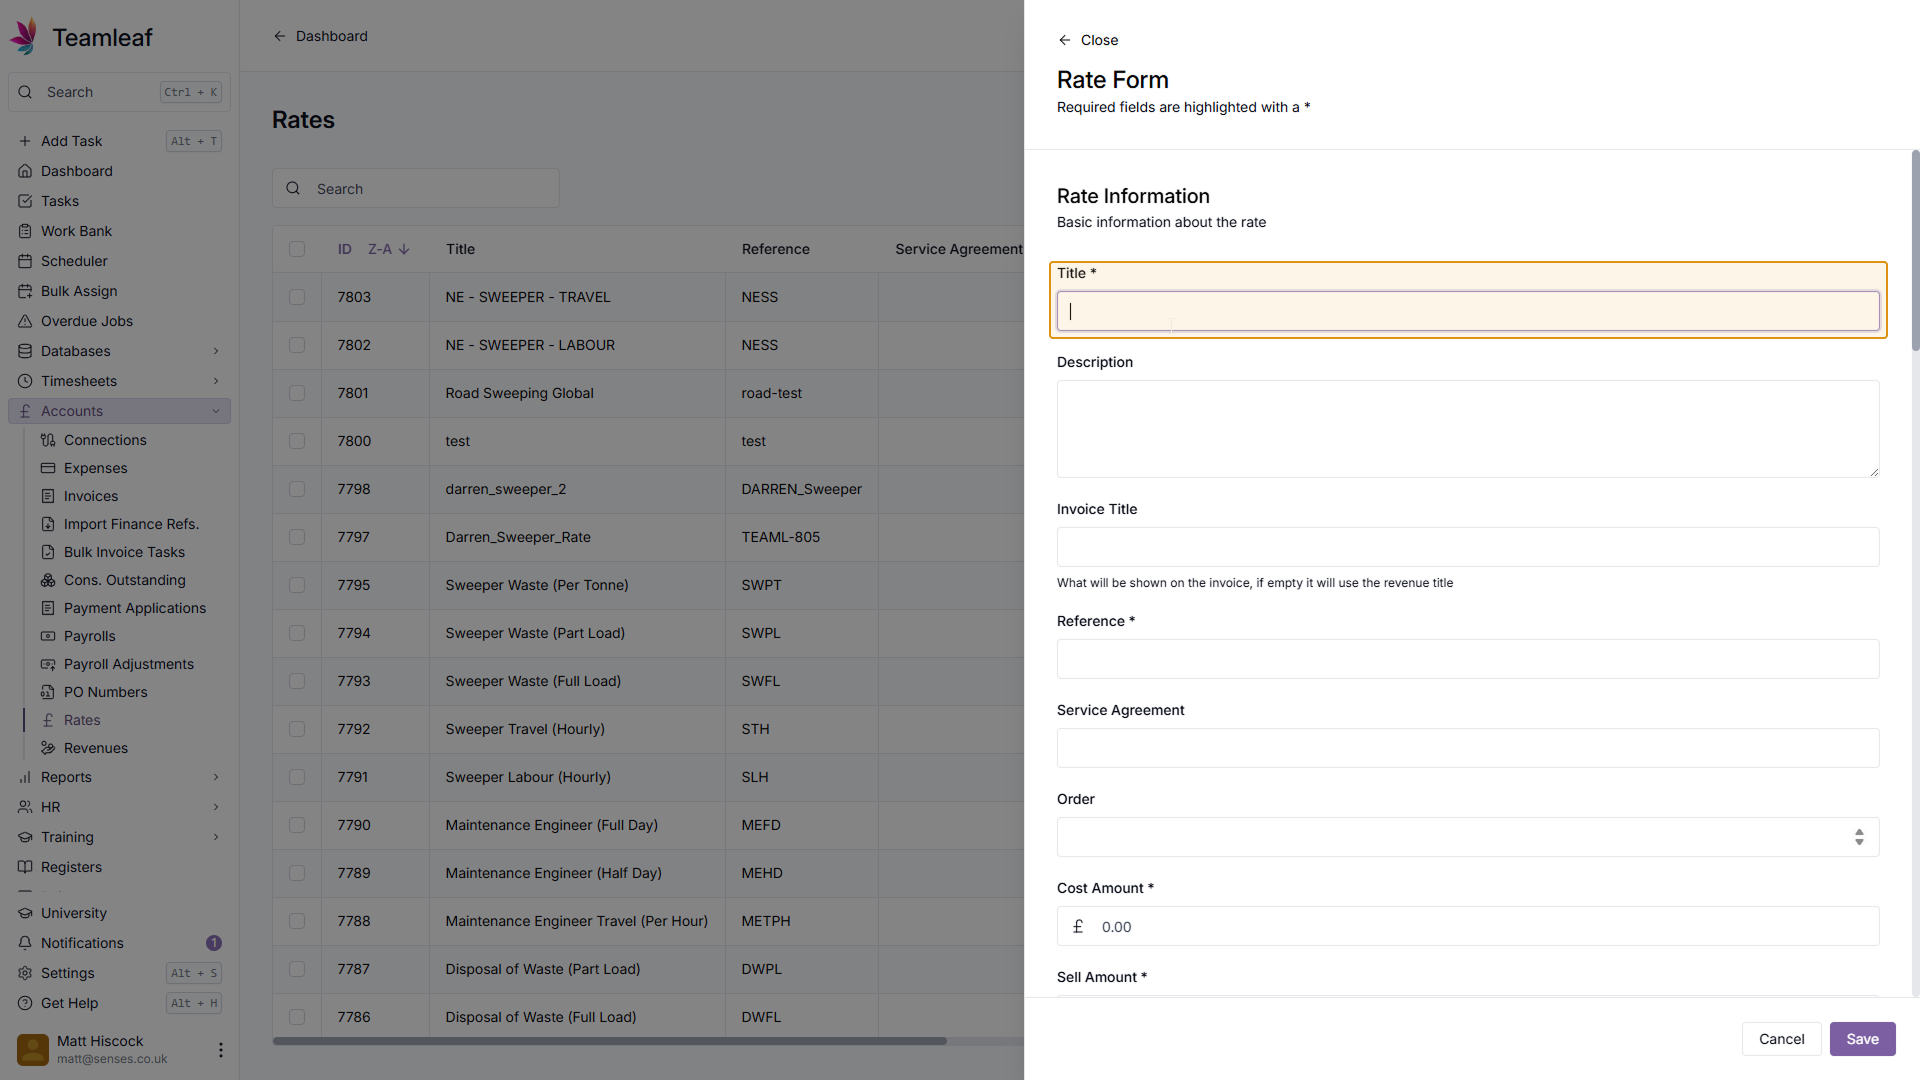
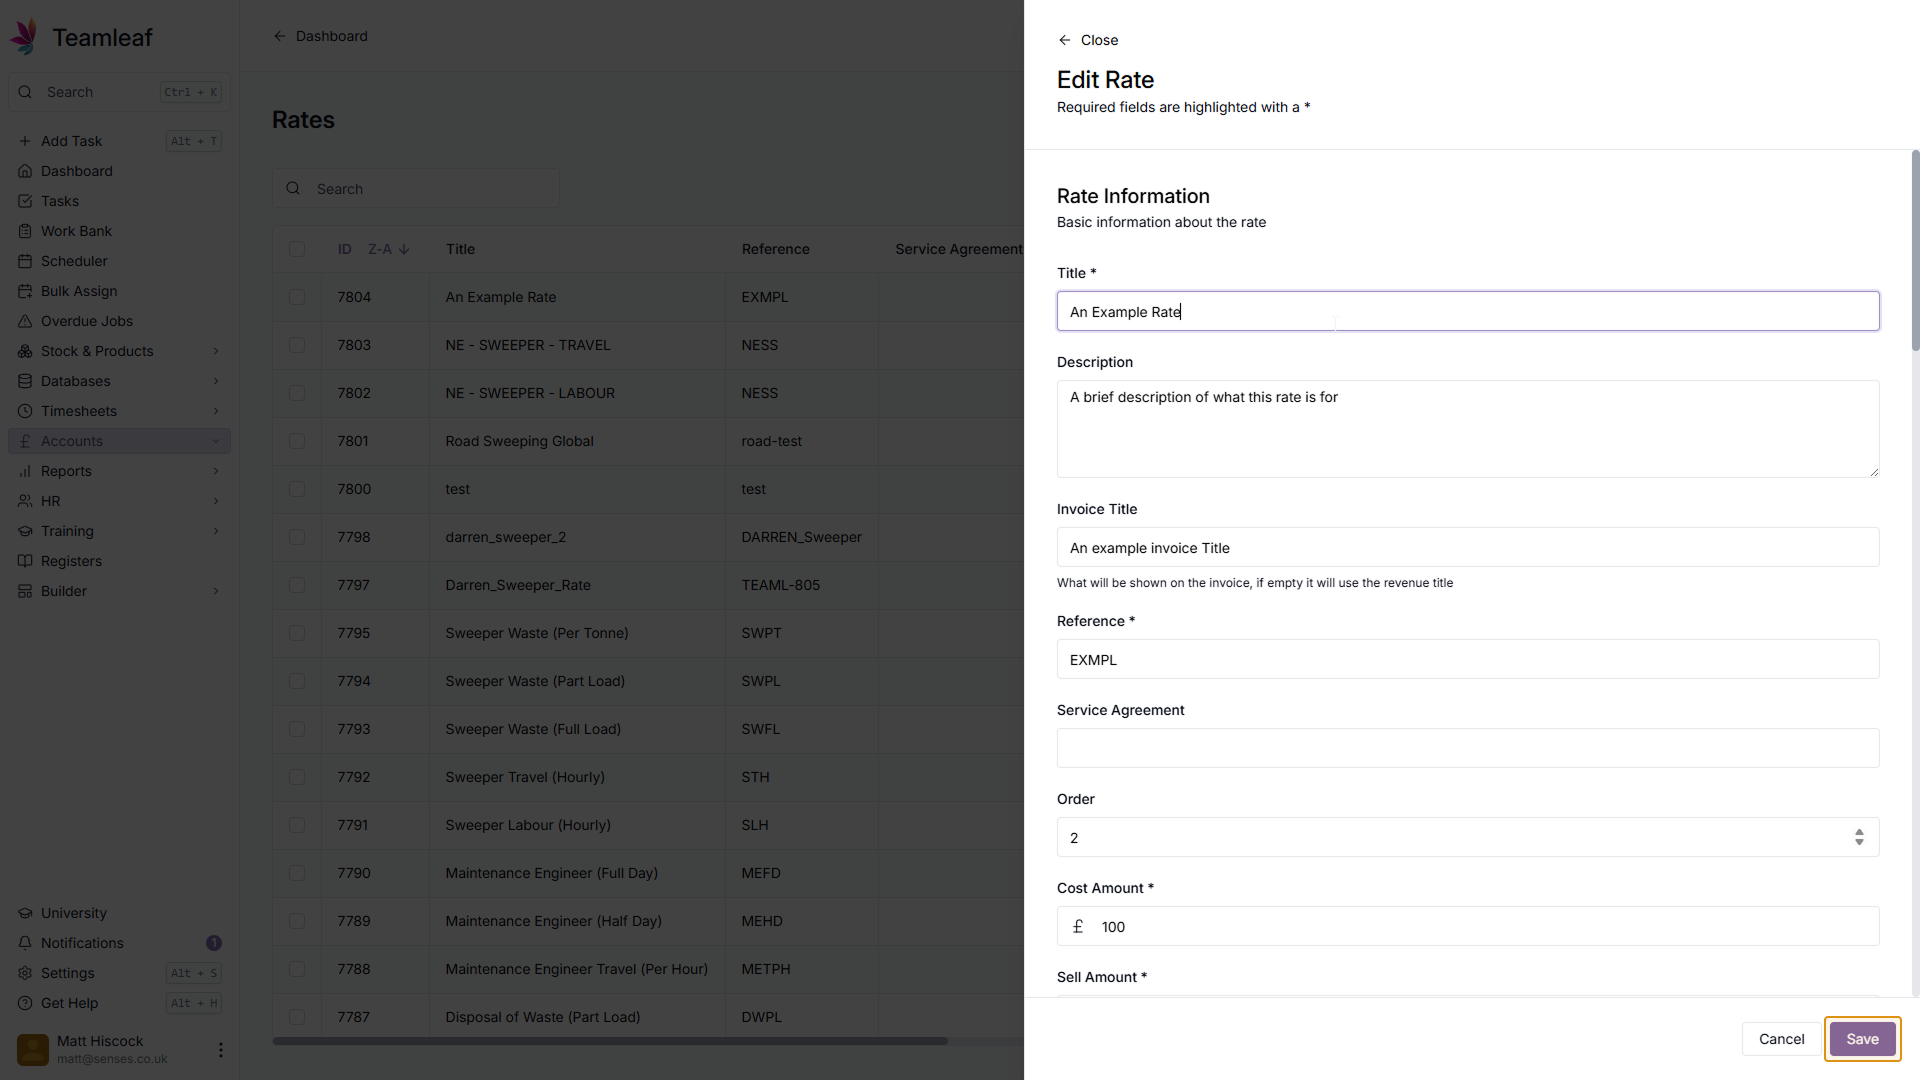
Add Rate Title
In the menu that then opens up, add a Title for your Rate
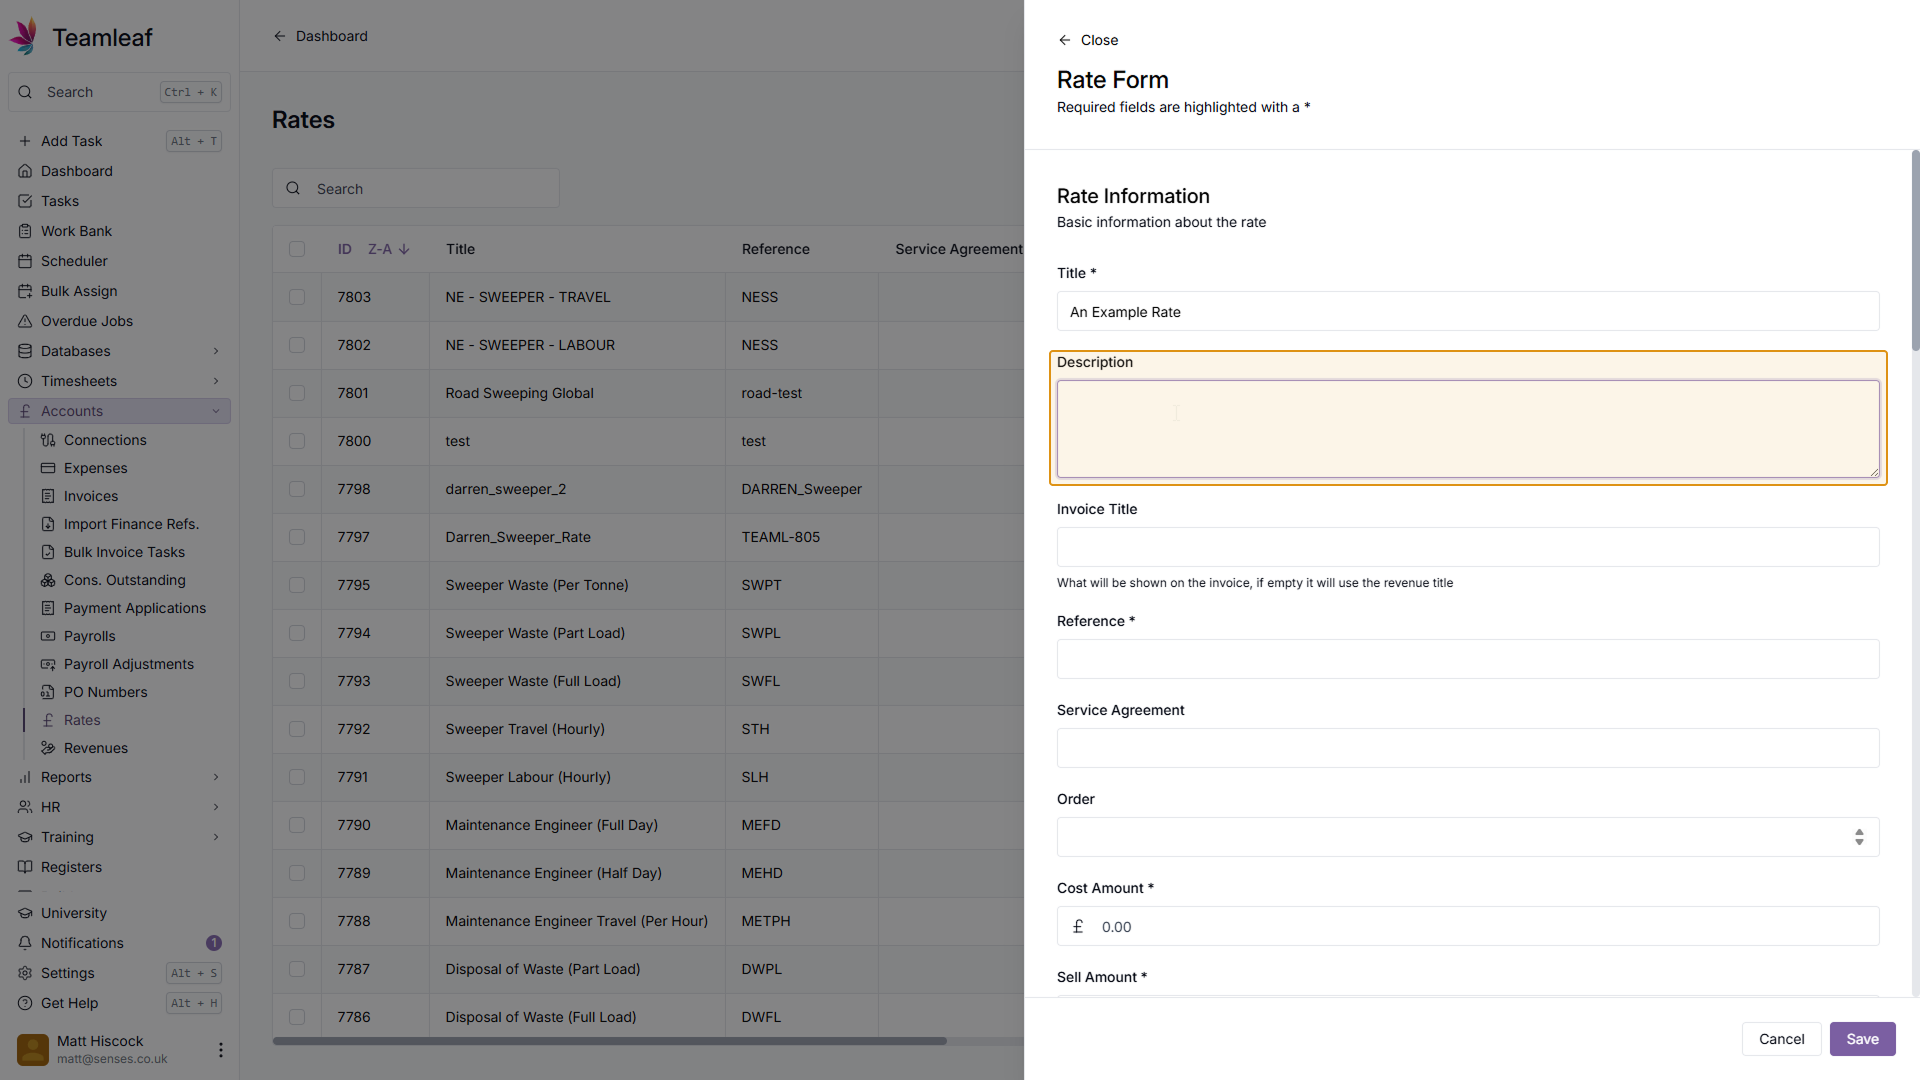
Step 4
(Optional) Add Description
If you wish, you can then add a description for the rate
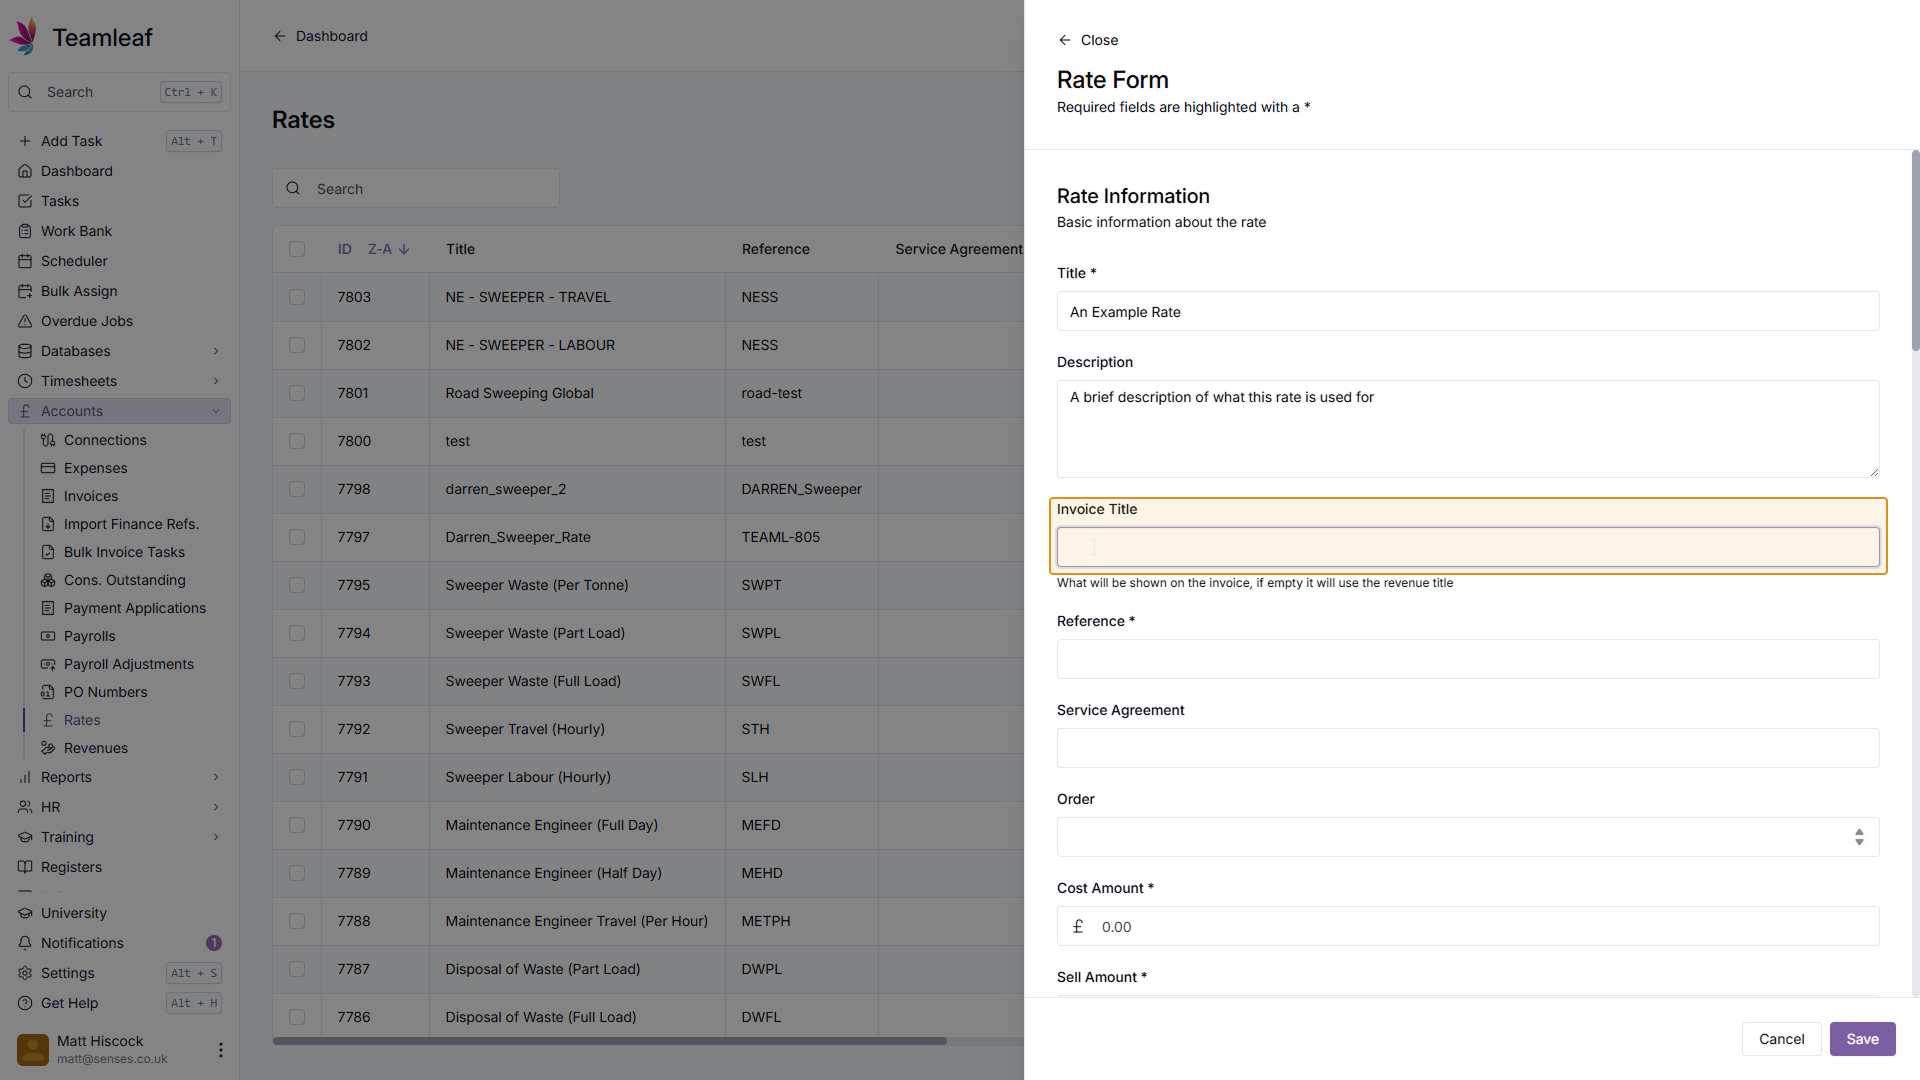
Step 5
(Optional) Add Invoice Title
If you wish, you can then add an invoice title to this rate. This is what will be shown on the invoice, and if left blank the revenue title will be used instead.
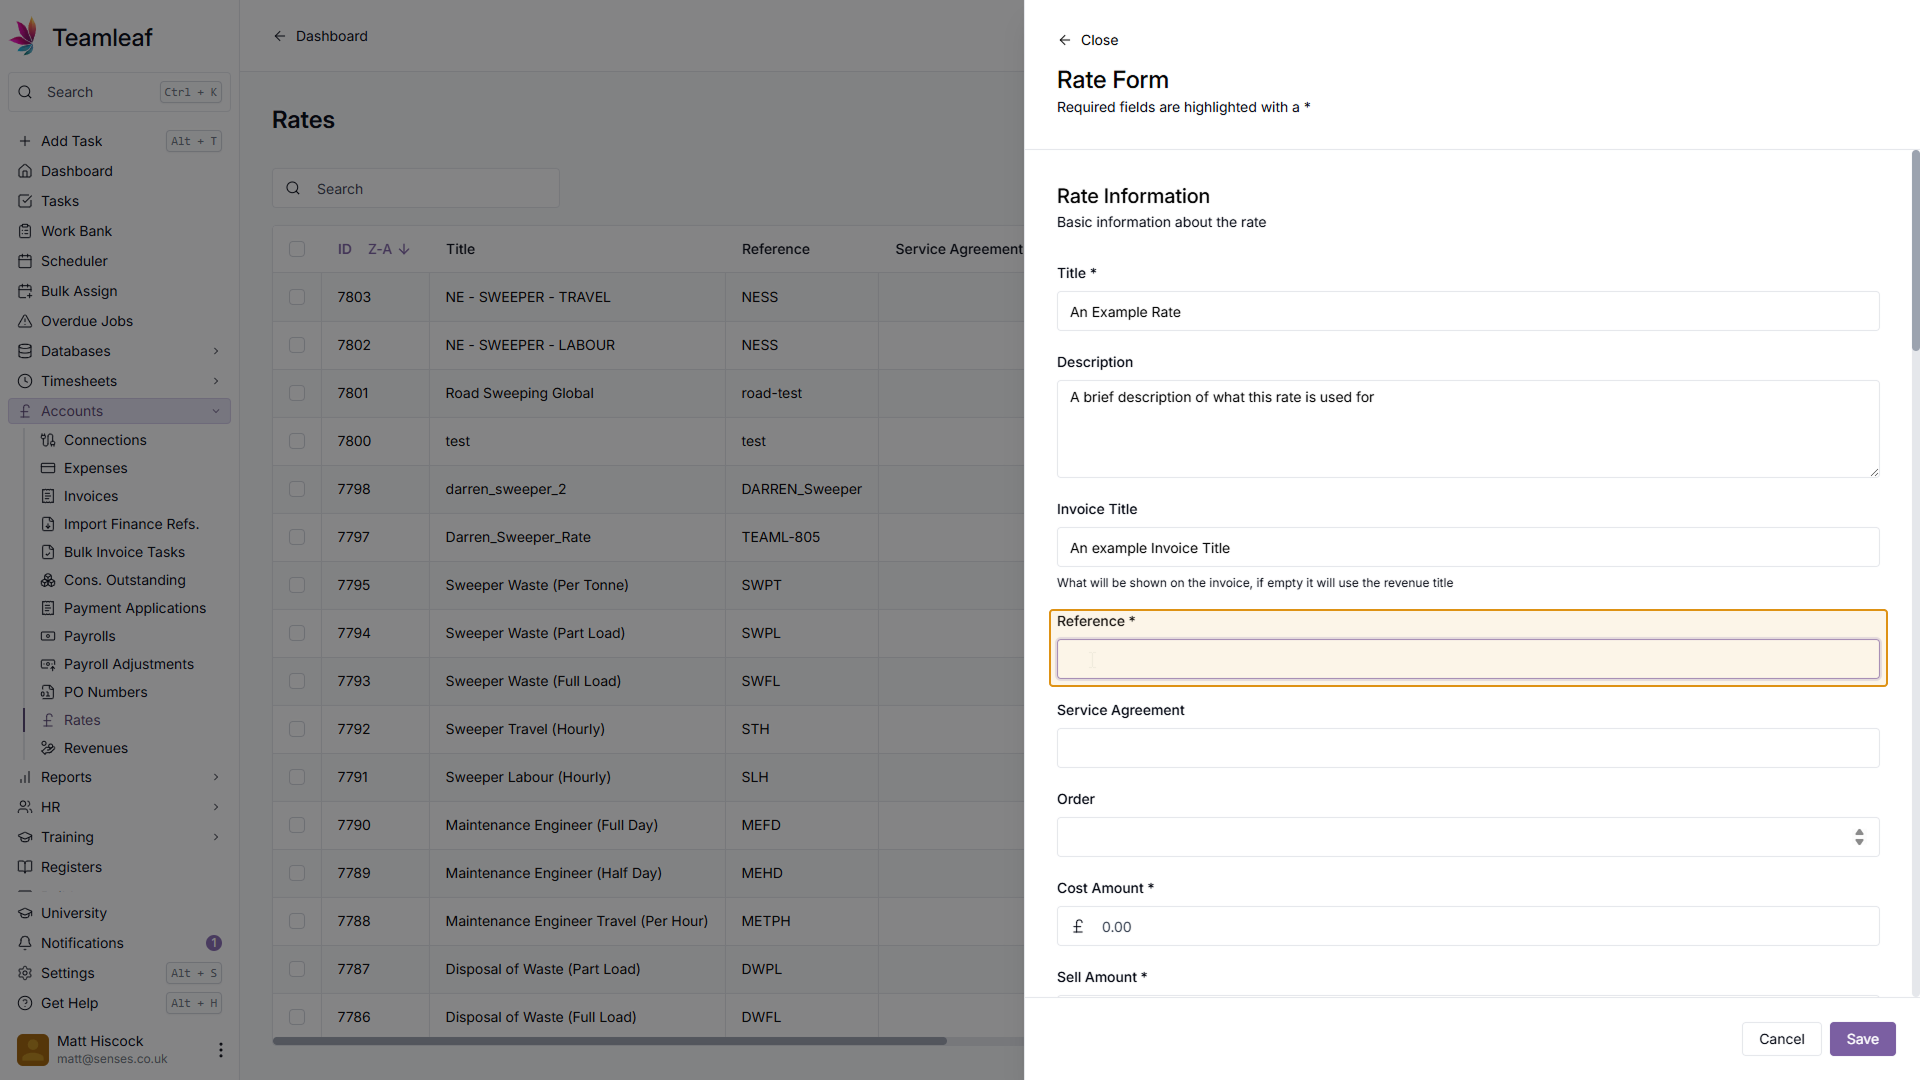
Step 6
Add Reference
Next, add a reference for this rate
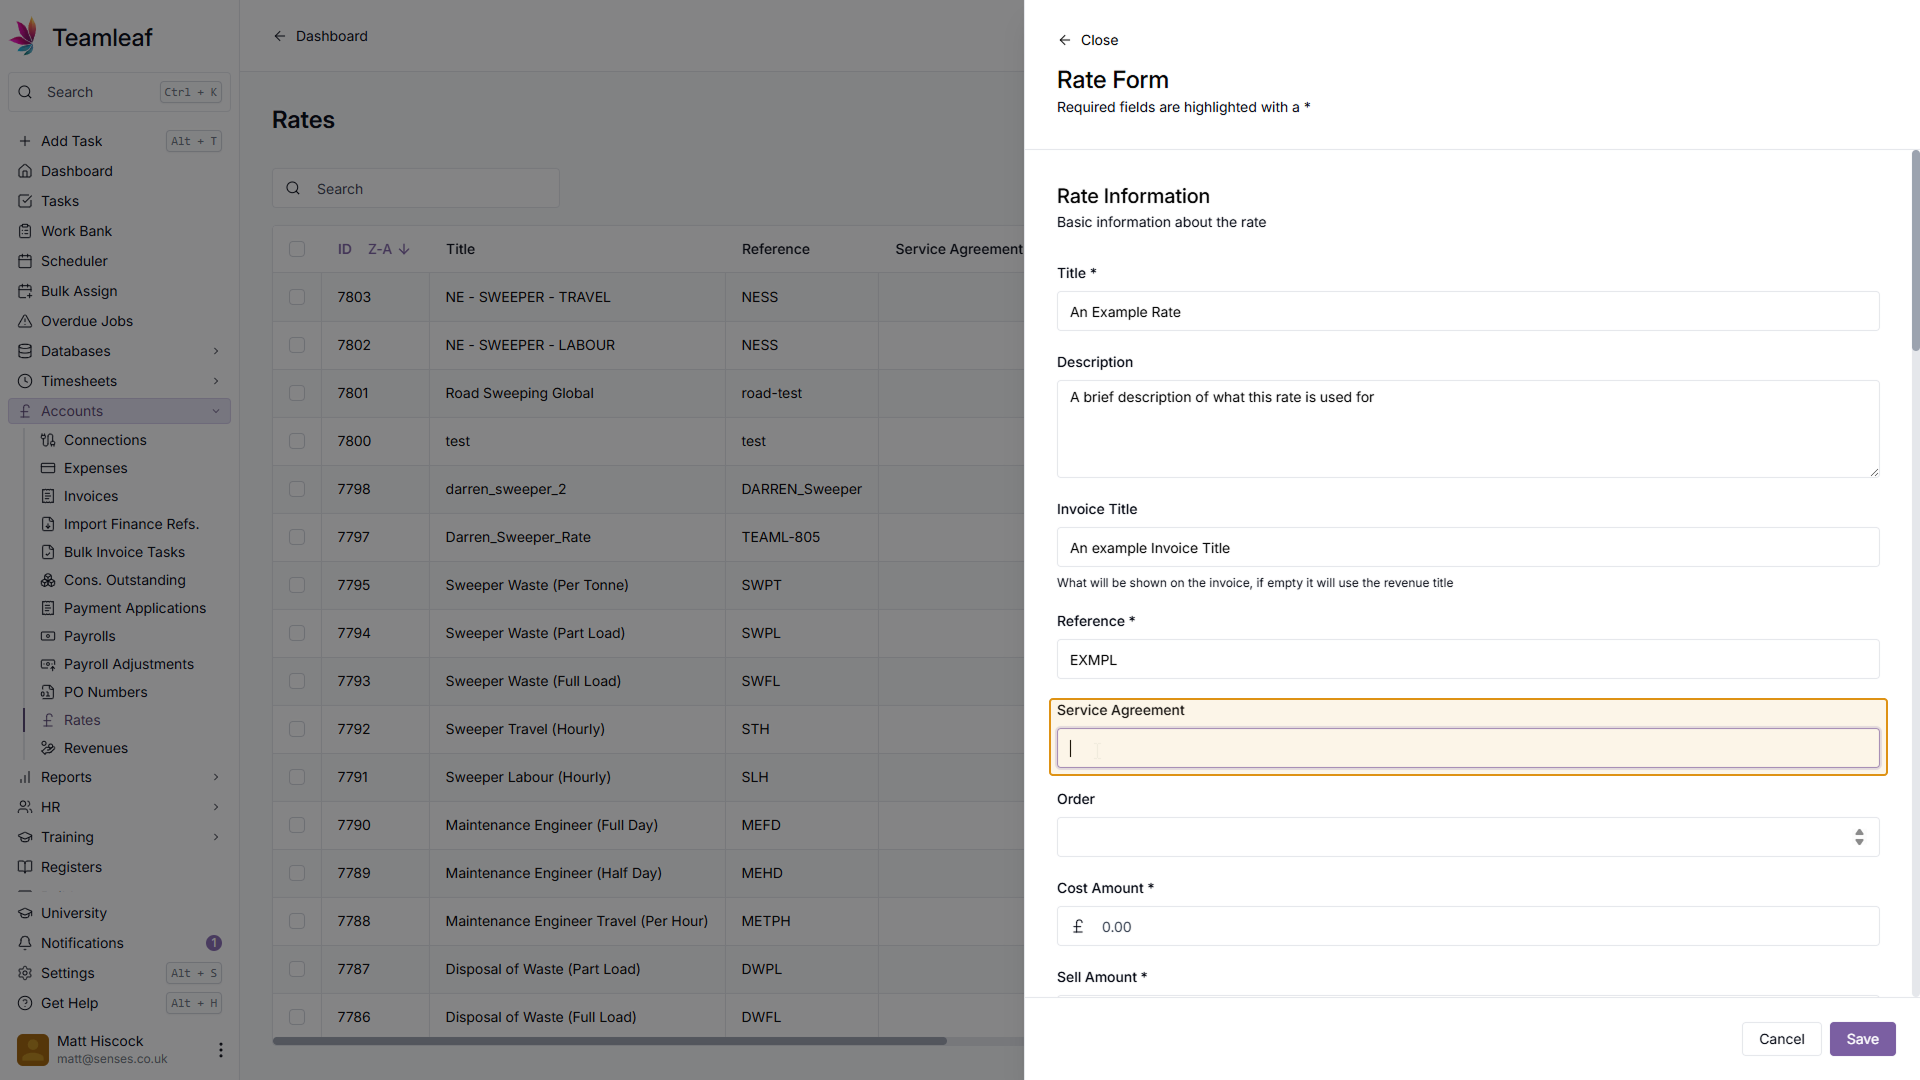
Step 7
(Optional) Add Service Agreement
Next, you can add a service agreement, if you wish
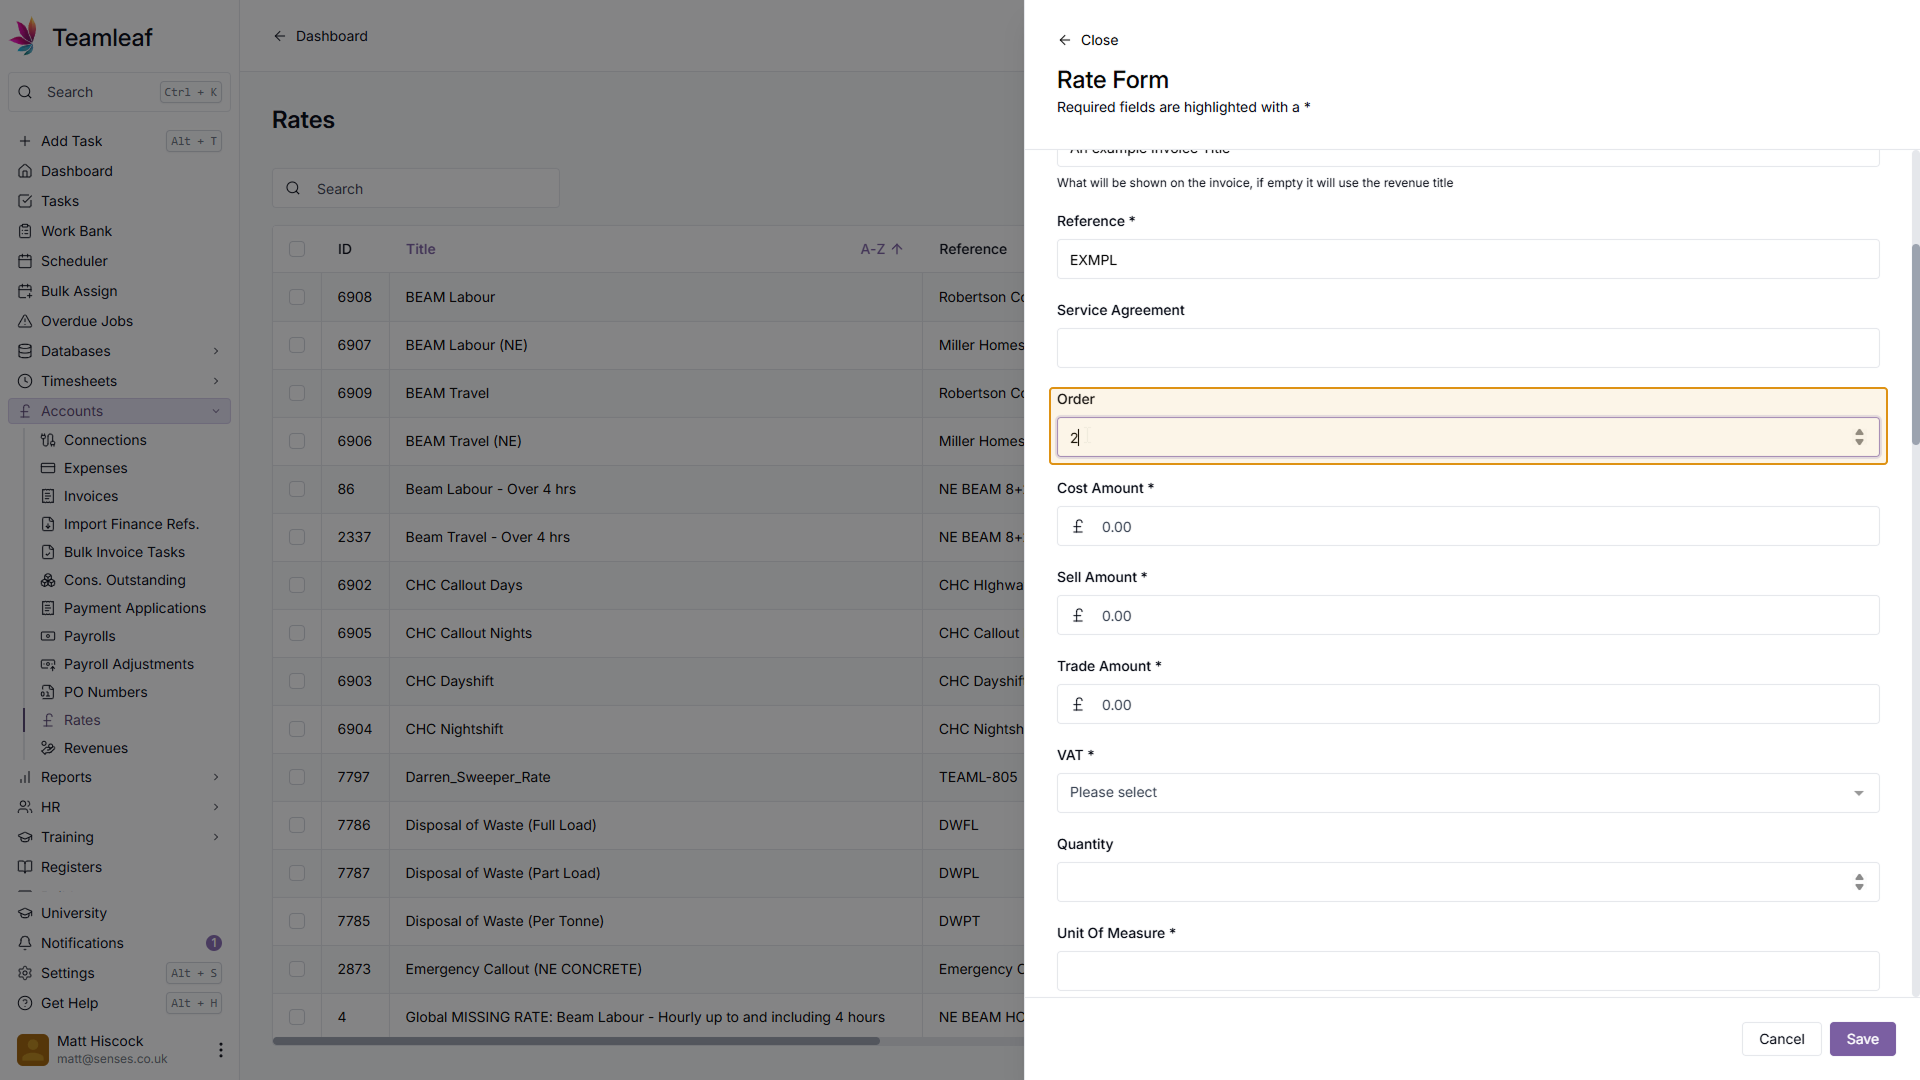
Step 8
(Optional) Add Order
Next, you can add an Order if you wish. This is used by External Systems (like Sage and Xero) for sending invoices
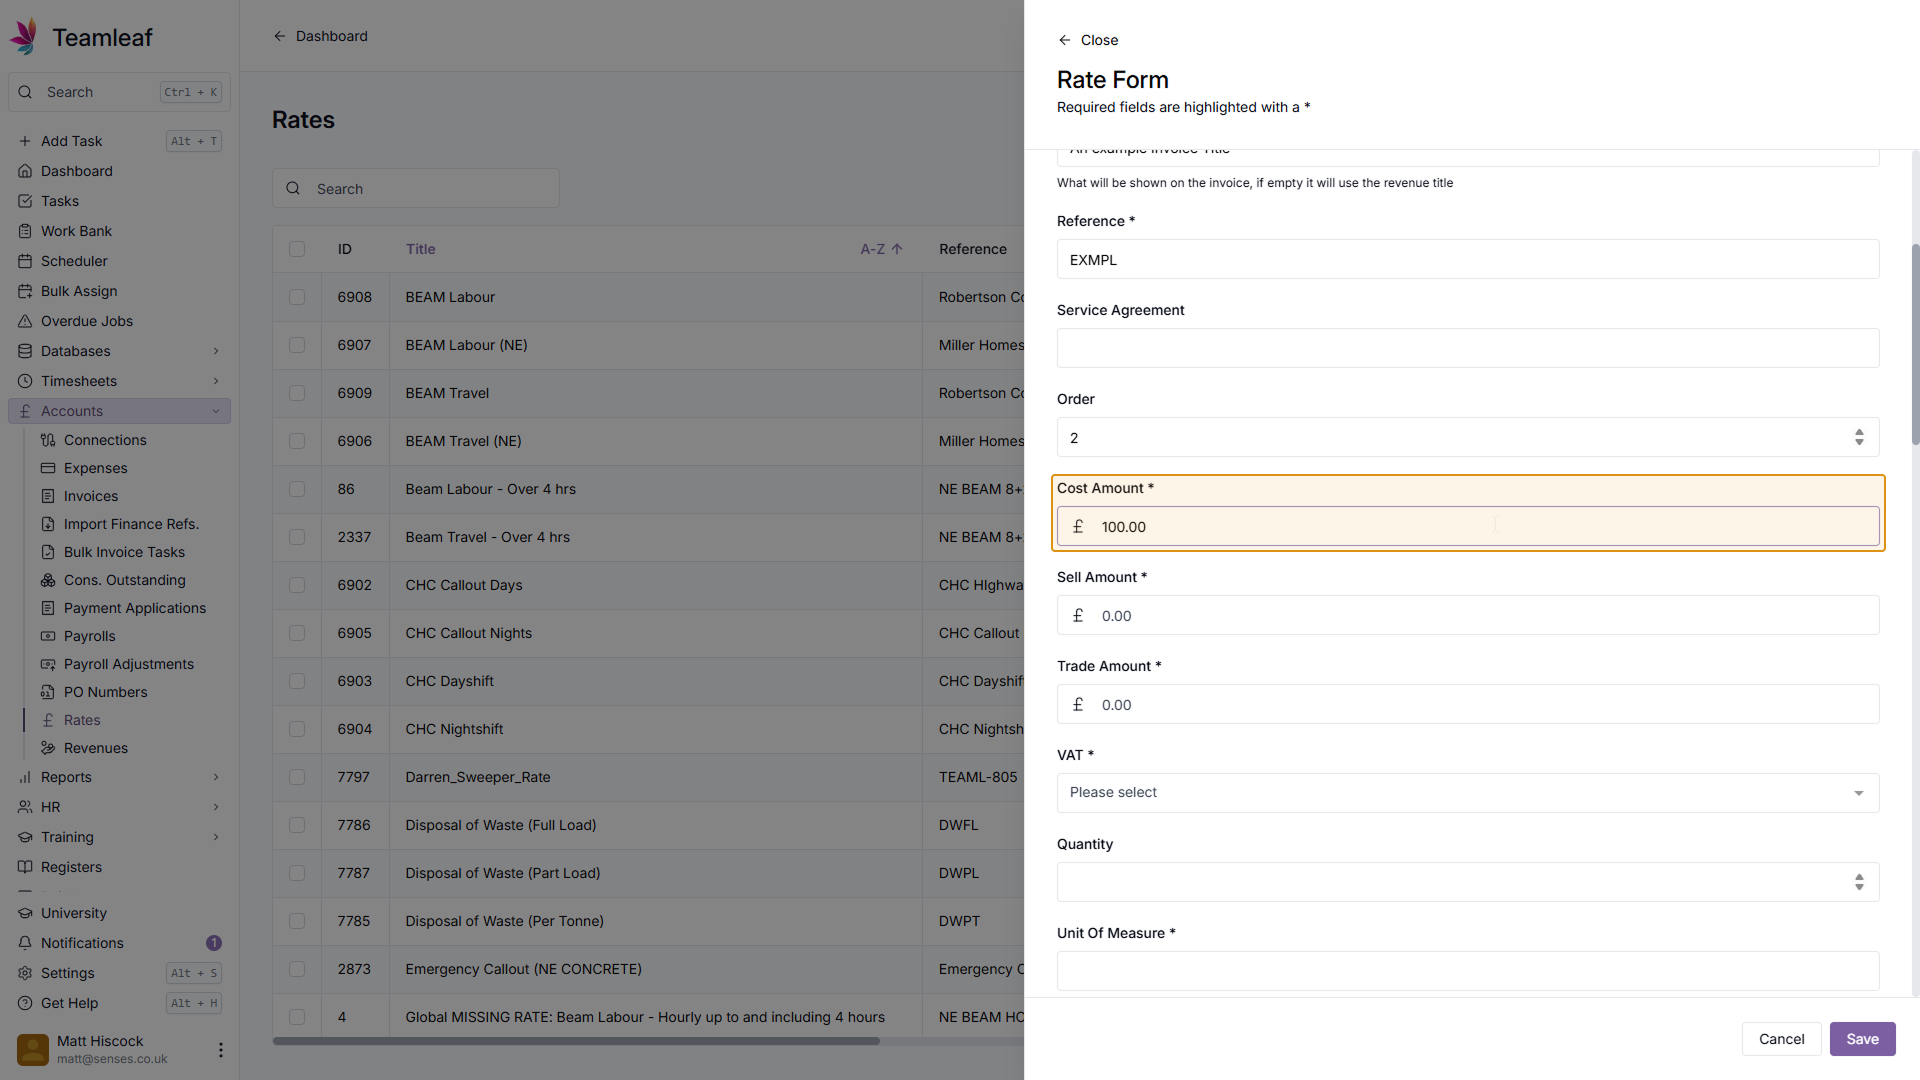
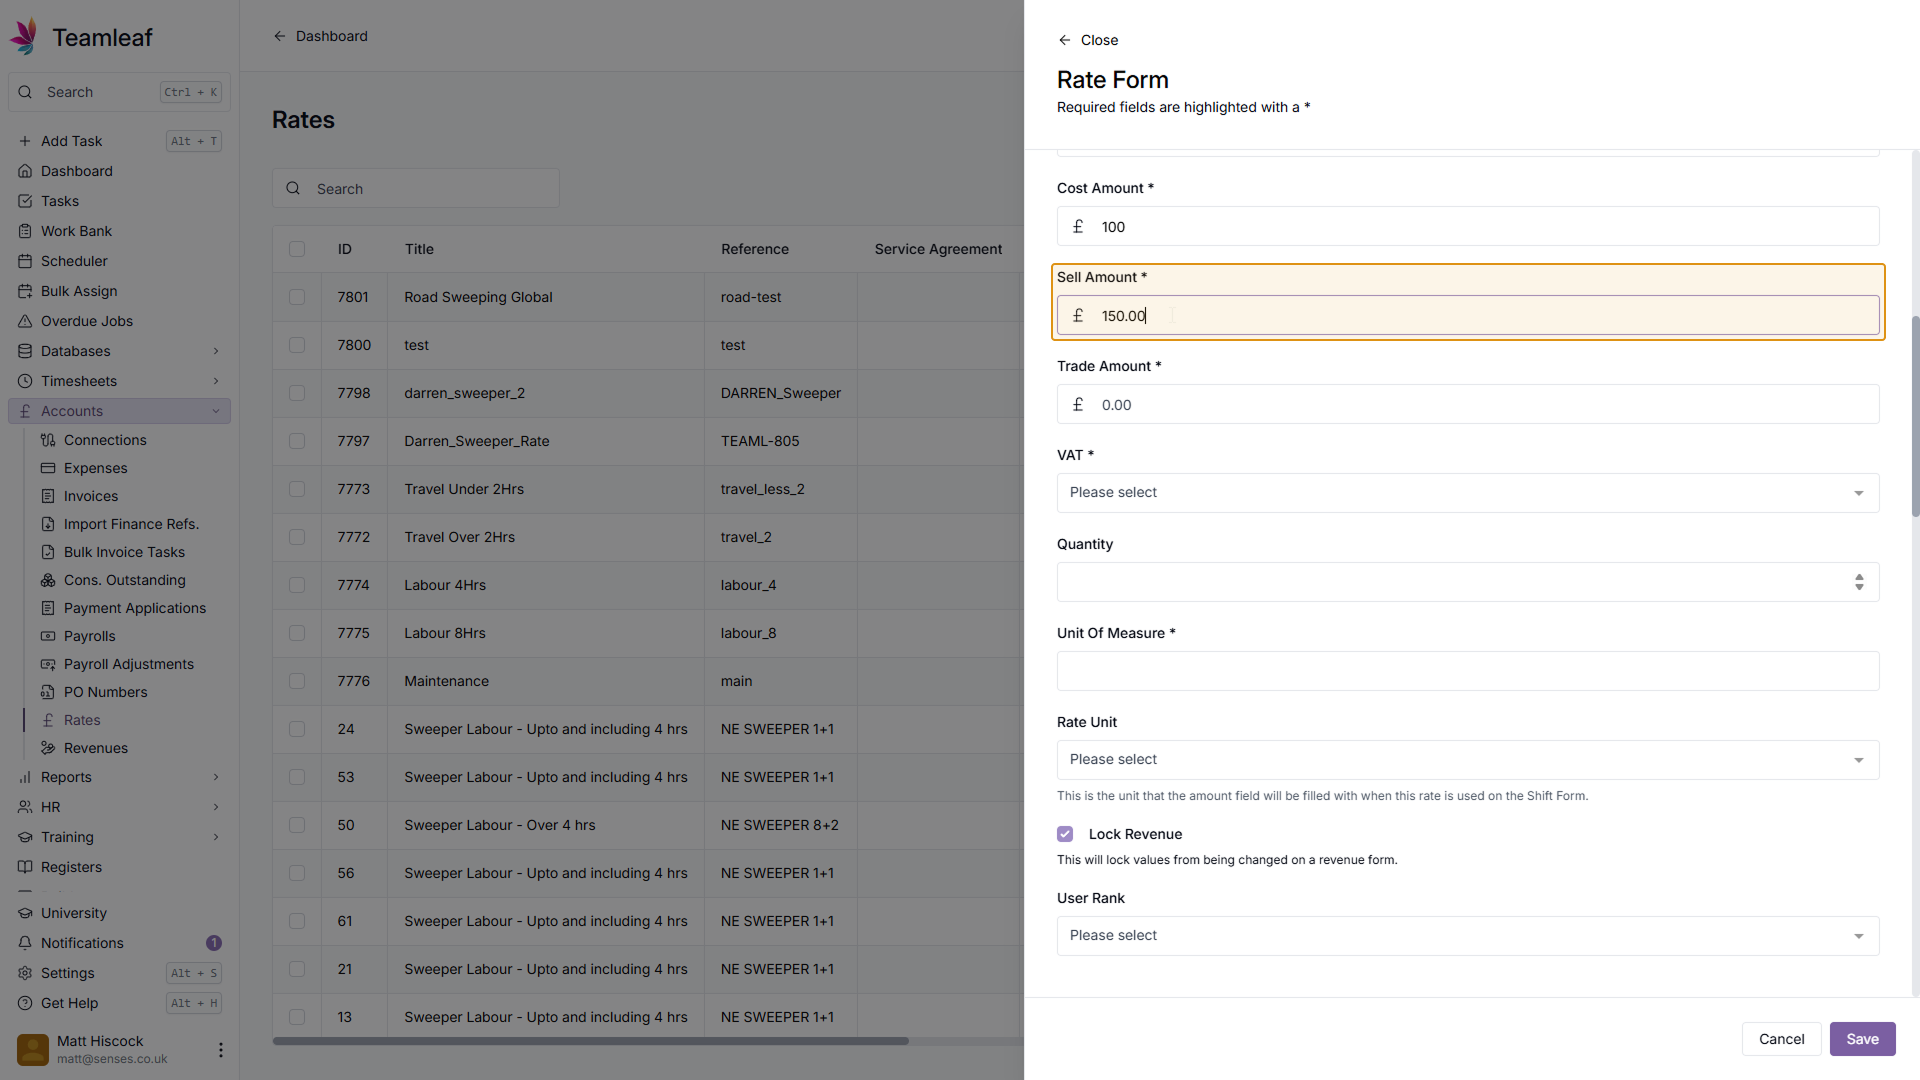
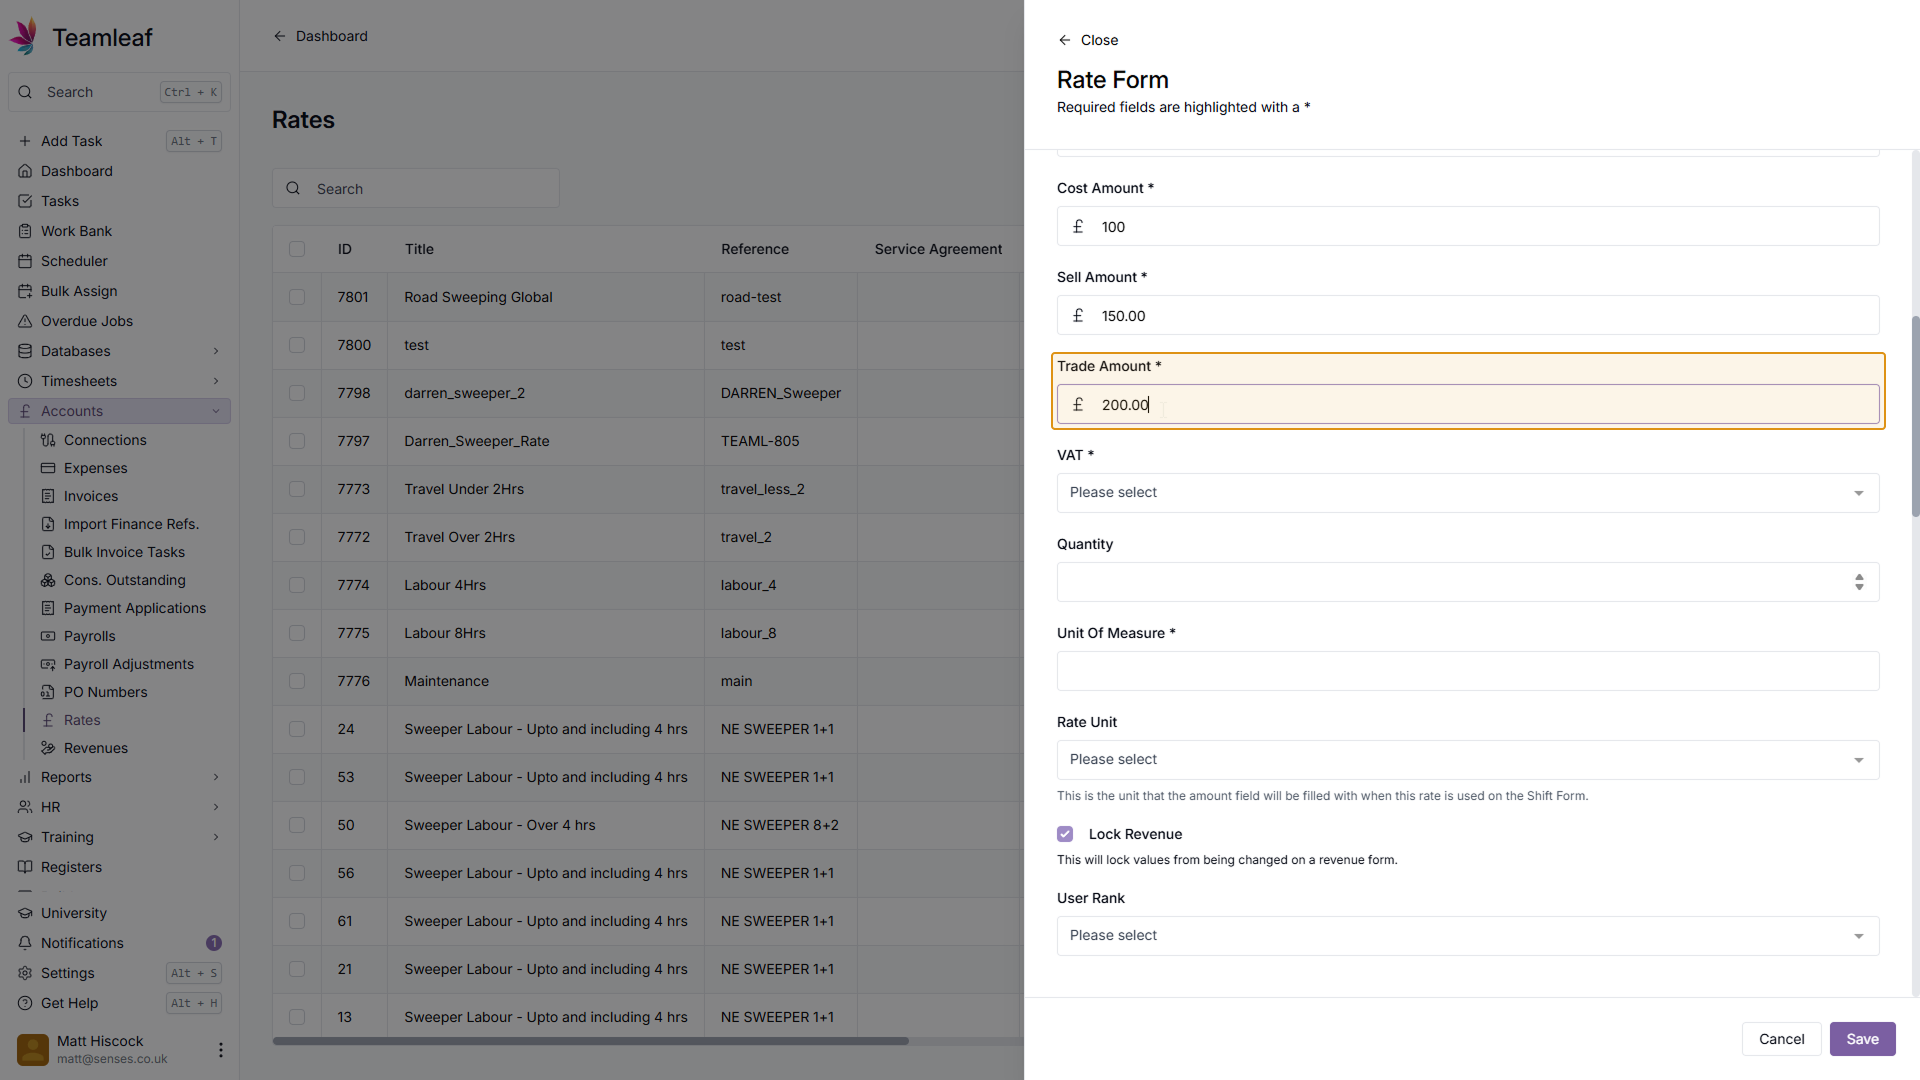
Step 9
Add Cost, Sell, and/or Trade amount
Next, you can add Cost, Sell and/or Trade amount. You don't need to add all of these, but you must add at least one of them.
Step 10
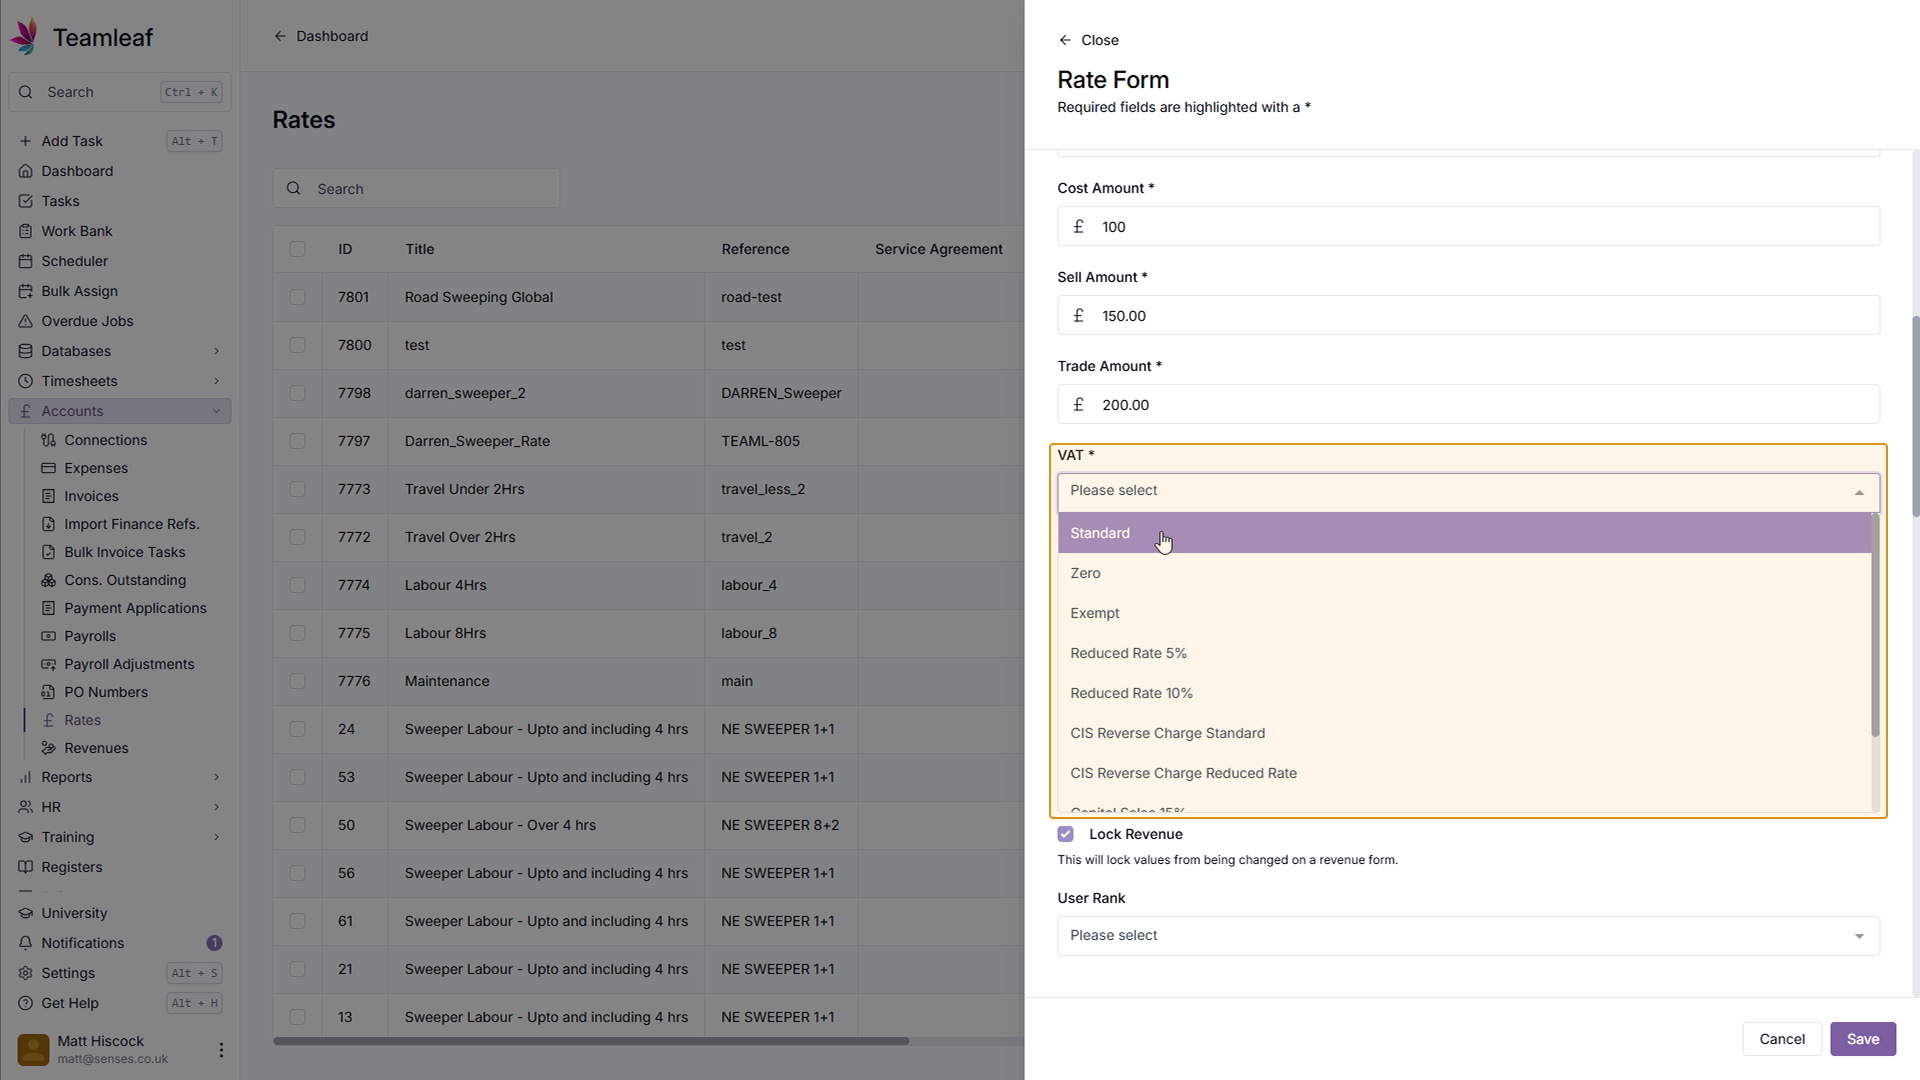
Select VAT Option
Next, select which VAT Option you want to use from the dropdown menu
Step 11
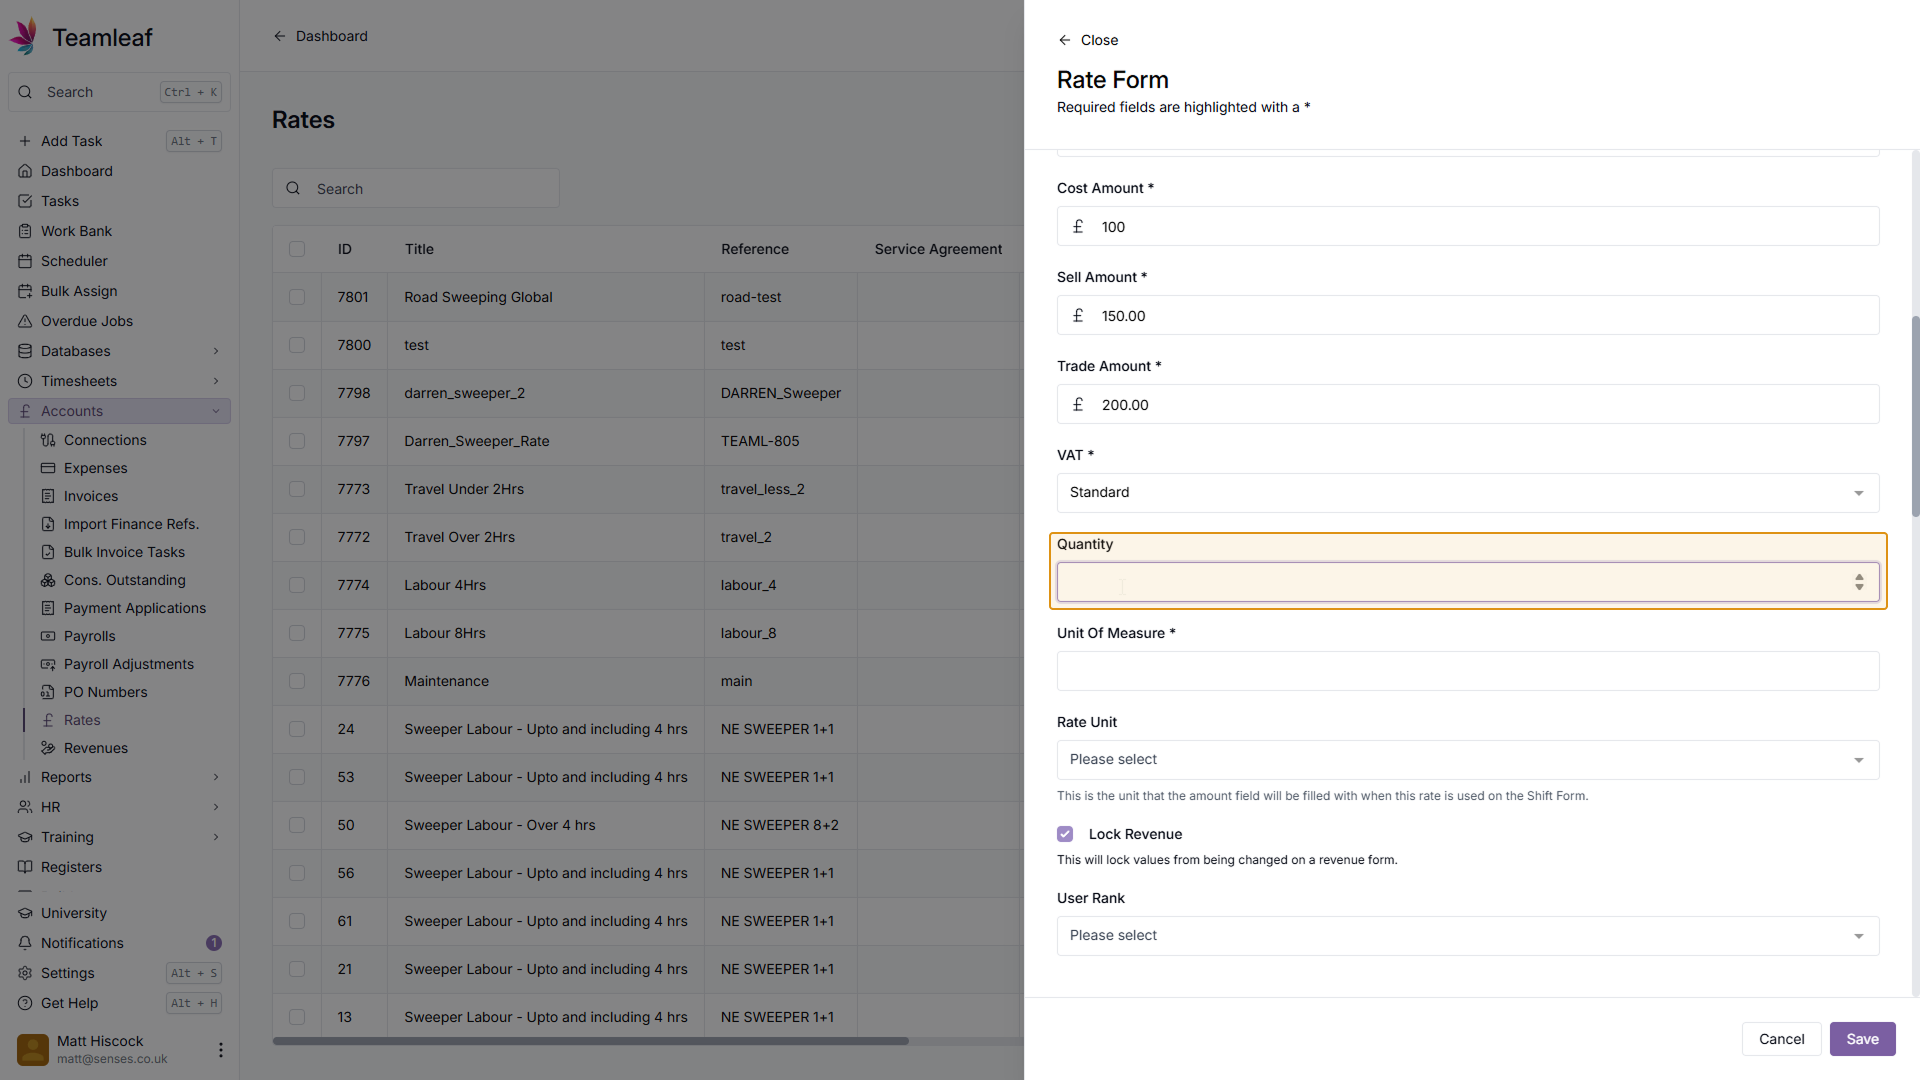
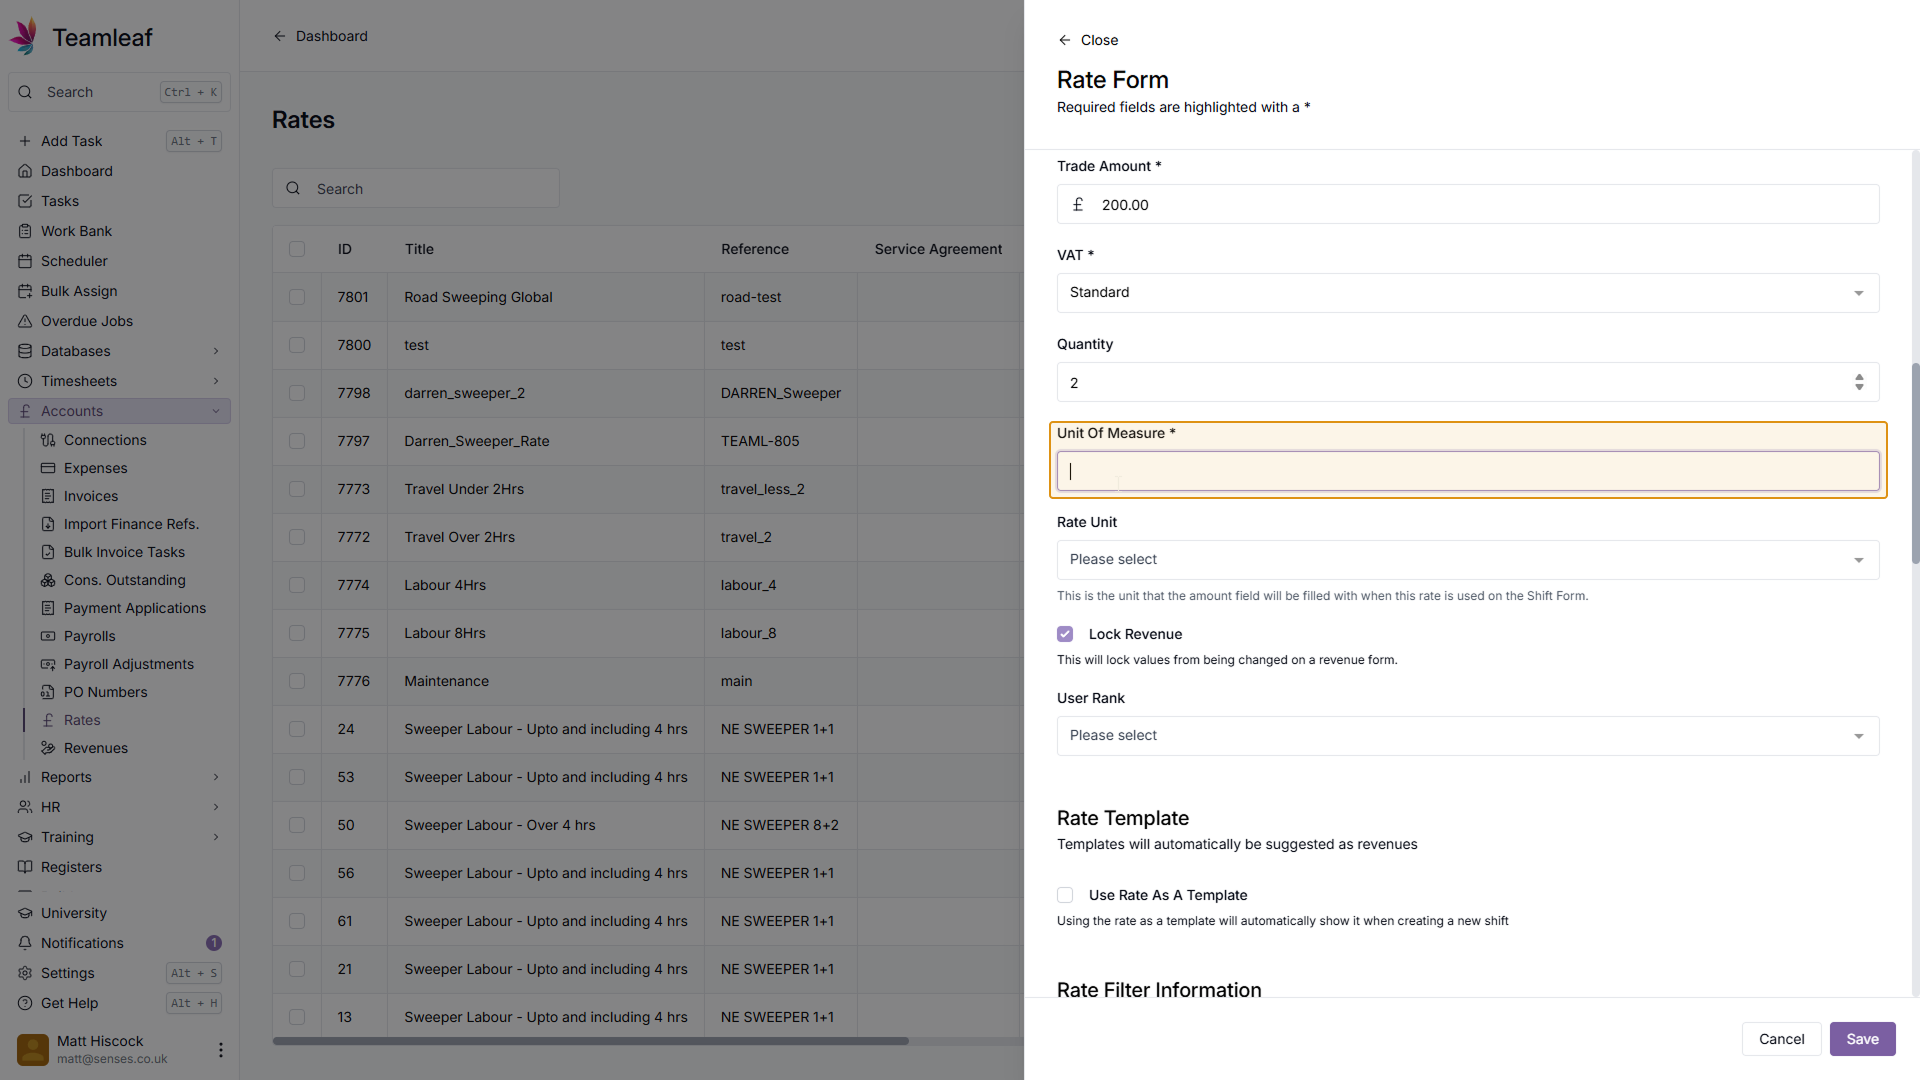
Select Quantity and Unit of Measure
Next, add a quantity and unit of measure, in this example, I've set it to 2 hours
Step 12
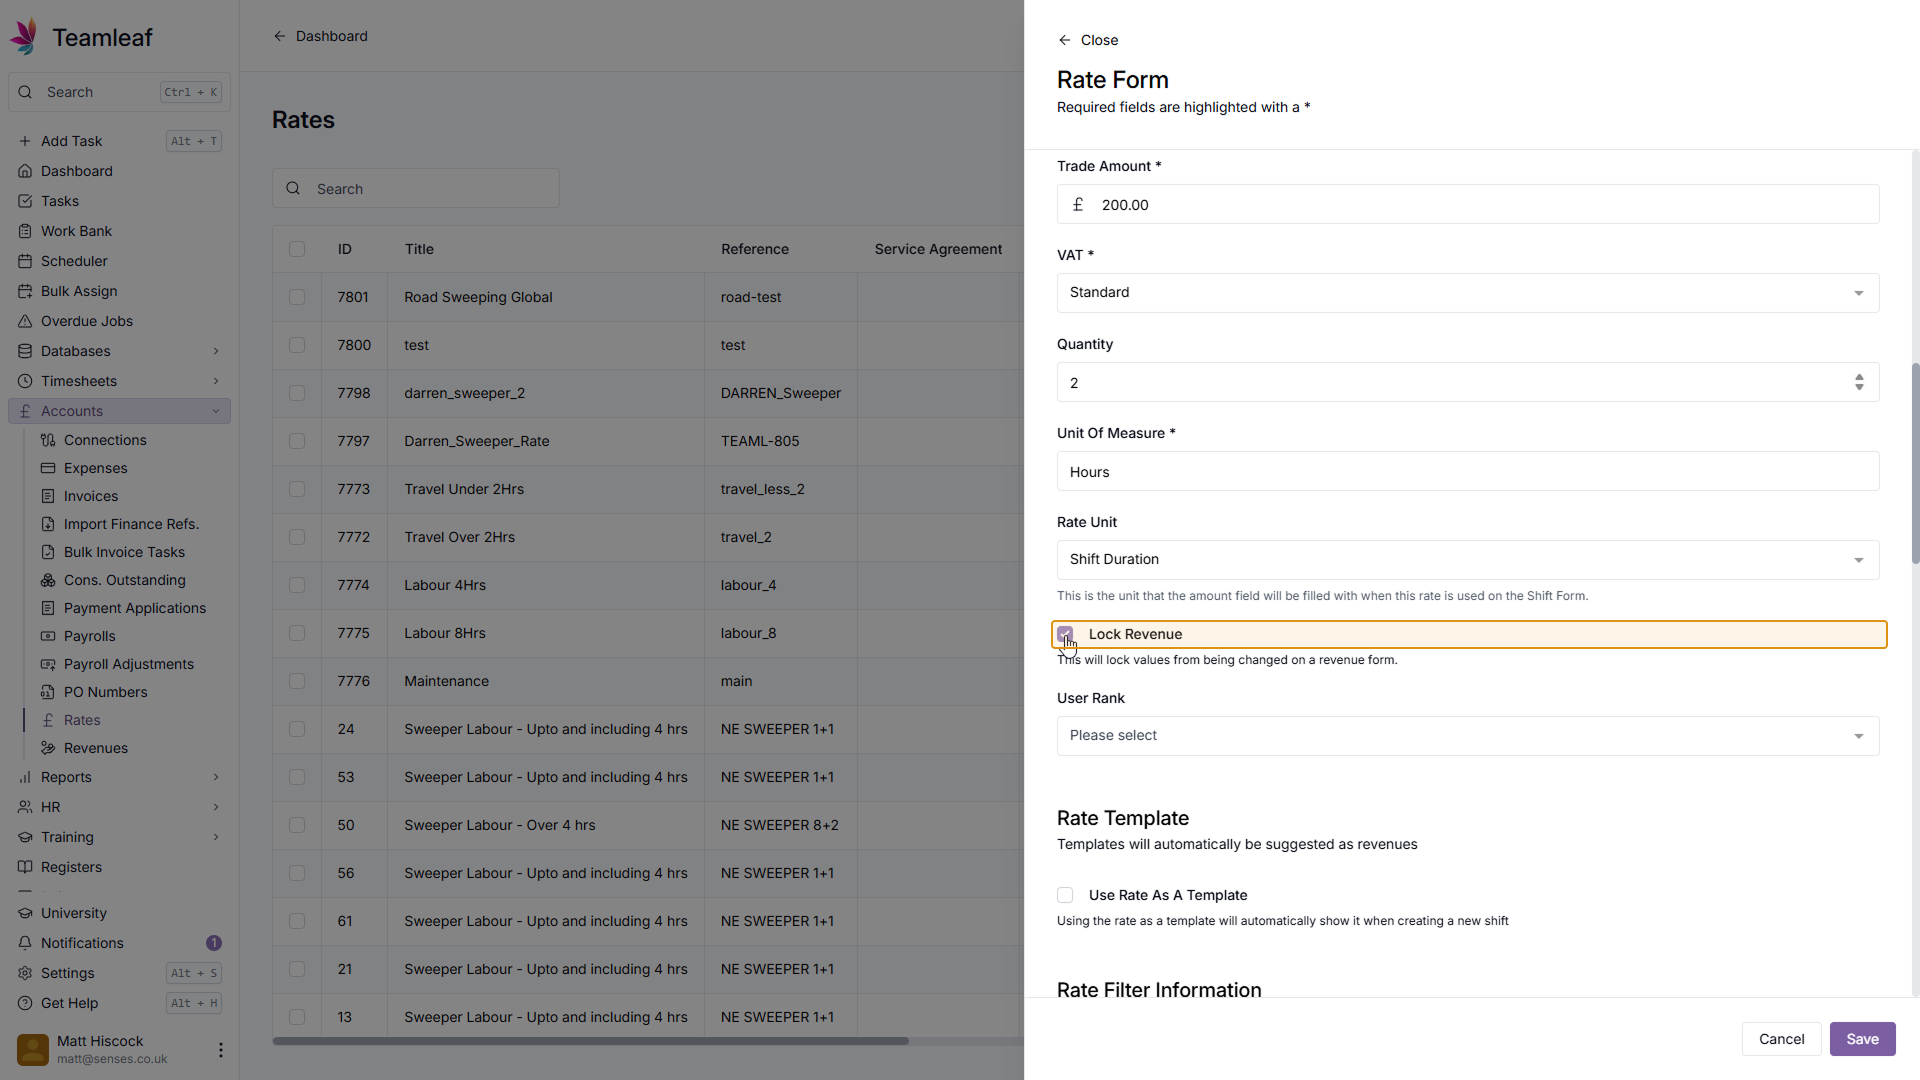
Lock or Unlock Revenue
You can then set whether you'd like this Rate to be locked or unlocked. If locked, this will prevent values from being changed on a revenue form, whereas if it's unlocked, values can be changed
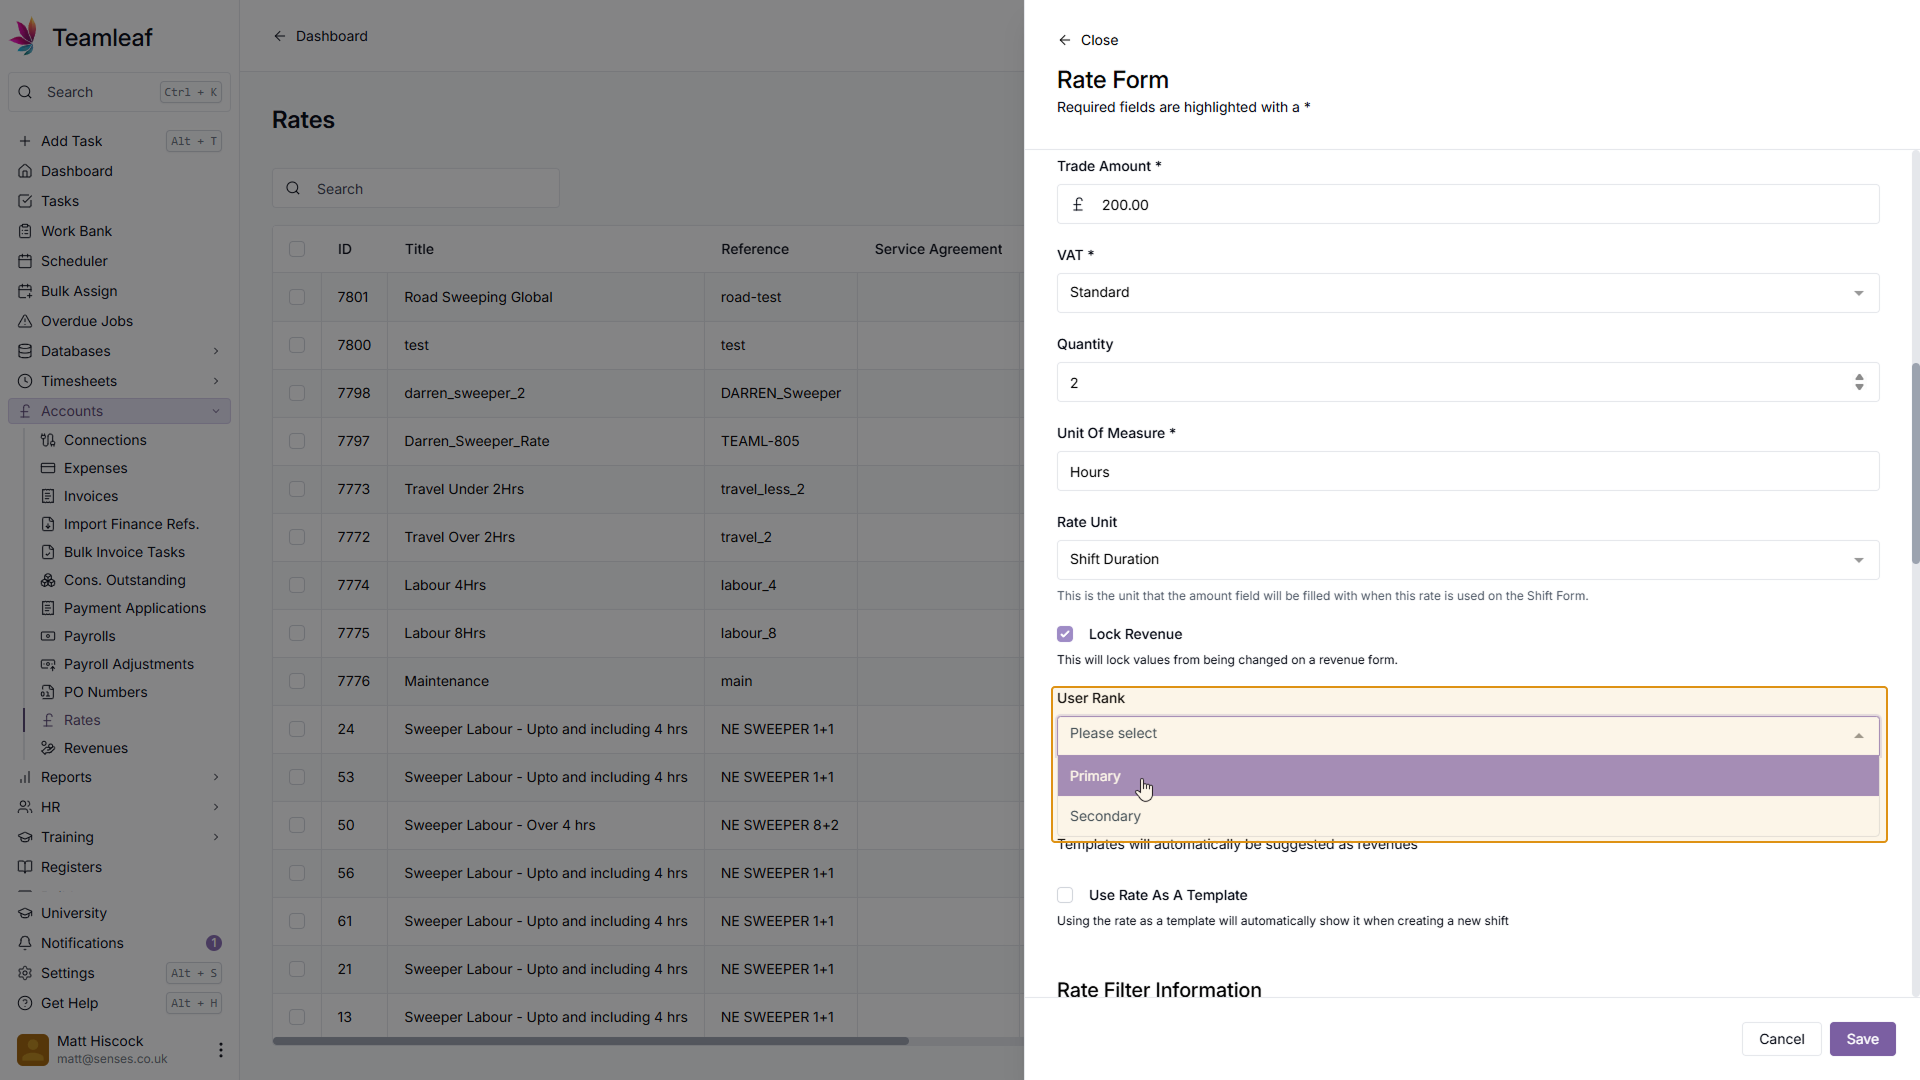
Step 13
(Optional) Select User Rank
Next, select a User rank for this rate (If you wish)
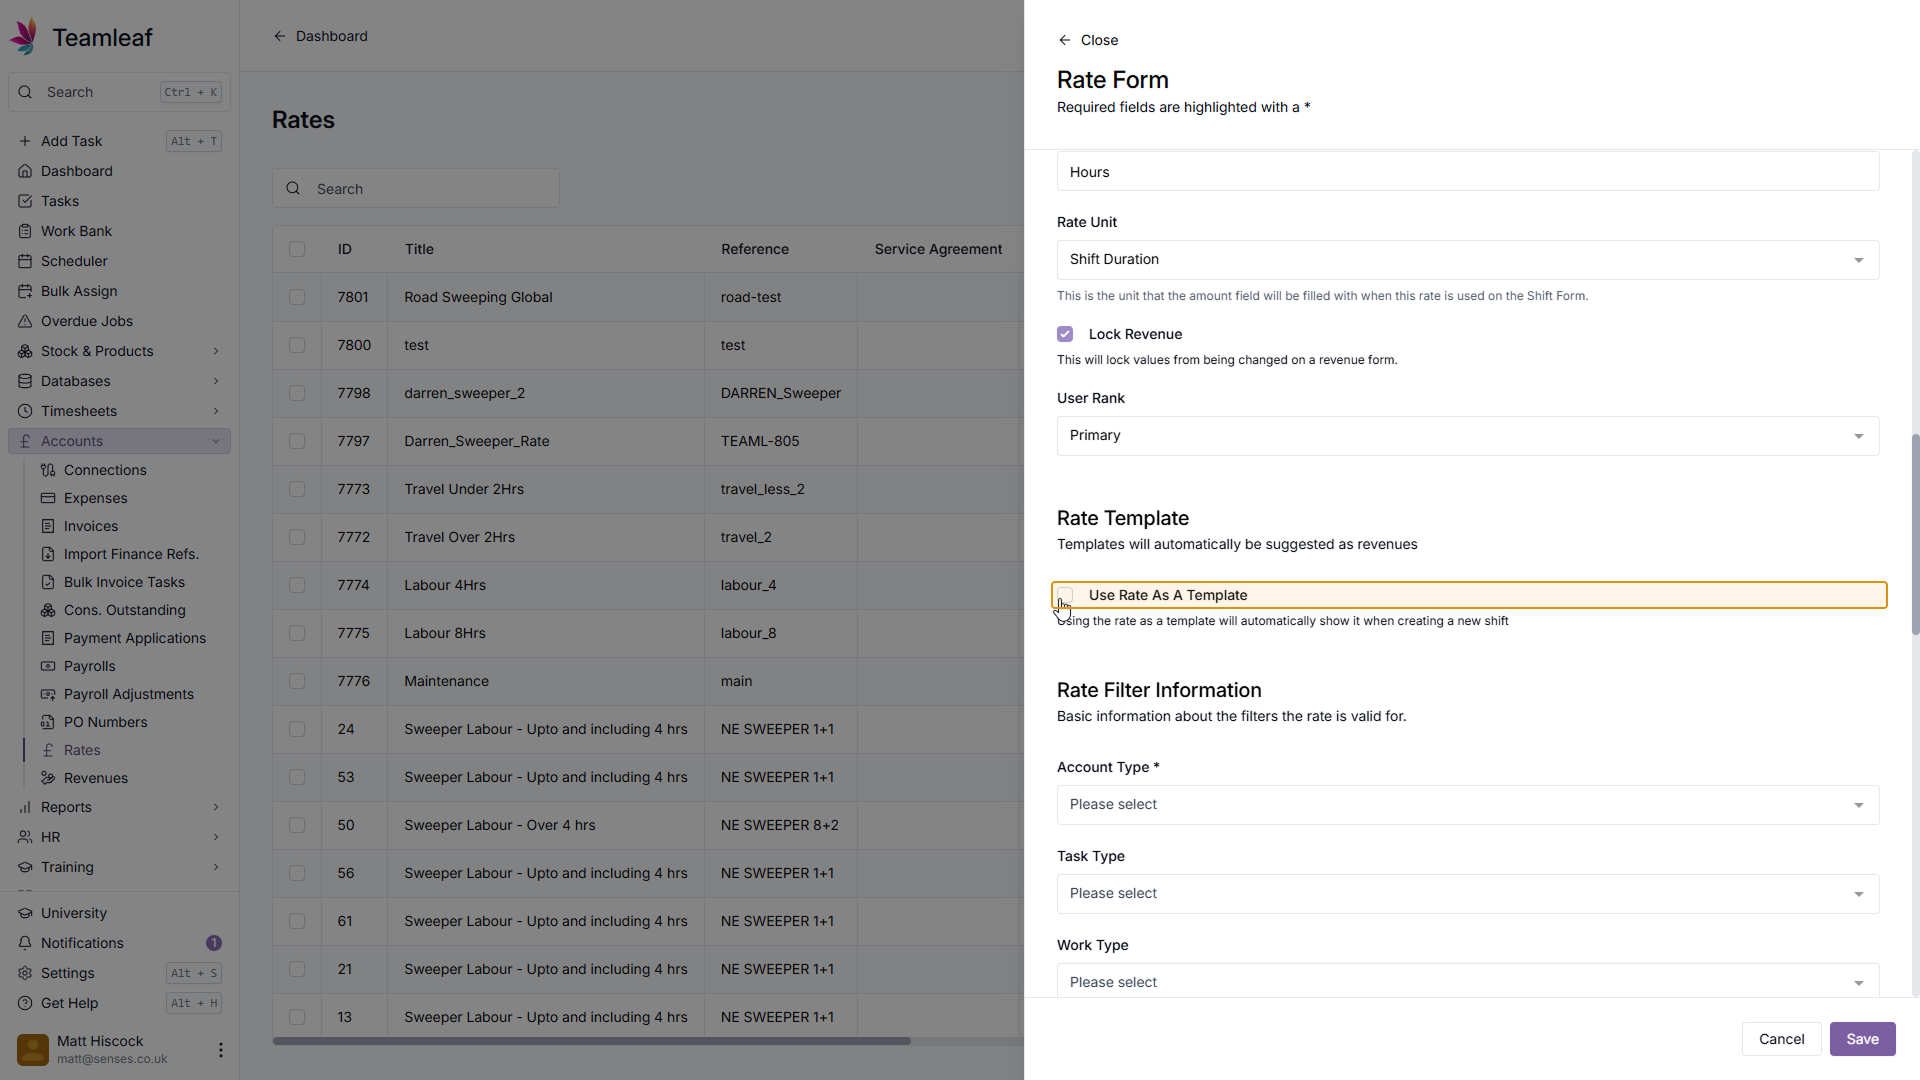
Step 14
Use Rate as a Template
Next, select whether you wish to use the Rate as a Template. Using the Rate as a Template will automatically show it when creating a new shift.
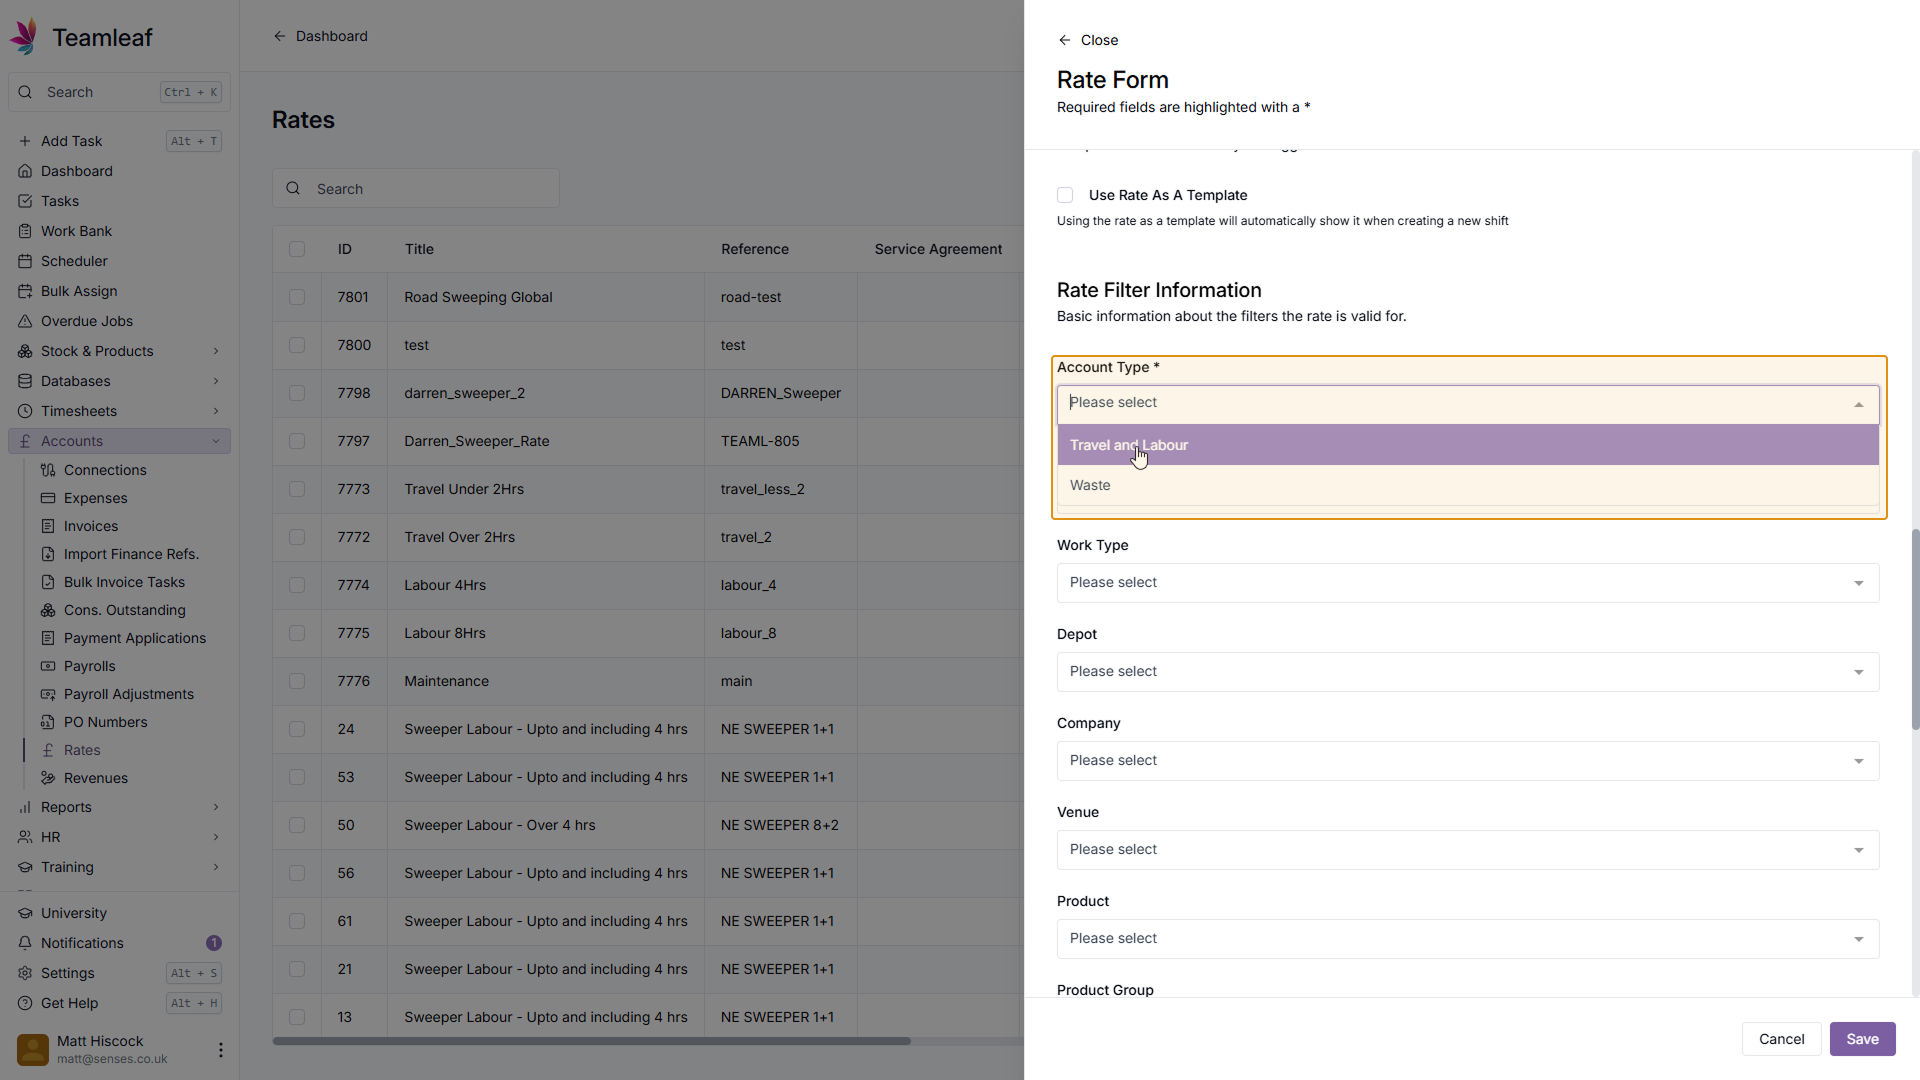
Step 15
Select Account Type
Next, select from the dropdown menu which account type you'd like this rate to apply to
Step 16
(Optional) Select Task Type
If you wish to only use this rate on certain task types, select one from the dropdown menu

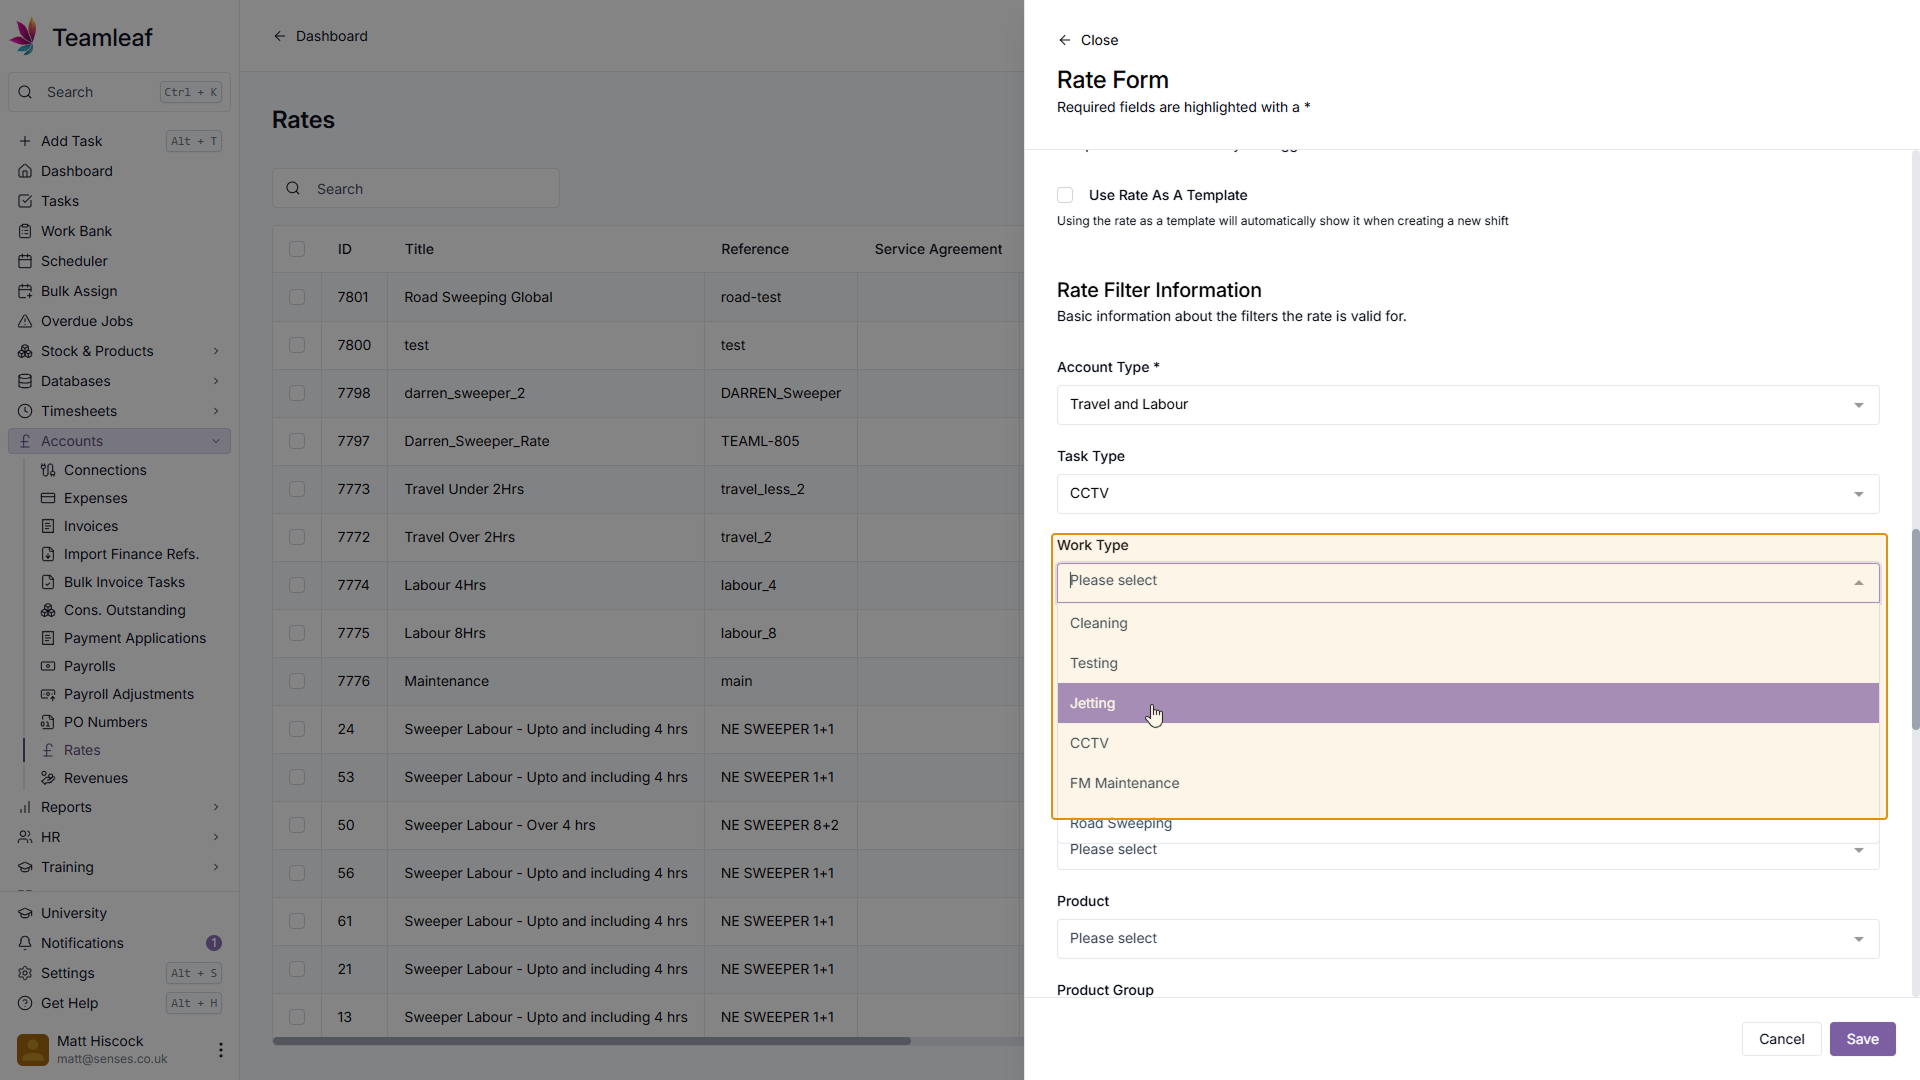
Step 17
(Optional) Select Work Type
If you wish to only use this rate on certain work types, select one from the dropdown menu
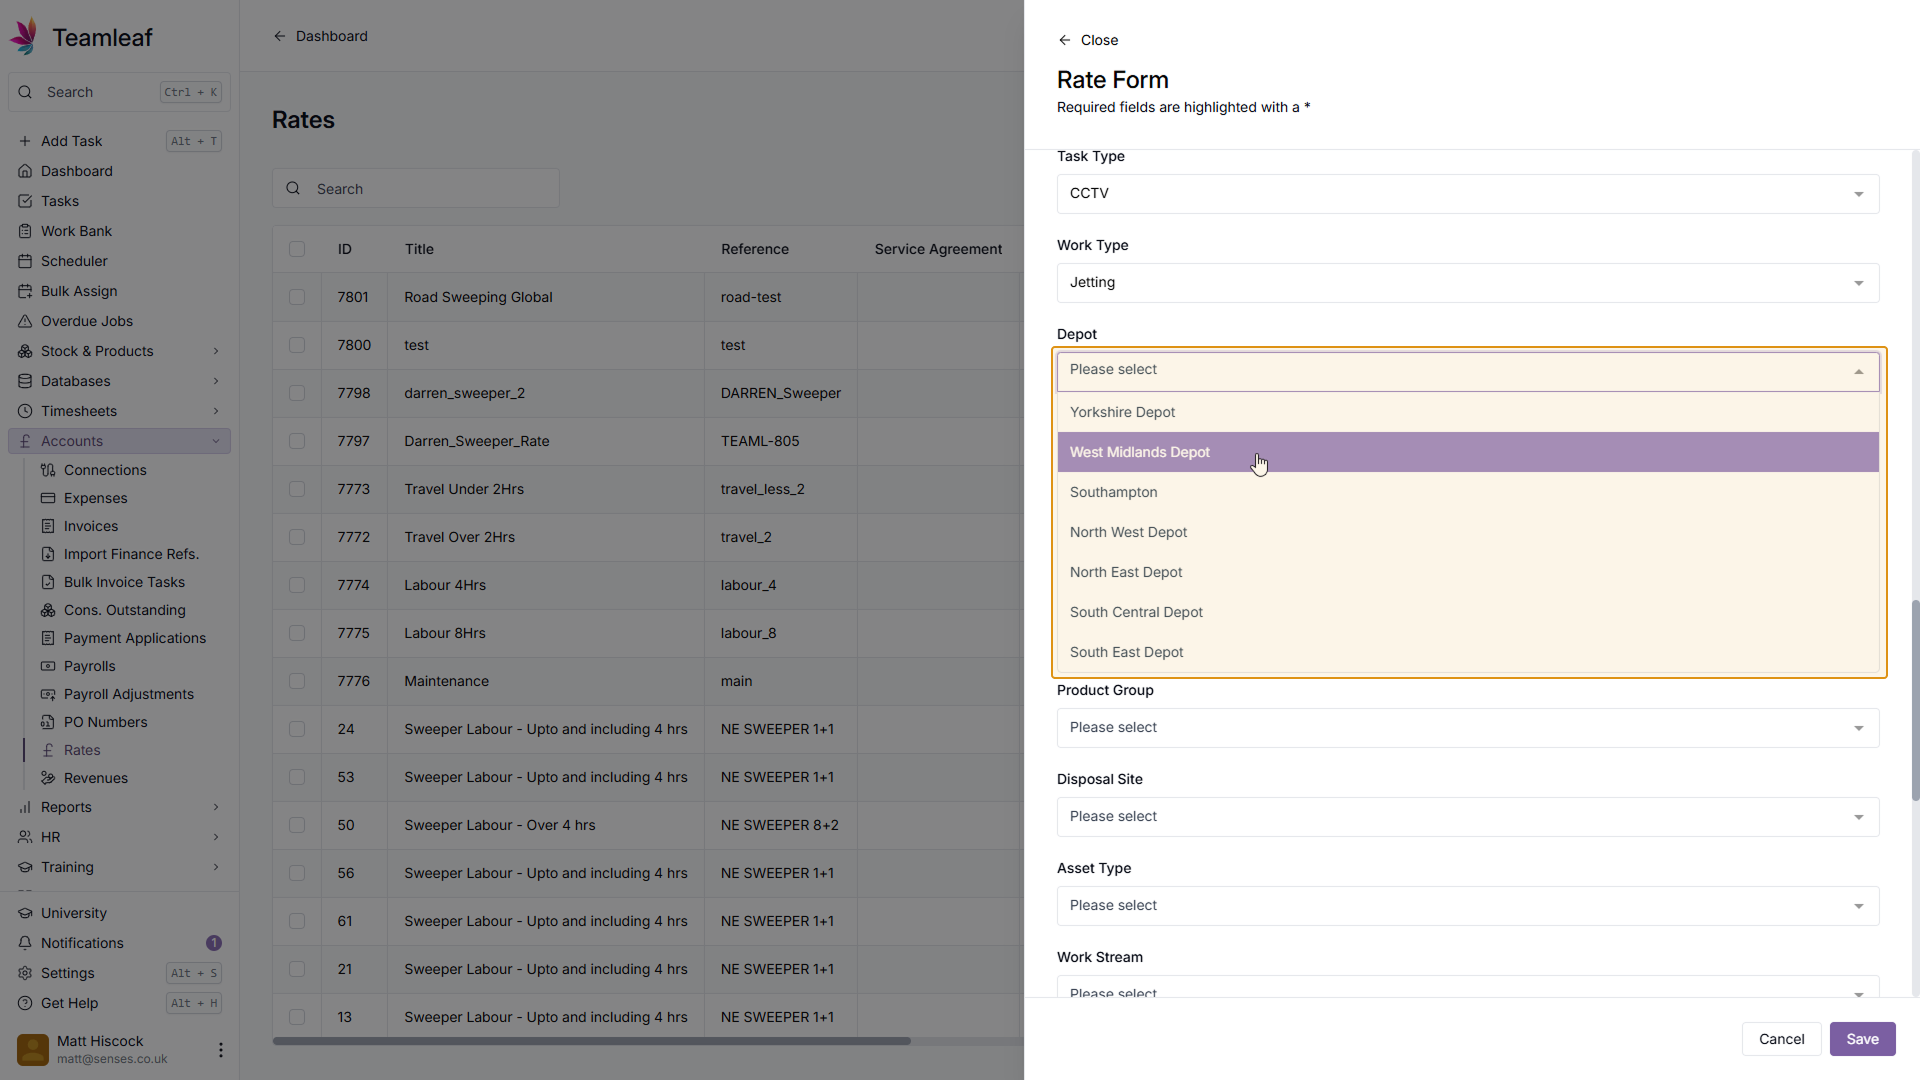
Step 18
(Optional) Select Depot
If you wish to only use this rate on certain depots, select one from the dropdown menu
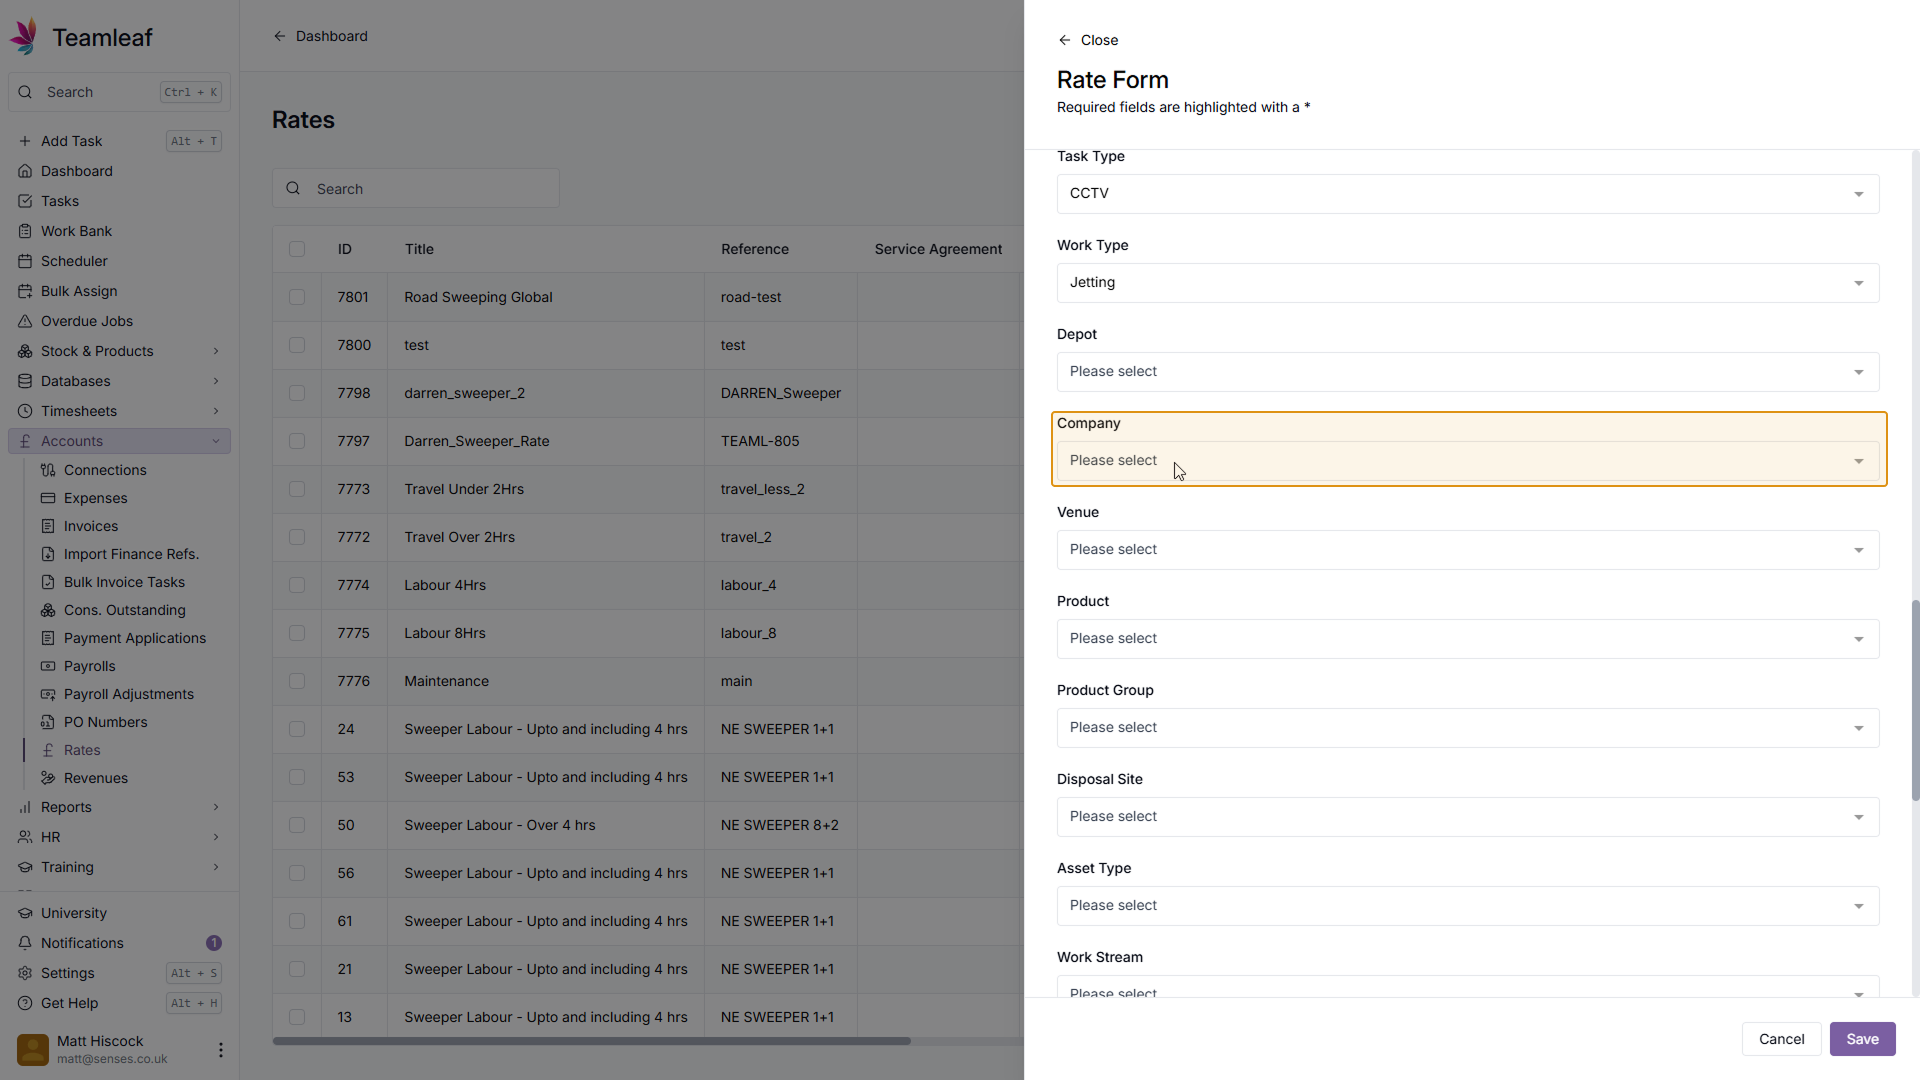
Step 19
(Optional) Select Company
If you wish to only use this rate on certain companies, select one from the dropdown menu
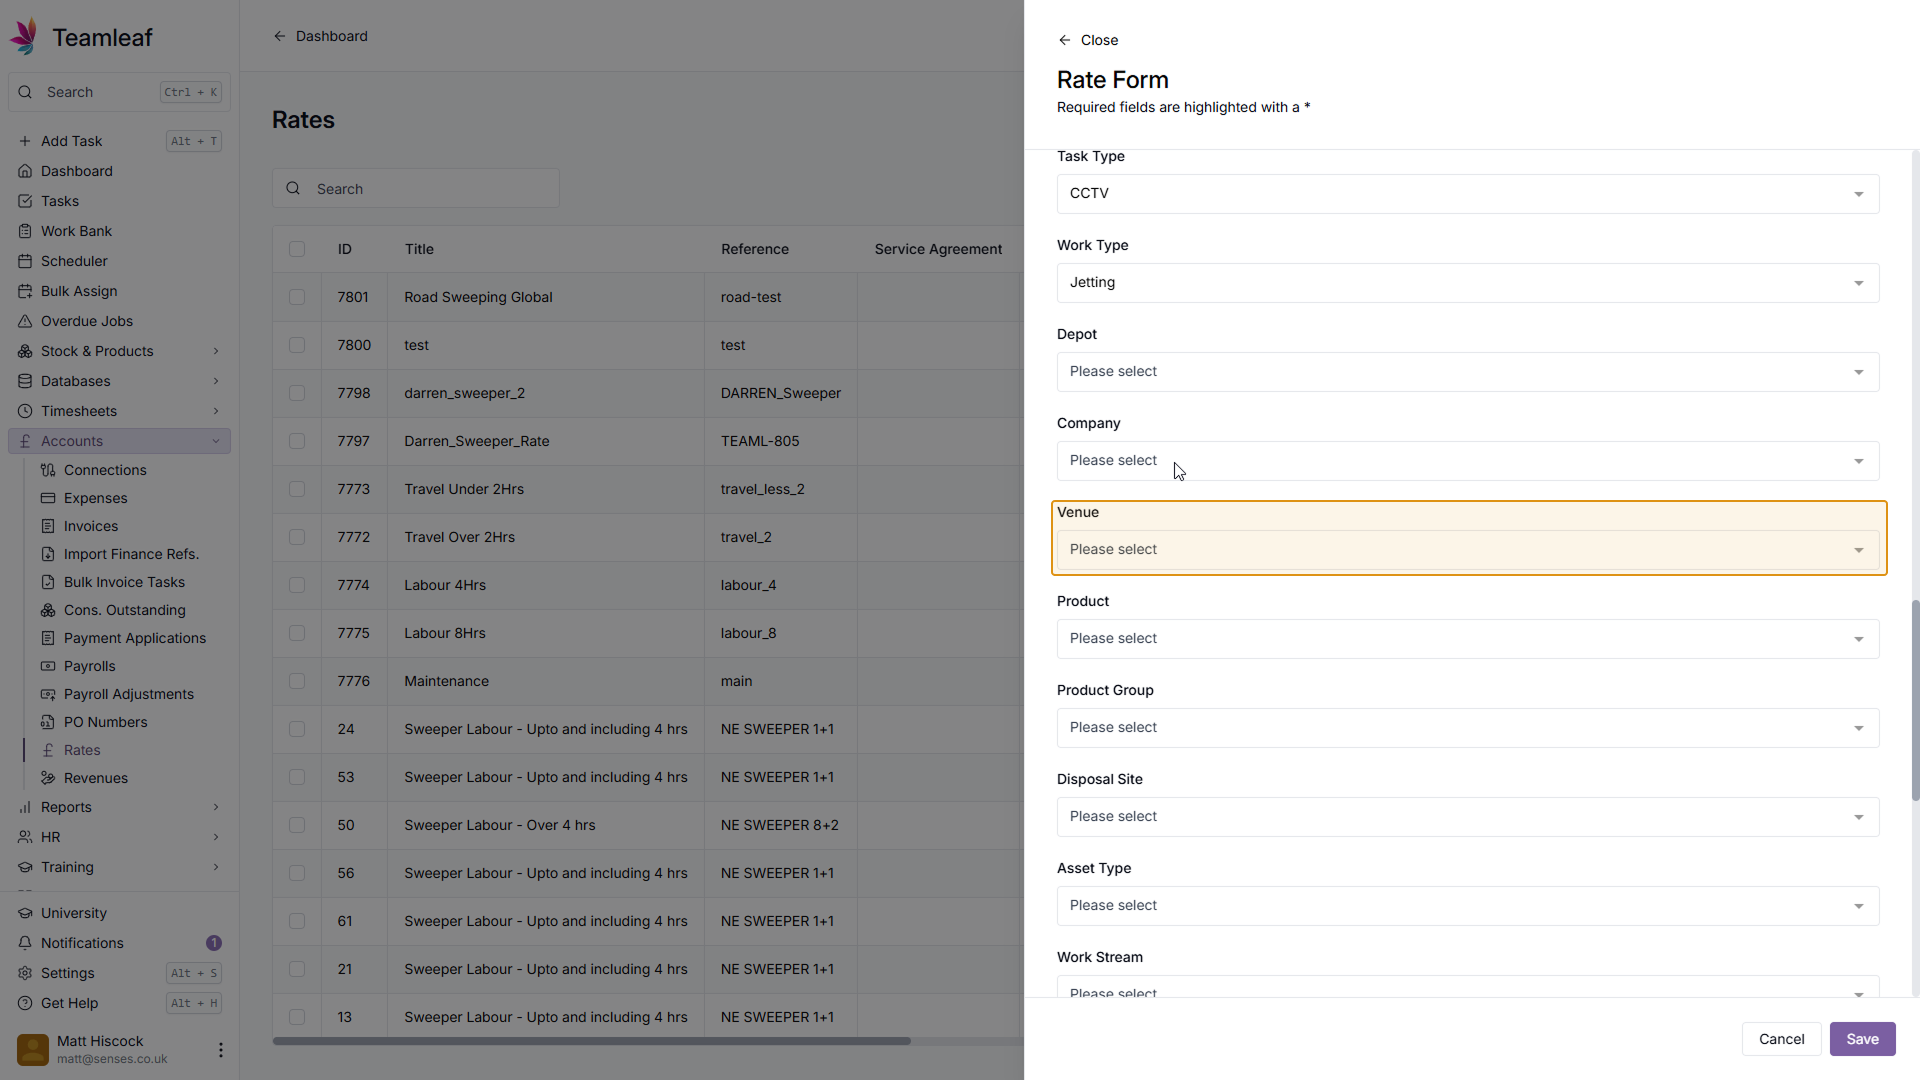
Step 20
(Optional) Select Venues
If you wish to only use this rate on certain venues, select one from the dropdown menu
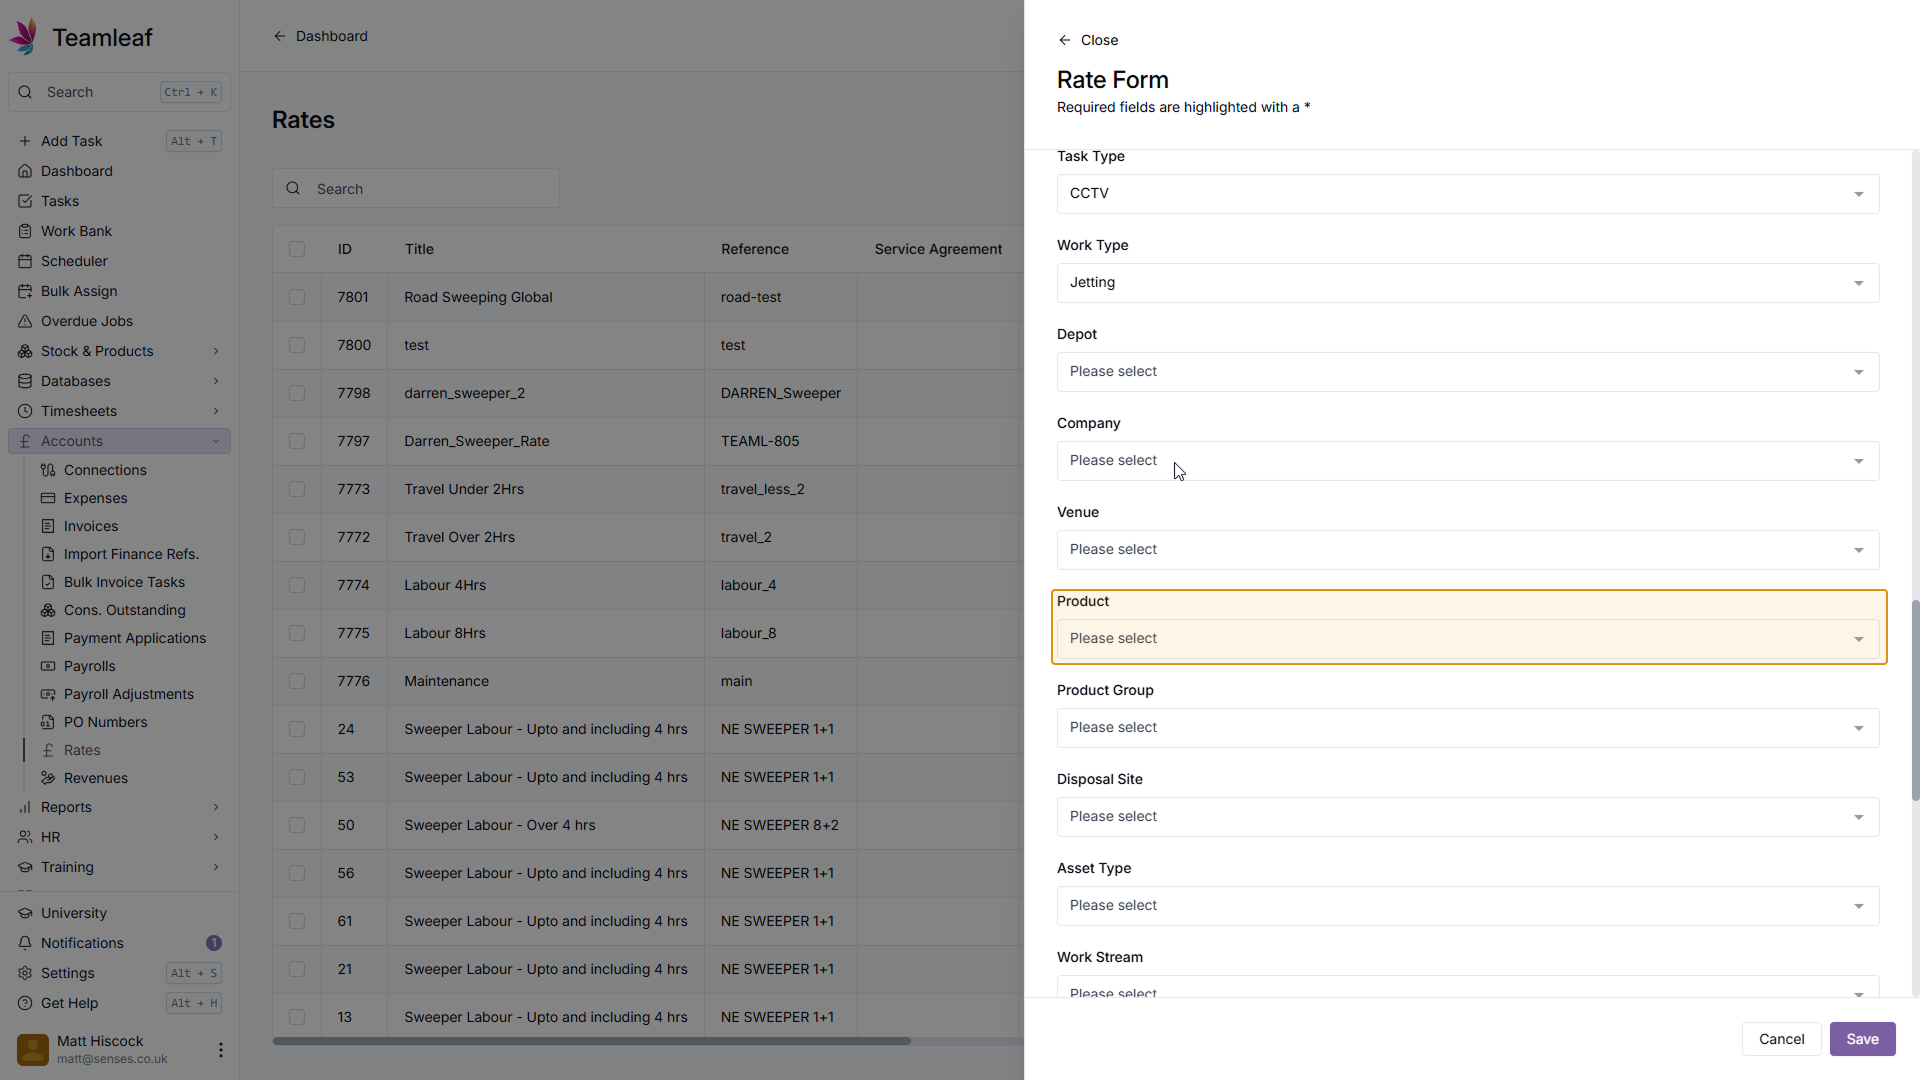
Step 21
(Optional) Select Products
If you wish to only use this rate on certain products, select one from the dropdown menu
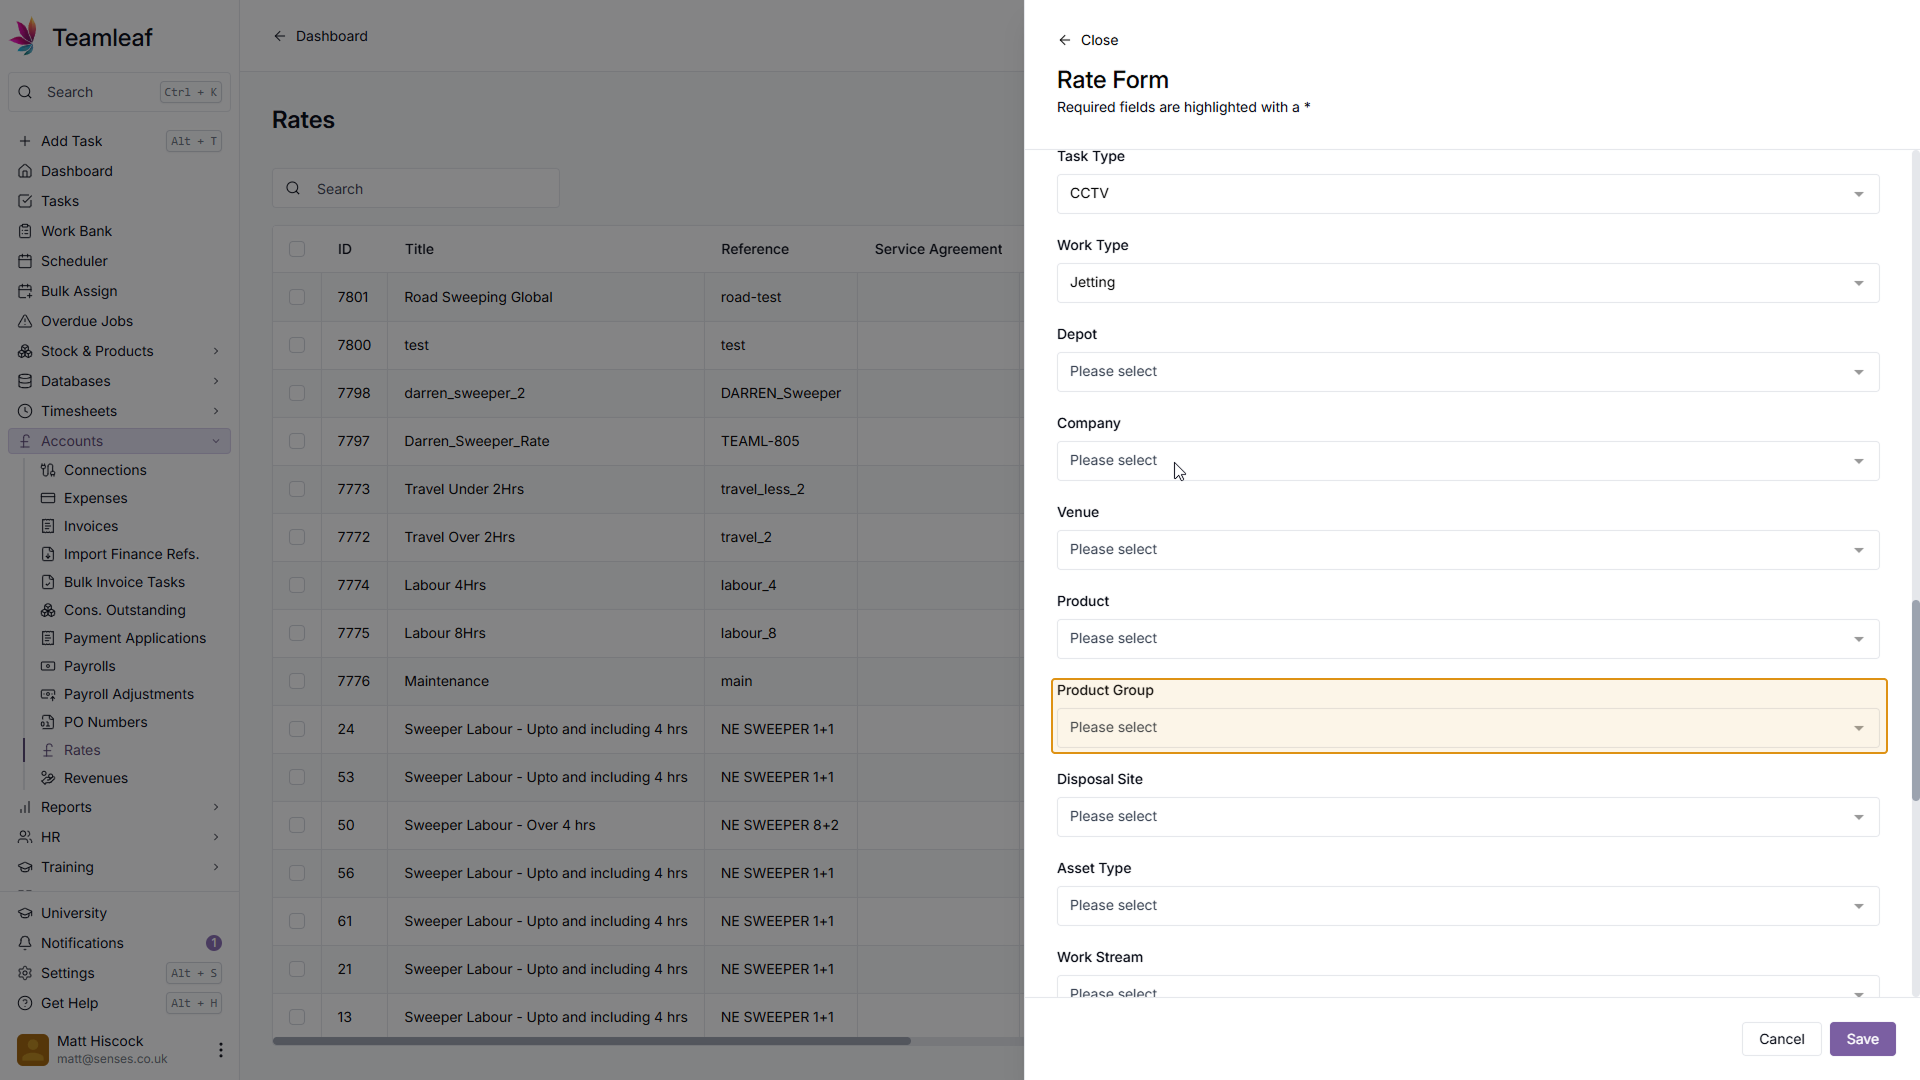
Step 22
(Optional) Select Product Groups
If you wish to only use this rate on certain product groups, select one from the dropdown menu
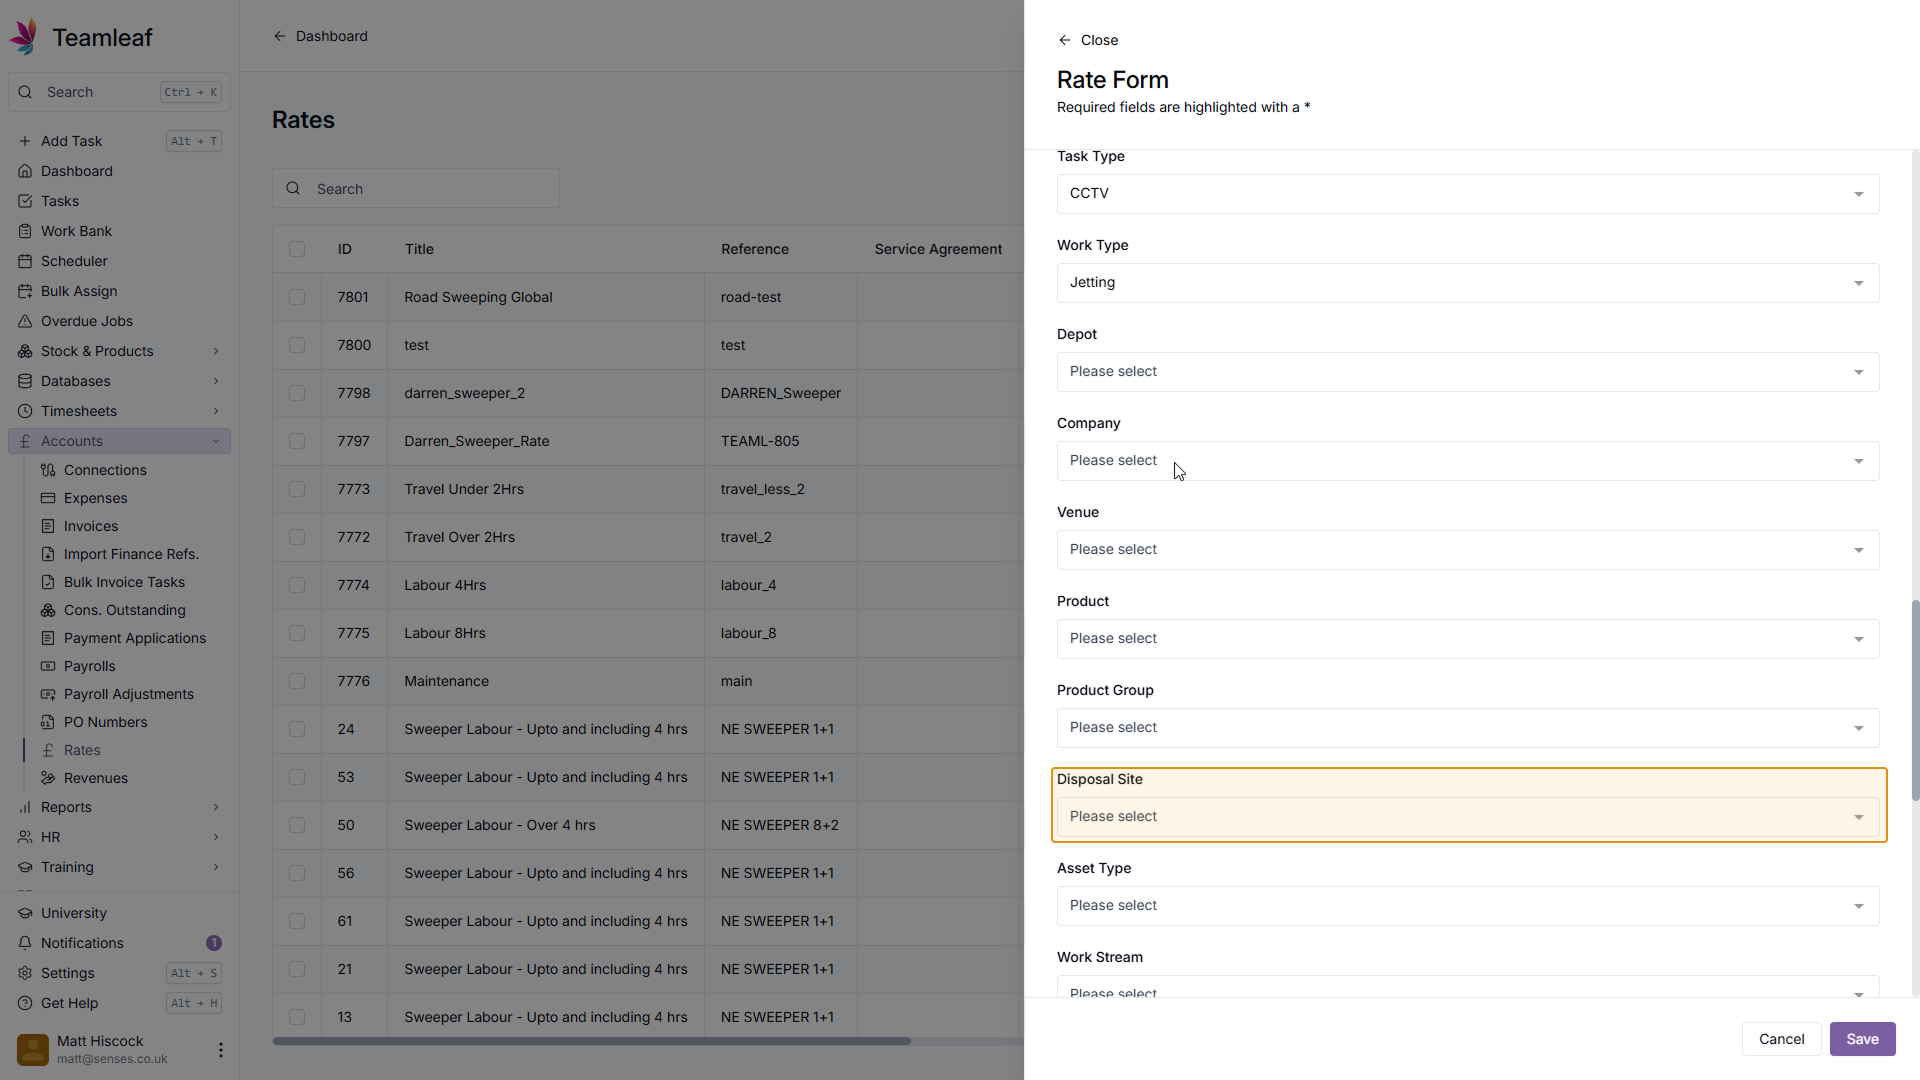
Step 23
(Optional) Select Disposal Sites
If you wish to only use this rate on certain disposal sites, select one from the dropdown menu
Step 24
Select Rate Start Date
Once you've selected your Rate Filters, select the Rate Start date, this is the date the rate will be valid from. If you don't wish to add a start date you can click 'Clear' in the top right

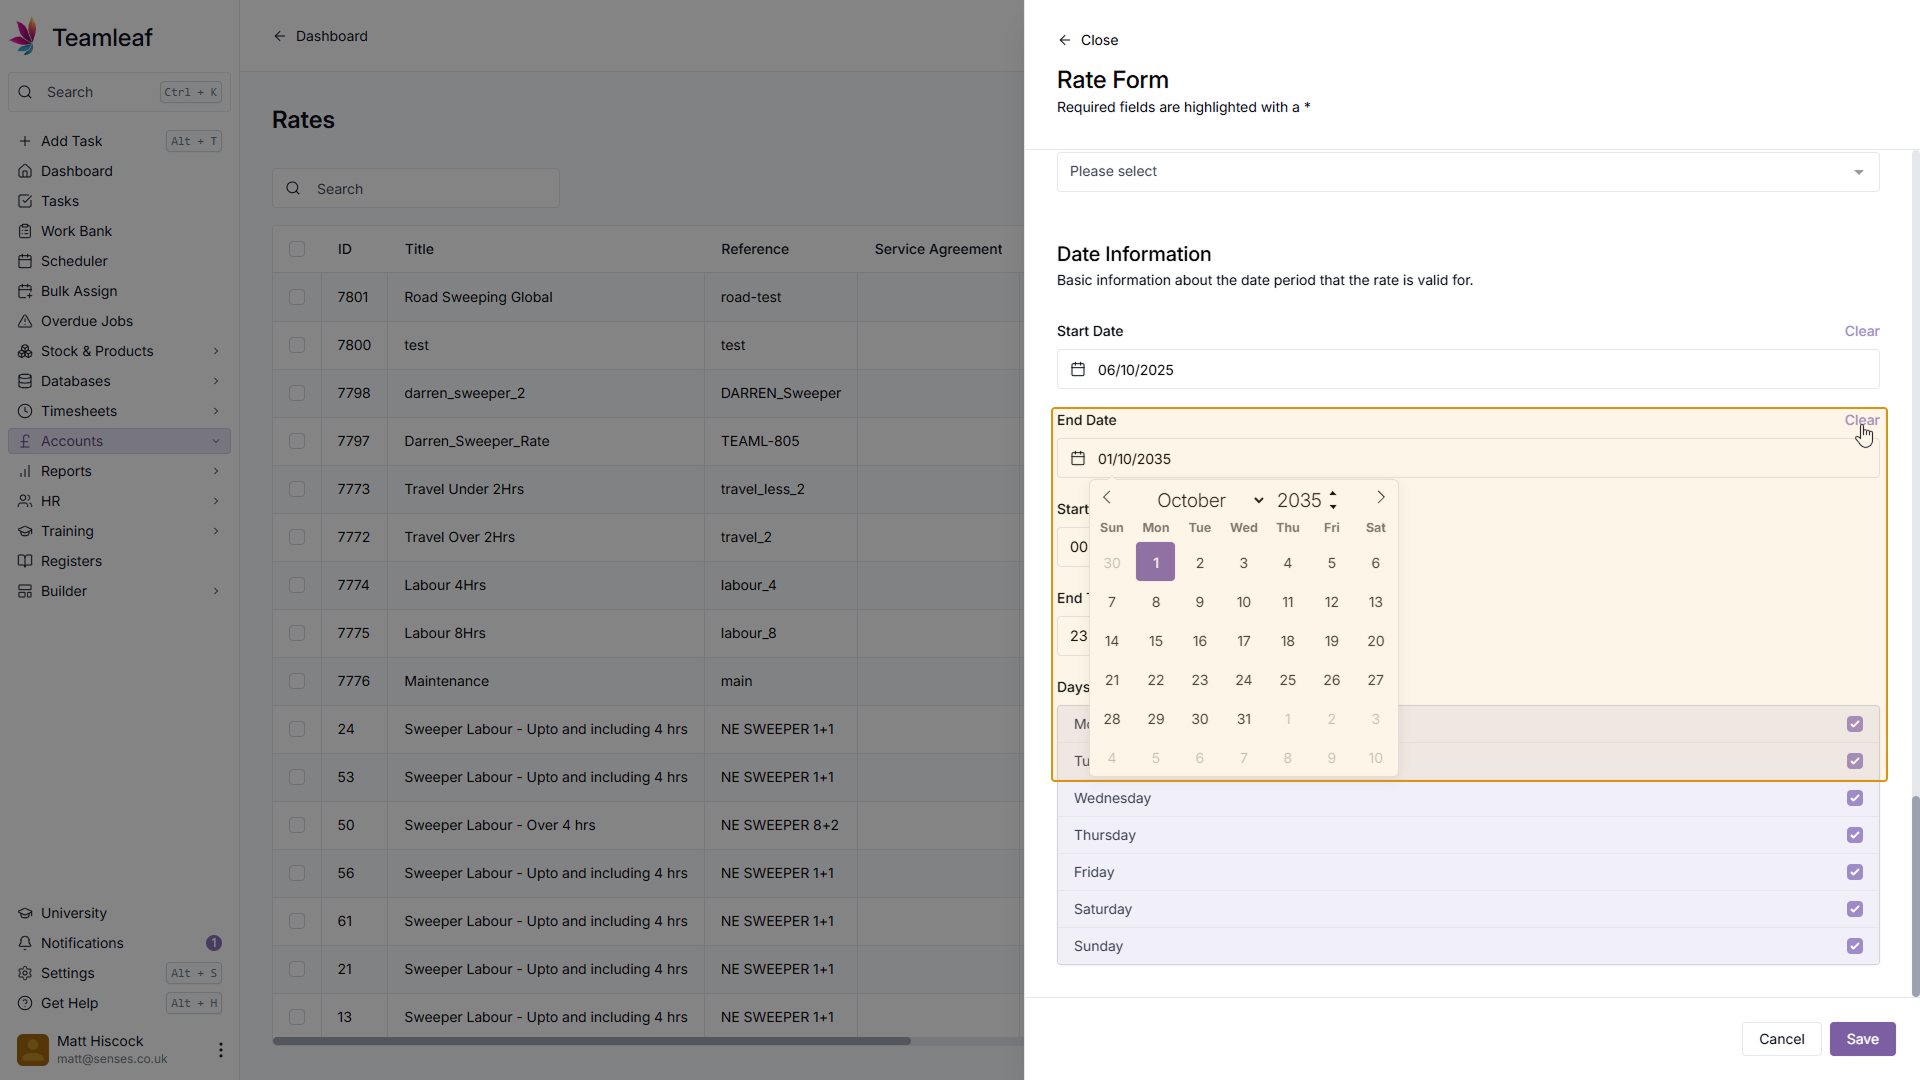
Step 25
Select Rate End Date
Next, select the Rate End Date. After this date, the rate will no longer be valid and will no longer be useable. If you don't want an end date, click 'Clear' in the top right to remove this
Step 26
Rate Start and End Time
Next, you can select a time for the rates to start and end (if you have a start and end date set)
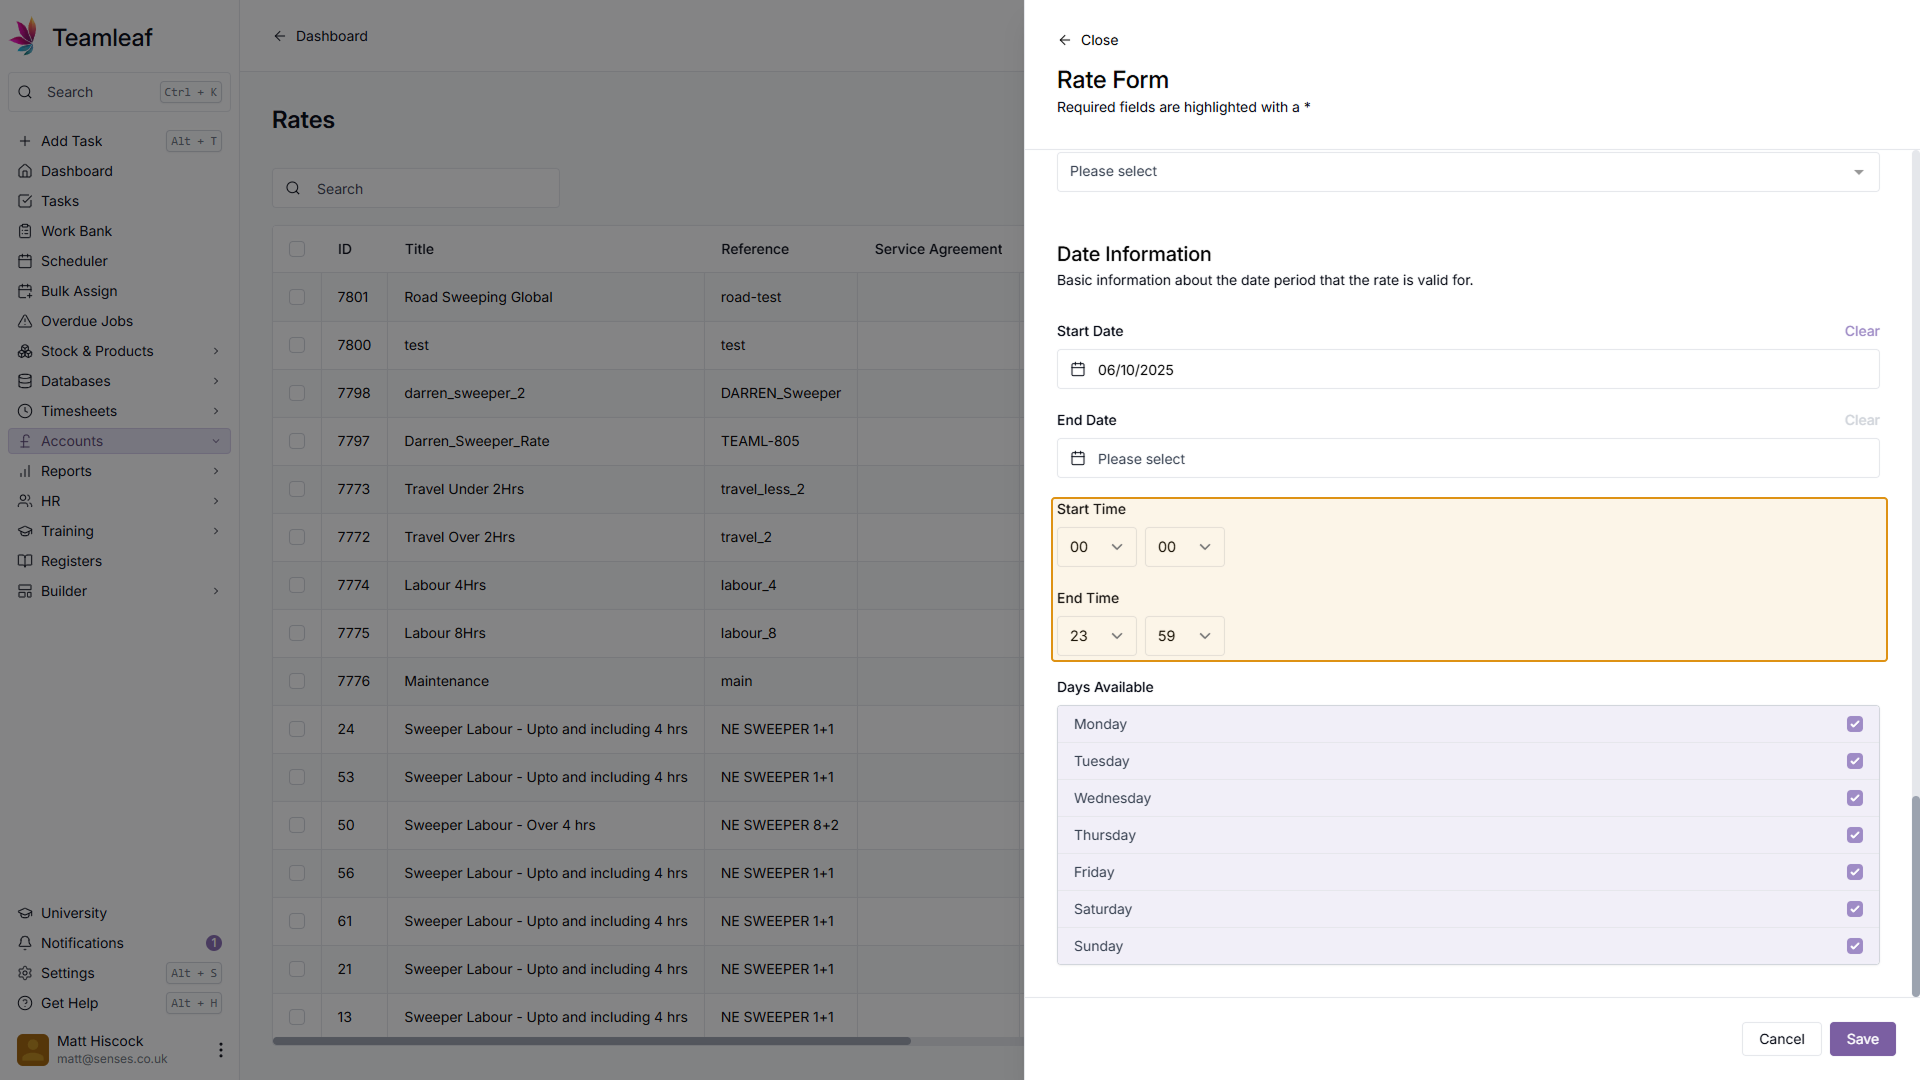
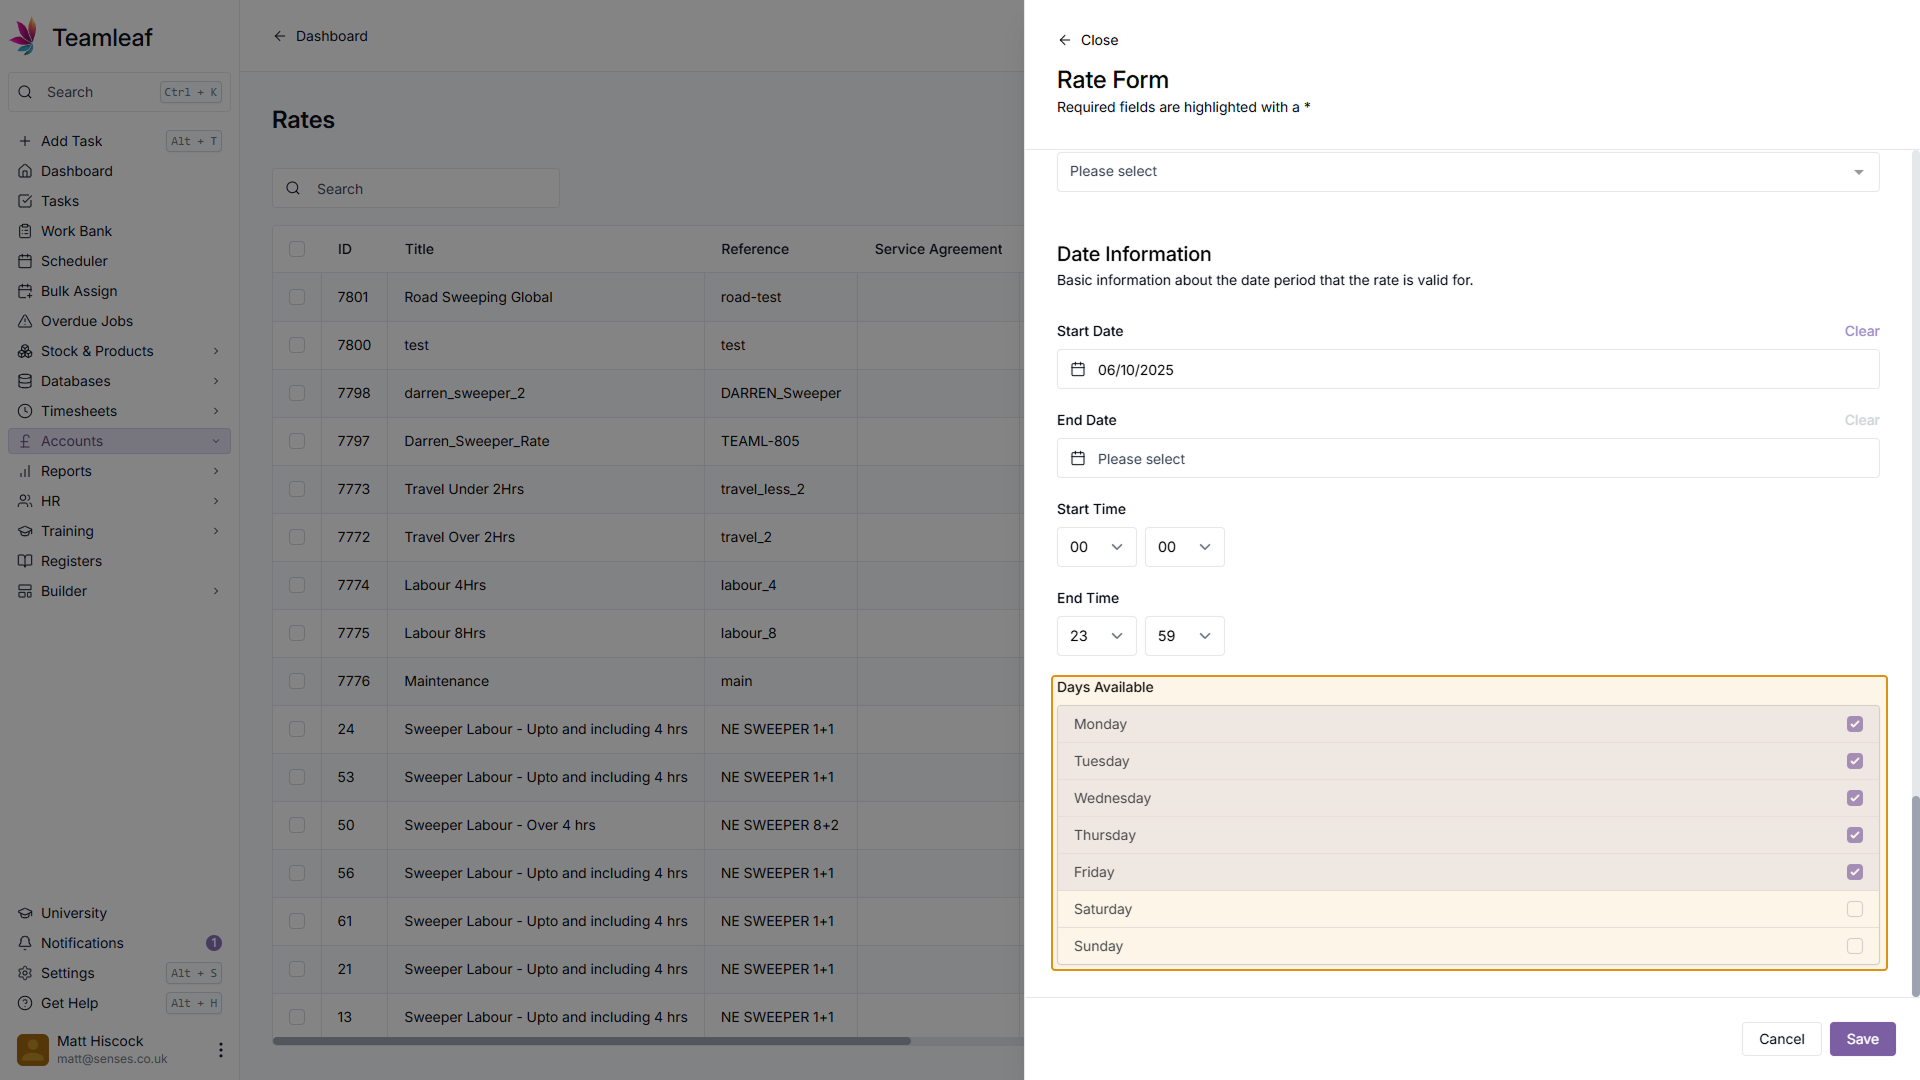
Step 27
(Optional) Select Days
By default, this rate will be available 7 days of the week, if you wish to change the days this rate is available, you can tick and untick days.
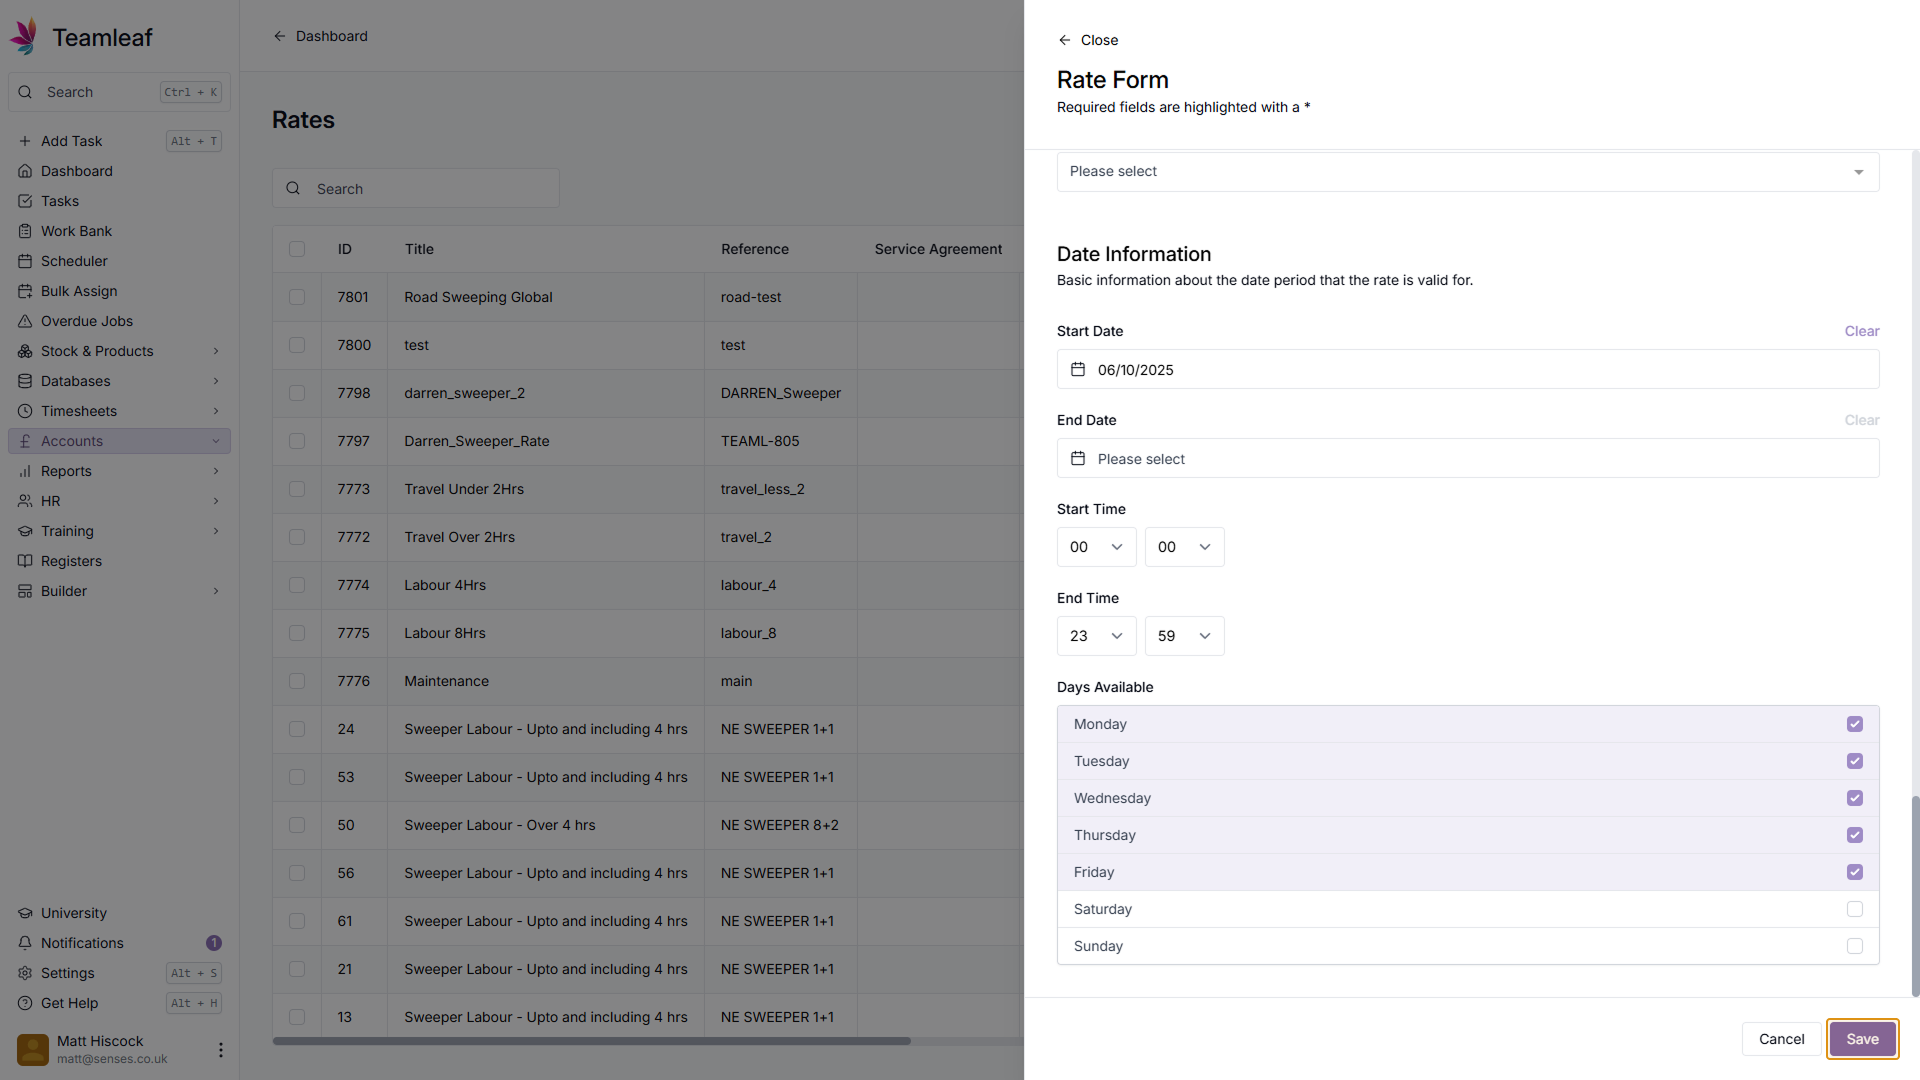
Step 28
Save Rate
Once you're happy with your rate, click the 'Save' button in the bottom right of the form
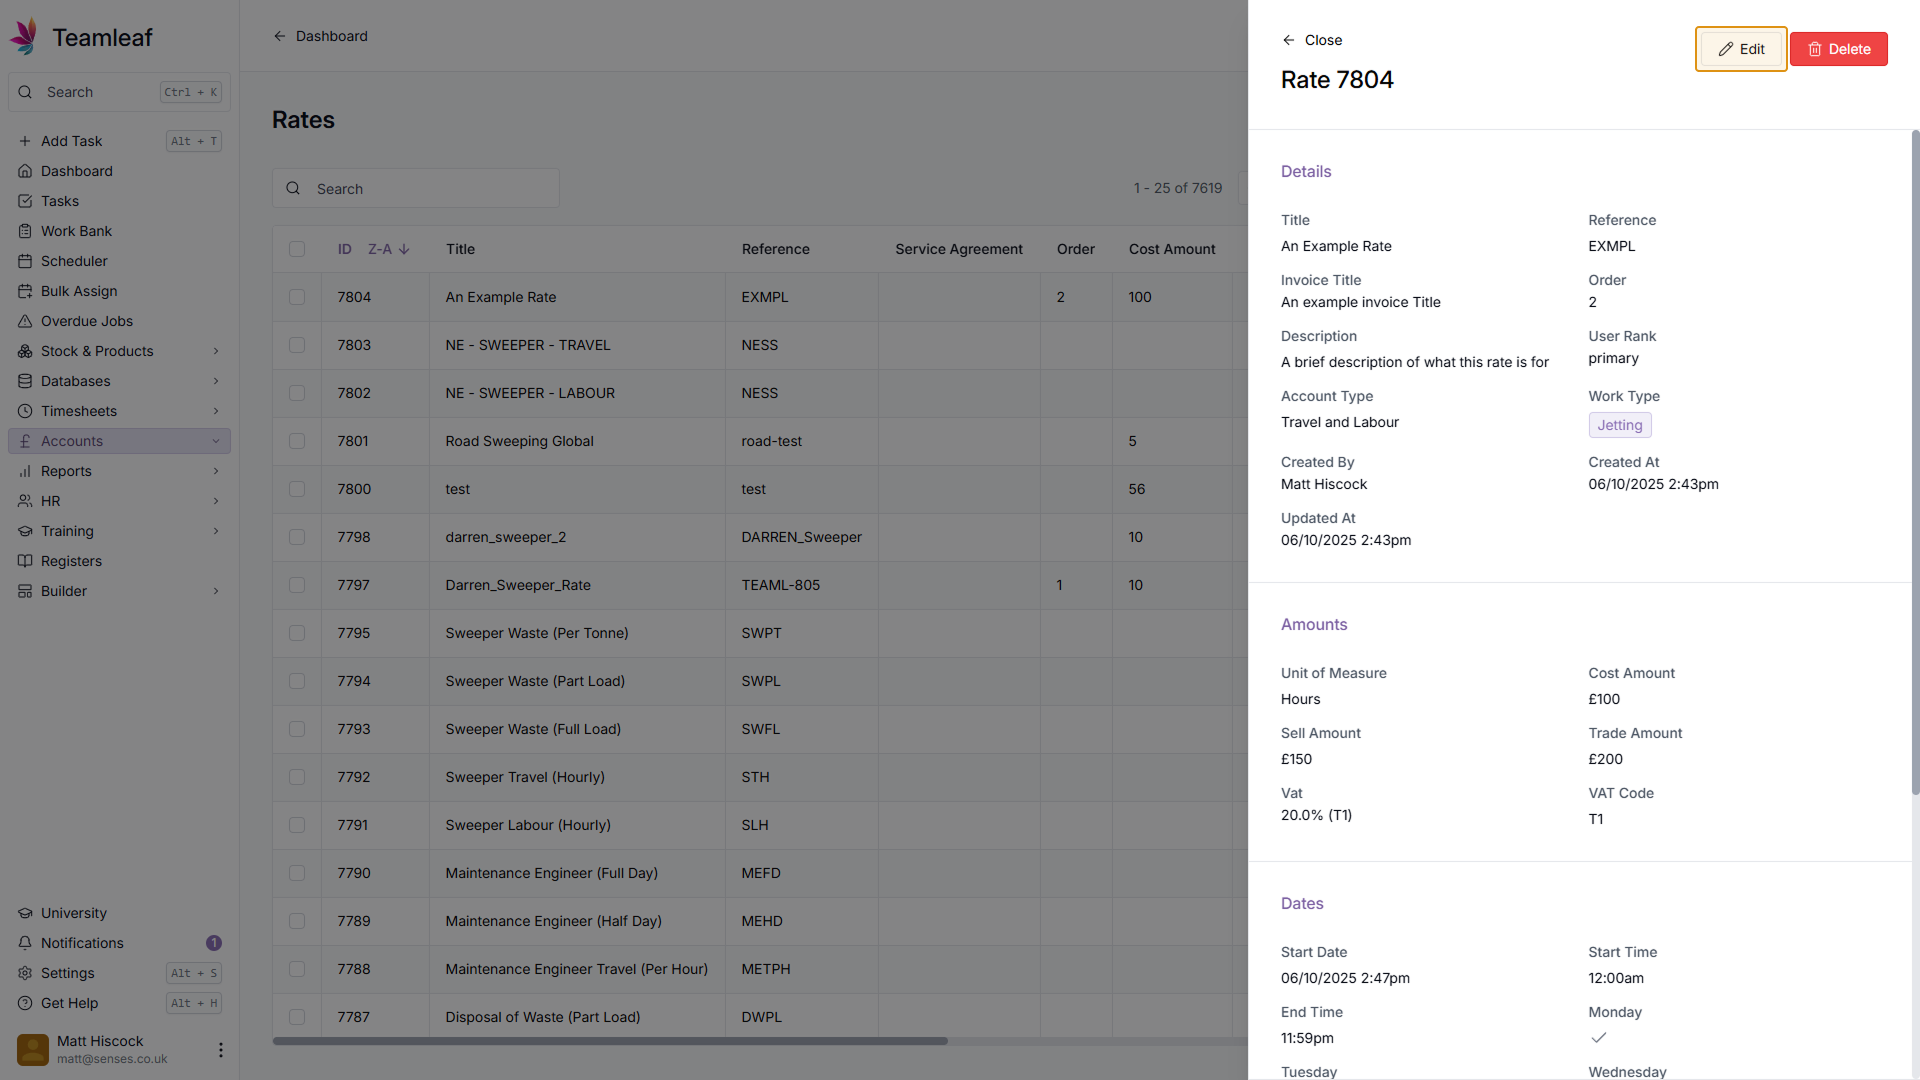
Step 29
Edit Rate
To edit a rate, click the rate you wish to edit in the table. Then, click 'Edit' in the top right, make the changes to the right and click 'Save' in the bottom right of the form.
Related Tutorials
Setup
Adding a Company
Learn how to add a Company to your Teamleaf System
View Tutorials
→
Finance
Invoicing
Adding a Credit Note
Learn how to add a Credit Note to a Task in Teamleaf
View Tutorials
→
Setup
Approving a Company
Understand the Company Approval process in Teamleaf.
View Tutorials
→
Forms
Setup
Creating a Form Structure
Learn how to create new Form Structure, so you can set up what data needs to be collected on Tasks
View Tutorials
→
Finance
Quoting
Creating a Quote
In this tutorial you will learn how to create a basic quote in Teamleaf
View Tutorials
→
Reports
Setup
Creating a Report Layout
Learn how to create a custom Report Layout so you can see your KPIs, your way.
View Tutorials
→
Finance
Invoicing
Creating an Invoice
Learn how to create an invoice in Teamleaf, made simple using information you've already added to the Task
View Tutorials
→
Scheduler
Setup
Customising the Scheduler
In this tutorial you will learn how to customise the scheduler to suit your workflow, allowing you to select your layout and create templates
View Tutorials
→
Setup
Tasks
Customising the Task Table
In this tutorial you will learn how to alter your Task Table settings
View Tutorials
→
Scheduler
Setup
Setting up the Scheduler
In this tutorial you will learn how to set up the Scheduler. You will learn how to filter and add the Users and Assets you want to see, and how you can see those crews easily on the scheduler
View Tutorials
→