Creating a Report Layout
Learn how to create a custom Report Layout so you can see your KPIs, your way.
Step-by-Step Guide
Reports
Setup
Step 1
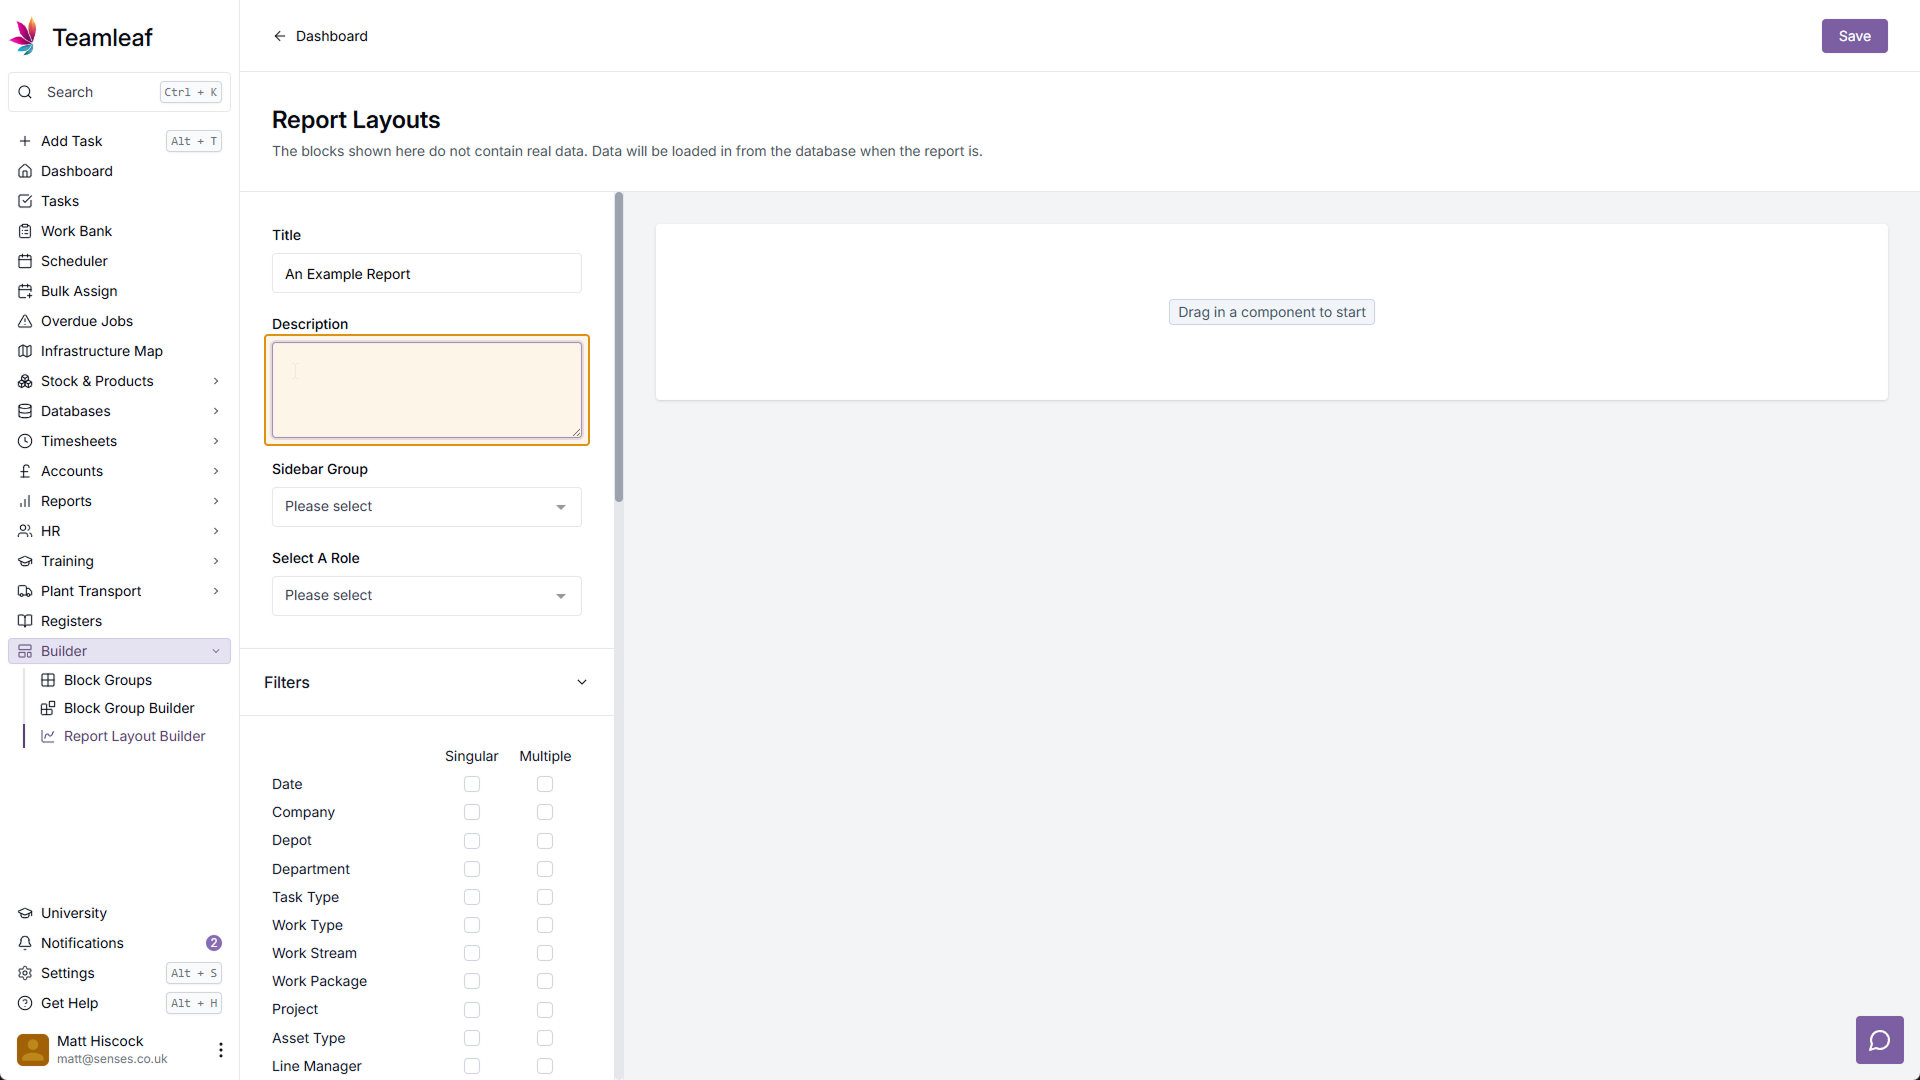
Go to the Report Layout Builder
To start, click 'Builder' in the left sidebar, then go to 'Report Layout Builder'


Step 2
Add Layout Title
Next, you will be taken to the Report Layout Builder. Give your Layout a name in the 'Title' field

Step 3
Add a Description
Next, if you wish, give your Report Layout a brief description.
Step 4
Select Sidebar Group
Next, select a Sidebar Group for this report to be added to. This will decide where is shows up in the left Sidebar once you've created the report.

Step 5
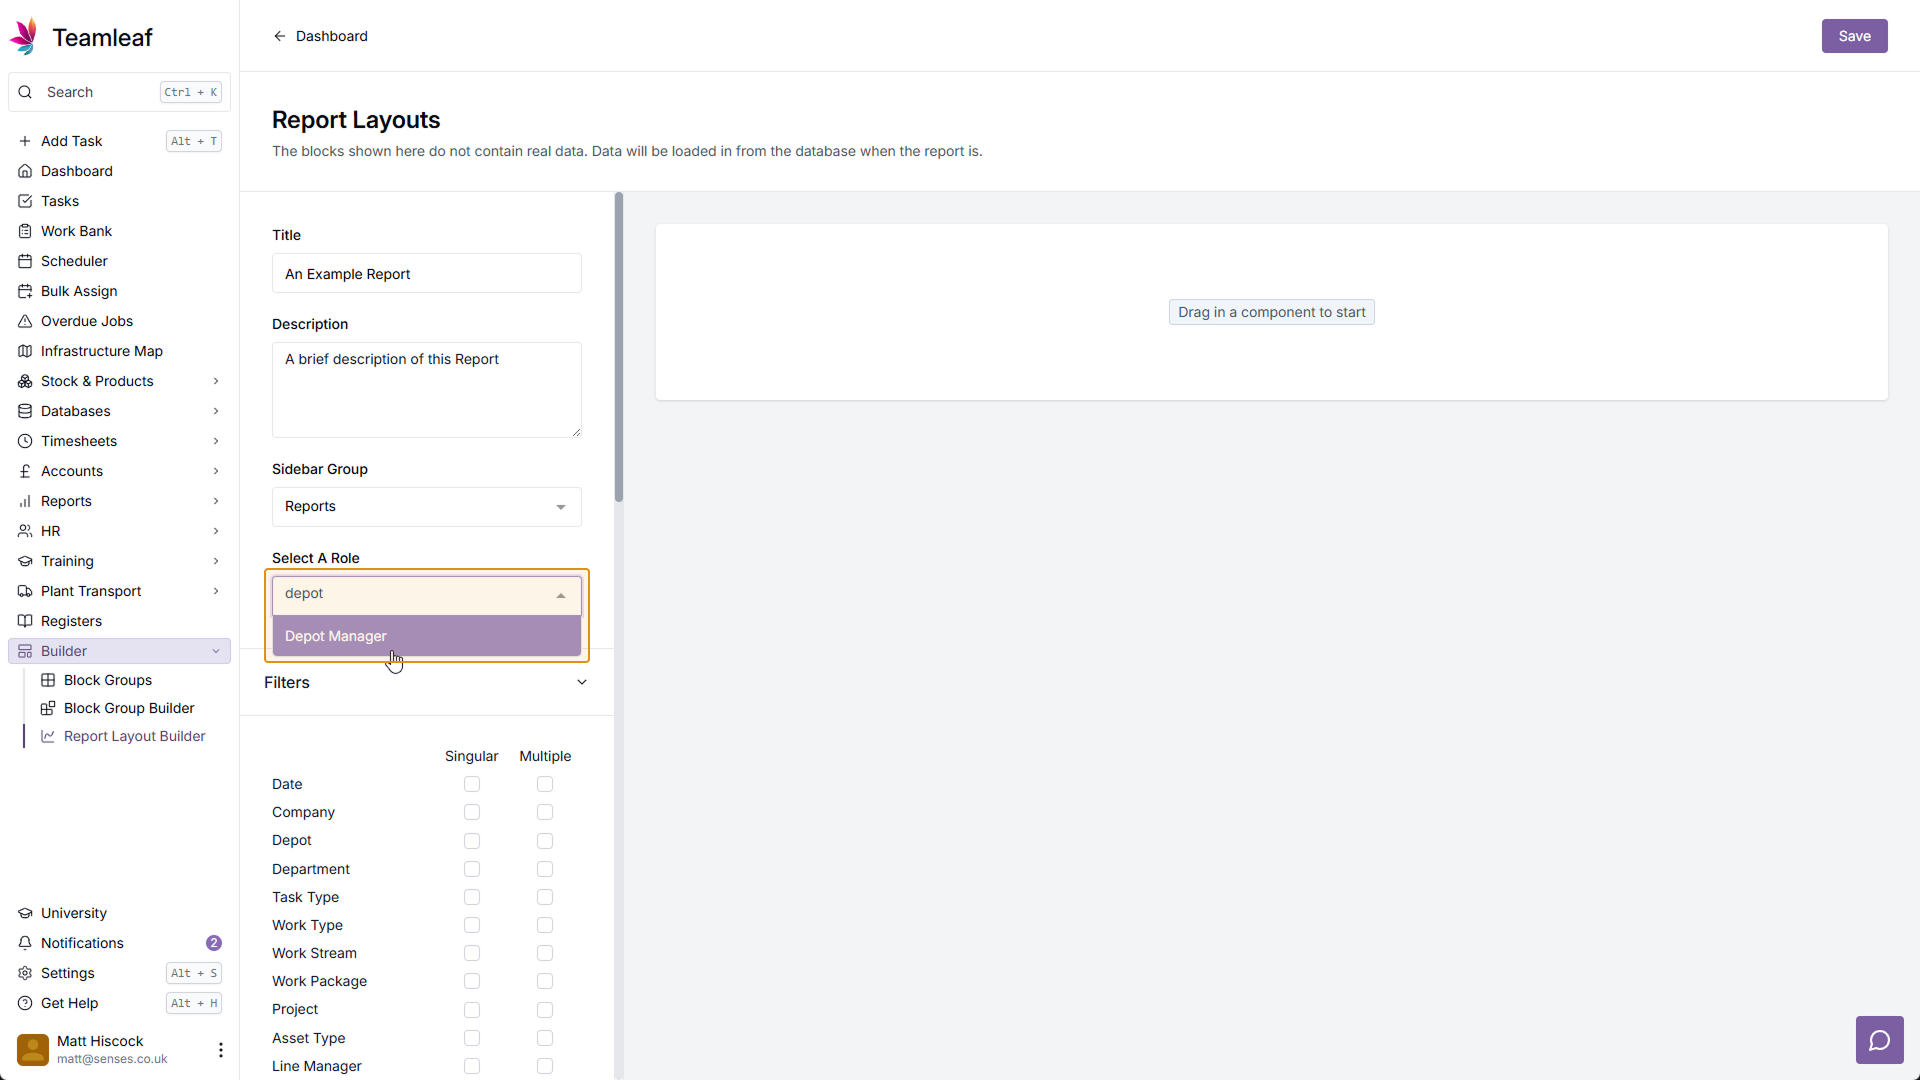
Select a Role
Next, select which role can access and use this report.
Step 6
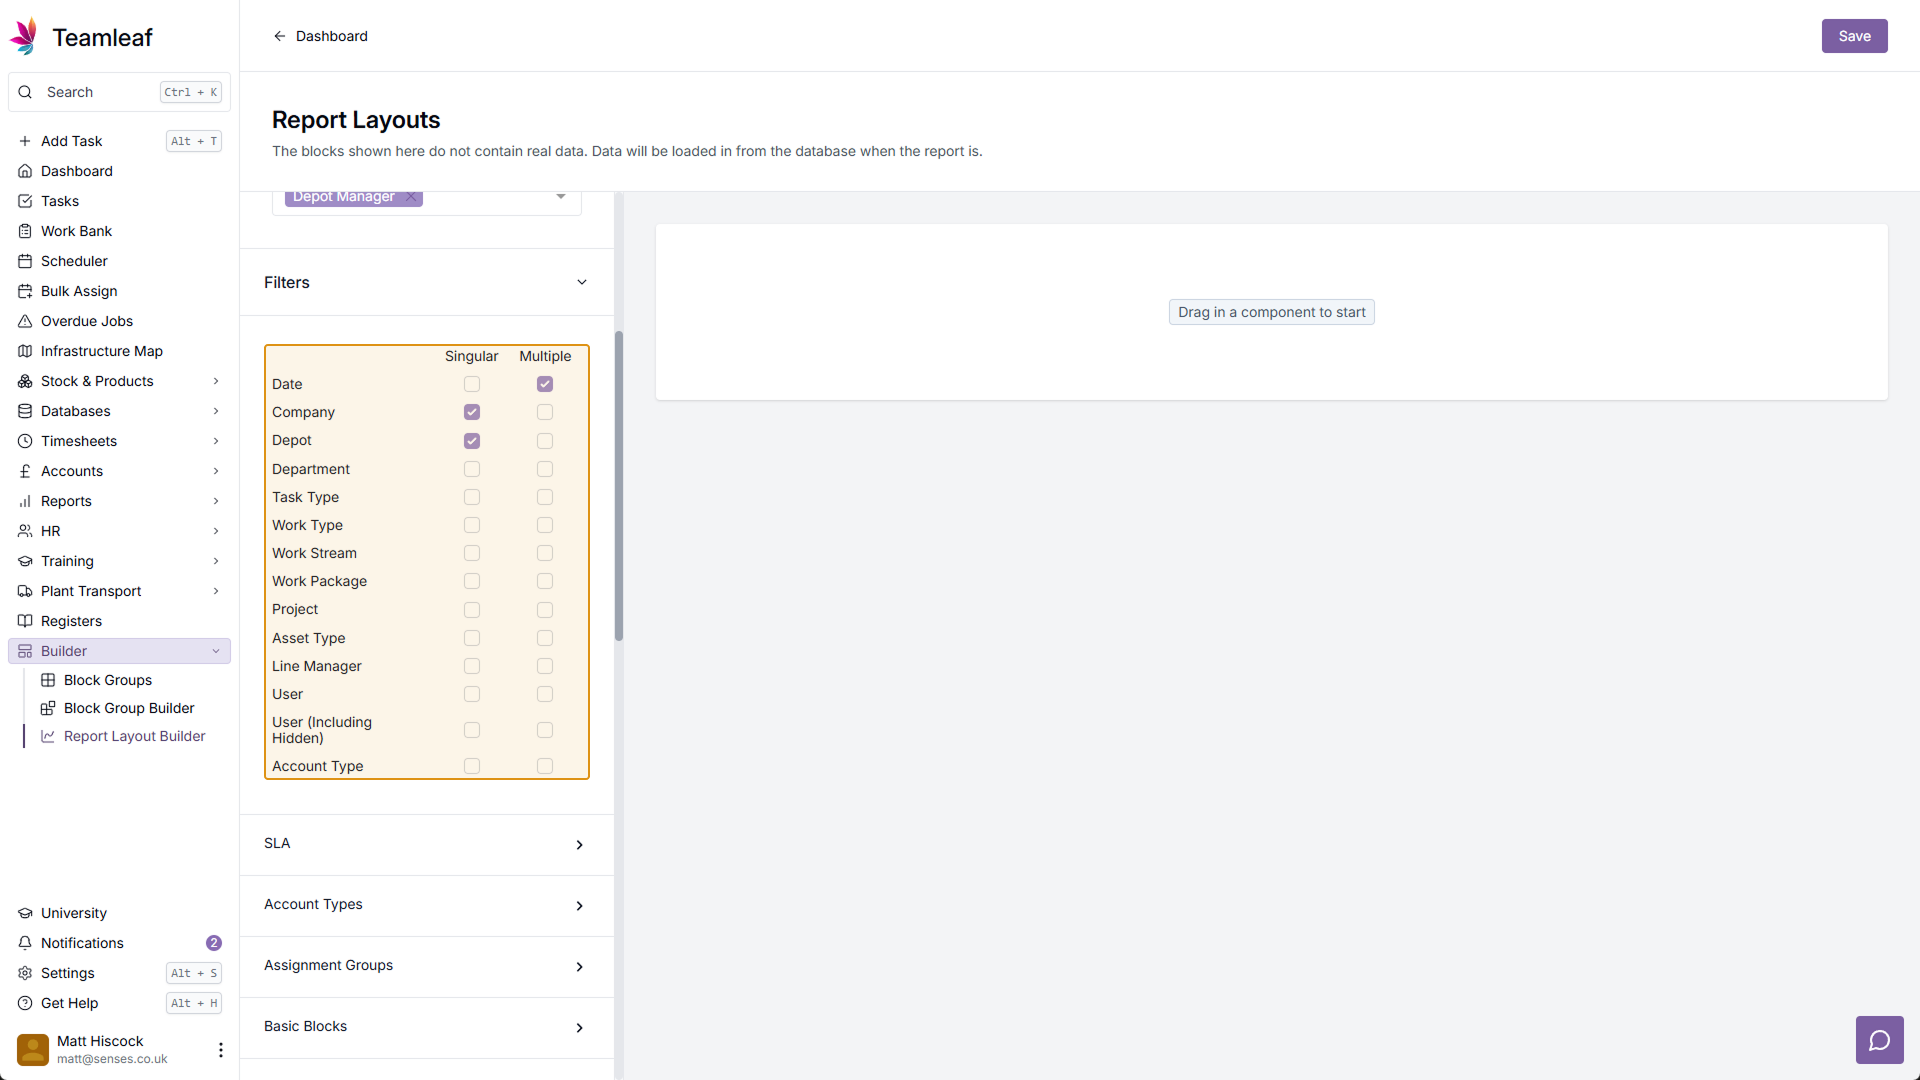
Select Report Filters
Next, you can select report filters for this report to be filtered by. Certain blocks require certain filters to be enabled, but if any filters are missing you will be prompted to add them before the report is created.
Step 7
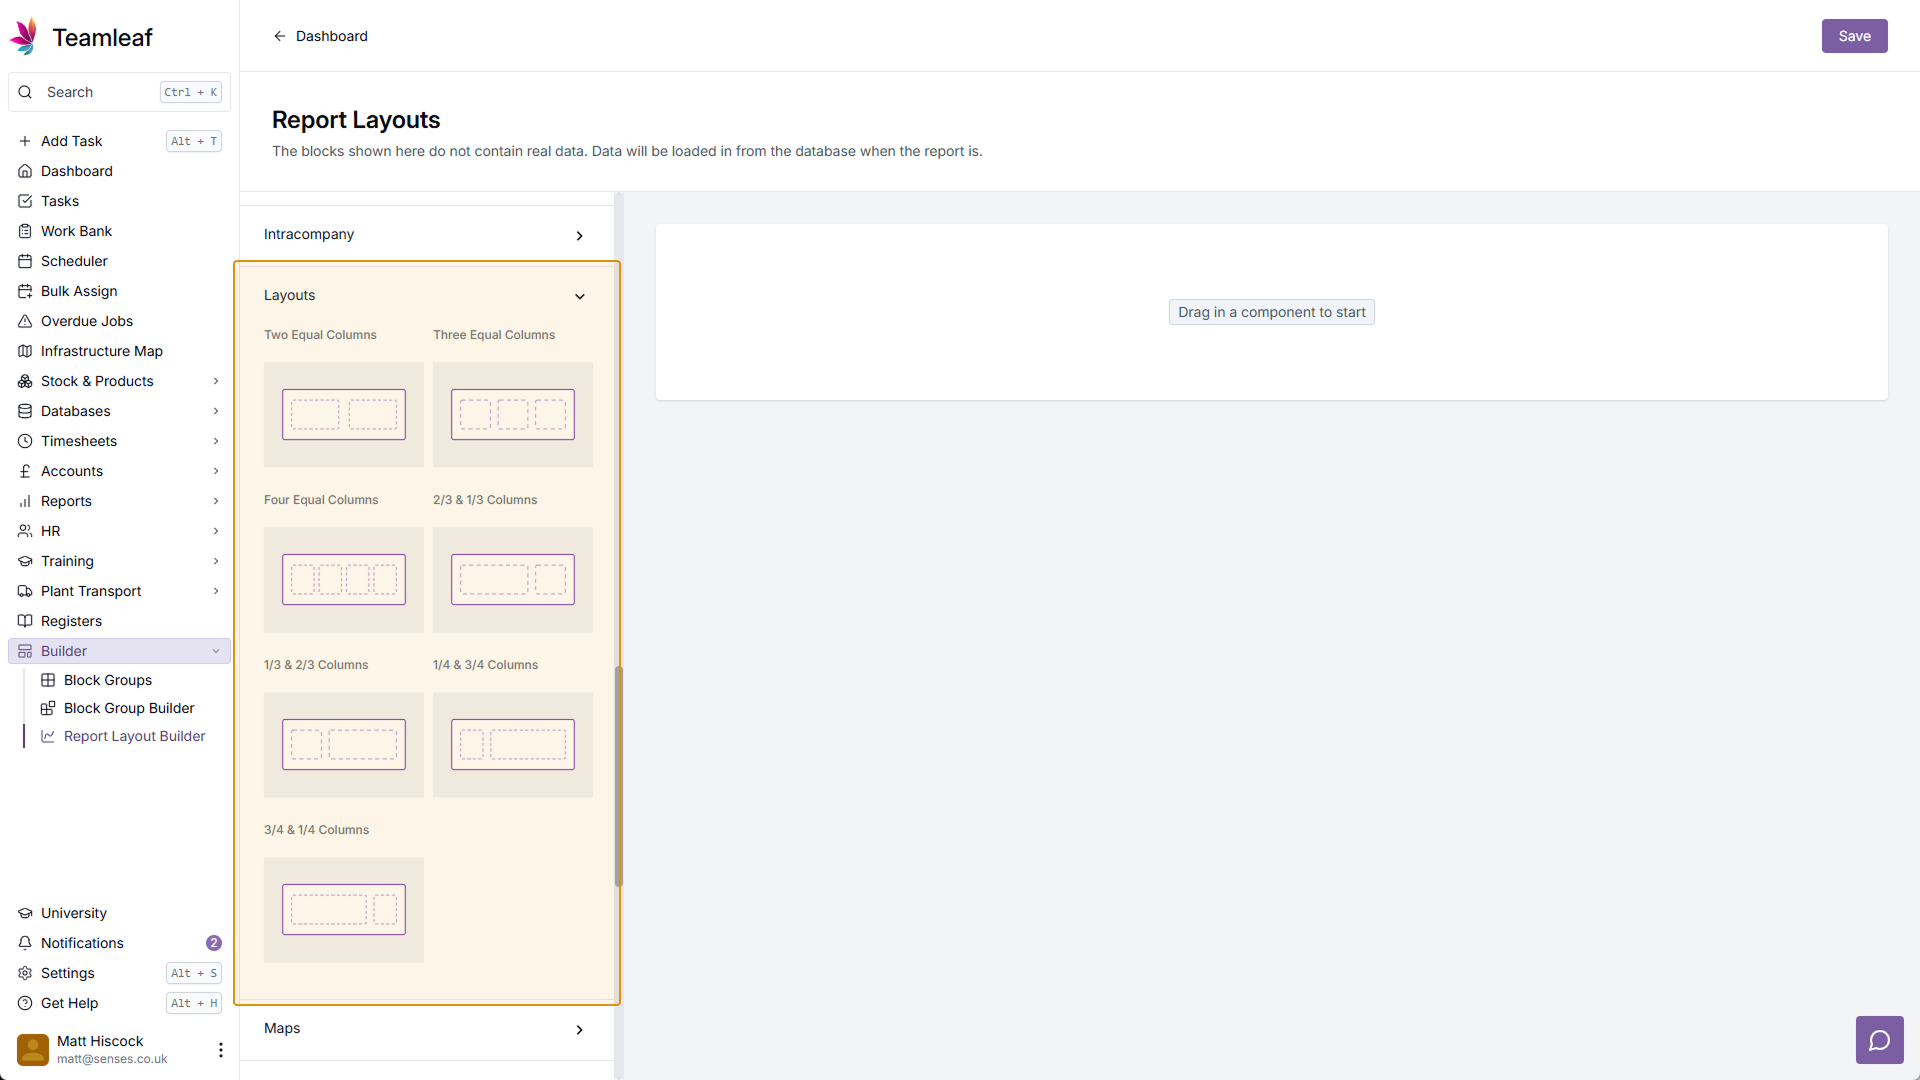
Adding Blocks: Layout Blocks
Next, you can start adding blocks to your Report Layout, which are separated into different categories. The Layouts category can be used to divide your report, allowing you to position items alongside each other (instead of just on top of each other)
Step 8
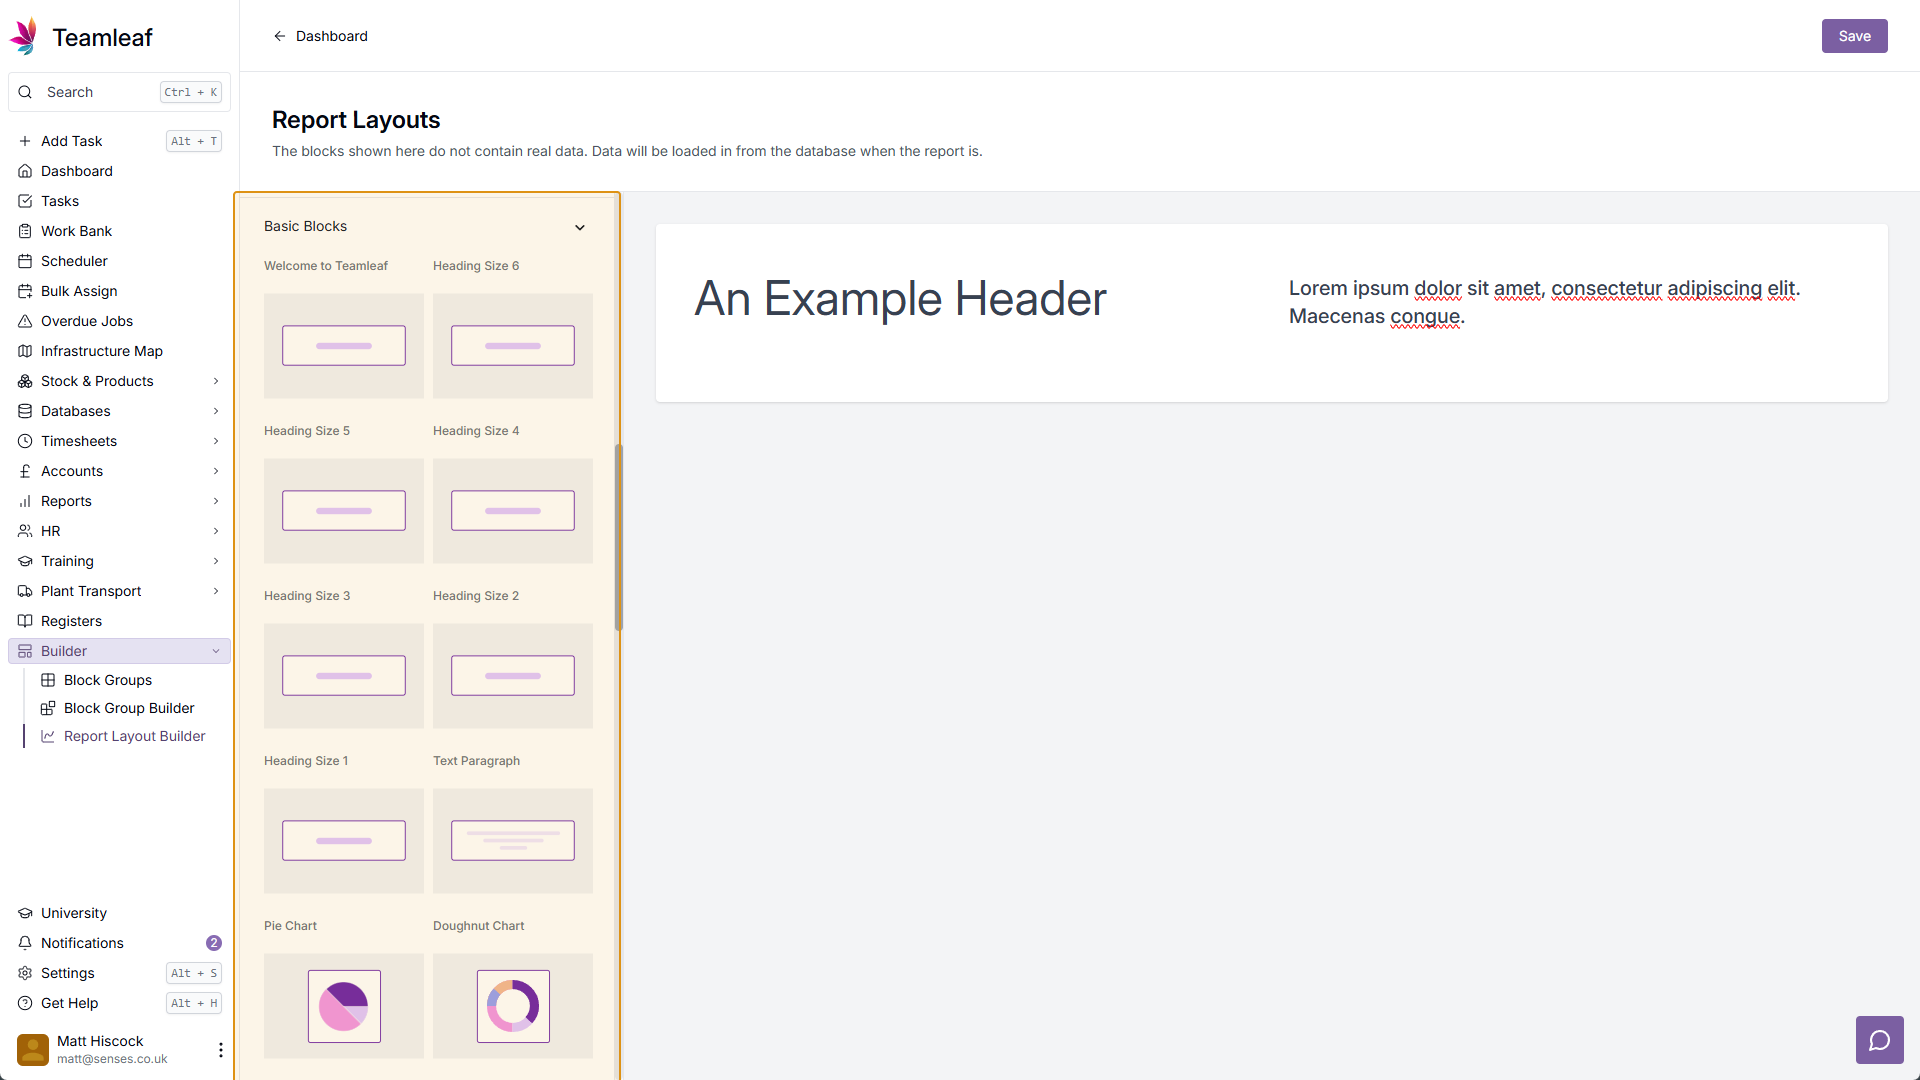
Adding Blocks: Basic Blocks
Another crucial category is the Basic Blocks category, where you can find simple headings & charts.
Step 9
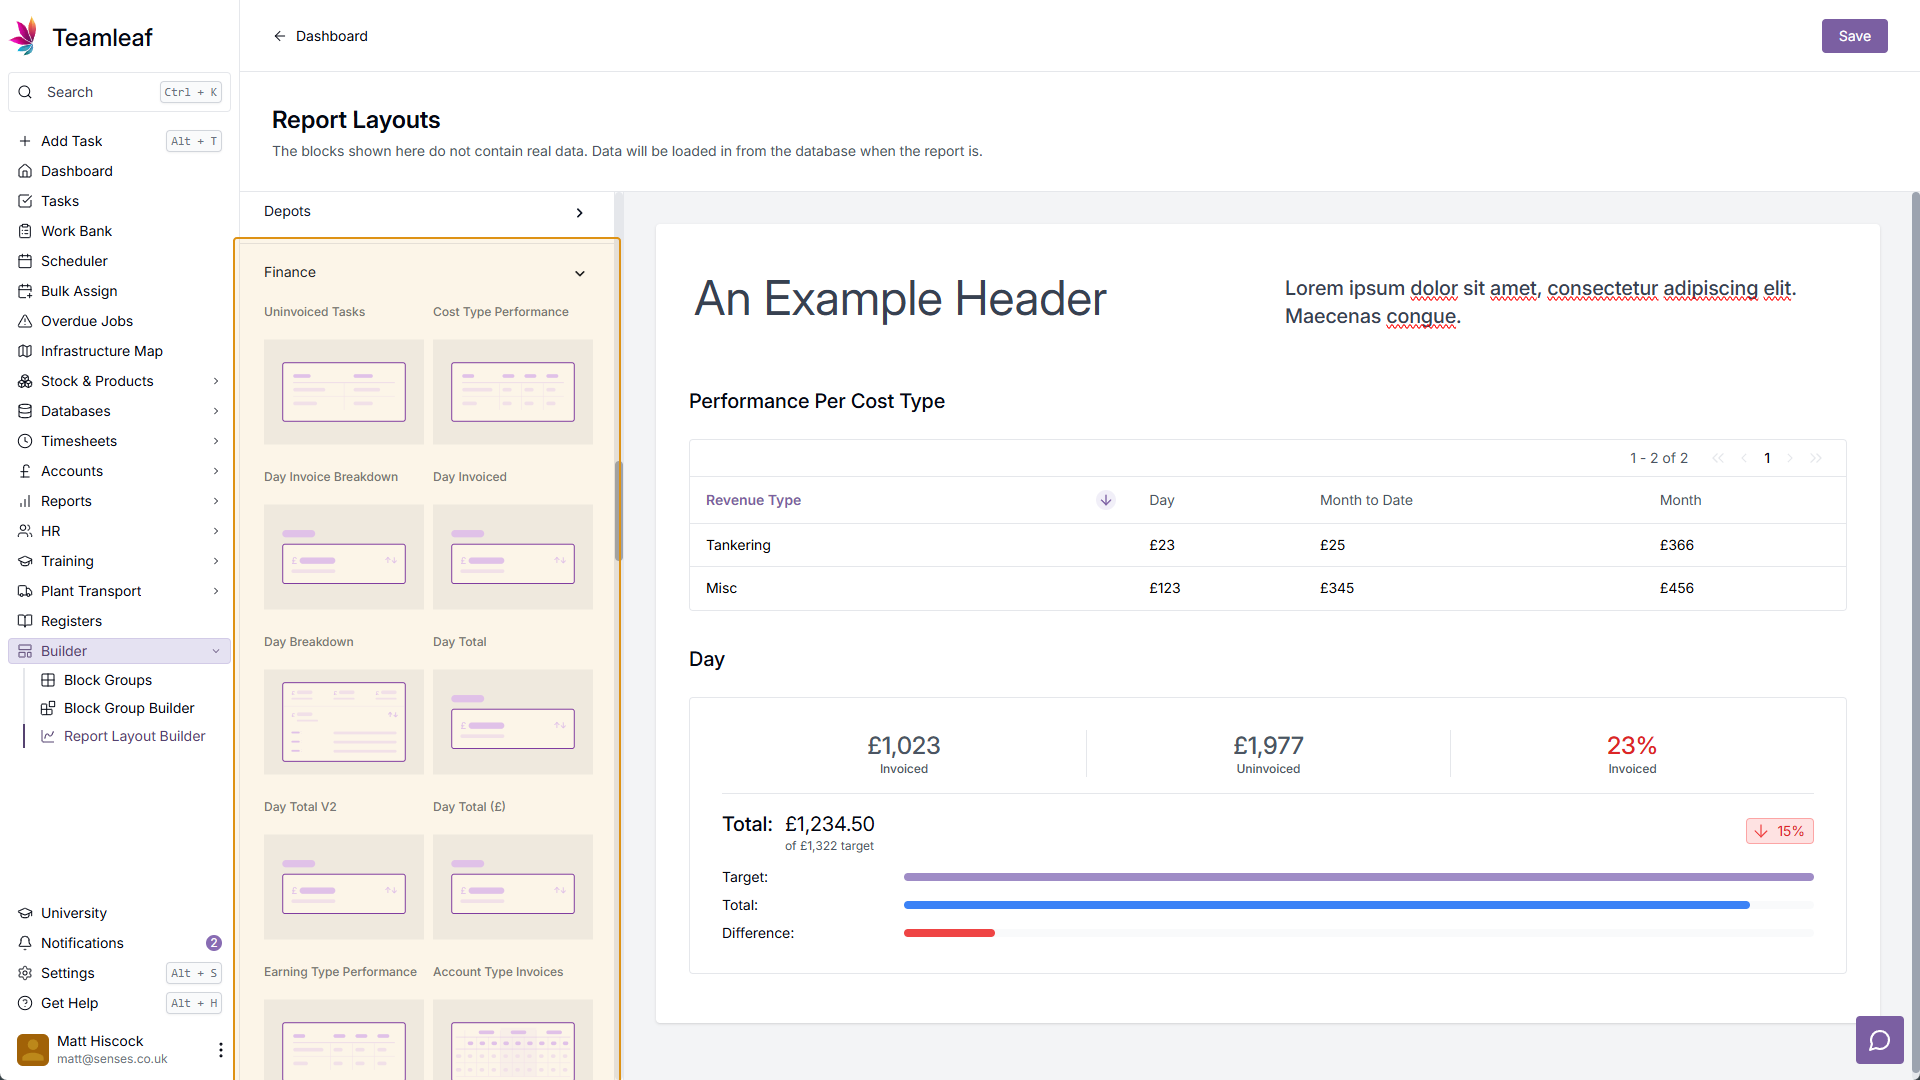
Adding Blocks: All others
All the other categories are grouped based on different parts of the system, for example the Finance category. The groups you can add blocks from here are: SLA, Account Types, Assignment Groups, Charts, Dashboard, Depots, Finance, HR, Intracompany, Maps, Planners, Plant Transport, Products, Projects, Reports, Surveys, Tables, Task Requirements, Tasks, Totals, Venues, Work Packages, and Work Streams.
Step 10
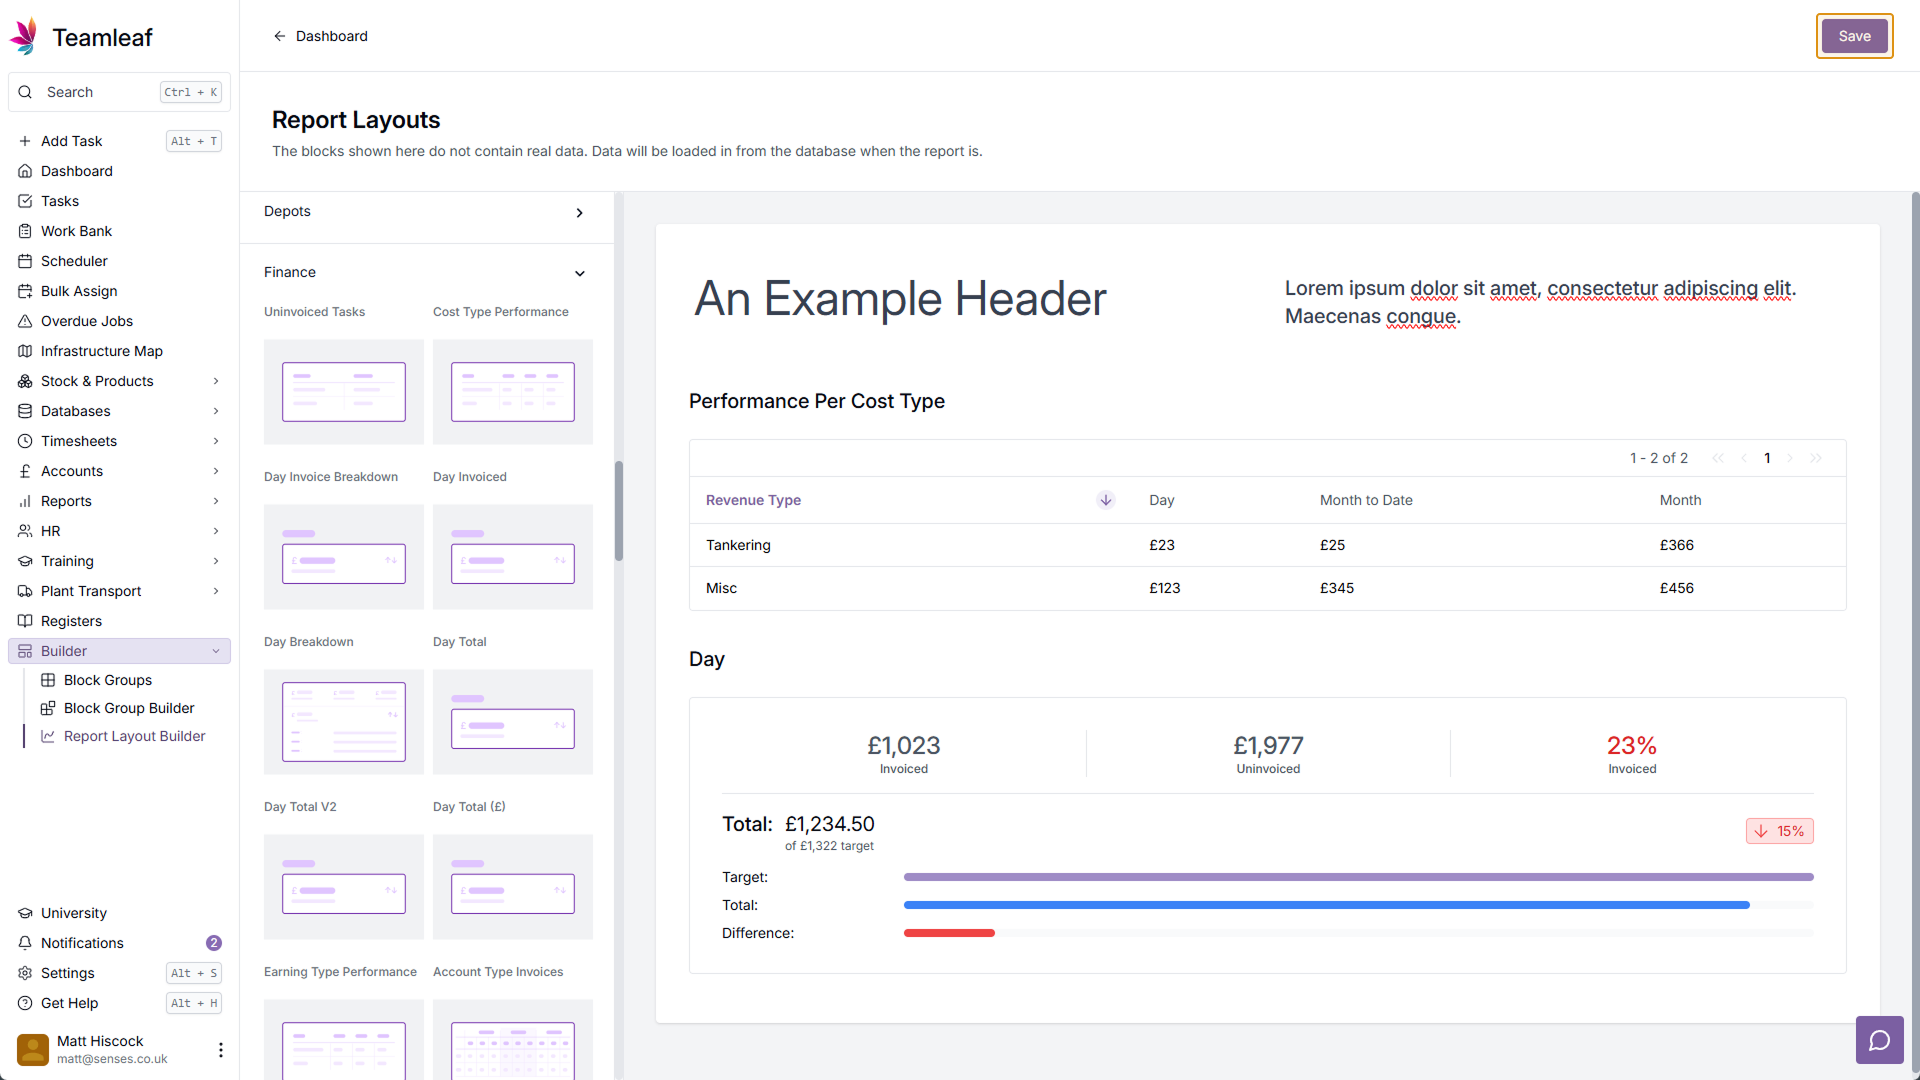
Click Save
Once you've created and are happy with your Report Layout, click 'Save' in the top right.
Step 11
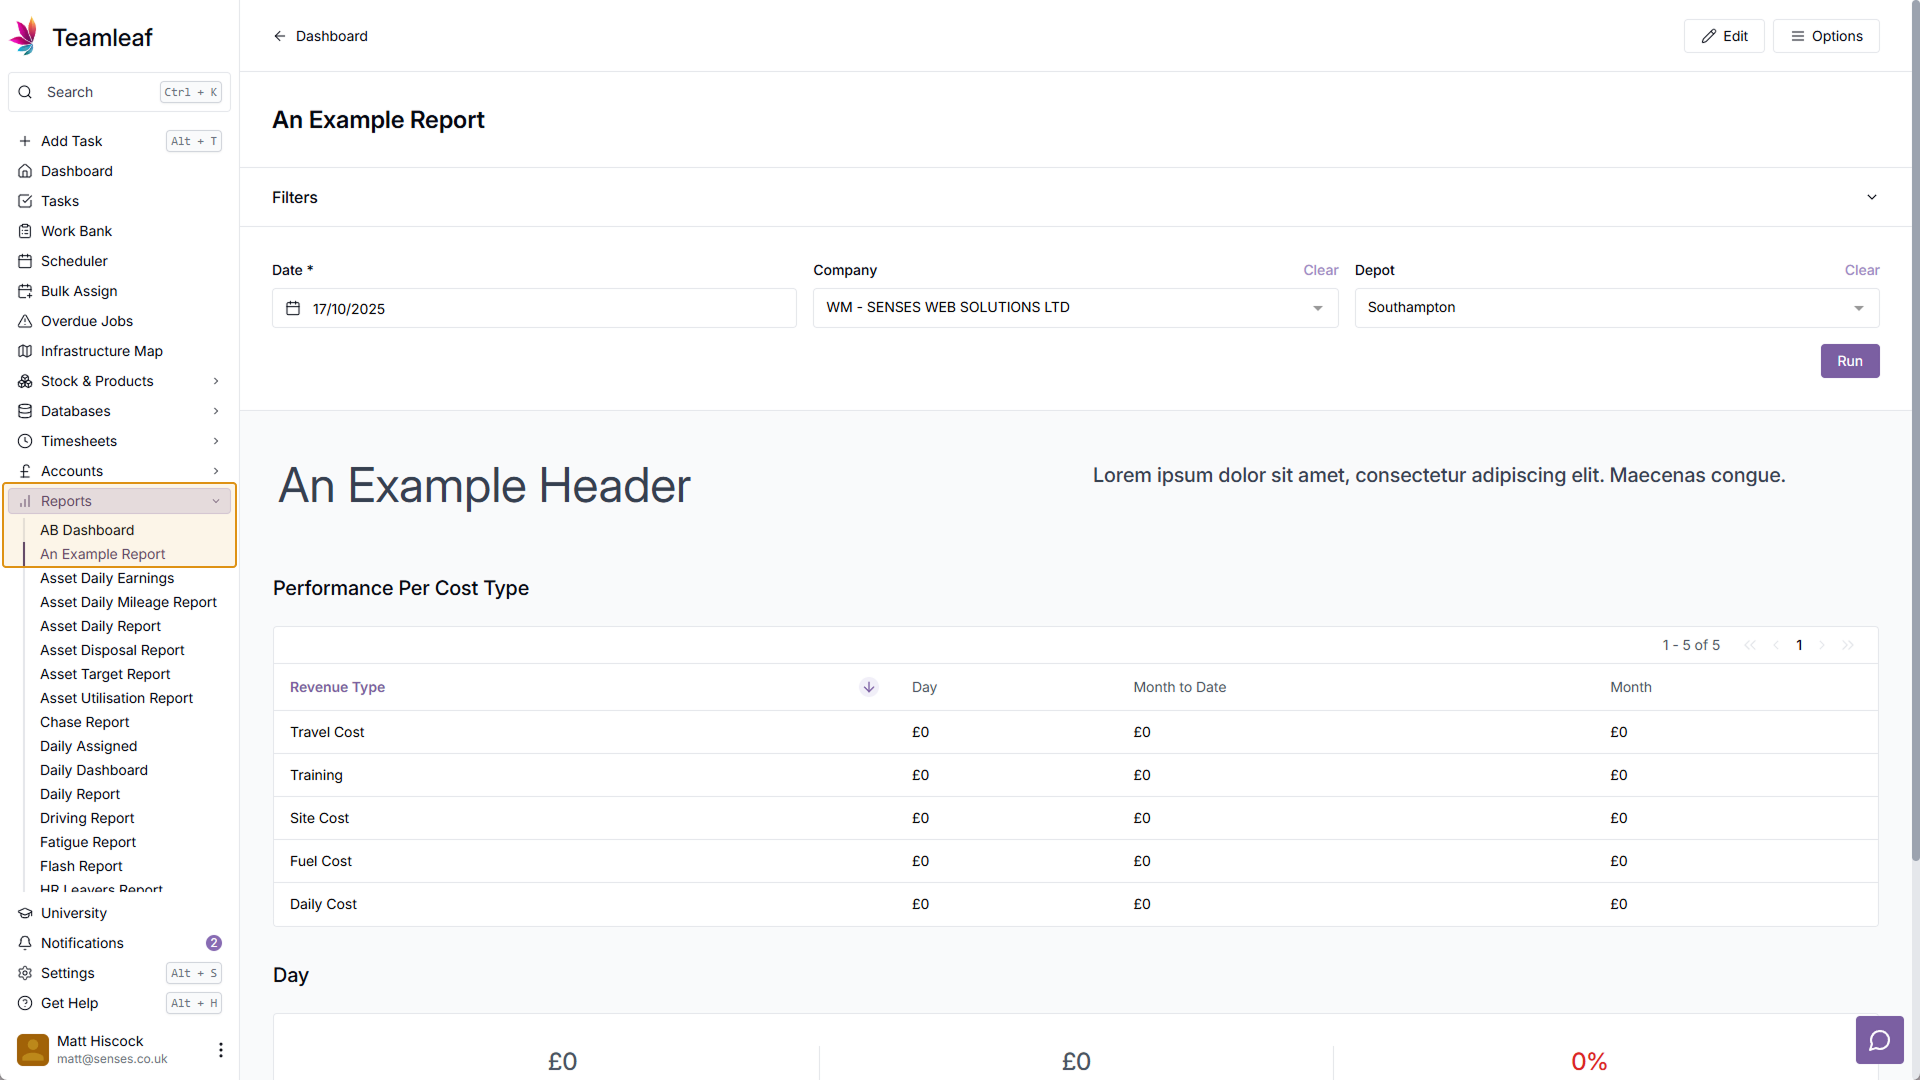
Report Layout Created
You will now be able to access your new Report Layout, there will be a clickable link to it in the Sidebar Group option you selected when created the report.
Related Tutorials
Setup
Adding a Company
Learn how to add a Company to your Teamleaf System
View Tutorials
→
Finance
Setup
Adding and Updating Rates
In this tutorial you will learn how to add new rates, and update existing rates.
View Tutorials
→
Setup
Approving a Company
Understand the Company Approval process in Teamleaf.
View Tutorials
→
Forms
Setup
Creating a Form Structure
Learn how to create new Form Structure, so you can set up what data needs to be collected on Tasks
View Tutorials
→
Scheduler
Setup
Customising the Scheduler
In this tutorial you will learn how to customise the scheduler to suit your workflow, allowing you to select your layout and create templates
View Tutorials
→
Setup
Tasks
Customising the Task Table
In this tutorial you will learn how to alter your Task Table settings
View Tutorials
→
Scheduler
Setup
Setting up the Scheduler
In this tutorial you will learn how to set up the Scheduler. You will learn how to filter and add the Users and Assets you want to see, and how you can see those crews easily on the scheduler
View Tutorials
→