Step-by-Step Guide
Setup
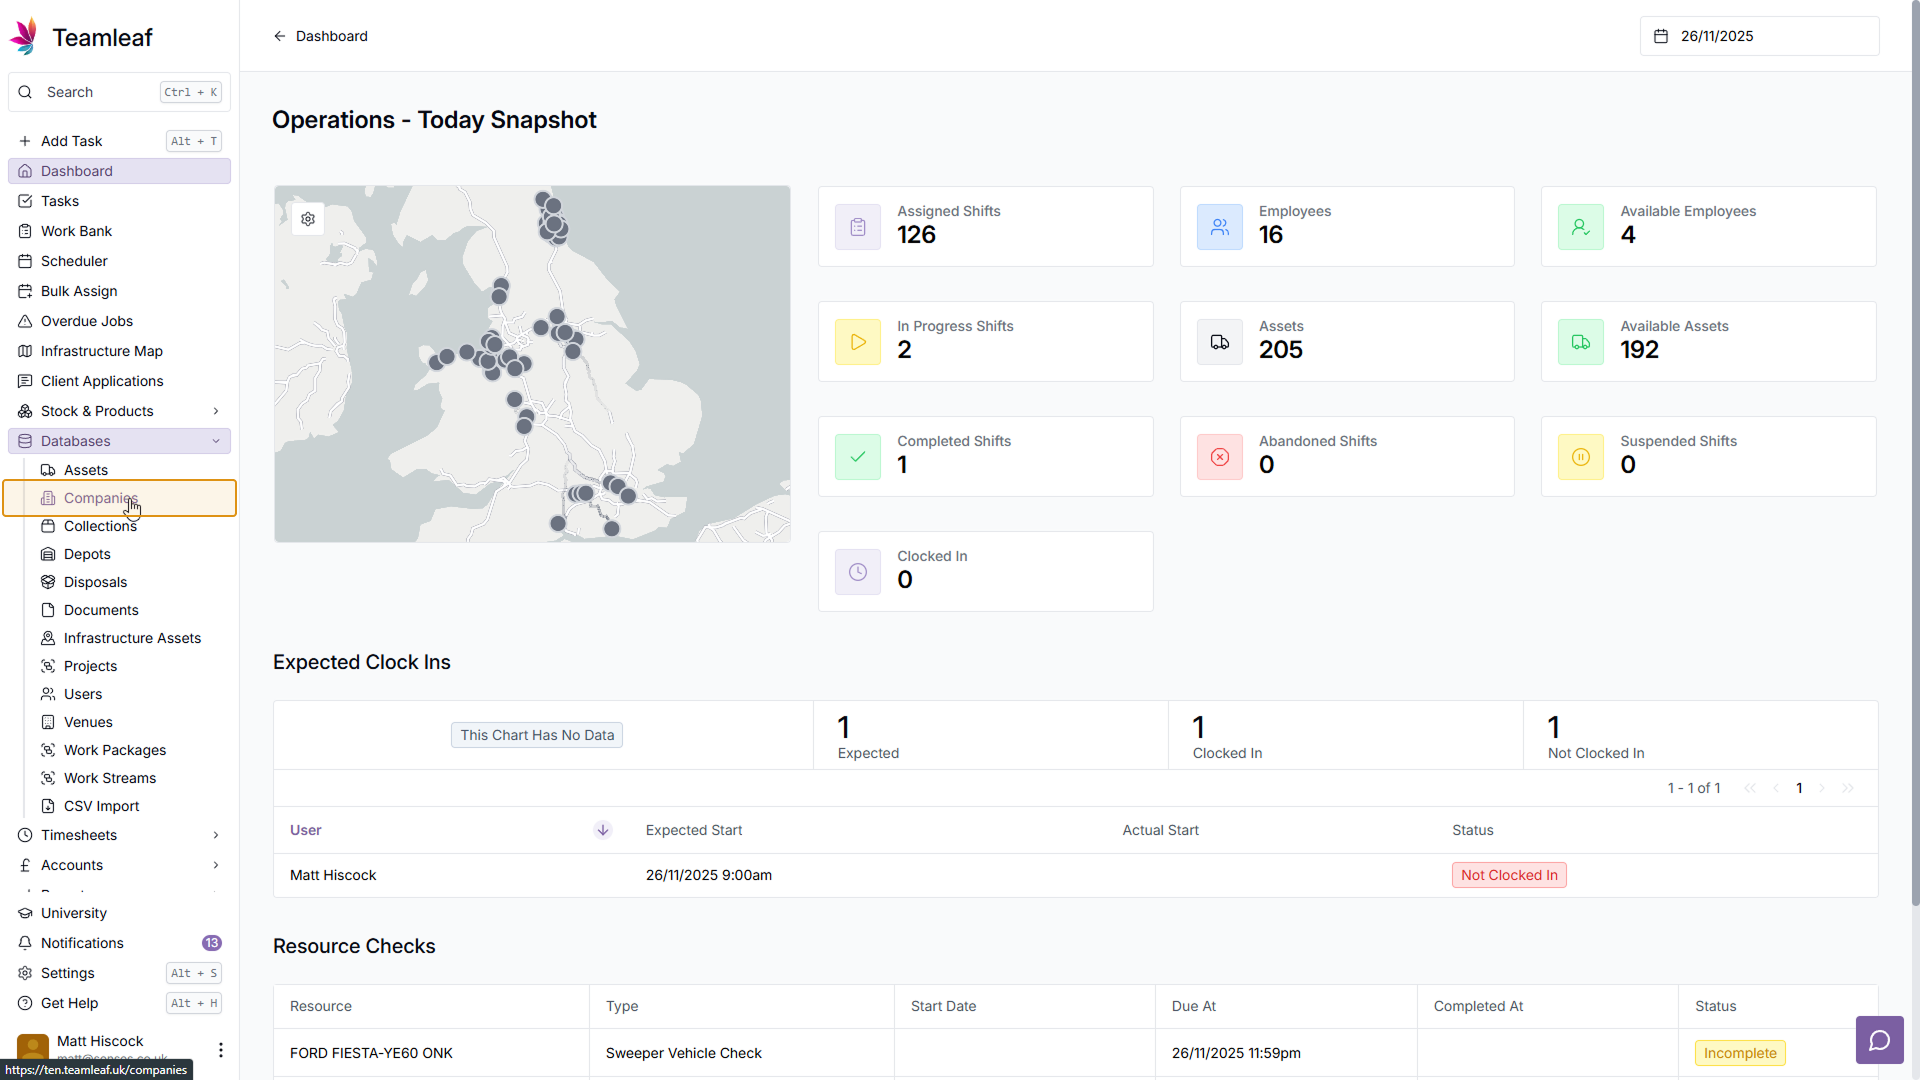
Step 1
Go to Companies Page
To start, go to the Companies page by click 'Databases' on the left sidebar, then going to 'Companies'
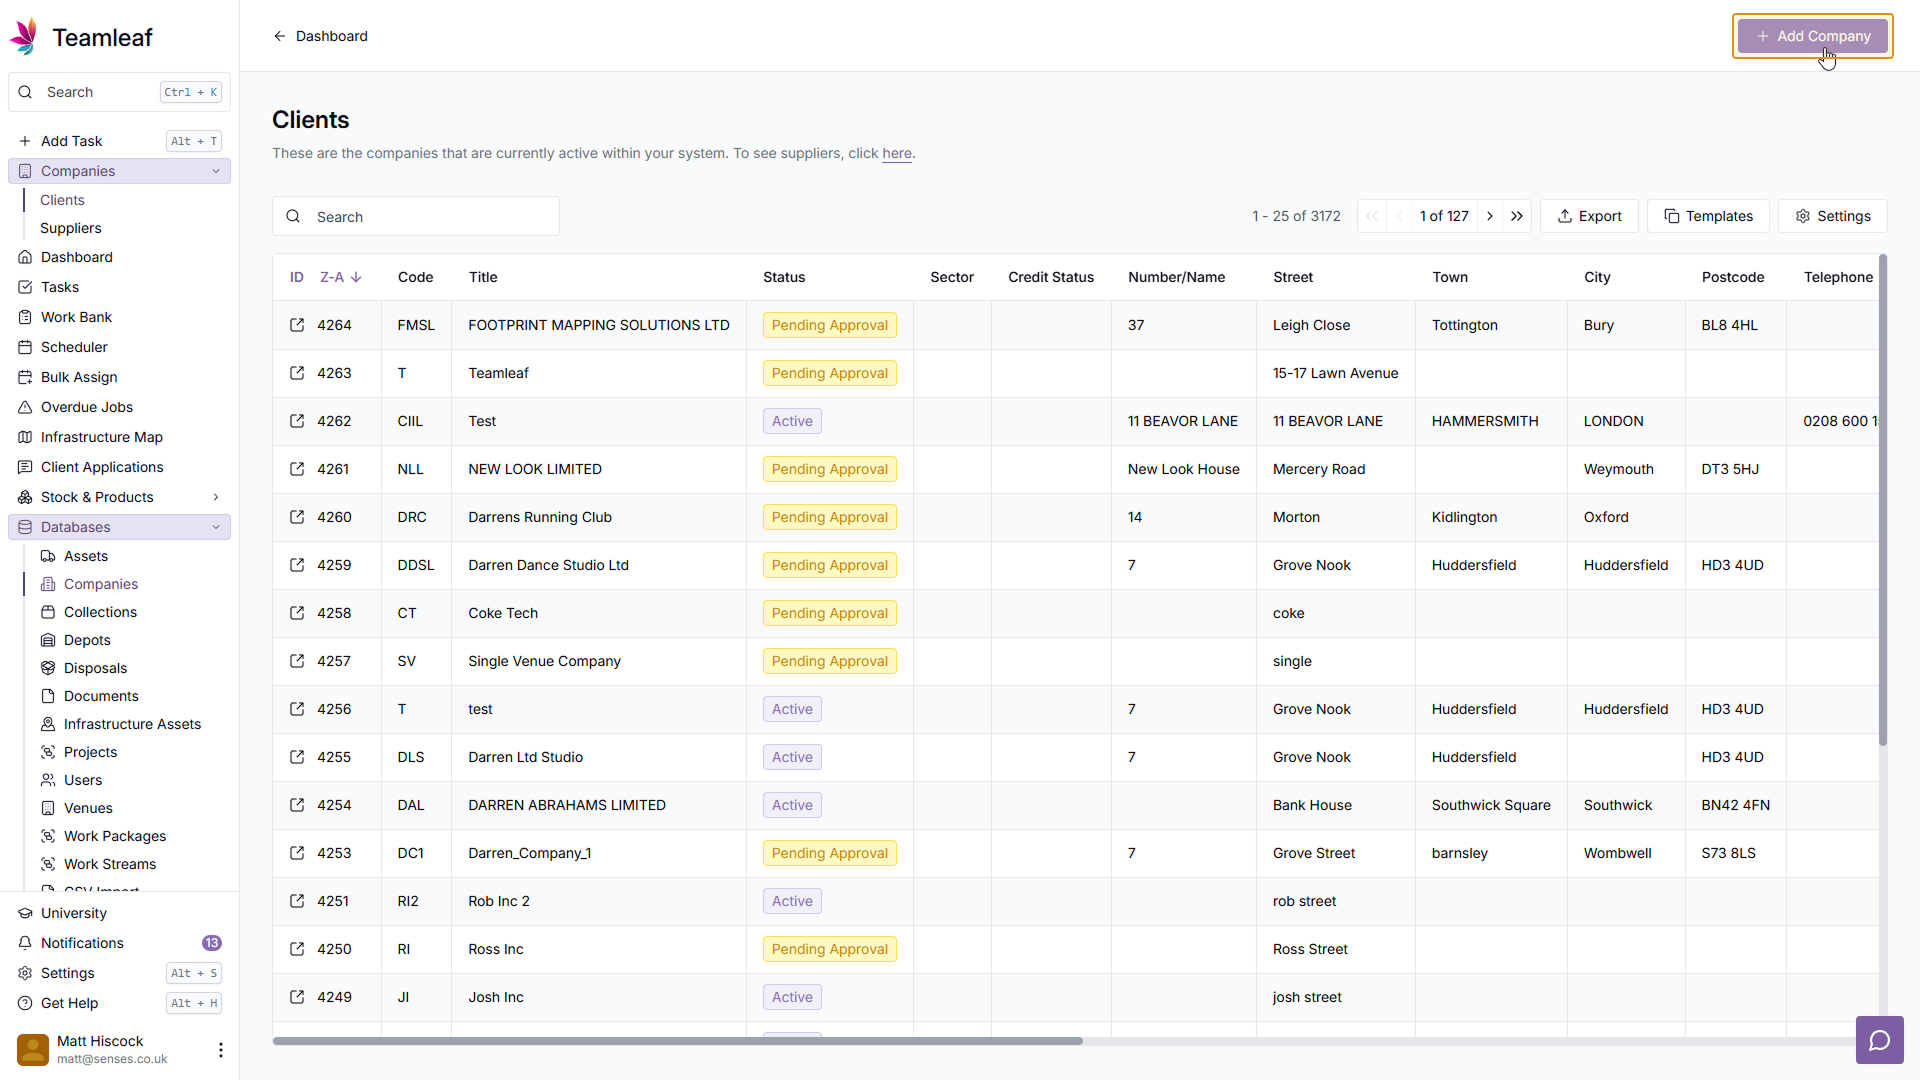
Step 2
Click 'Add Company'
In the top right of the page, click 'Add Company'
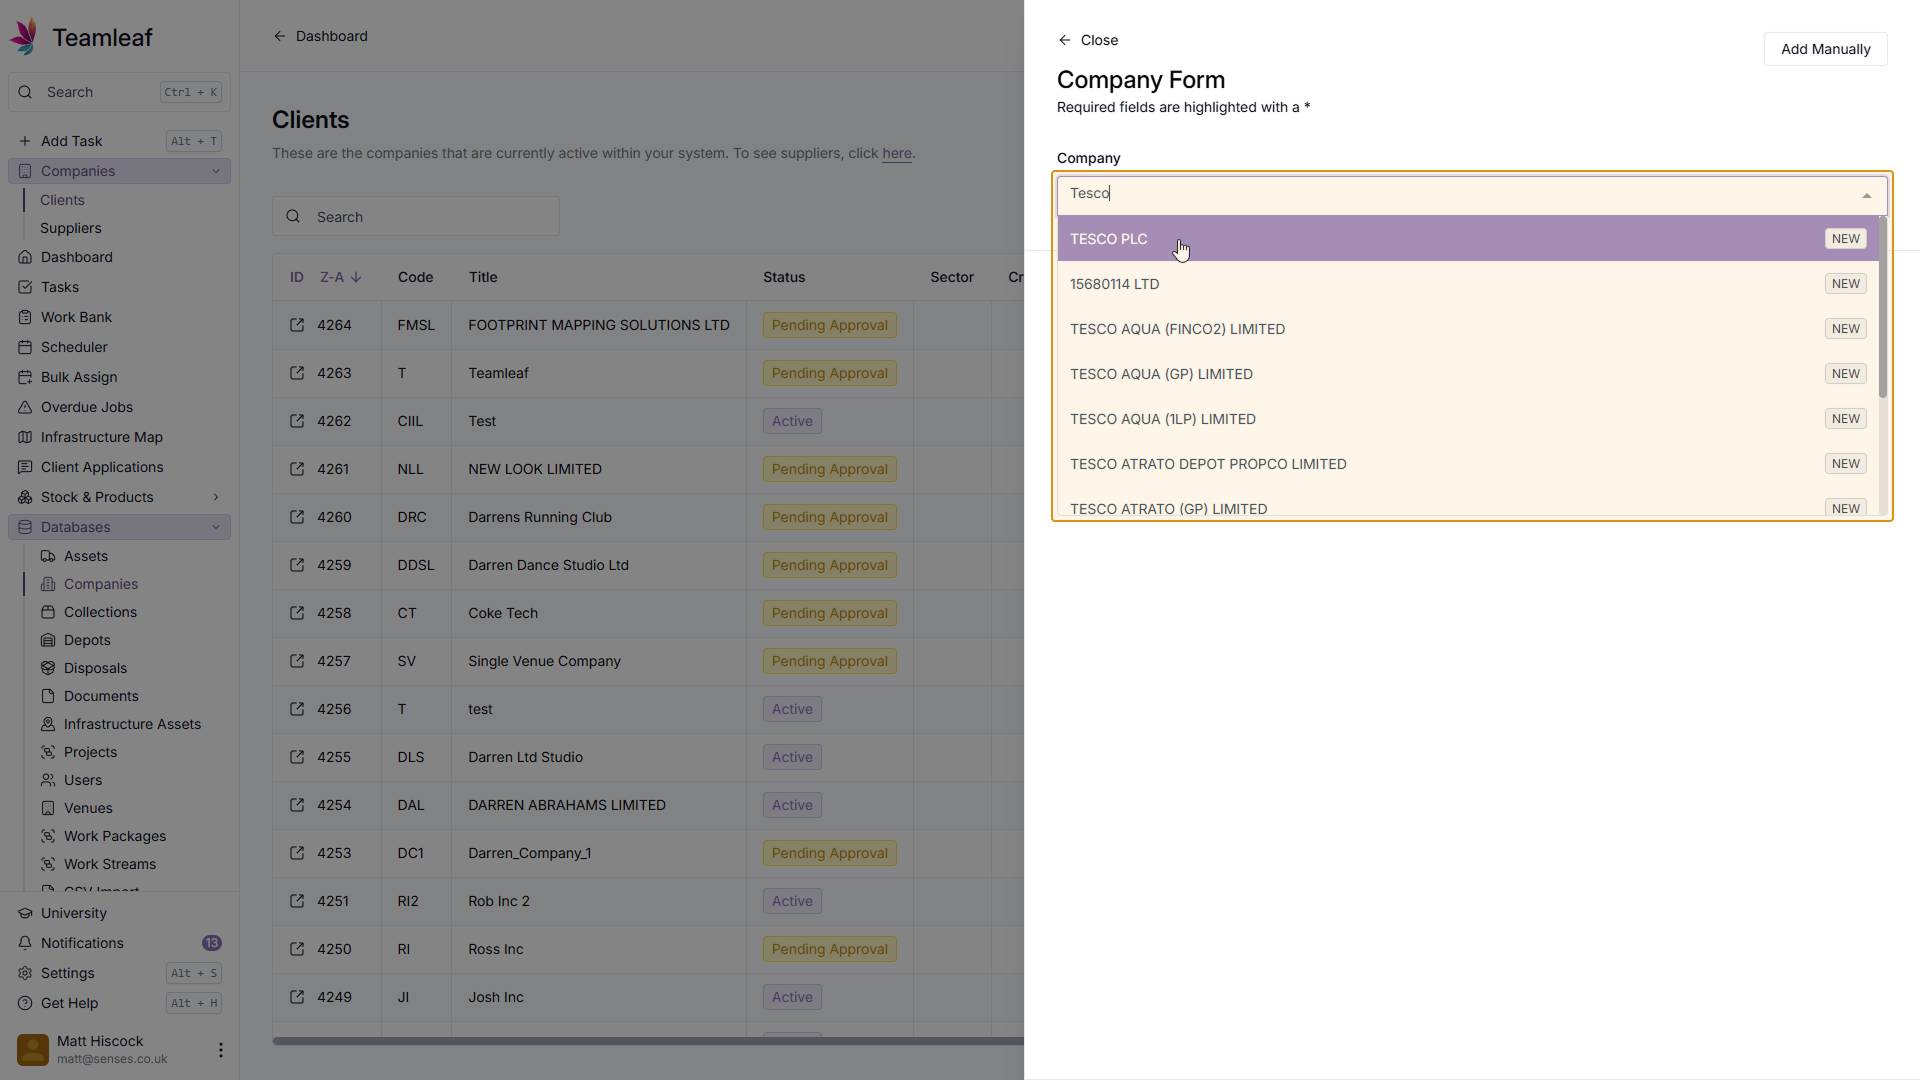
Step 3
Enter Company name
Next, in the company field, enter the name of the Company you'd like to add. Teamleaf will then automatically search companies house for that company, and pre-fill some of the company fields for you.
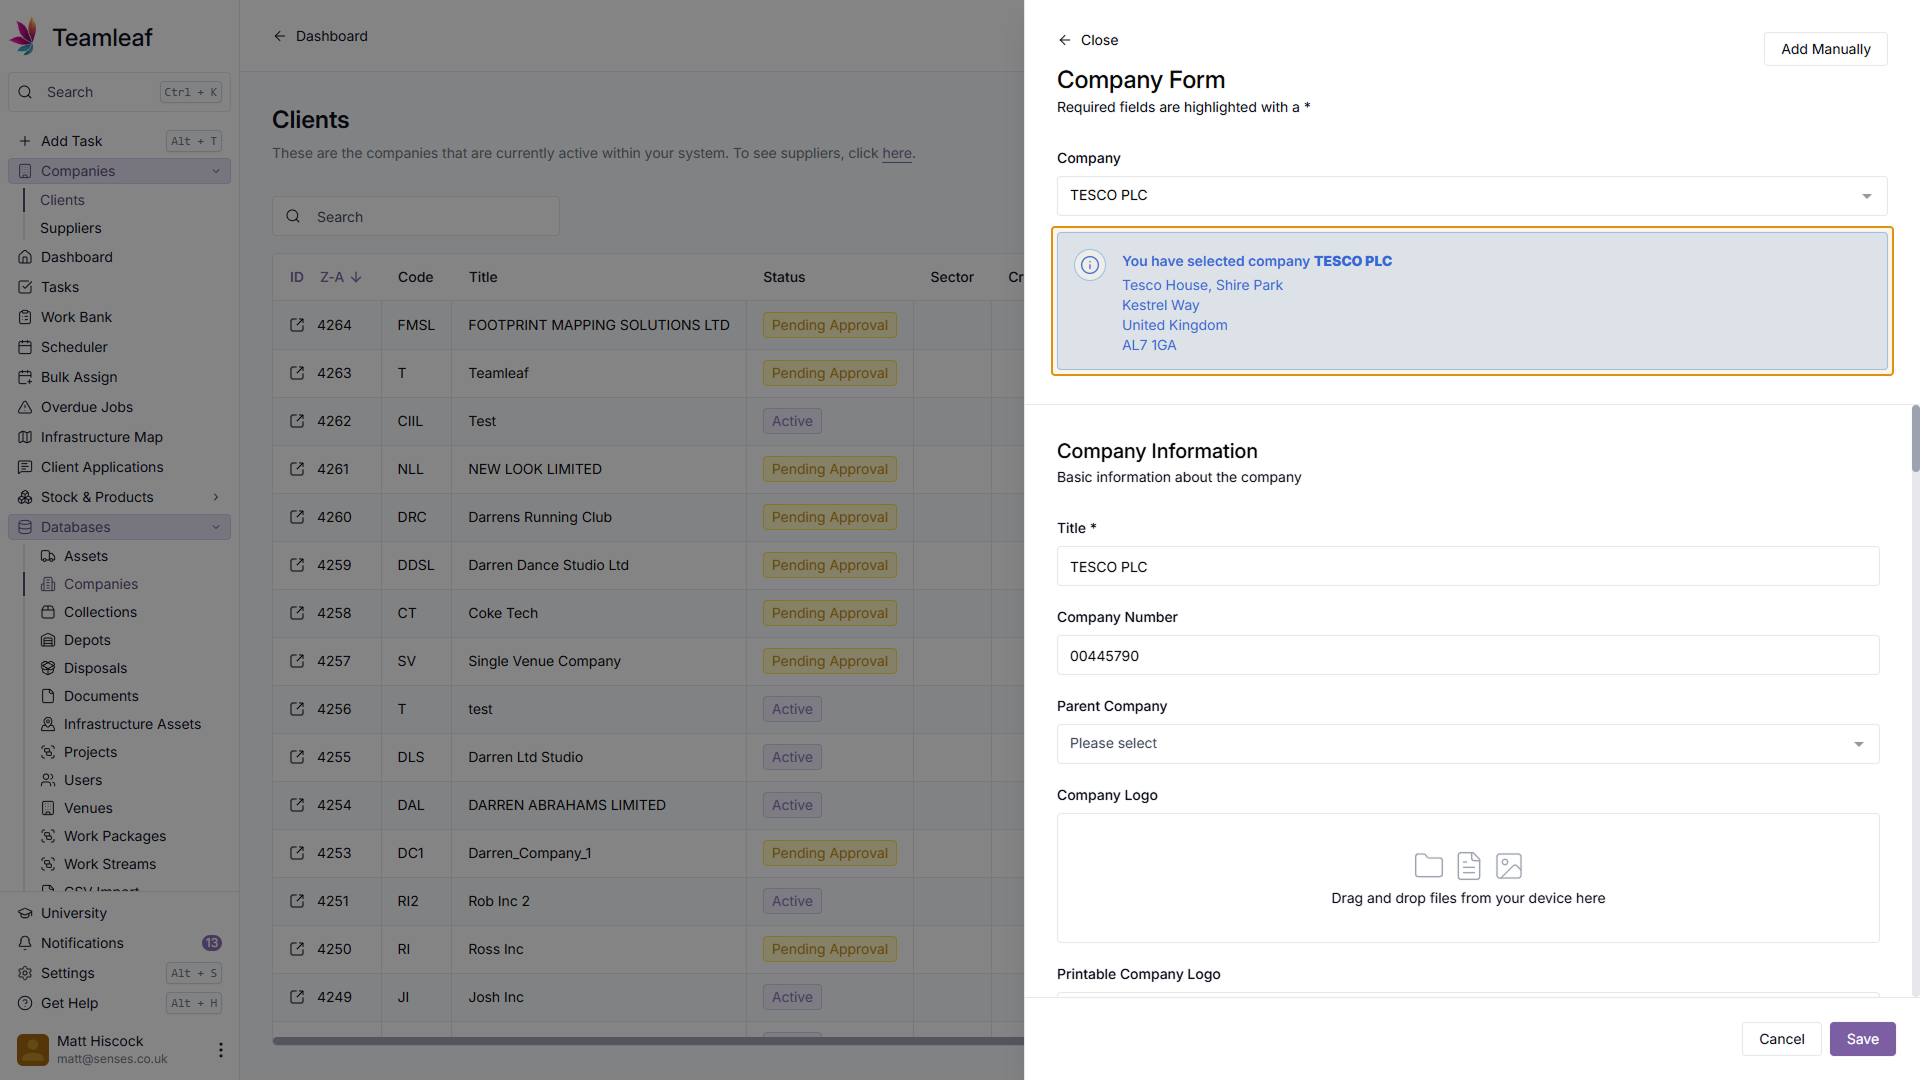
Step 4
Fill in Company Information
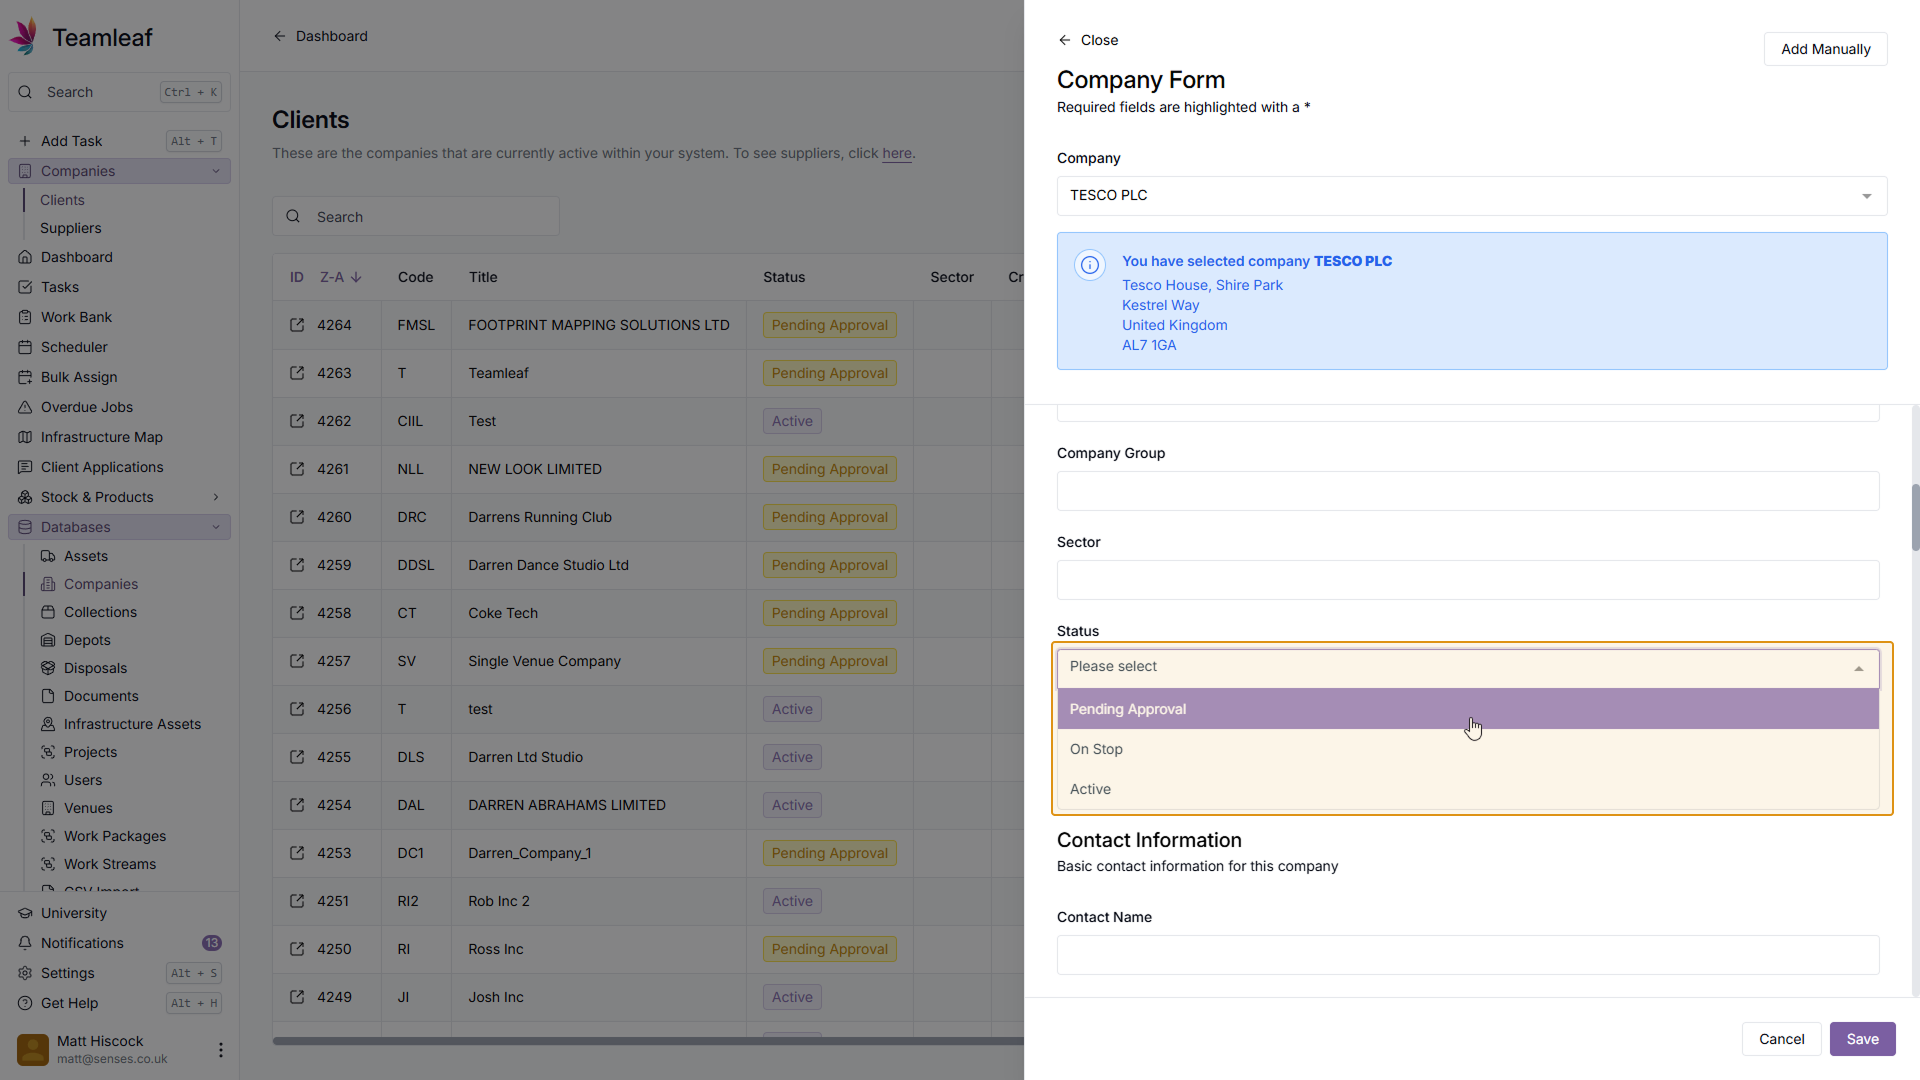
You can now begin entering further information about this Company. Add to (or edit) the Company Information section to begin. In this section, you can select the status for this company, so if it's still Pending approval, that can be marked here.

Step 5
Fill in Contact Information
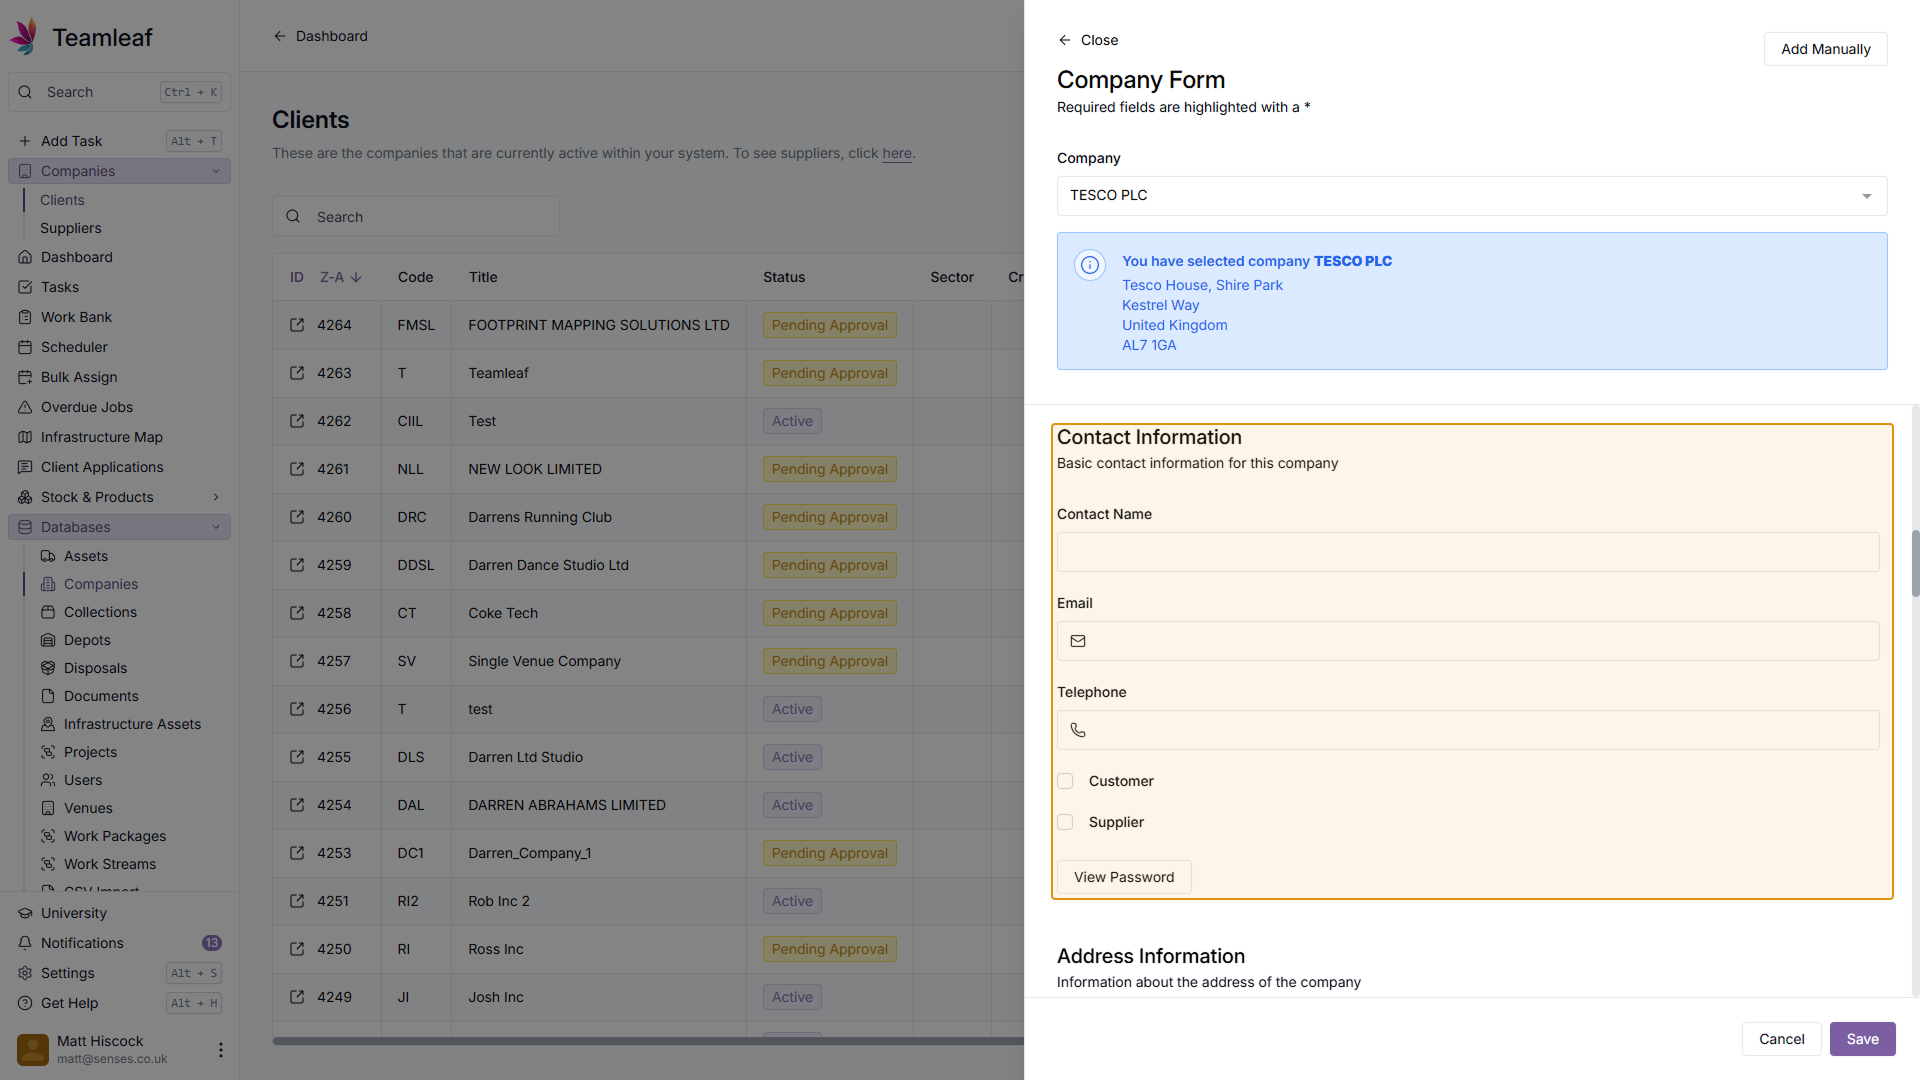
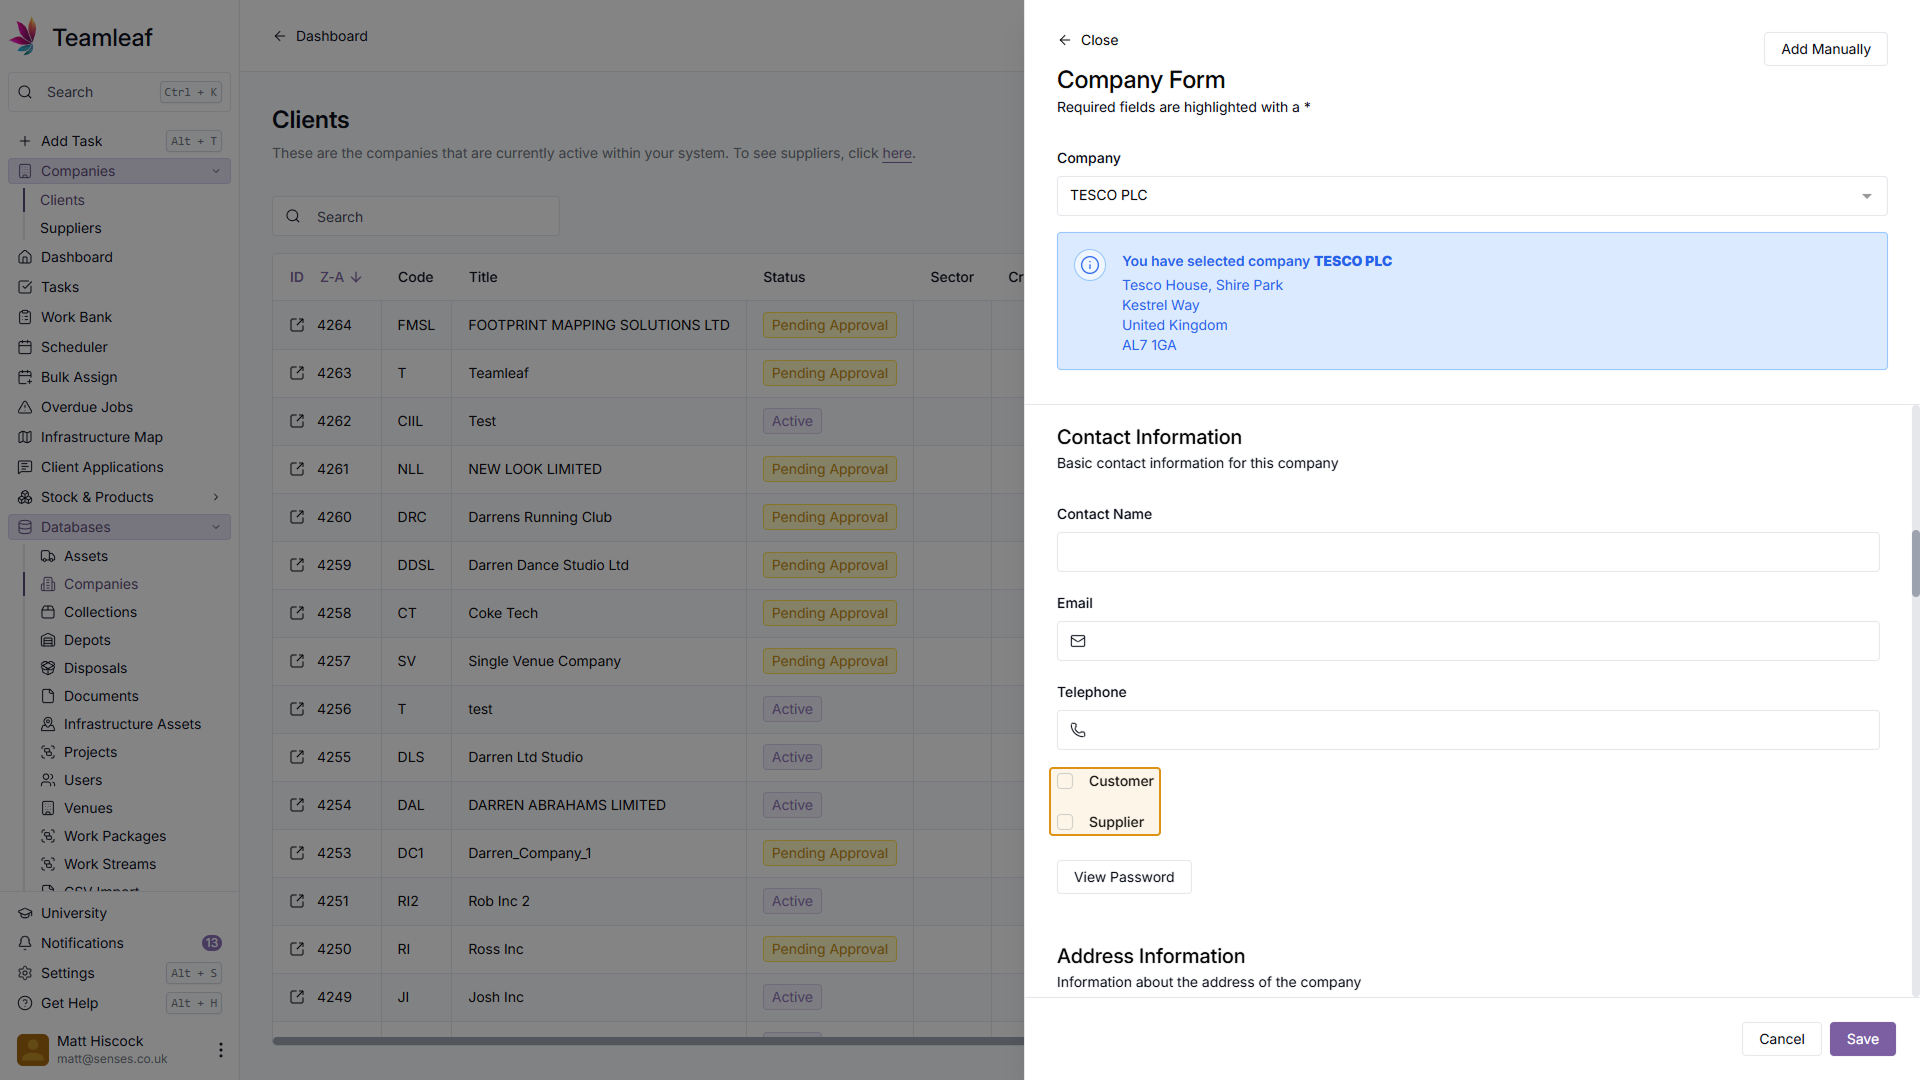
Next, you can fill in Contact Information for this company. In this section, you must mark whether this company is a Customer or Supplier (or both)
Step 6
Fill in Address Information
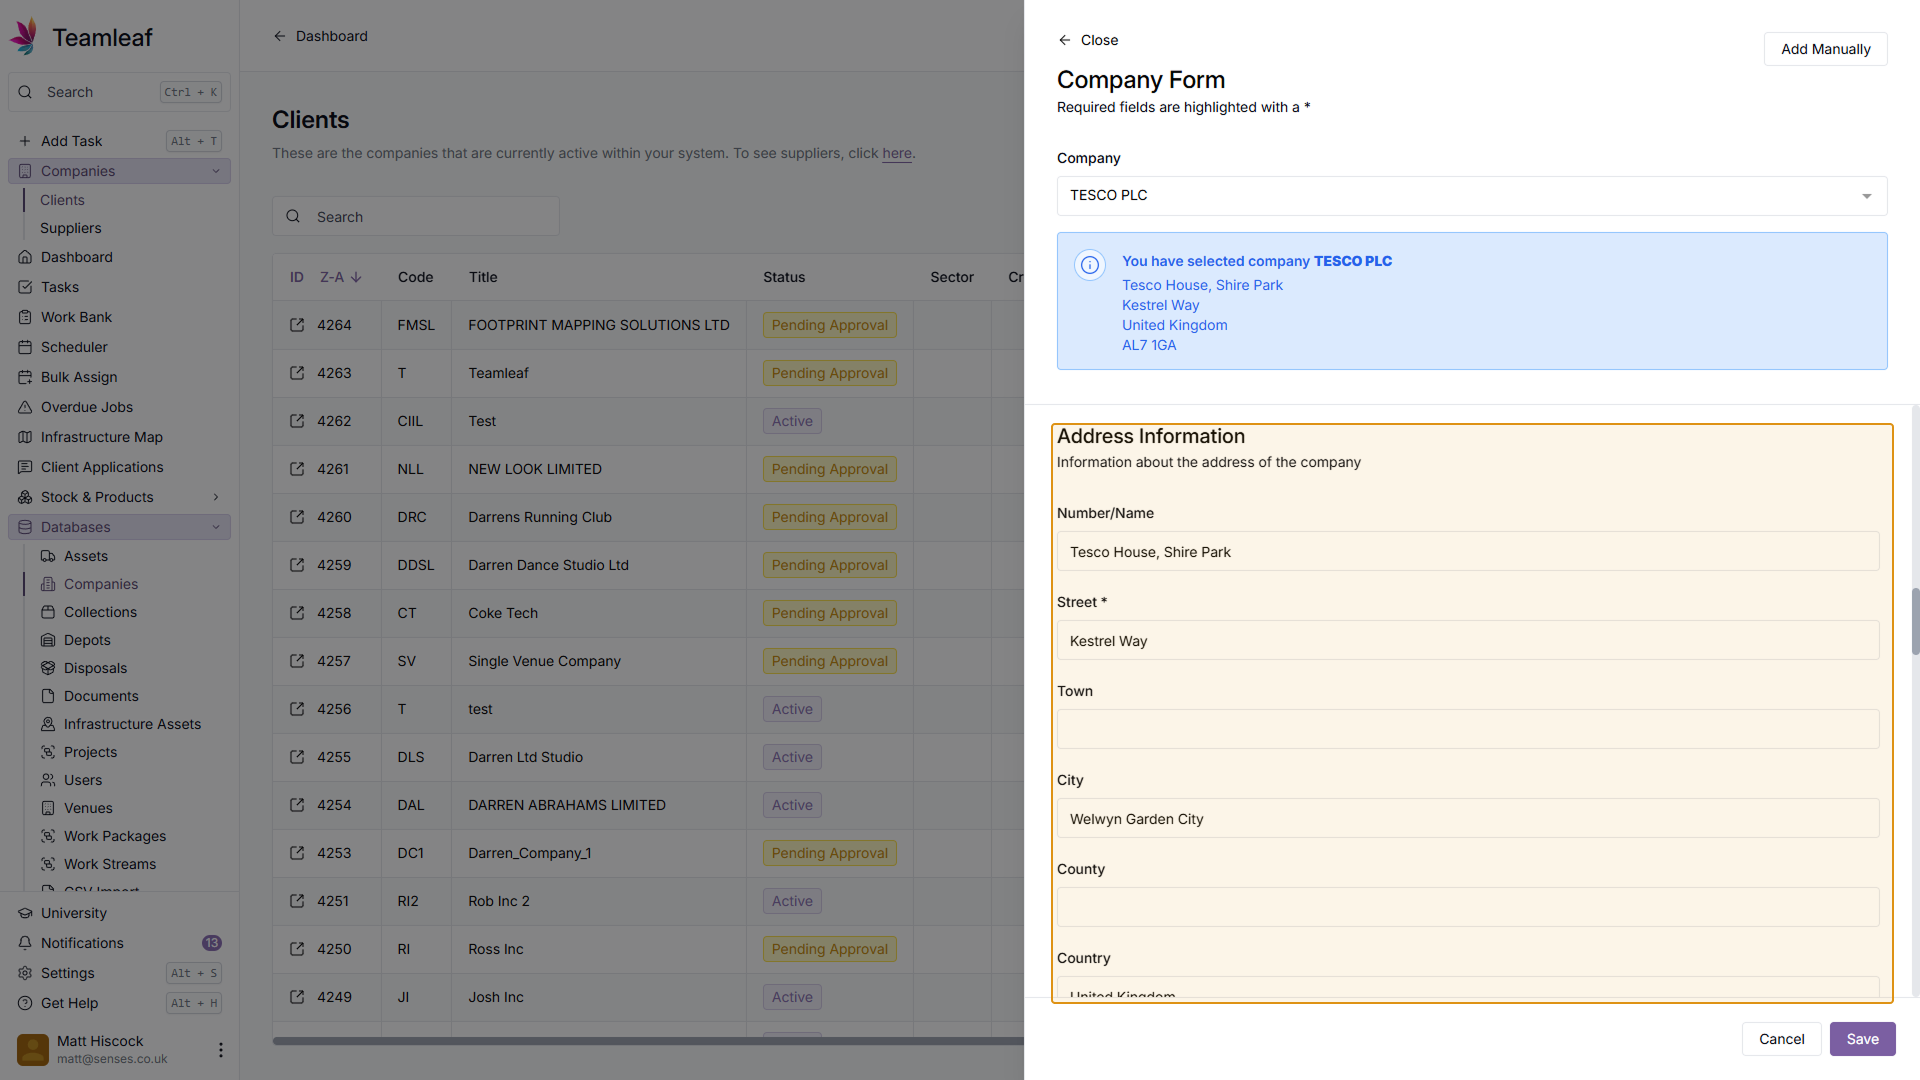
Next, you can fill in Address Information. This should be partially pre-filled with companies house data, but you can change this if you wish.
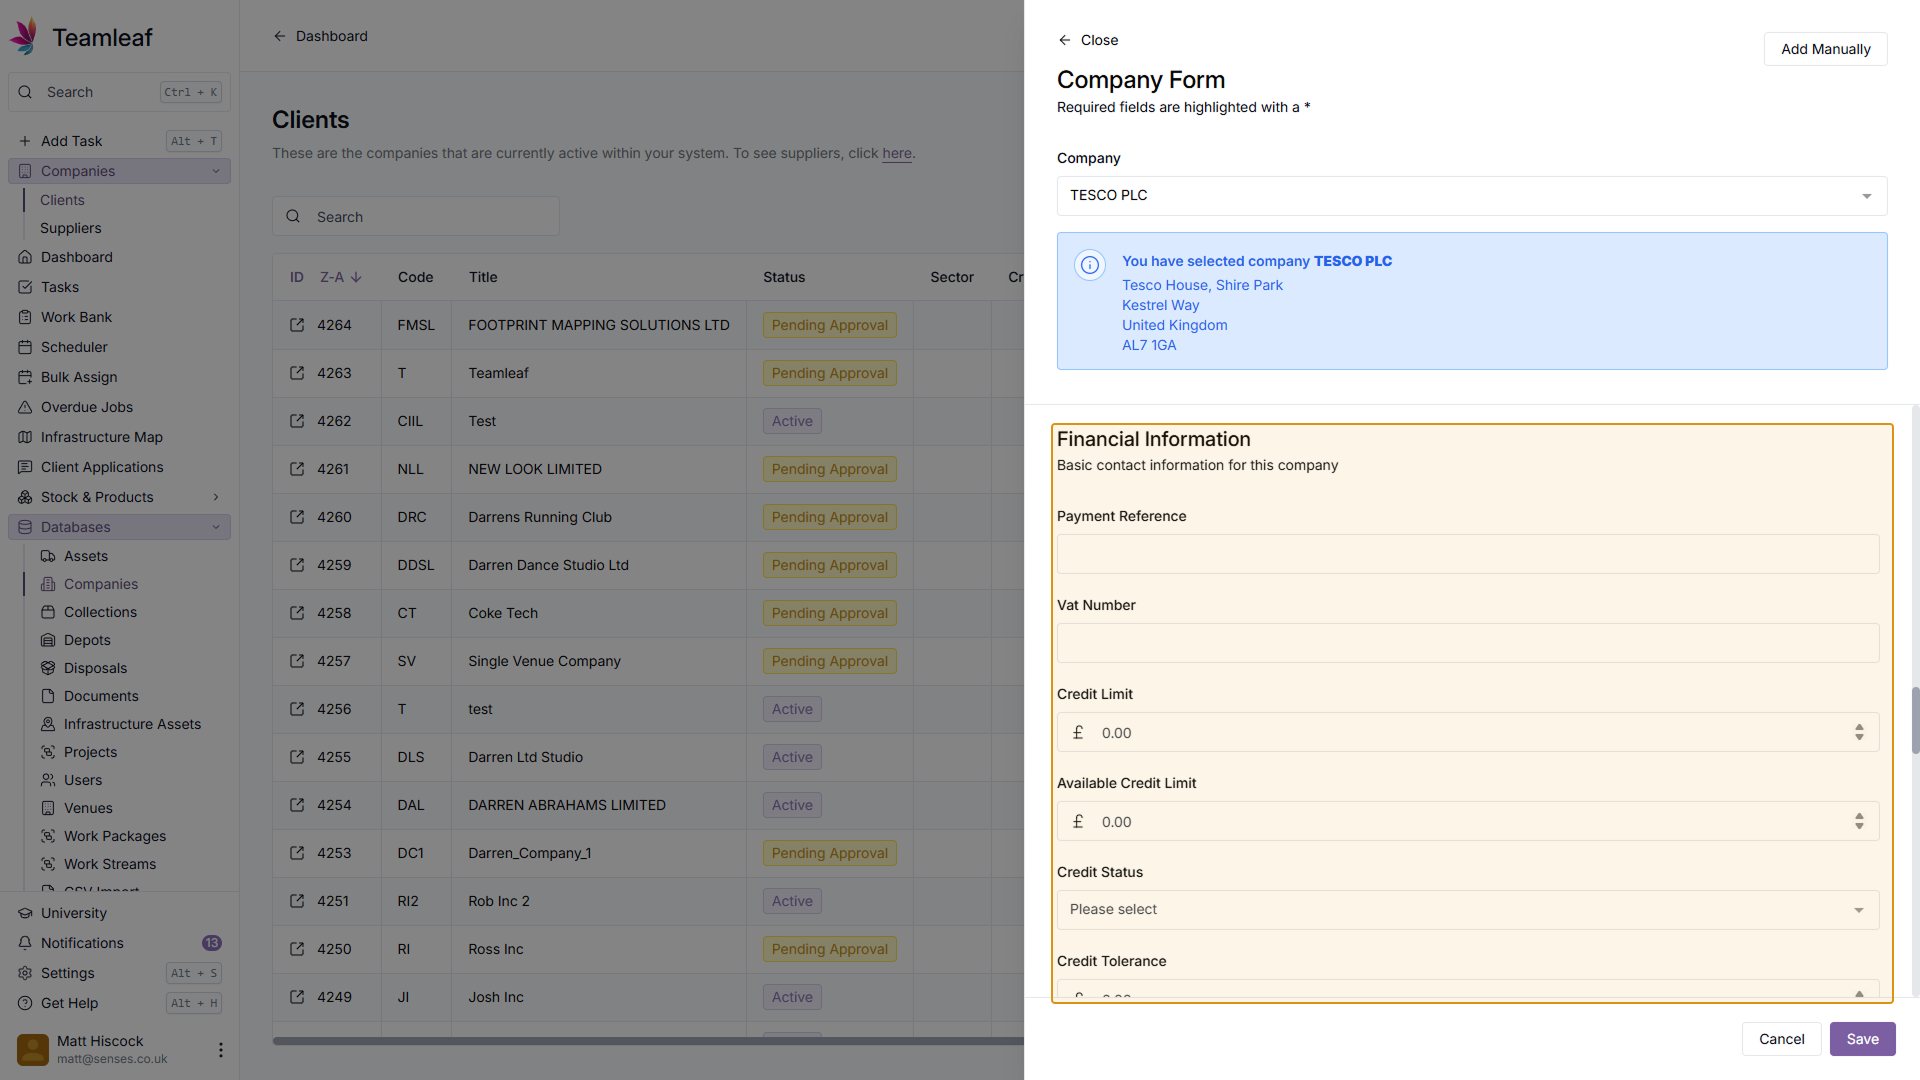
Step 7
Fill in Financial Information
Next, you can fill in Financial Information.
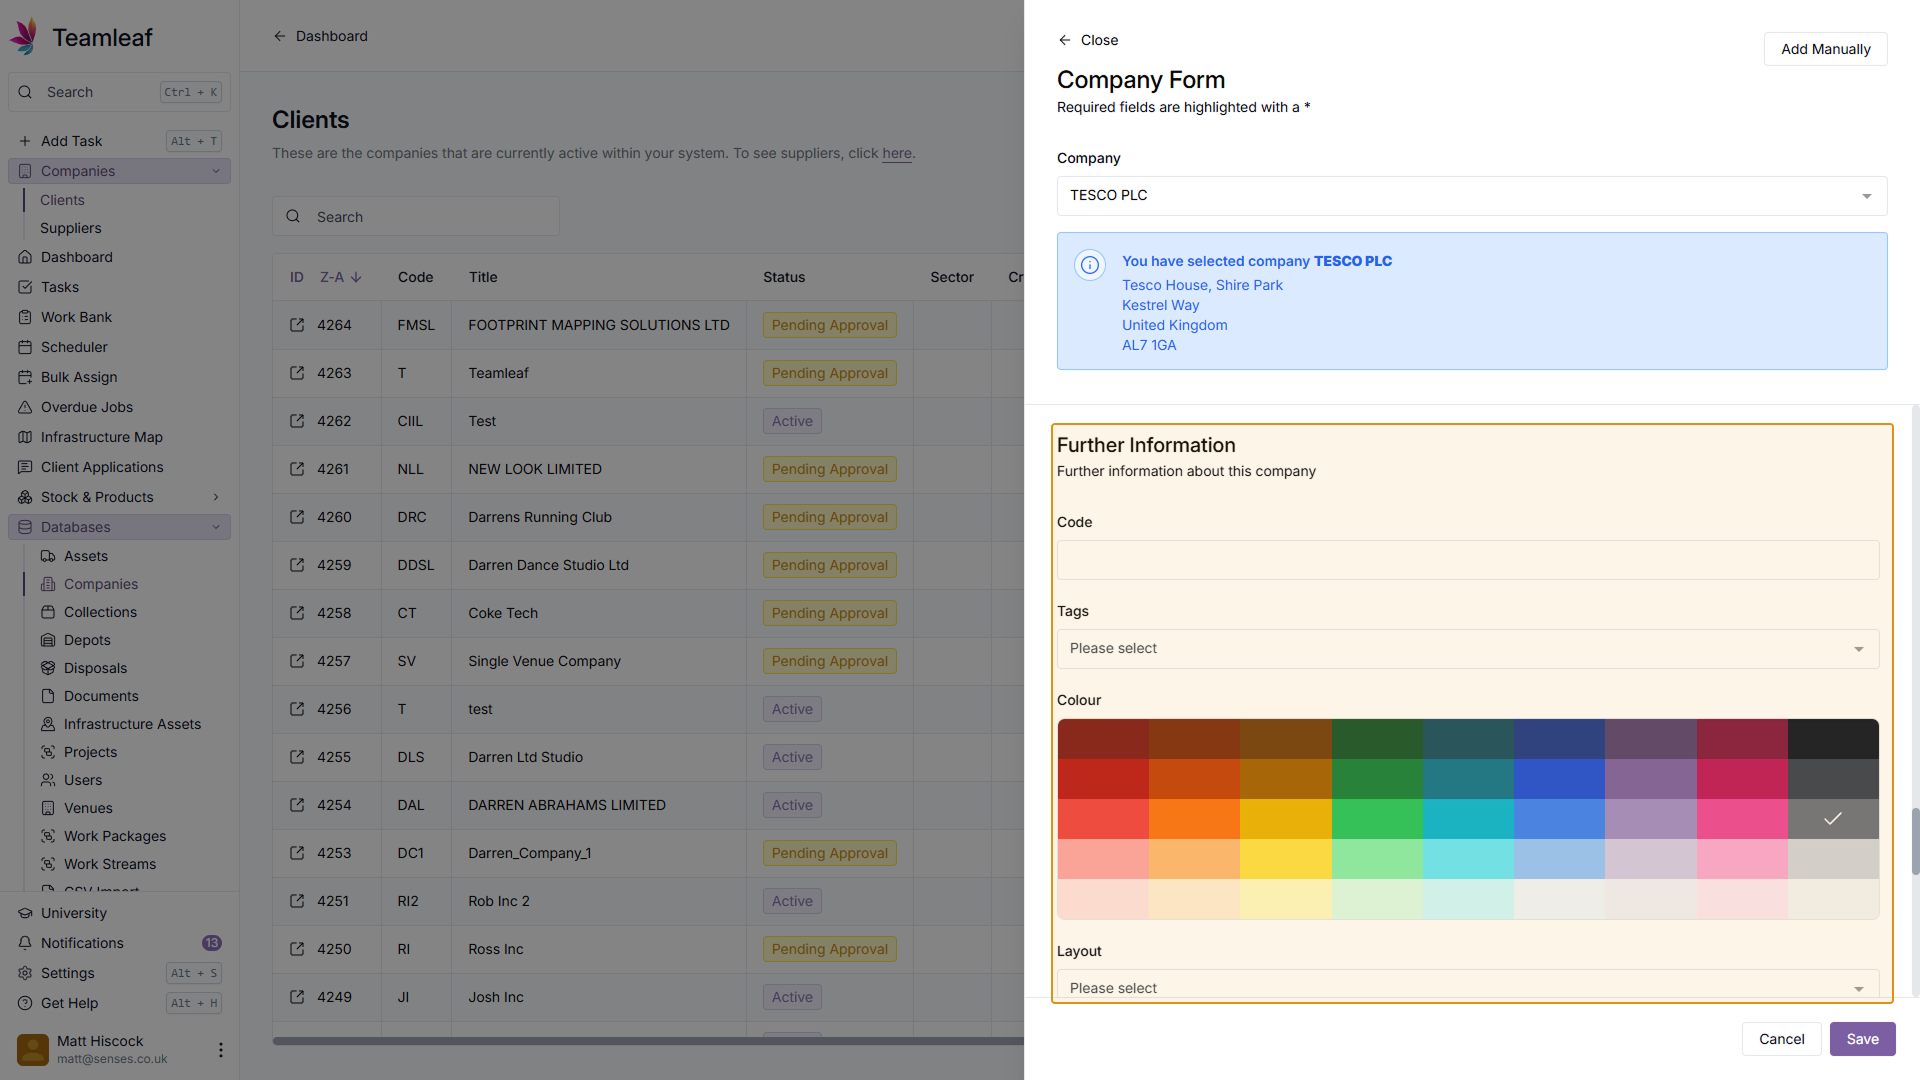
Step 8
Fill in Further Information
Next you can fill in the Further Information. Here, you can select the colour you'd like to represent this company across the system.
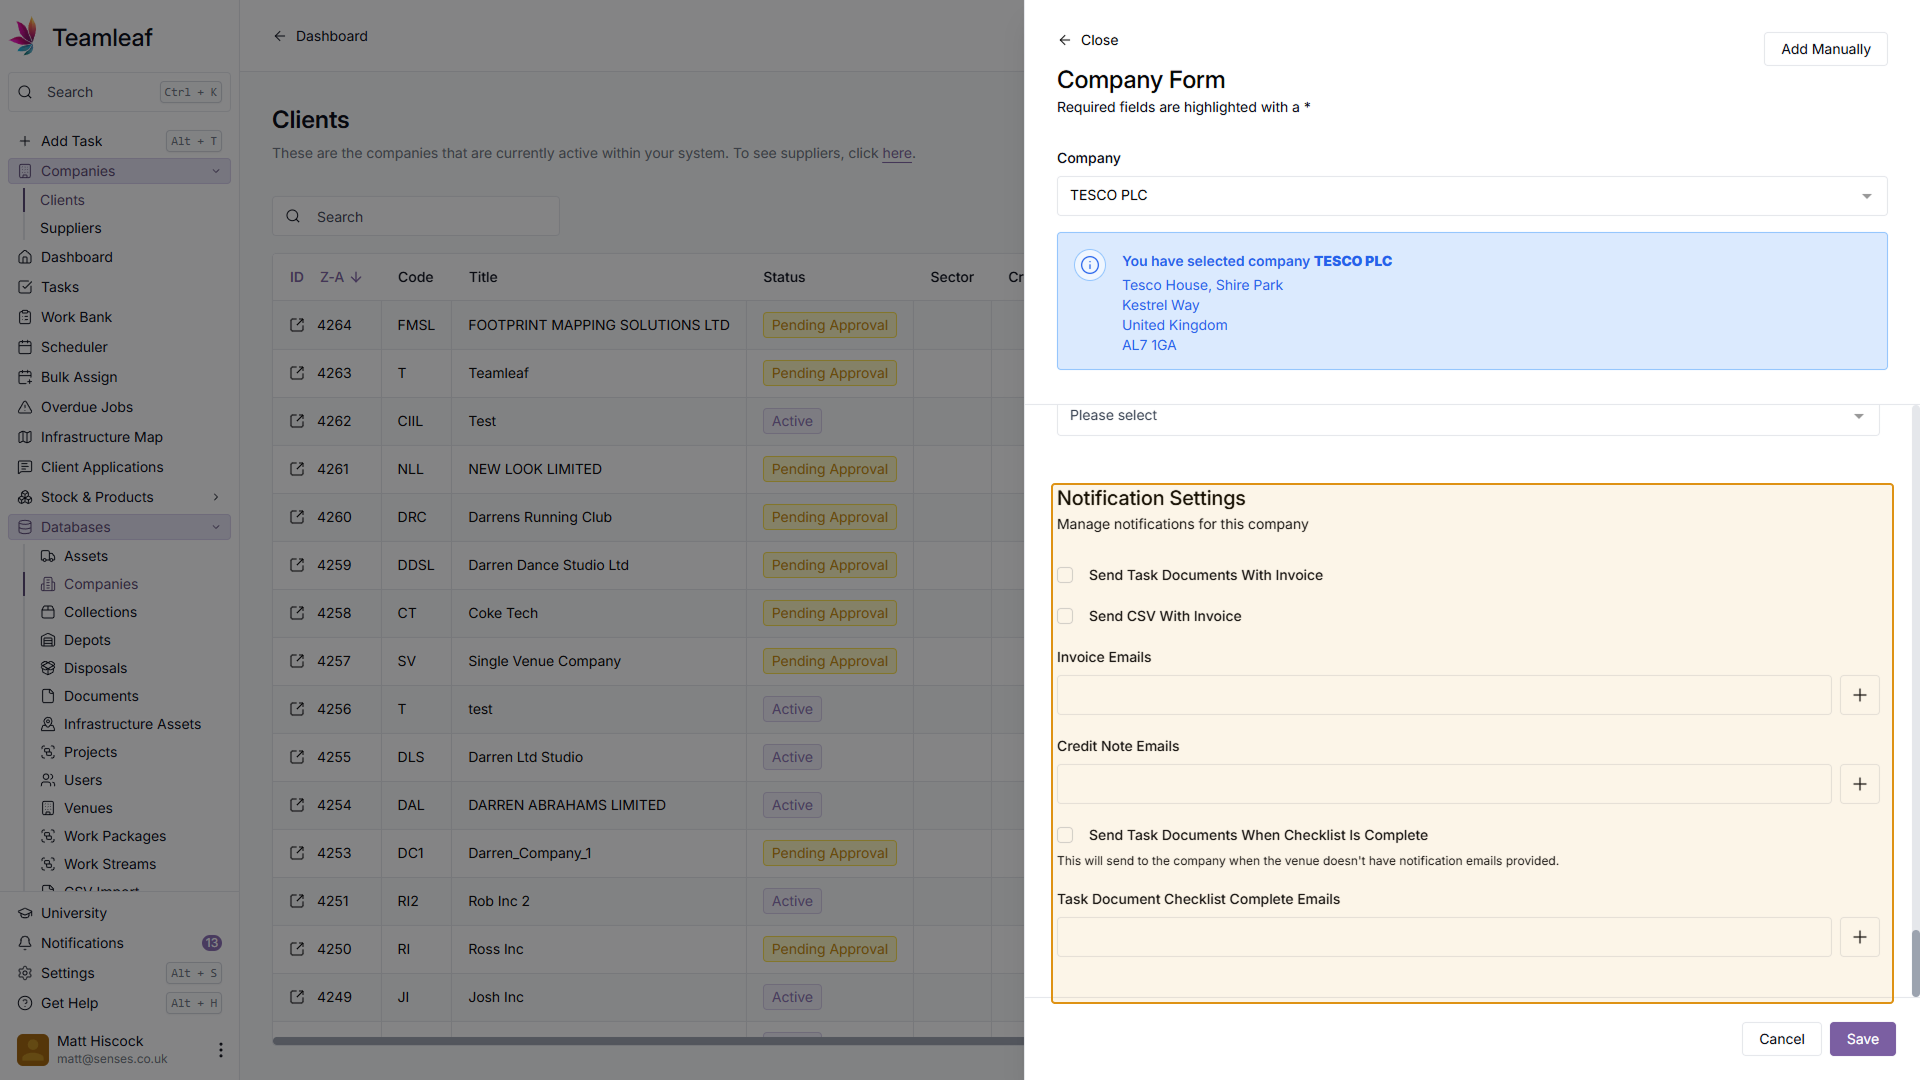
Step 9
Fill in Notification Settings
If you wish, you can also fill in Notification settings for this company.
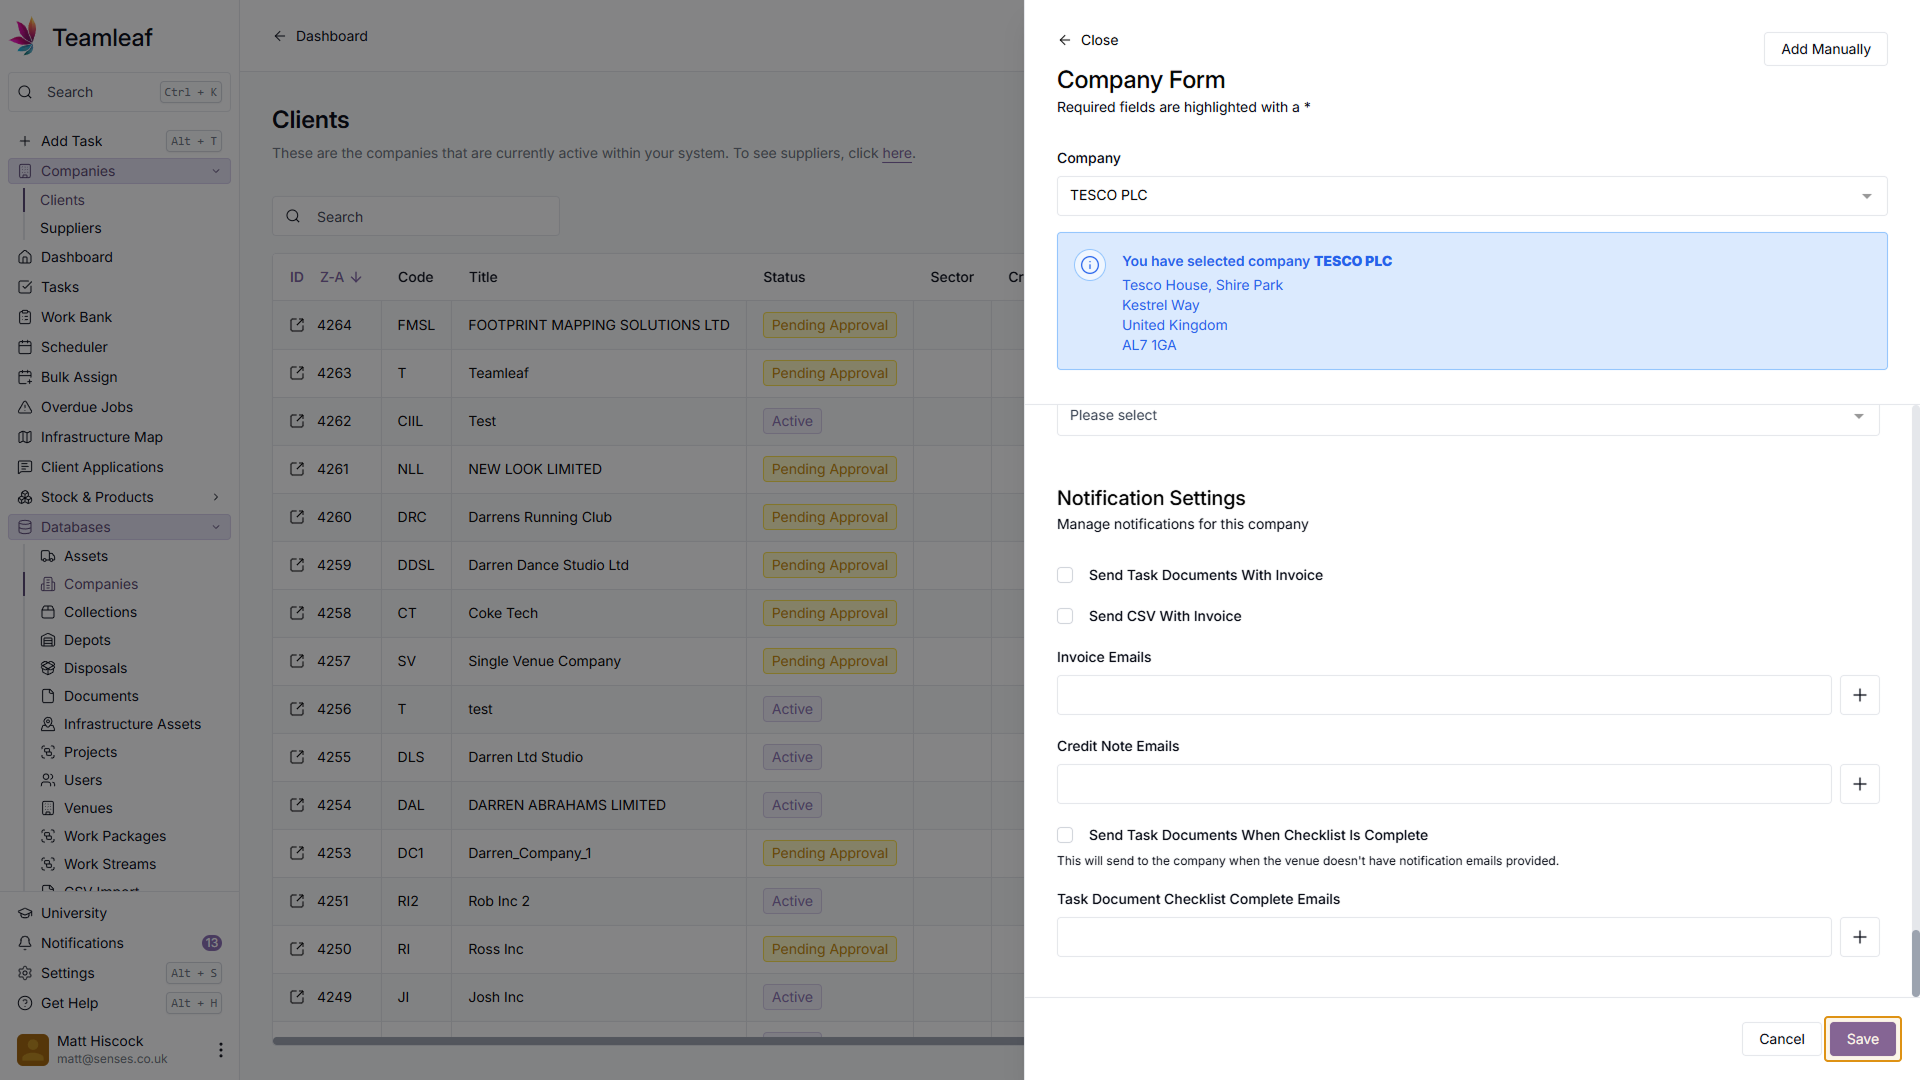
Step 10
Save Company
Once you're happy with the Company Information you've added, click the 'Save' button in the bottom right of the form
Step 11
See Company
After clicking save, you'll be taken to the new company page. Here you can manage and edit this company.

Related Tutorials
Finance
Setup
Adding and Updating Rates
In this tutorial you will learn how to add new rates, and update existing rates.
View Tutorials
→
Setup
Approving a Company
Understand the Company Approval process in Teamleaf.
View Tutorials
→
Forms
Setup
Creating a Form Structure
Learn how to create new Form Structure, so you can set up what data needs to be collected on Tasks
View Tutorials
→
Reports
Setup
Creating a Report Layout
Learn how to create a custom Report Layout so you can see your KPIs, your way.
View Tutorials
→
Scheduler
Setup
Customising the Scheduler
In this tutorial you will learn how to customise the scheduler to suit your workflow, allowing you to select your layout and create templates
View Tutorials
→
Setup
Tasks
Customising the Task Table
In this tutorial you will learn how to alter your Task Table settings
View Tutorials
→
Scheduler
Setup
Setting up the Scheduler
In this tutorial you will learn how to set up the Scheduler. You will learn how to filter and add the Users and Assets you want to see, and how you can see those crews easily on the scheduler
View Tutorials
→