Step-by-Step Guide
Finance
Invoicing
Step 1
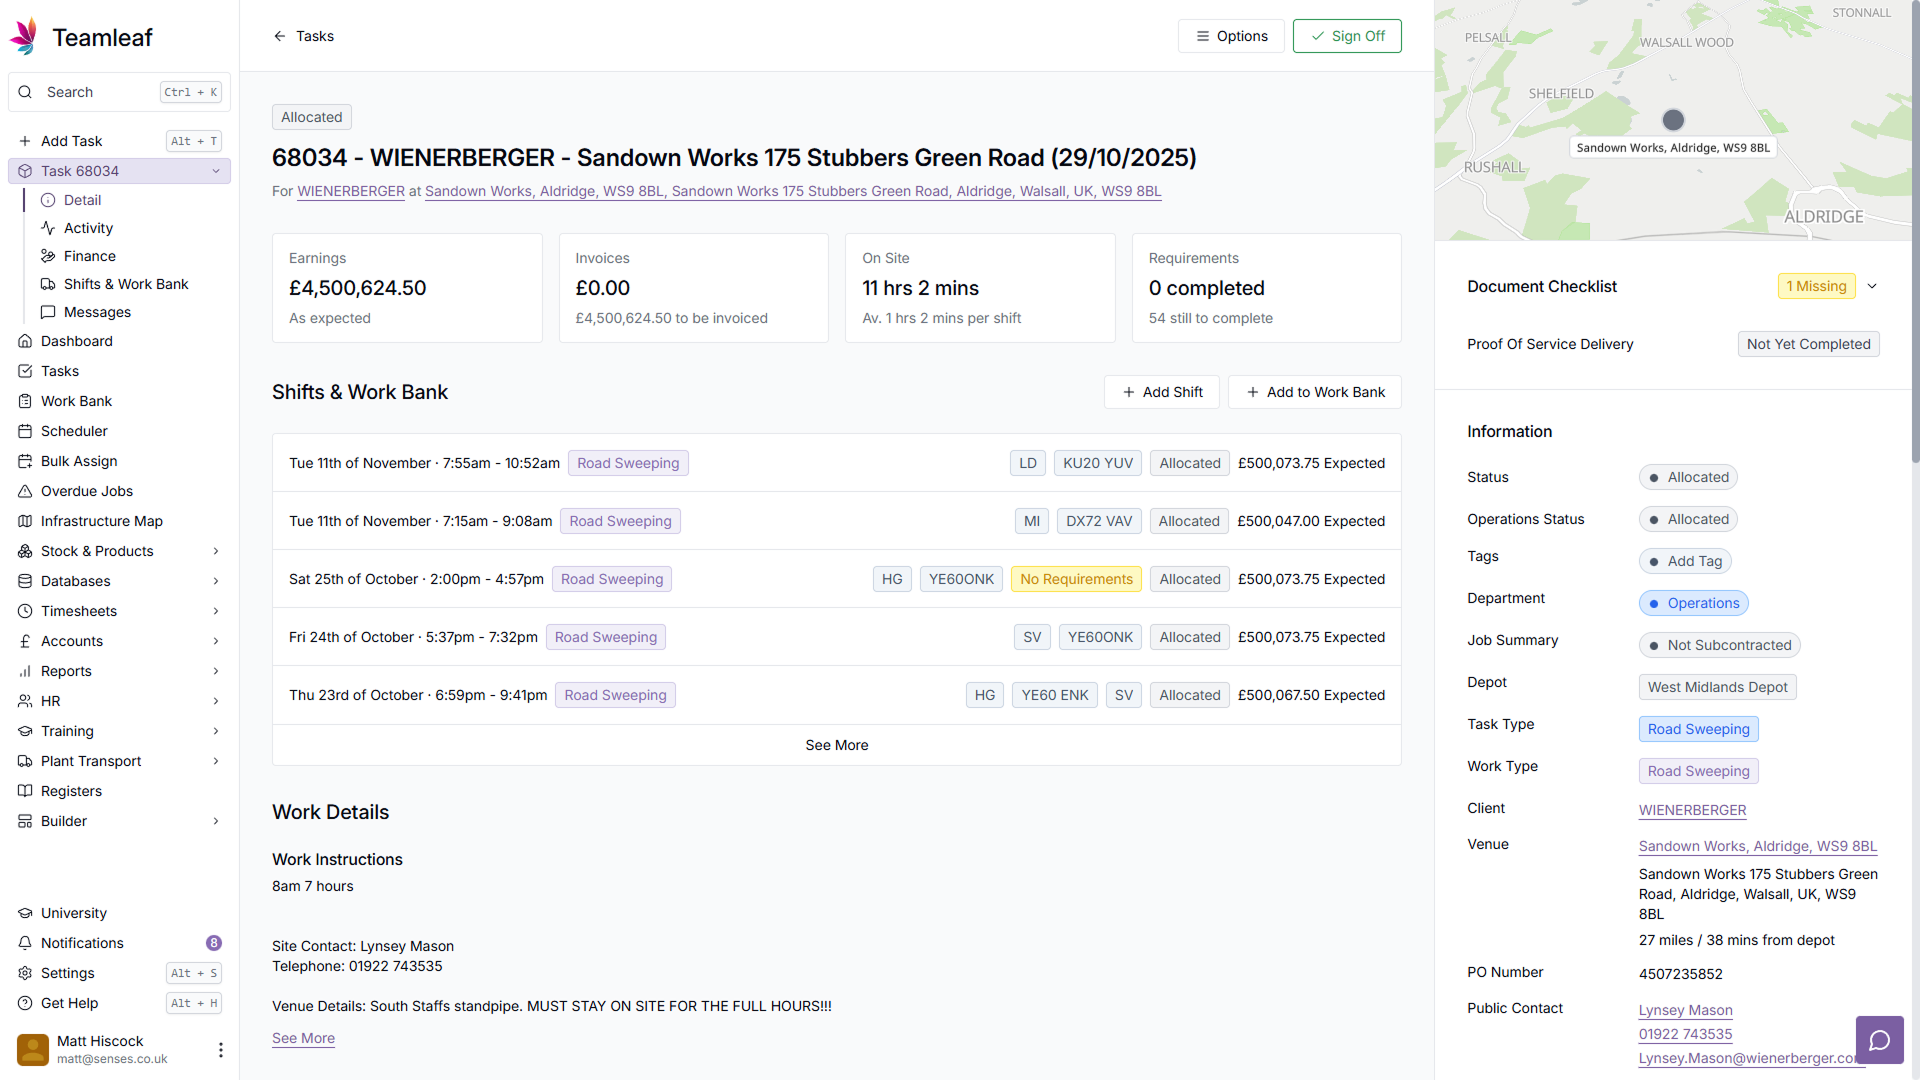
Go to the Task you'd like to add a credit note to
To start, go to the task that you'd like to add a credit note to, via the 'Tasks' page on the left sidebar.
Step 2
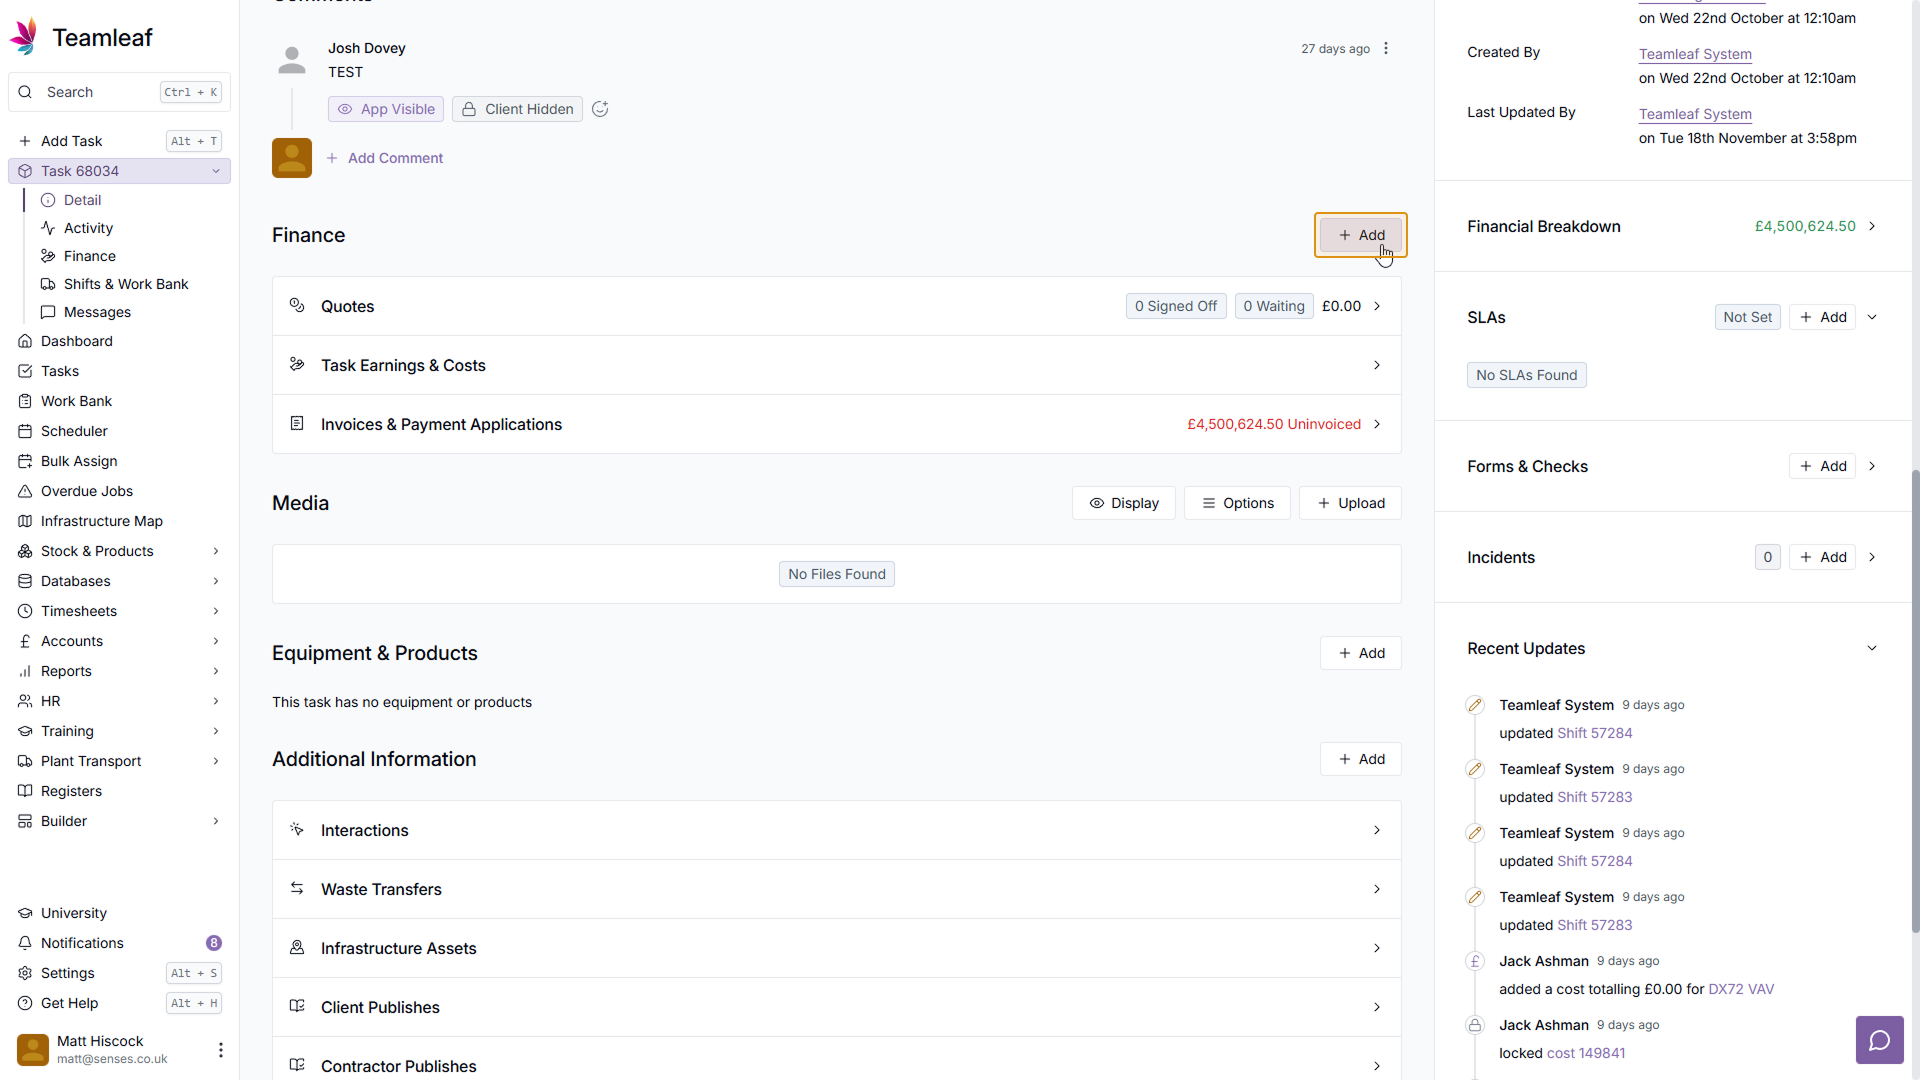
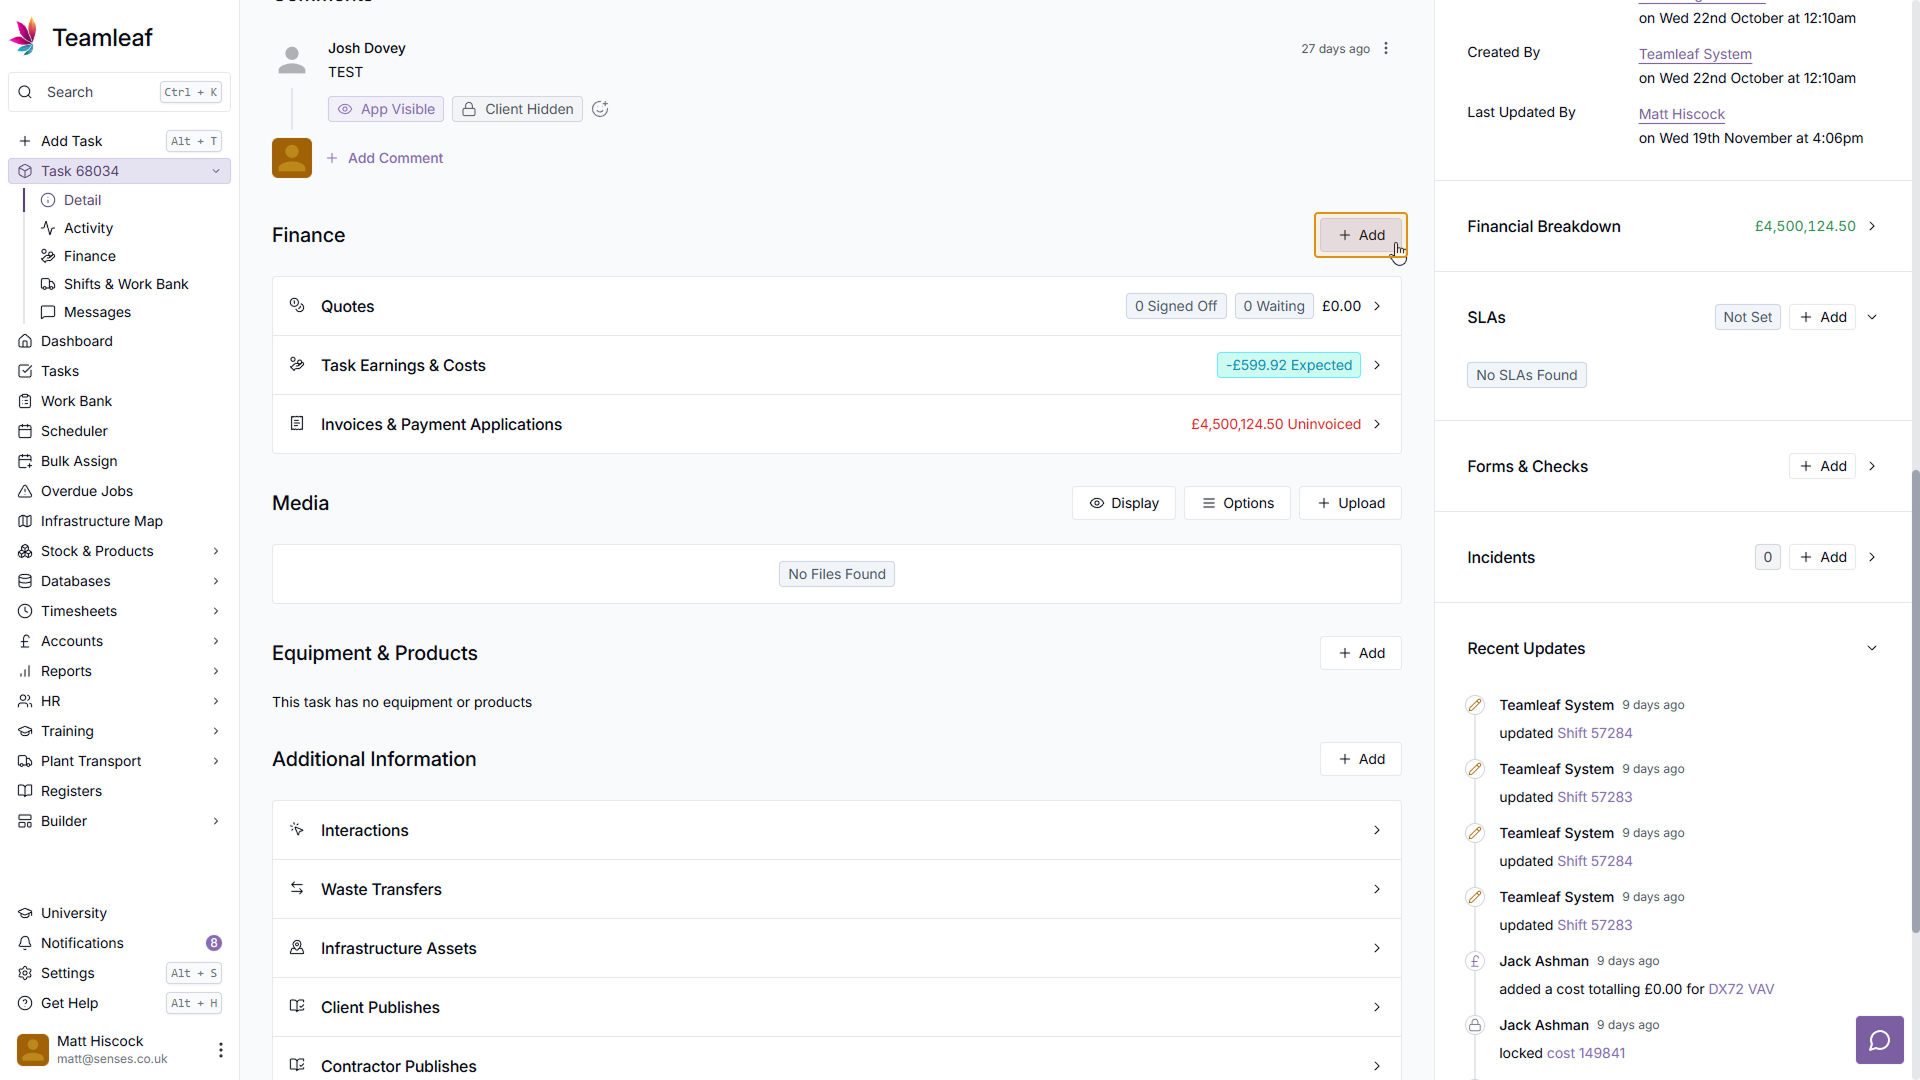
Scroll to Finance and click 'Add Task Earning'
Next, scroll down to the finance section, and click 'Add', in the dropdown menu that opens, click 'Add Task Earning'
Step 3
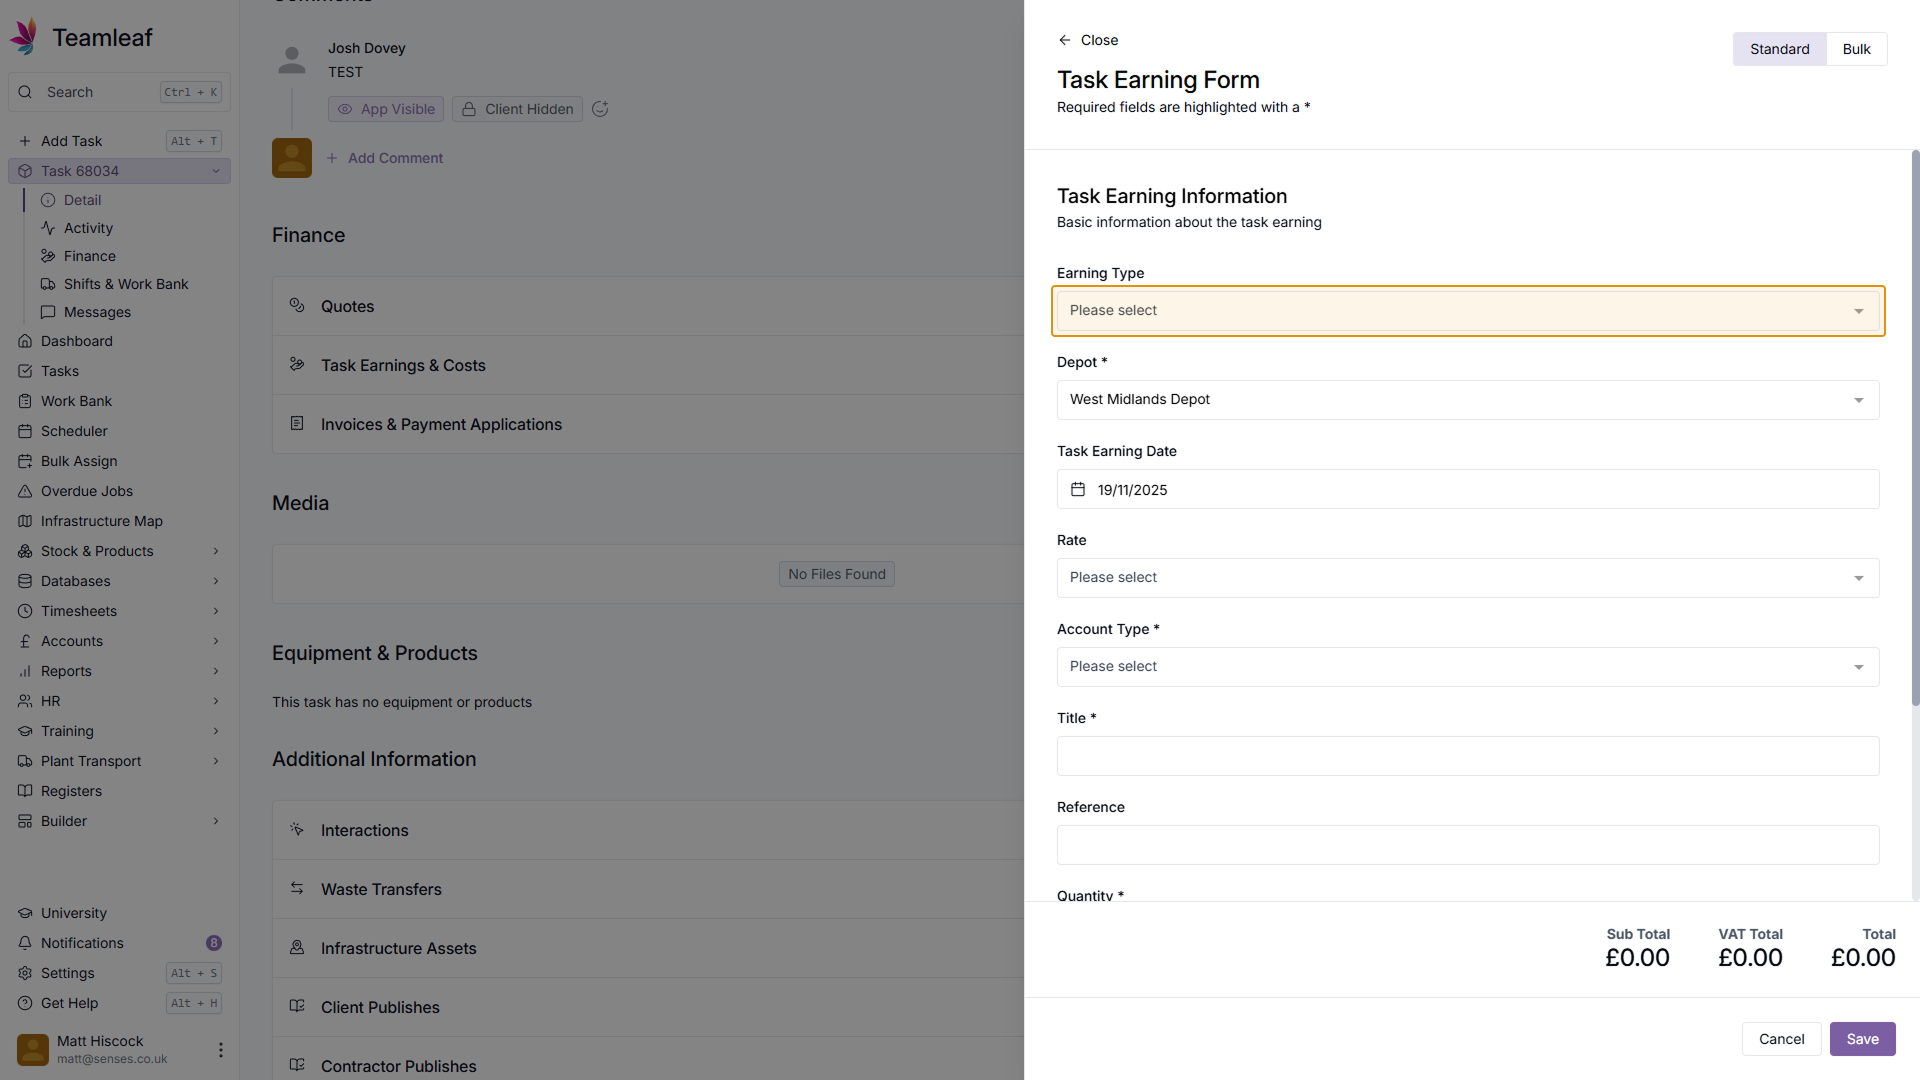
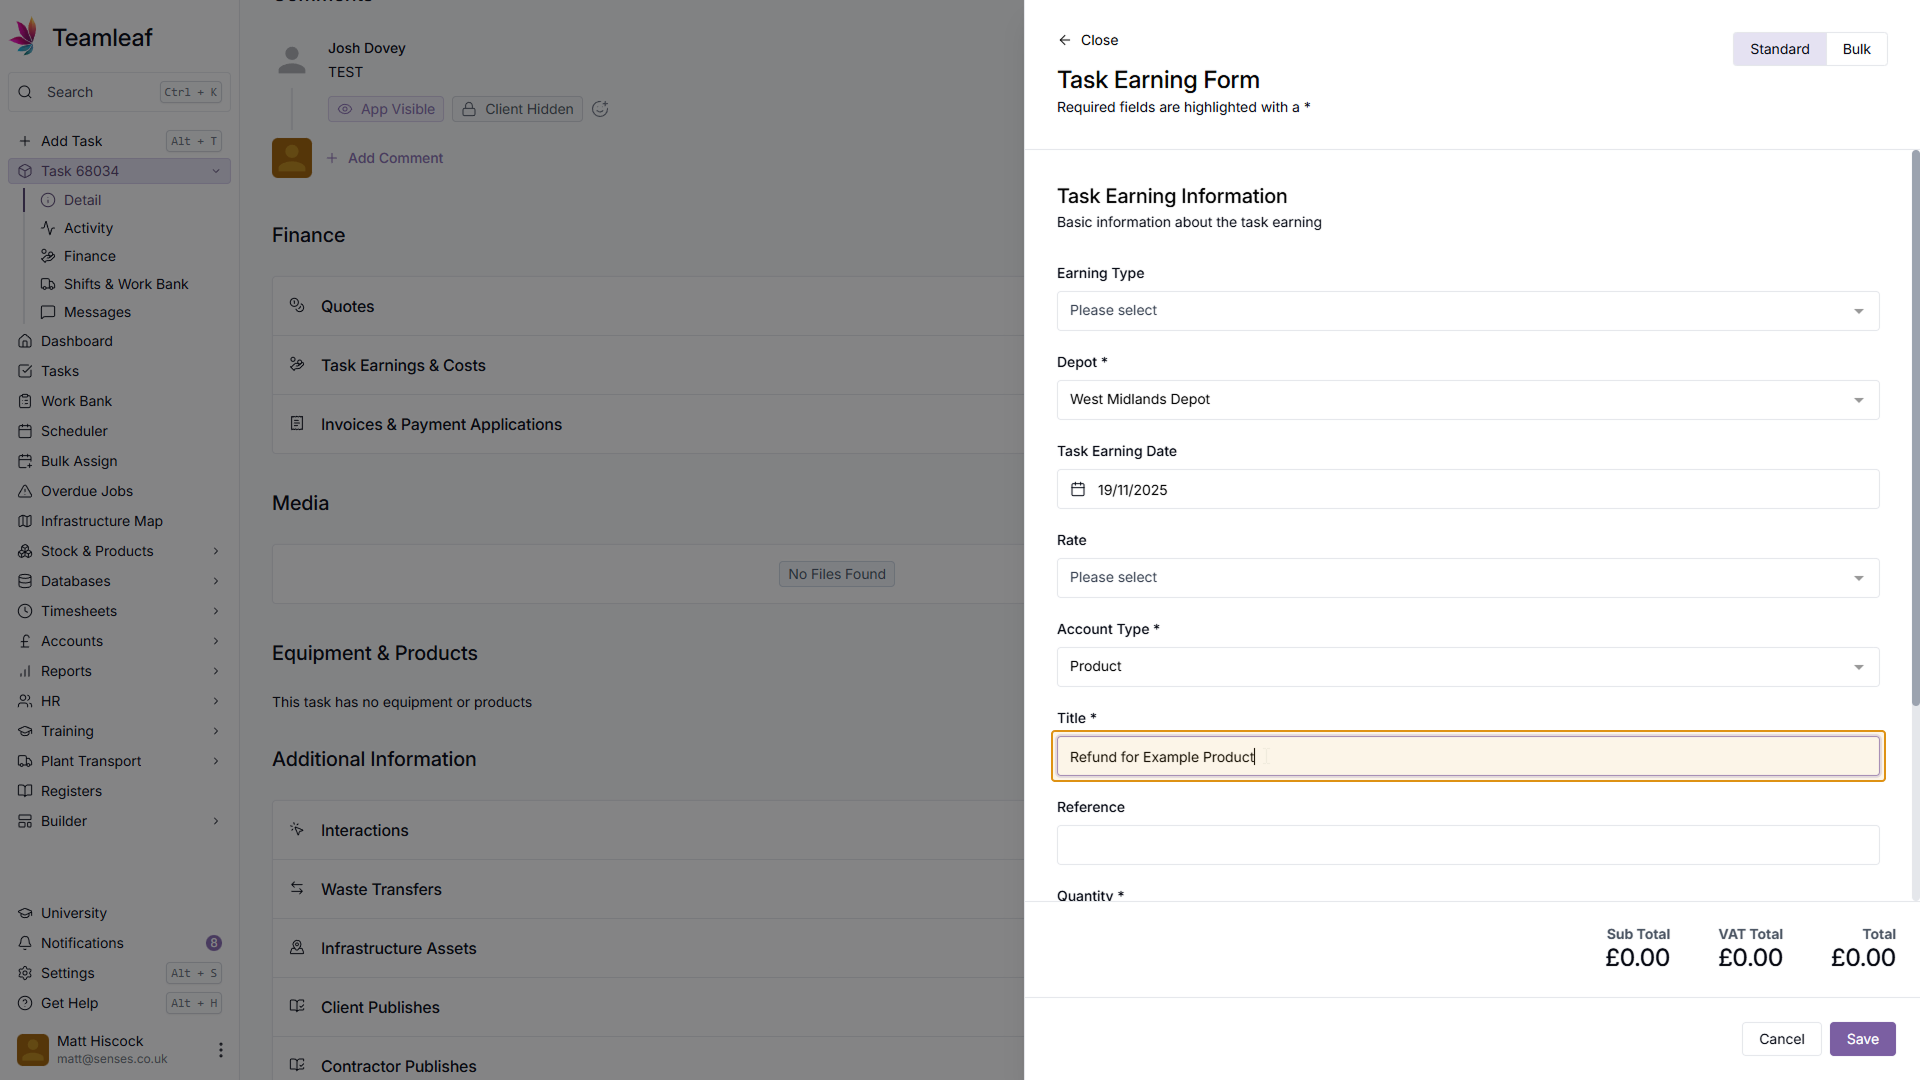
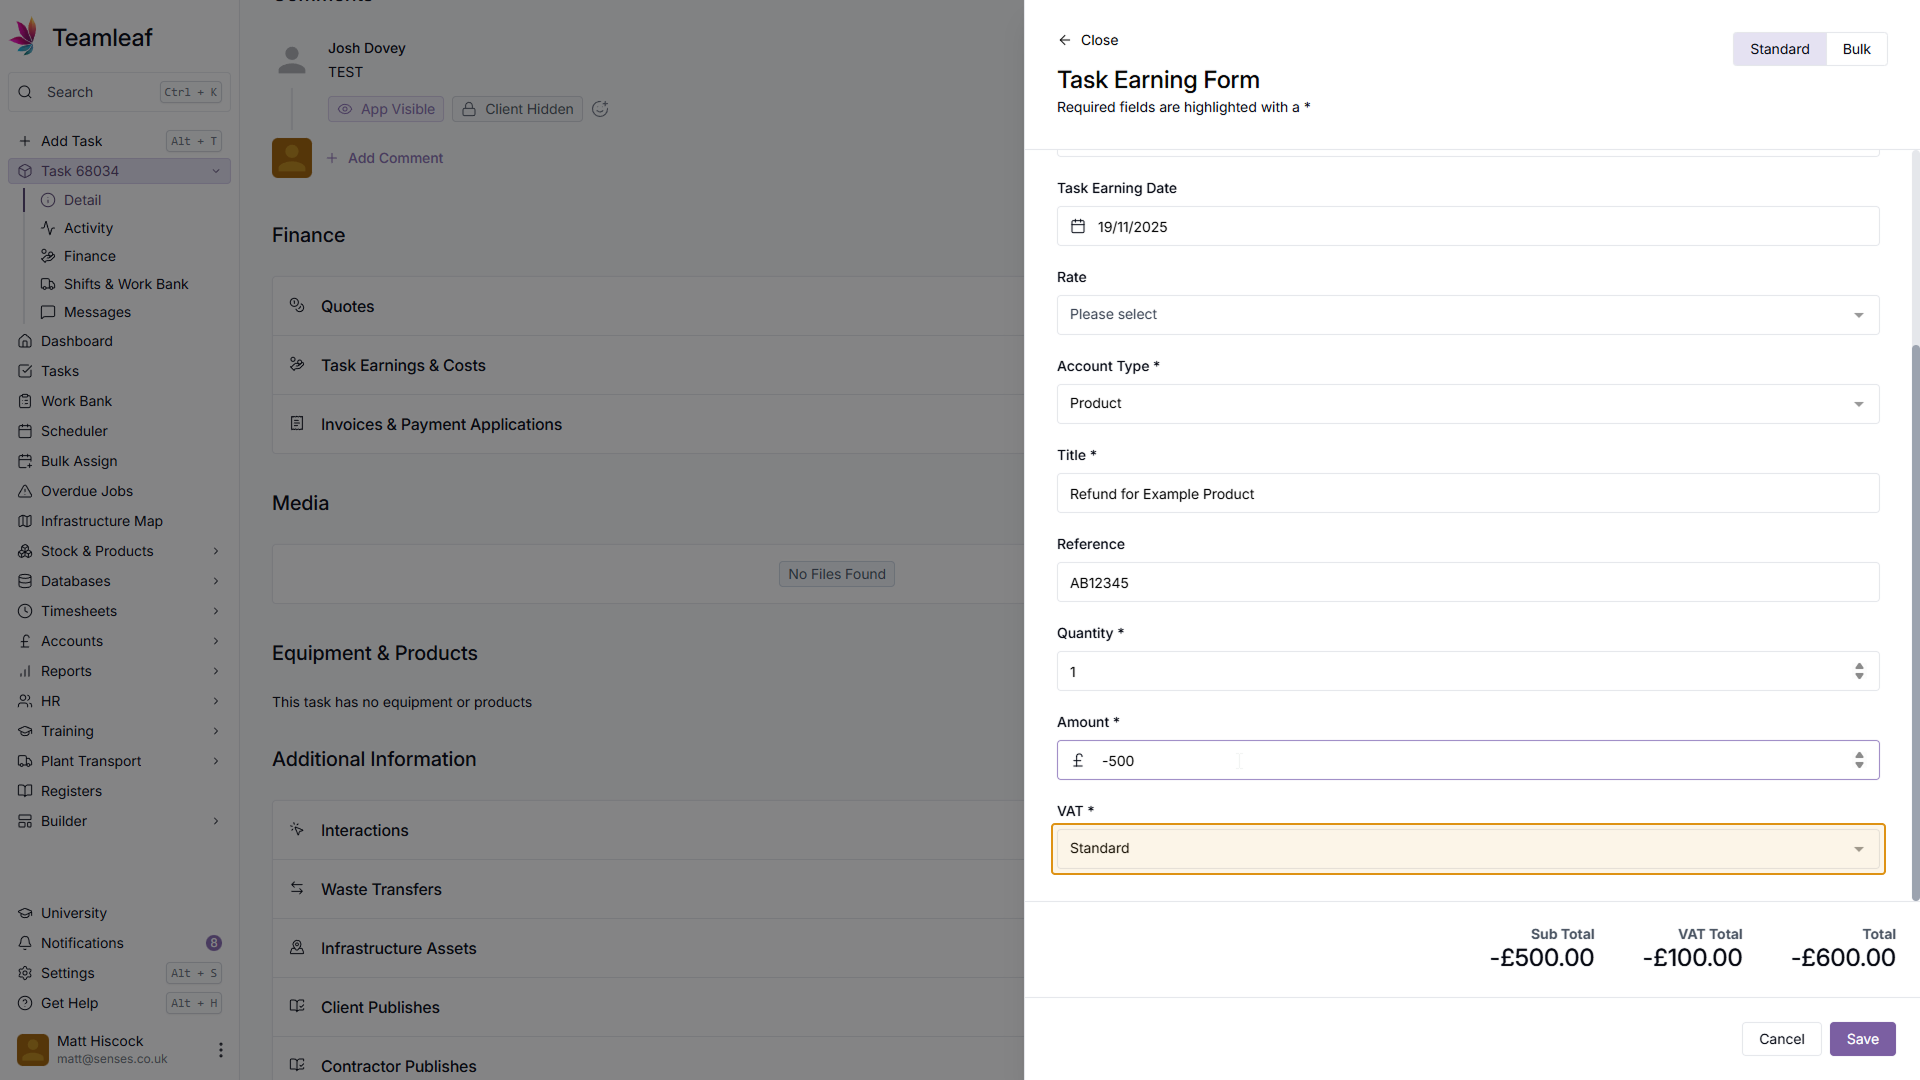
Select Earning Type
Now, you must create an earning with a negative value for the amount to go on the credit note. To start, select an Earning type.
Step 4
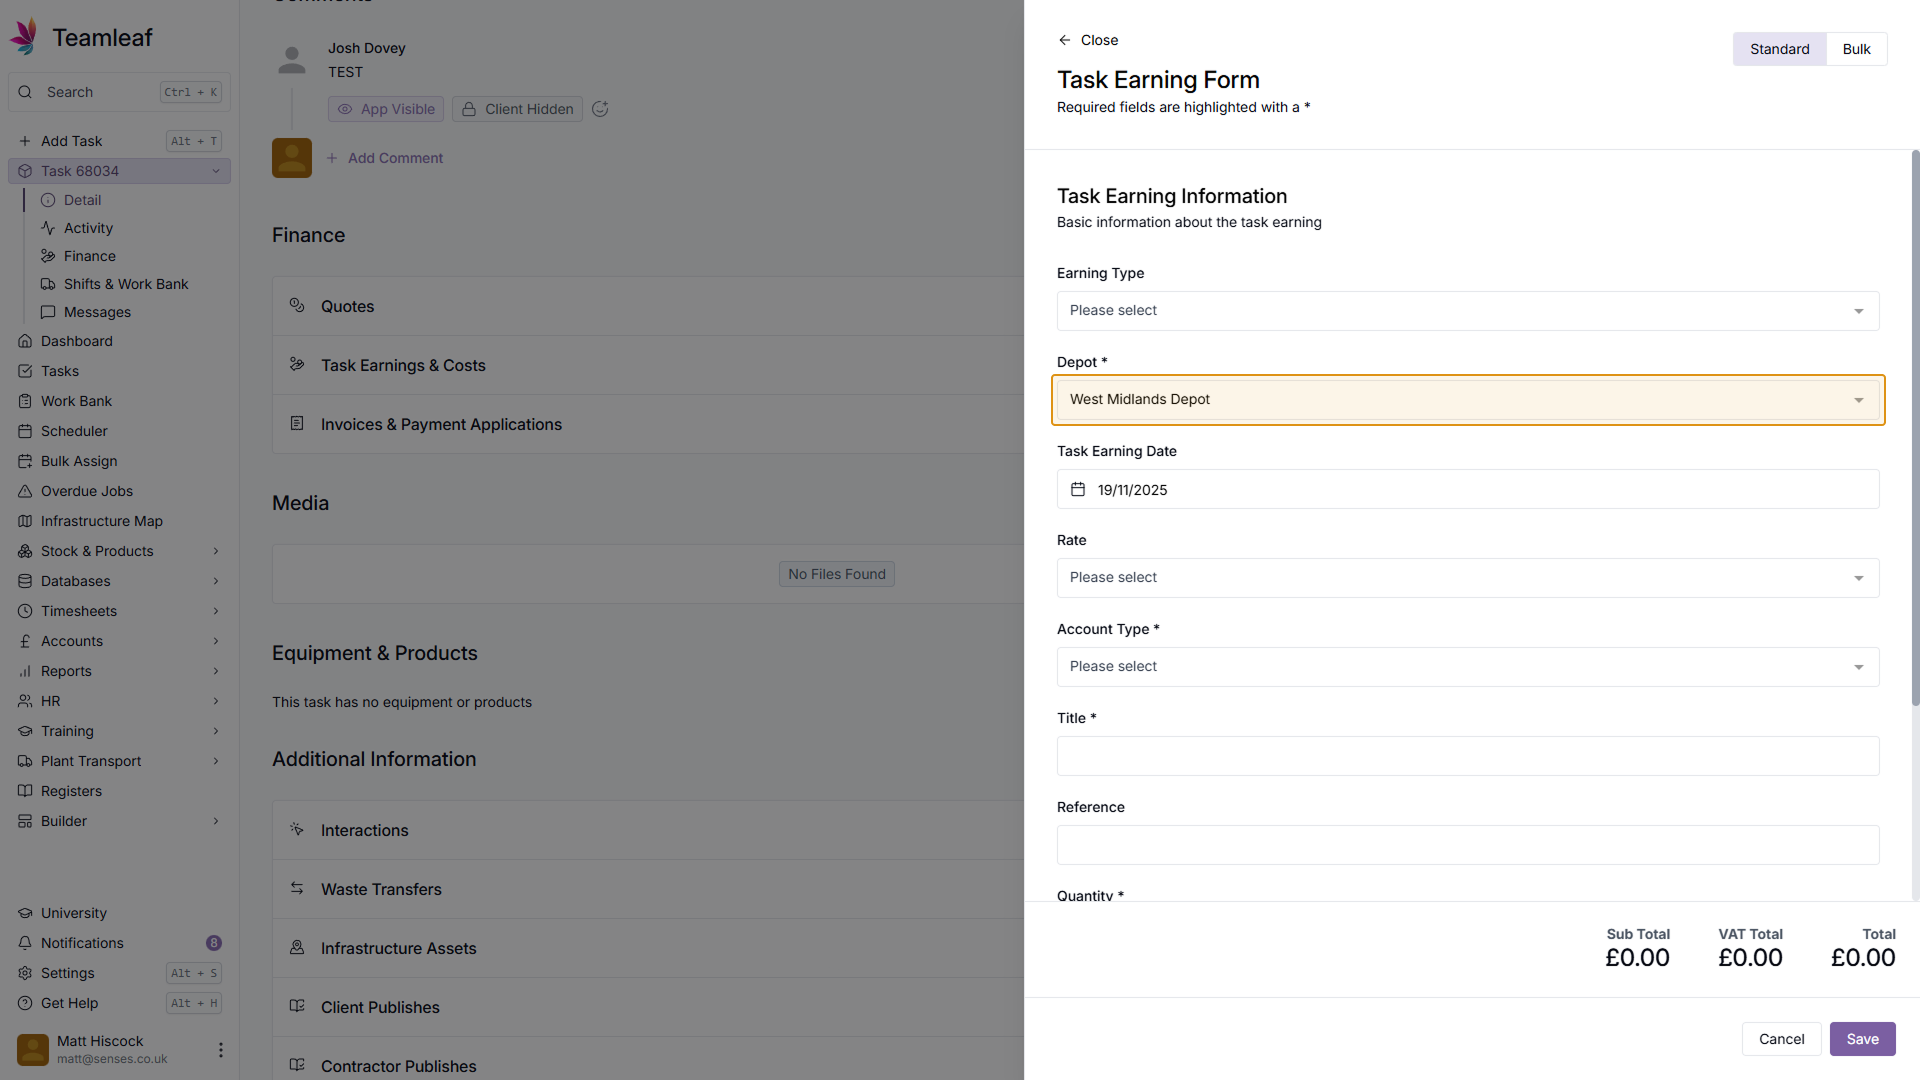
Select Depot
Next, select which depot you'd like this earning to be for - by default, the depot selected for this task will be selected.
Step 5
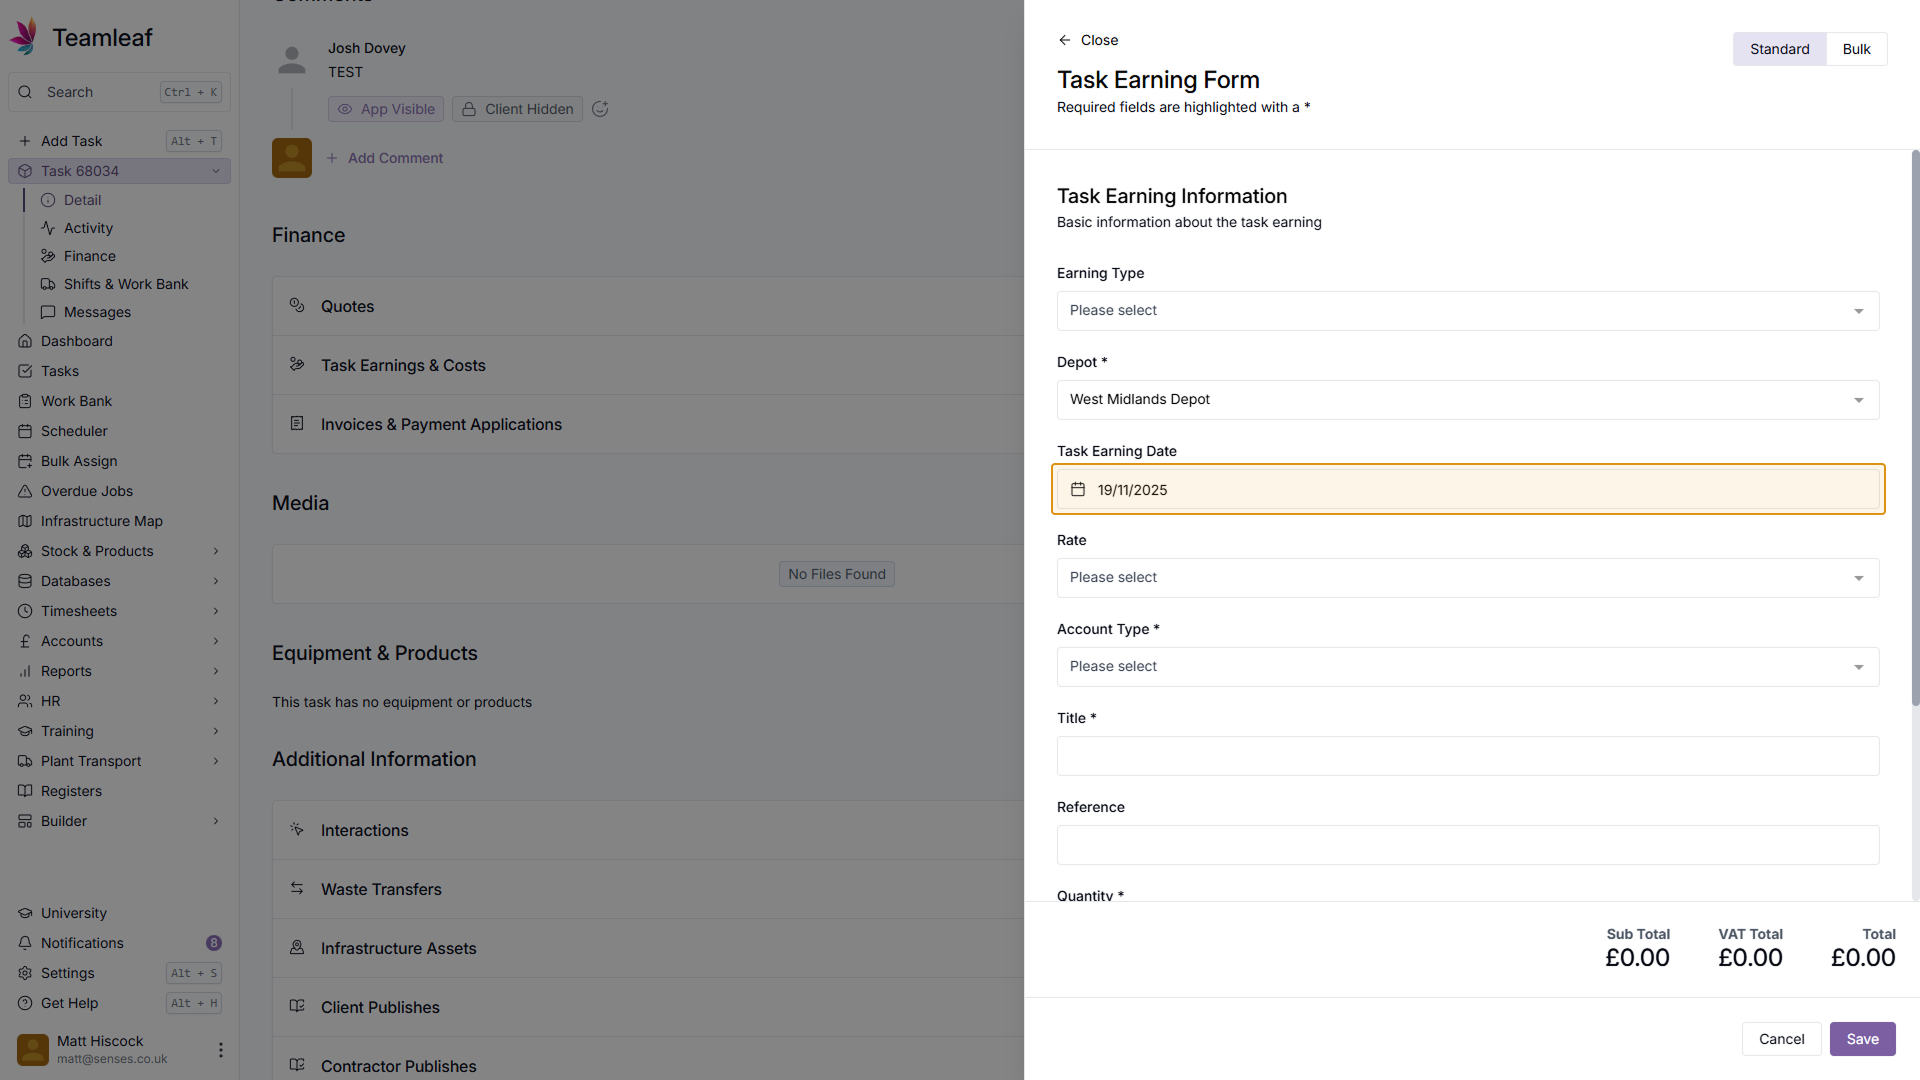
Select Task Earning Date
Next, select the Task Earning Date. By default, this will be today's date.
Step 6
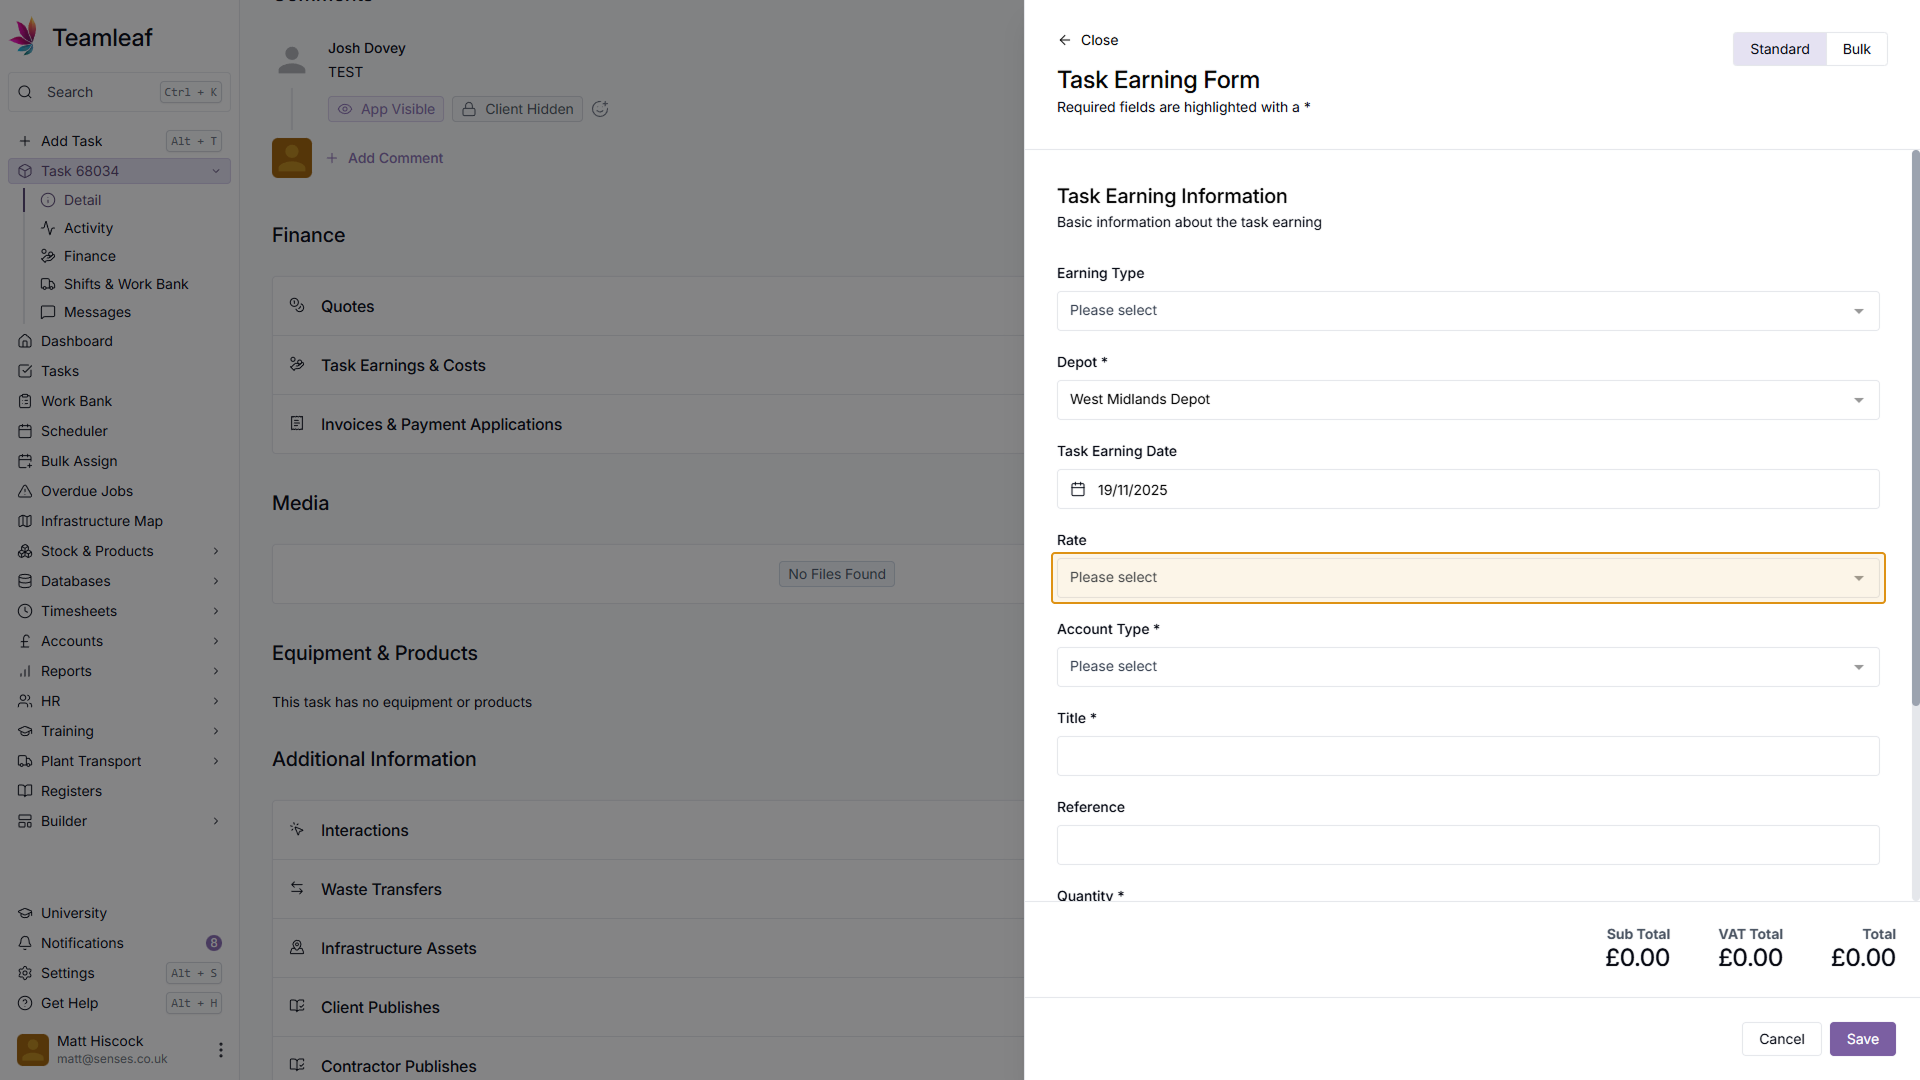
(Optional) Select Rate
Next, if you wish, select a Rate
Step 7
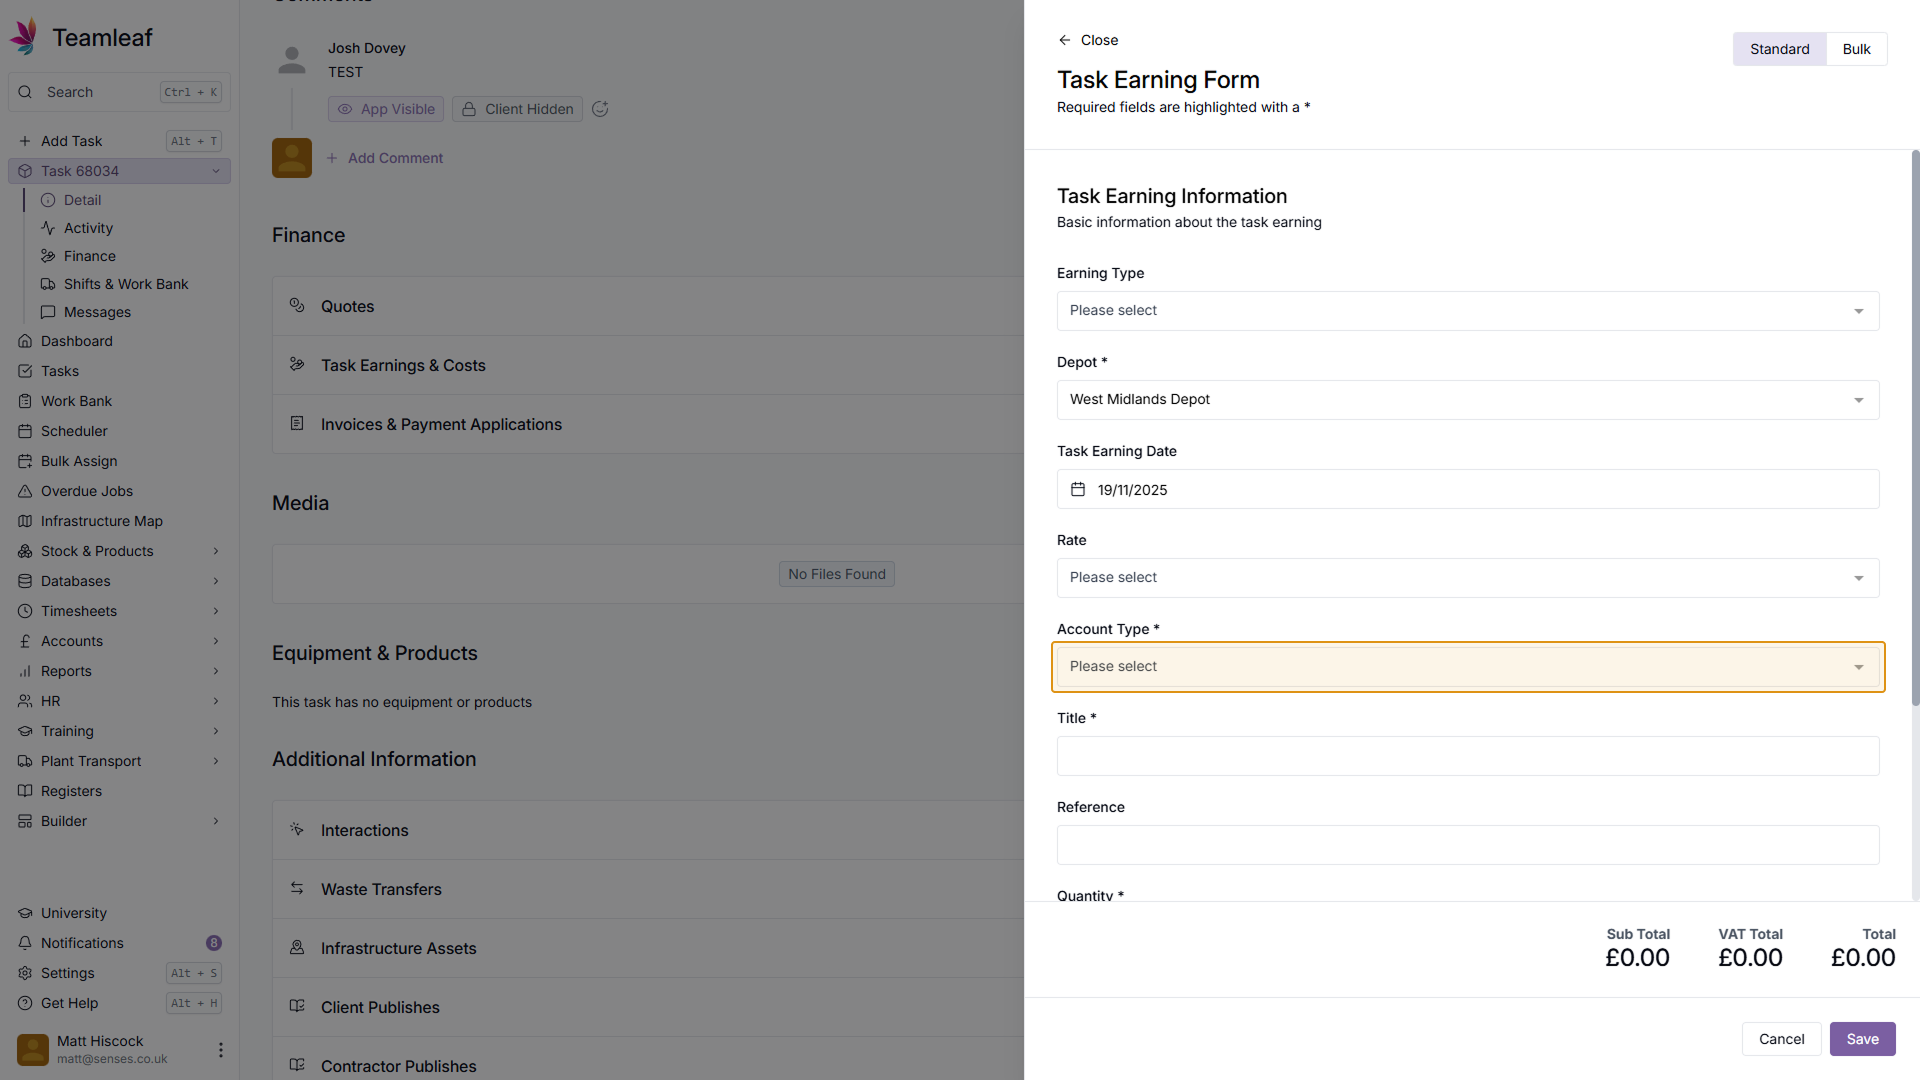
Select Account Type
Next, select an account type for this earning
Step 8
Enter Earning Title
Once you've selected an Account Type, enter a Title for this Task Earning
Step 9
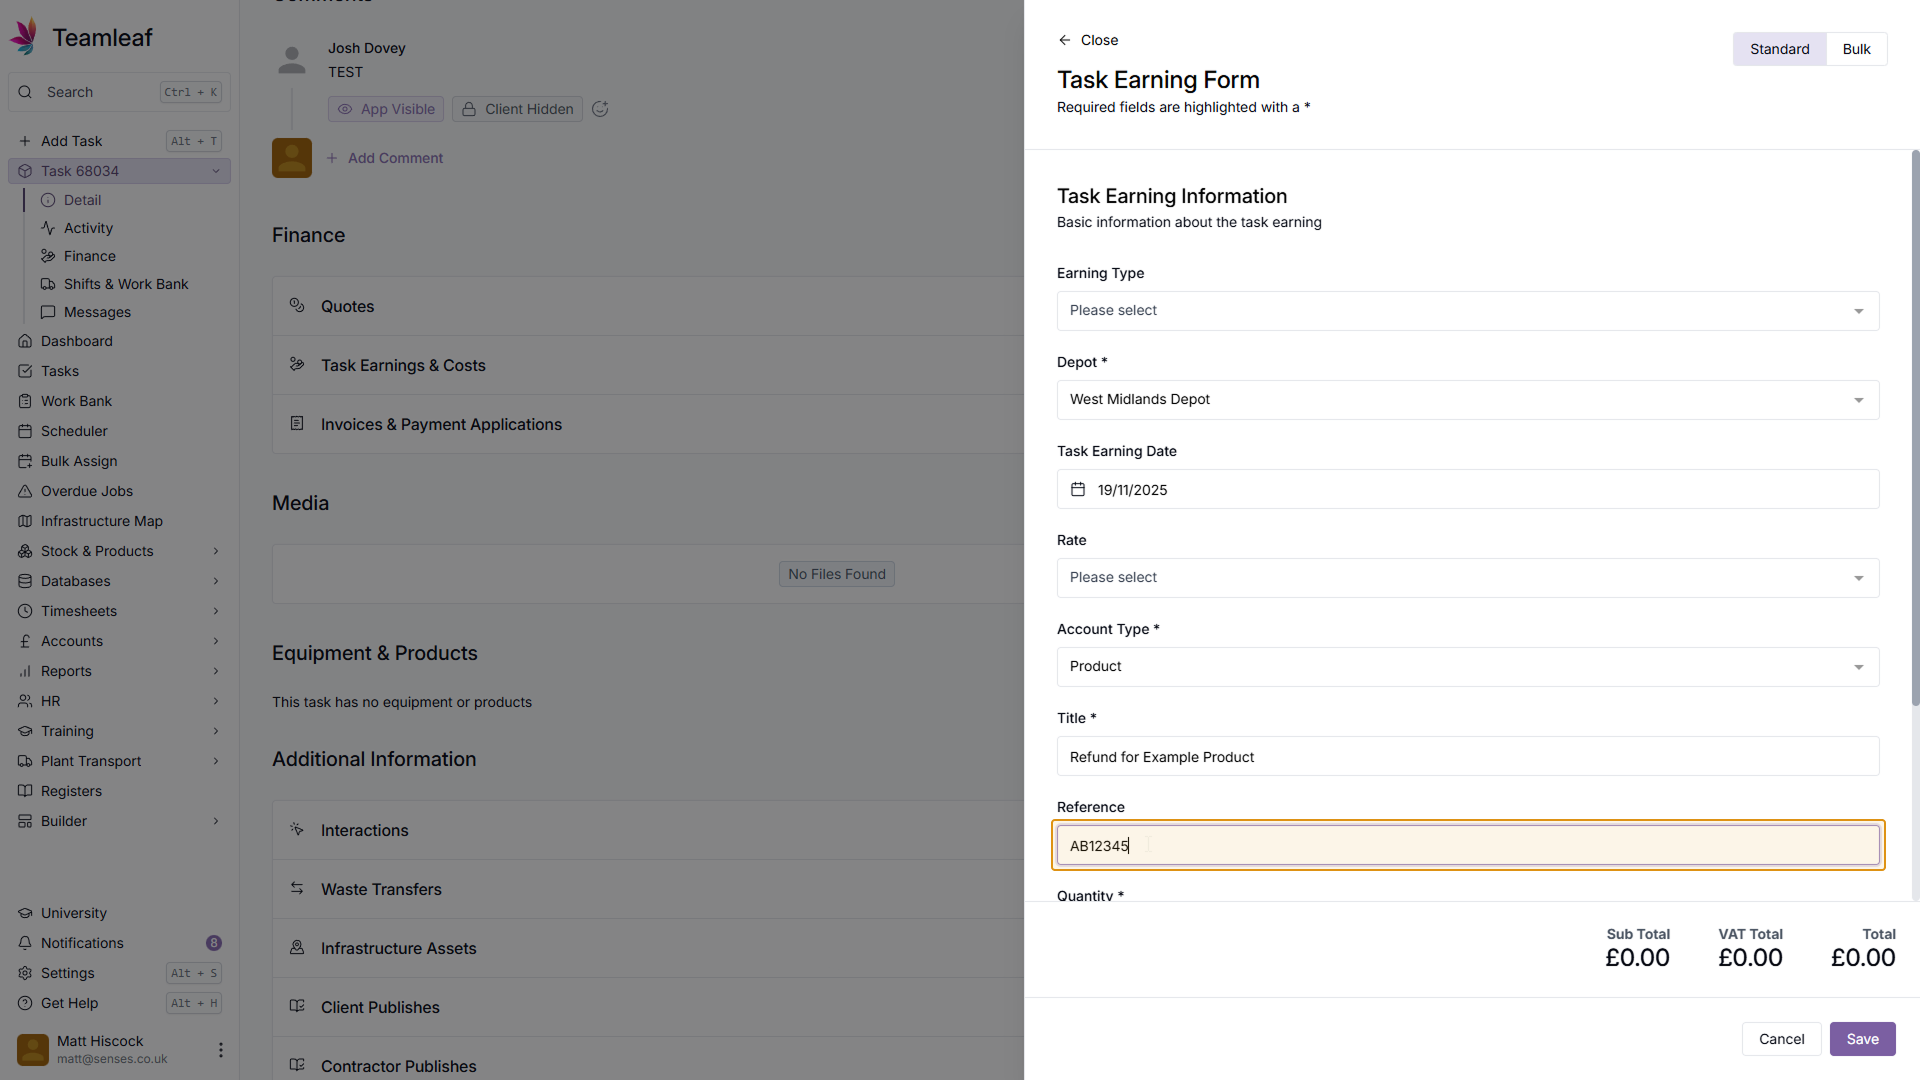
(Optional) Enter Reference
Next, if you wish, you can enter a Reference
Step 10
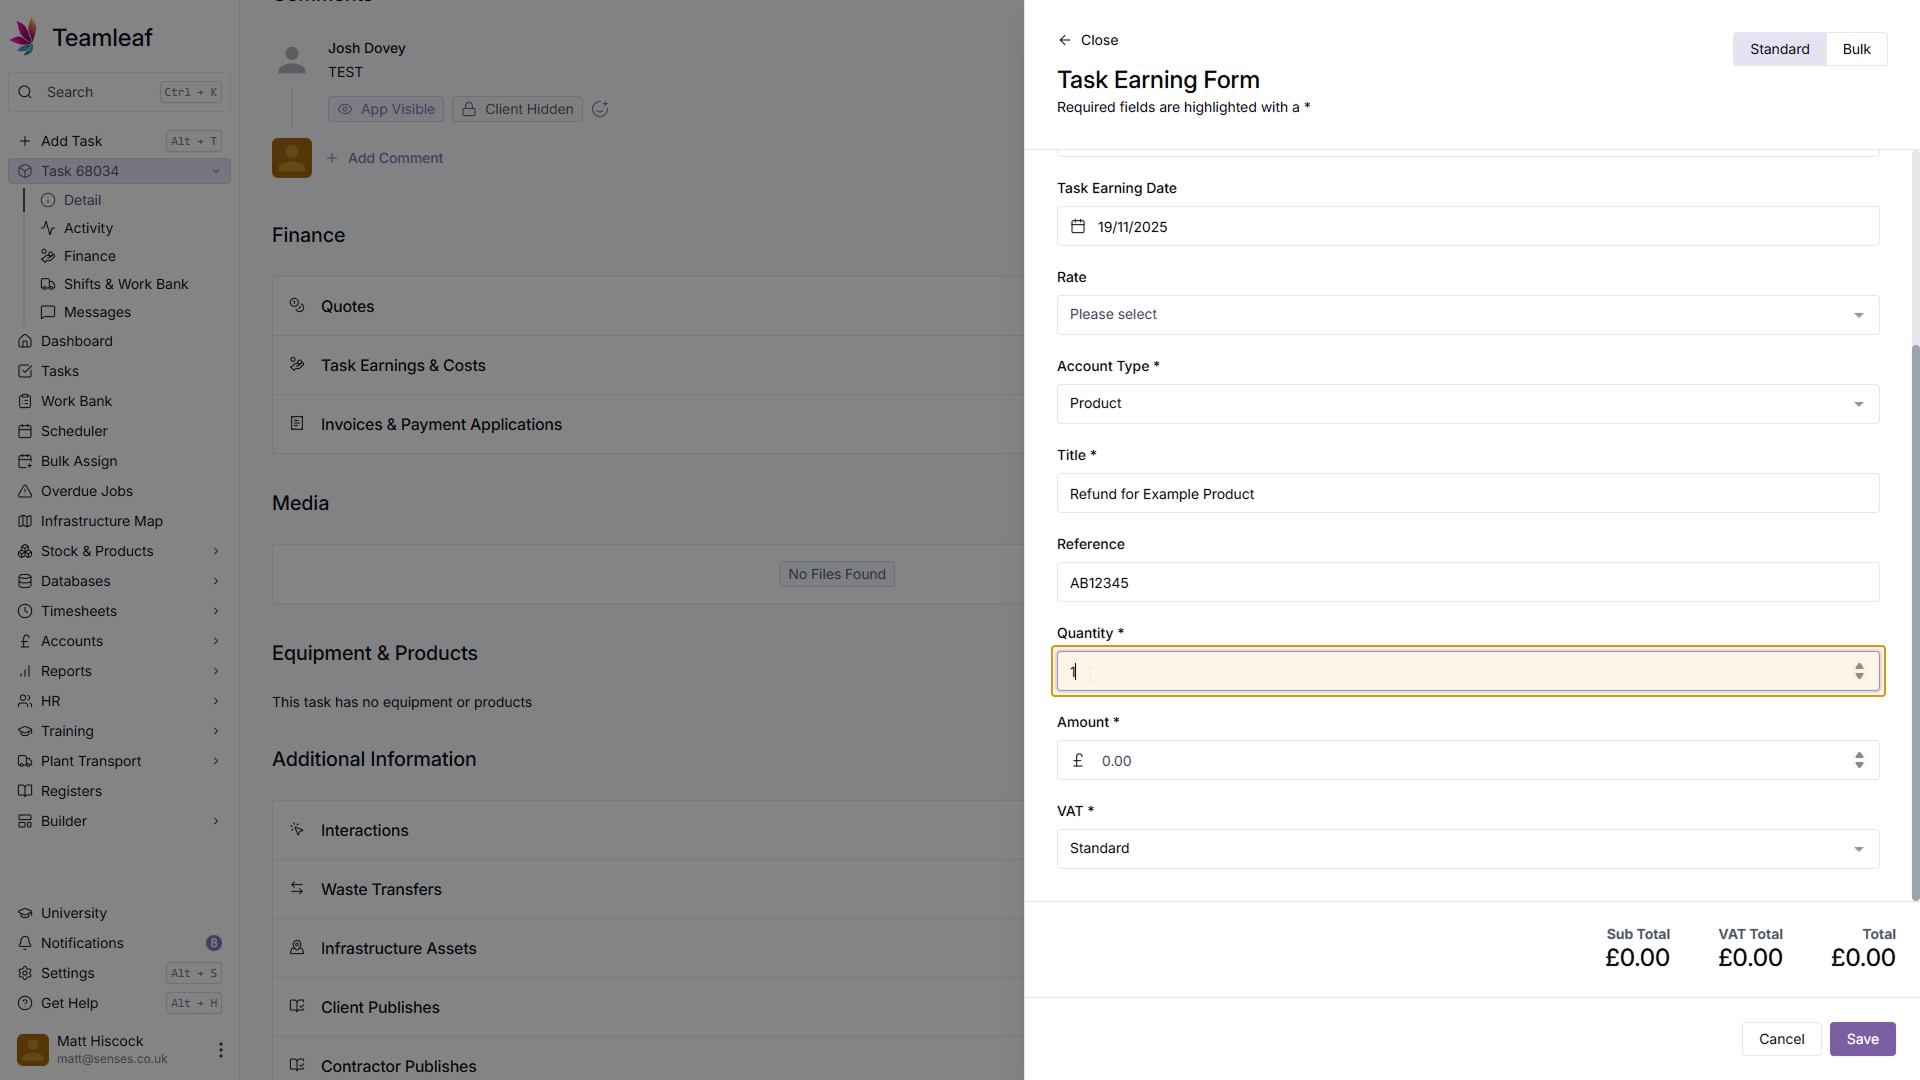
Select Quantity
Next, select the quantity for this Earning
Step 11
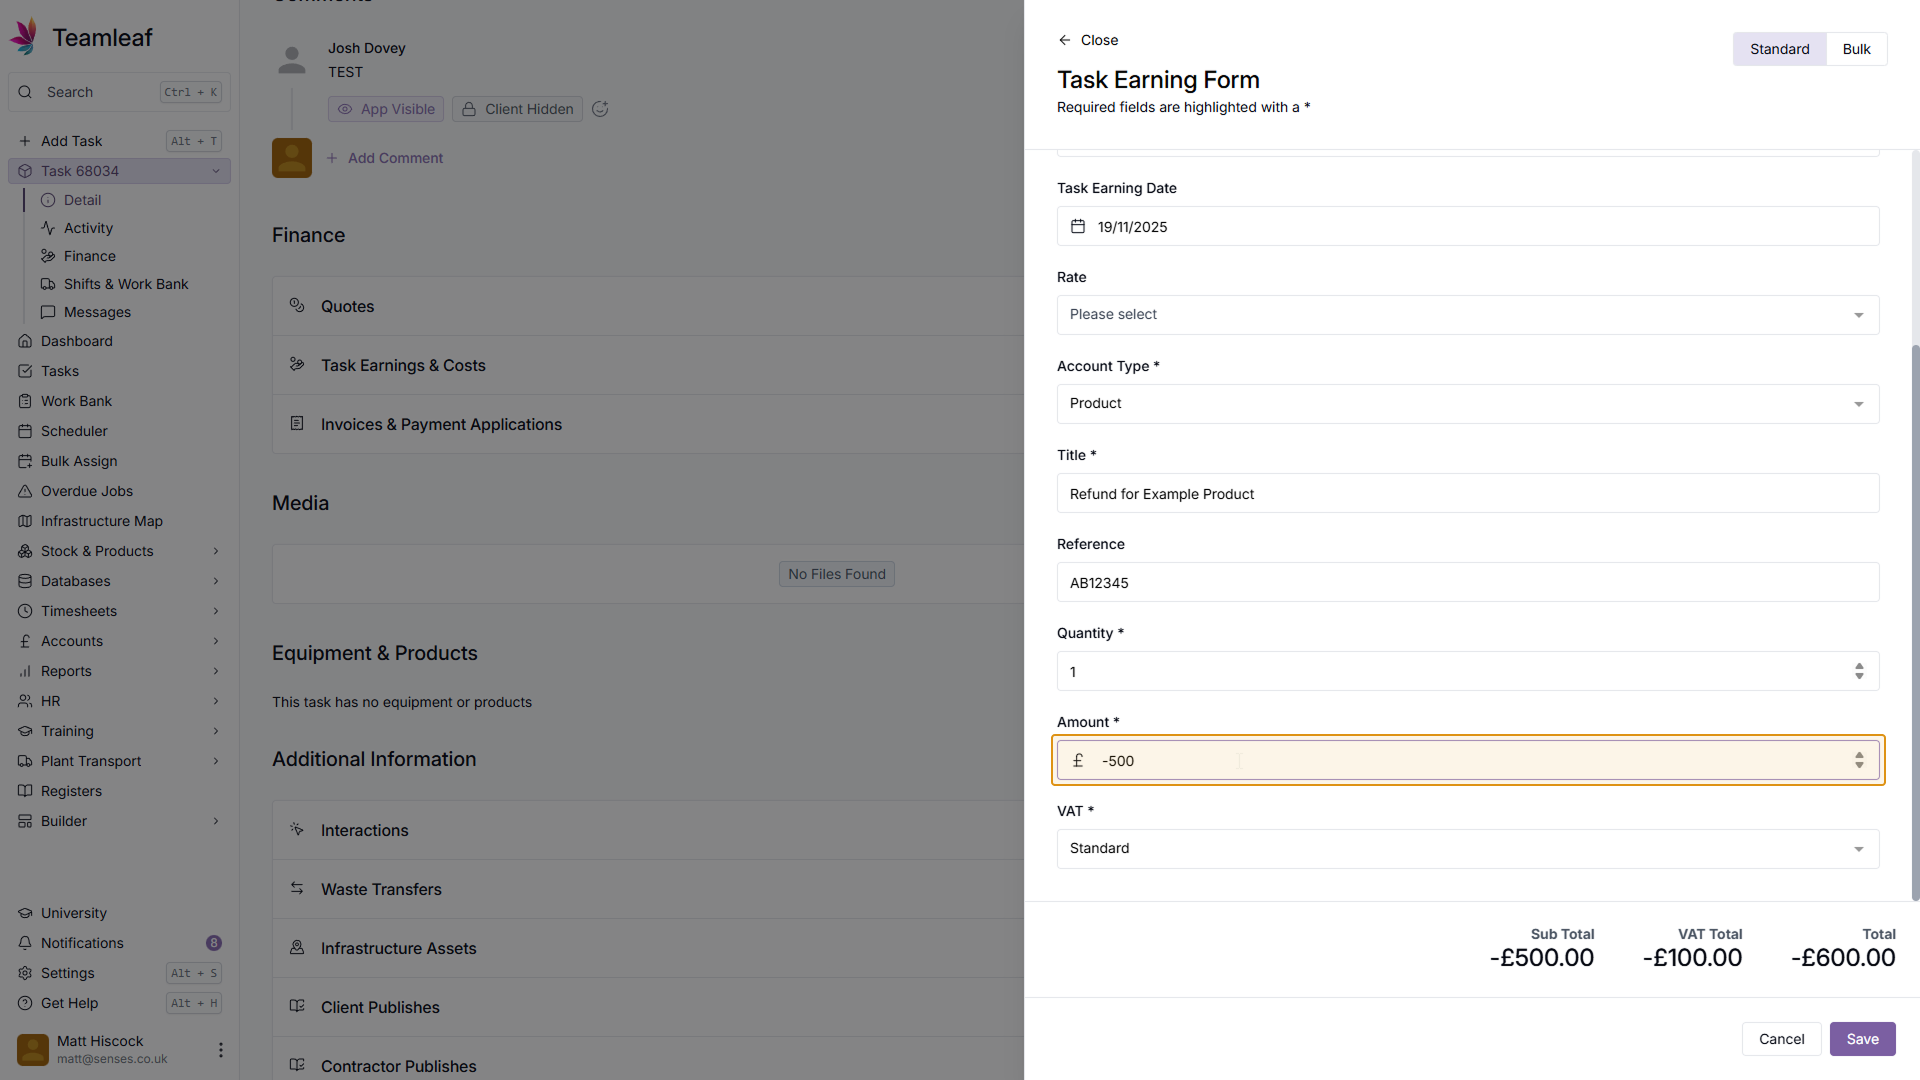
Select Amount
Next, enter the value to be added to the credit note - this should be added as a negative number.
Step 12
Select VAT
Next, change the VAT to the option you need (if you wish)
Step 13
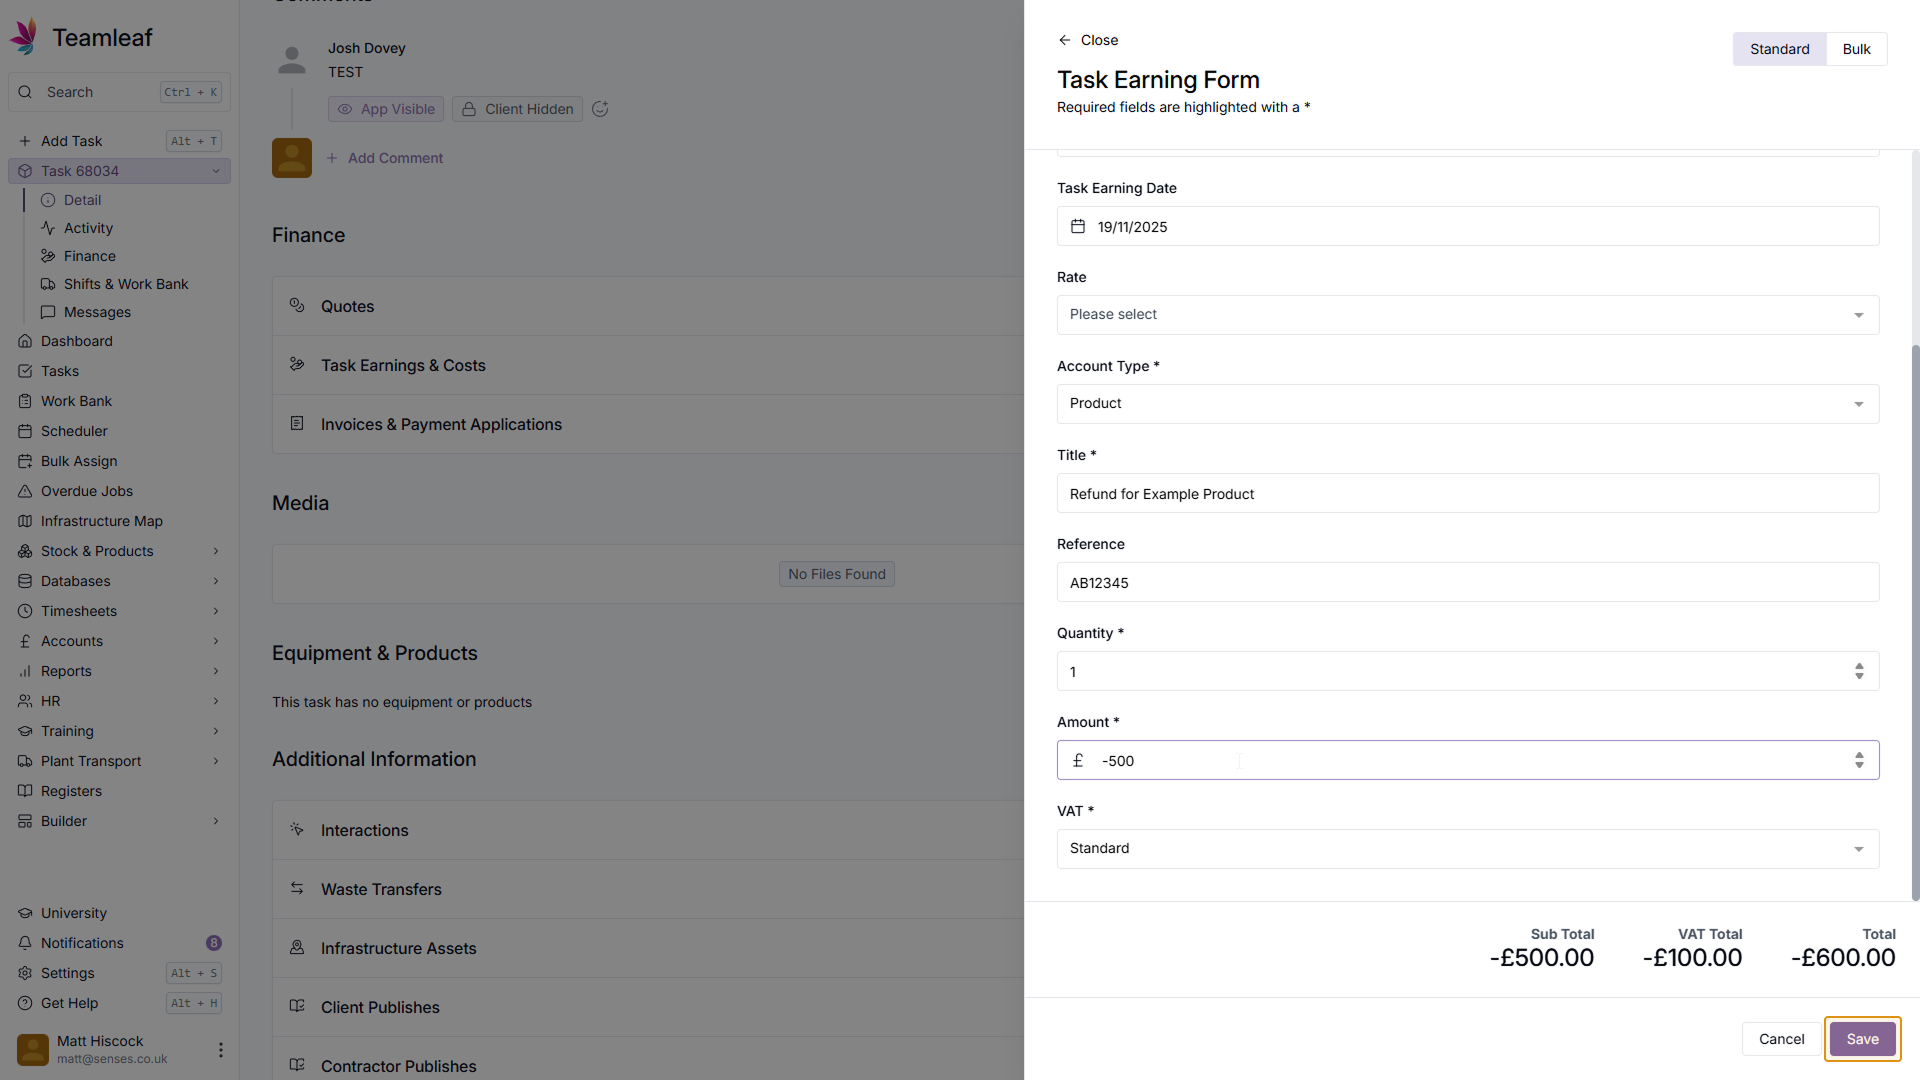
Save Task Earning
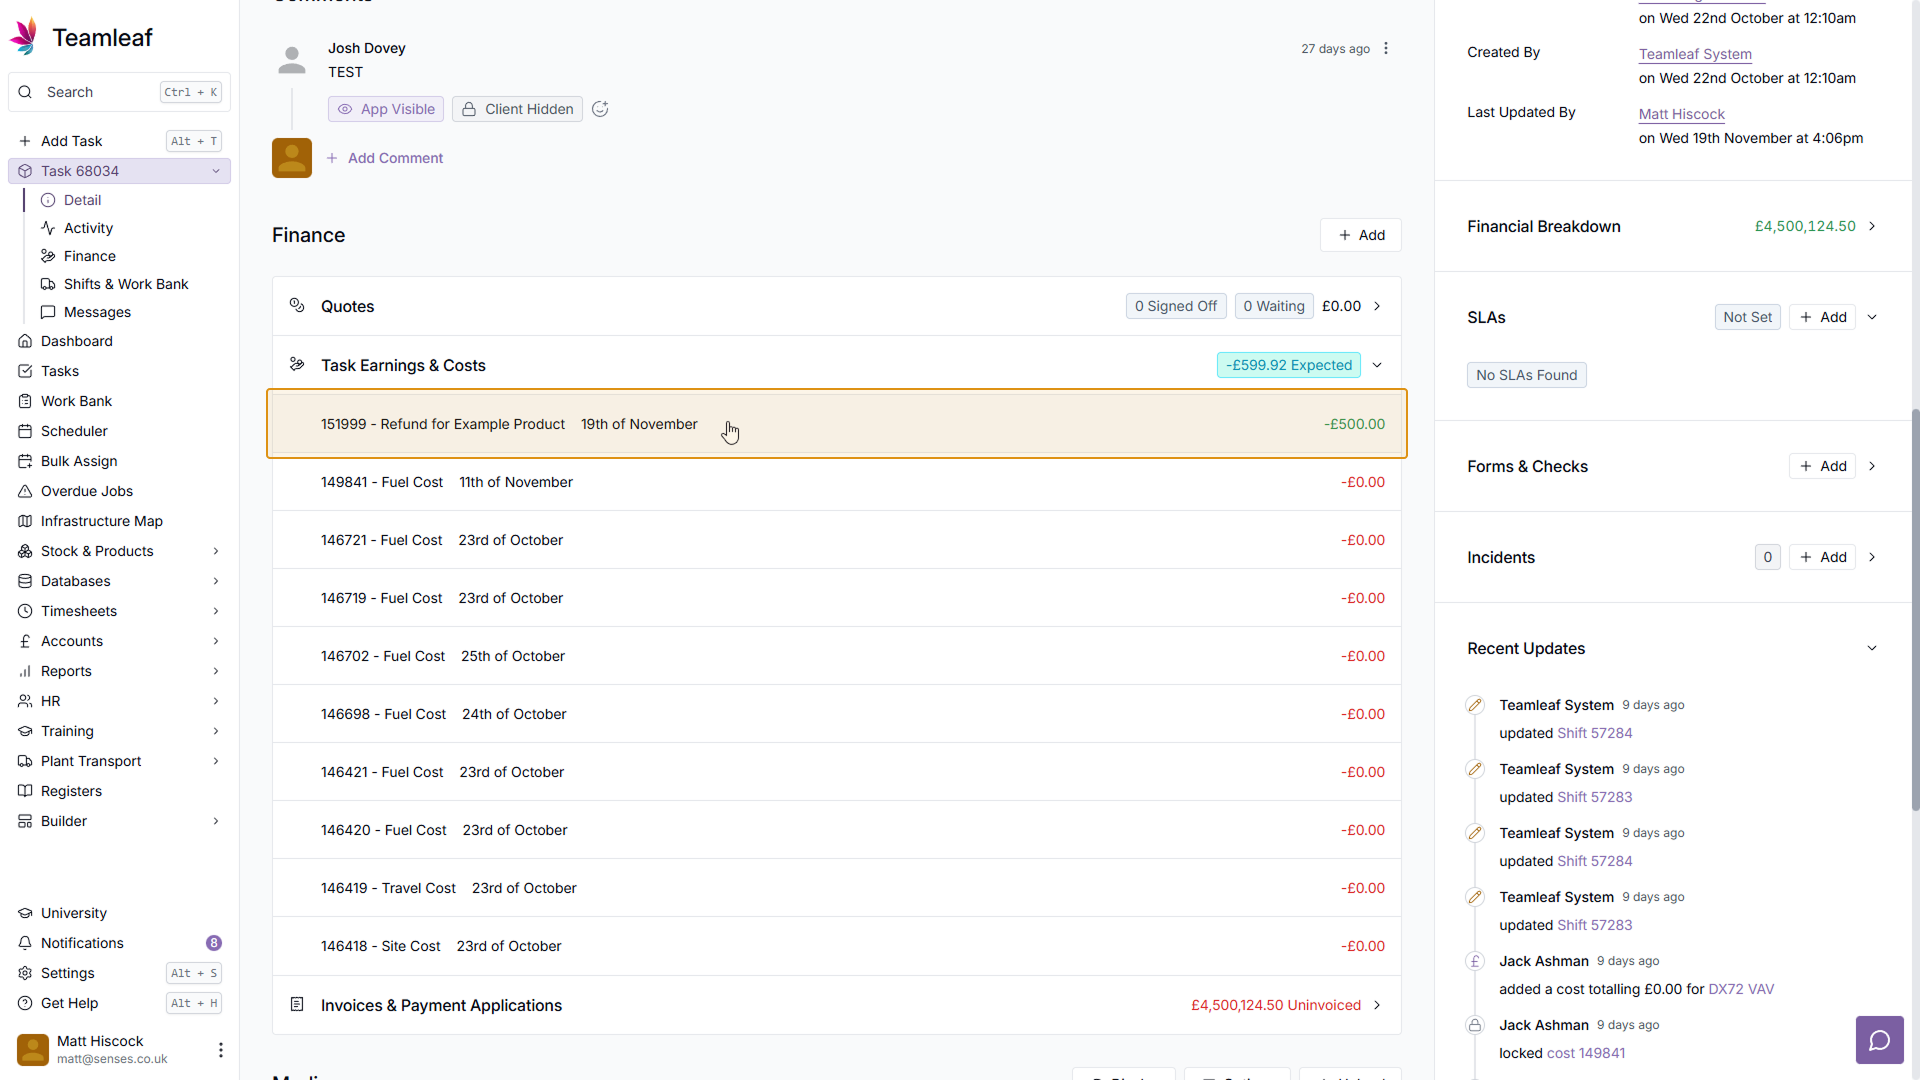
Once you're happy with the Task Earning, click 'Save' in the bottom right. The Task Earning will now be added to the 'Task Earnings & Costs' section of the Task
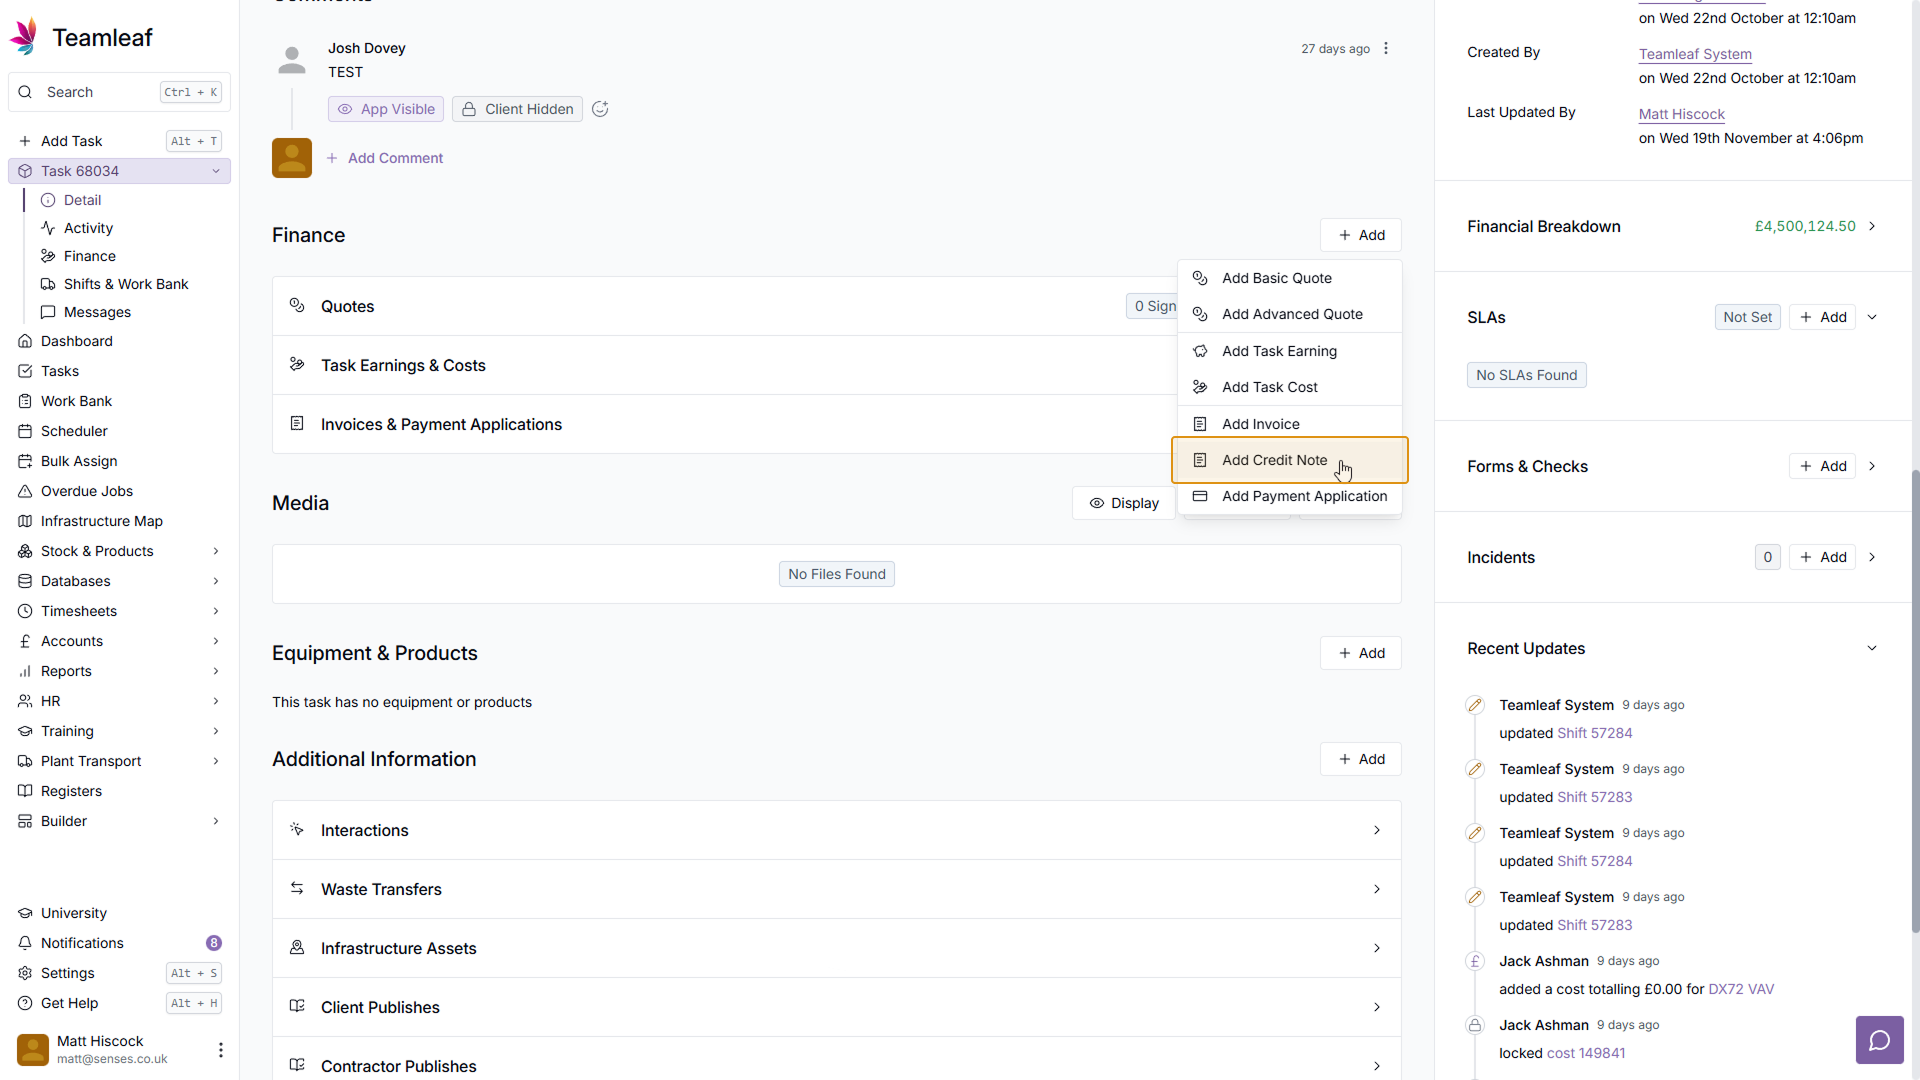
Step 14
Click 'Add Credit Note'
Next, to add the credit note, click the 'Add' button in the Finance section, and click 'Add Credit Note' in the dropdown menu that opens.
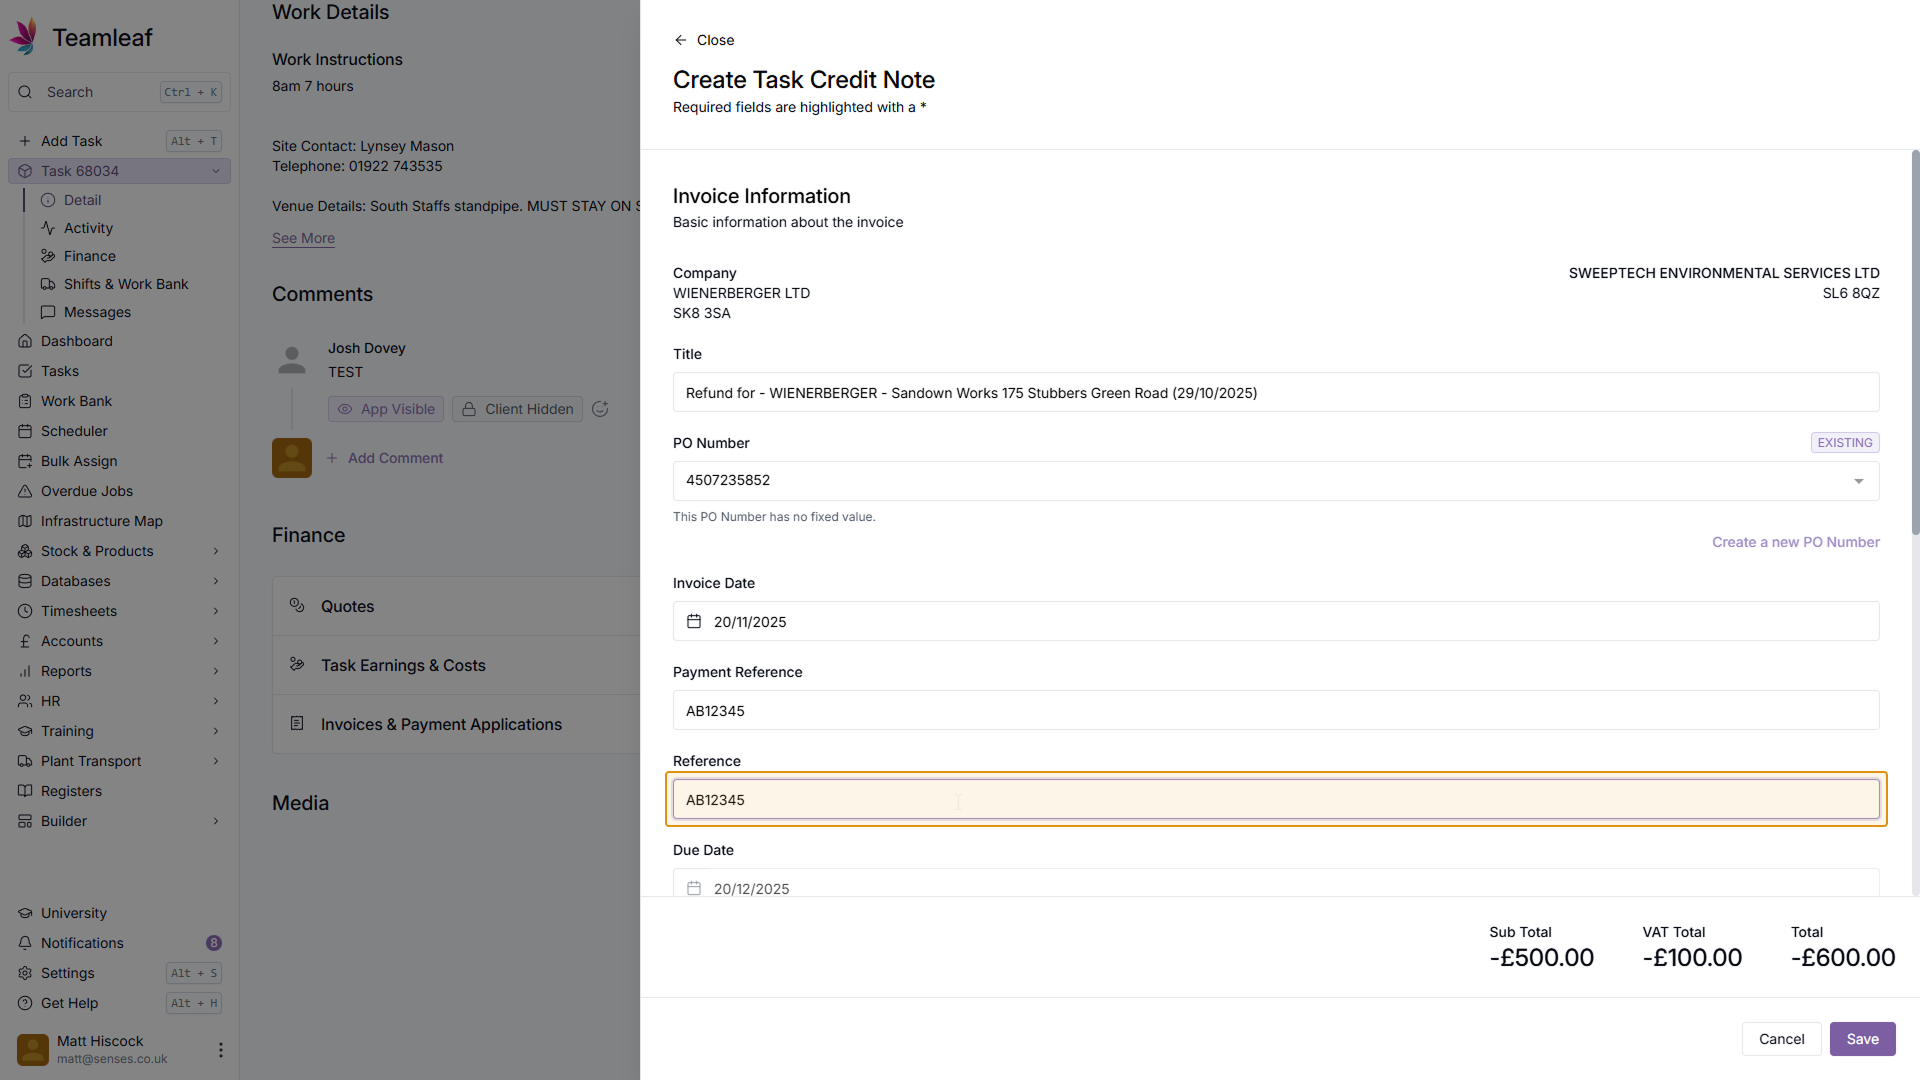
Step 15
(Optional) Change Title
By default the Title of the Credit Note will be the Task Title, but you can update this if you wish.

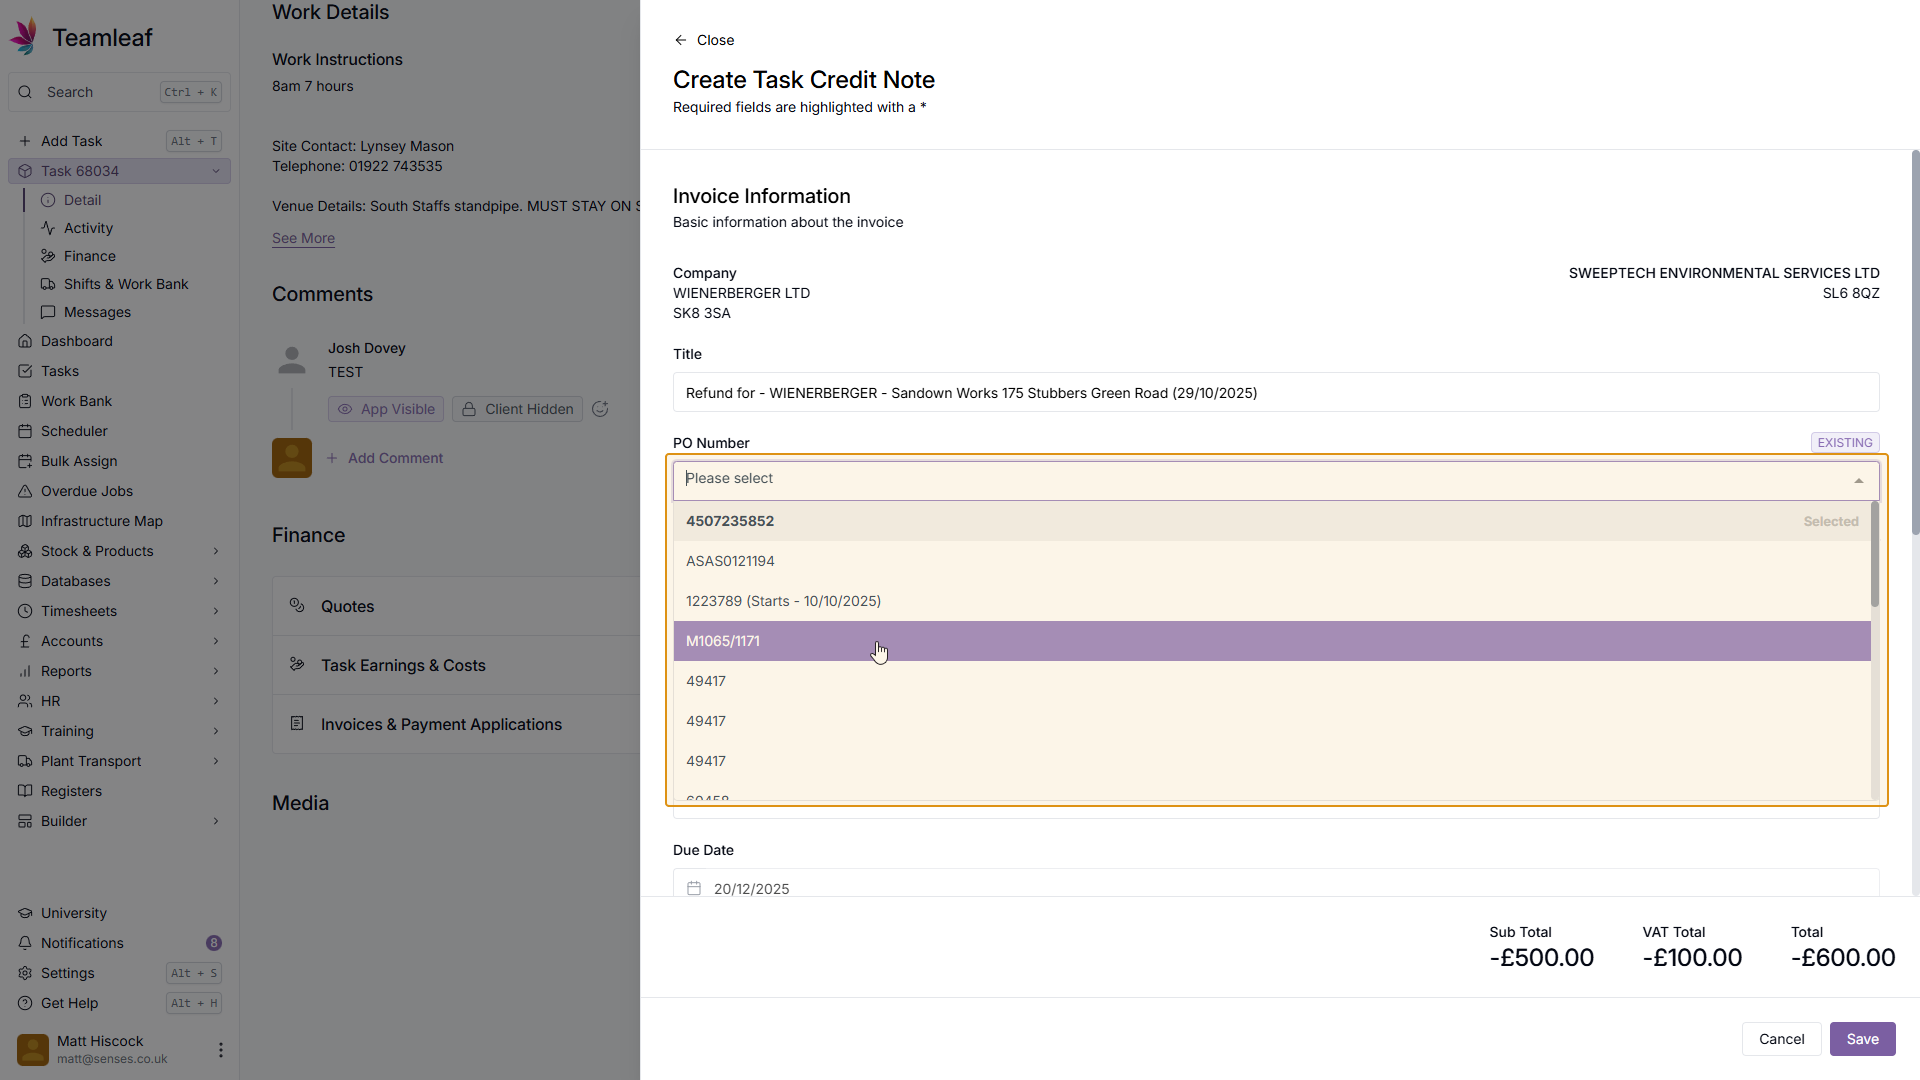
Step 16
(Optional) Select PO Number
Next, select a PO Number, or create a new one if needed
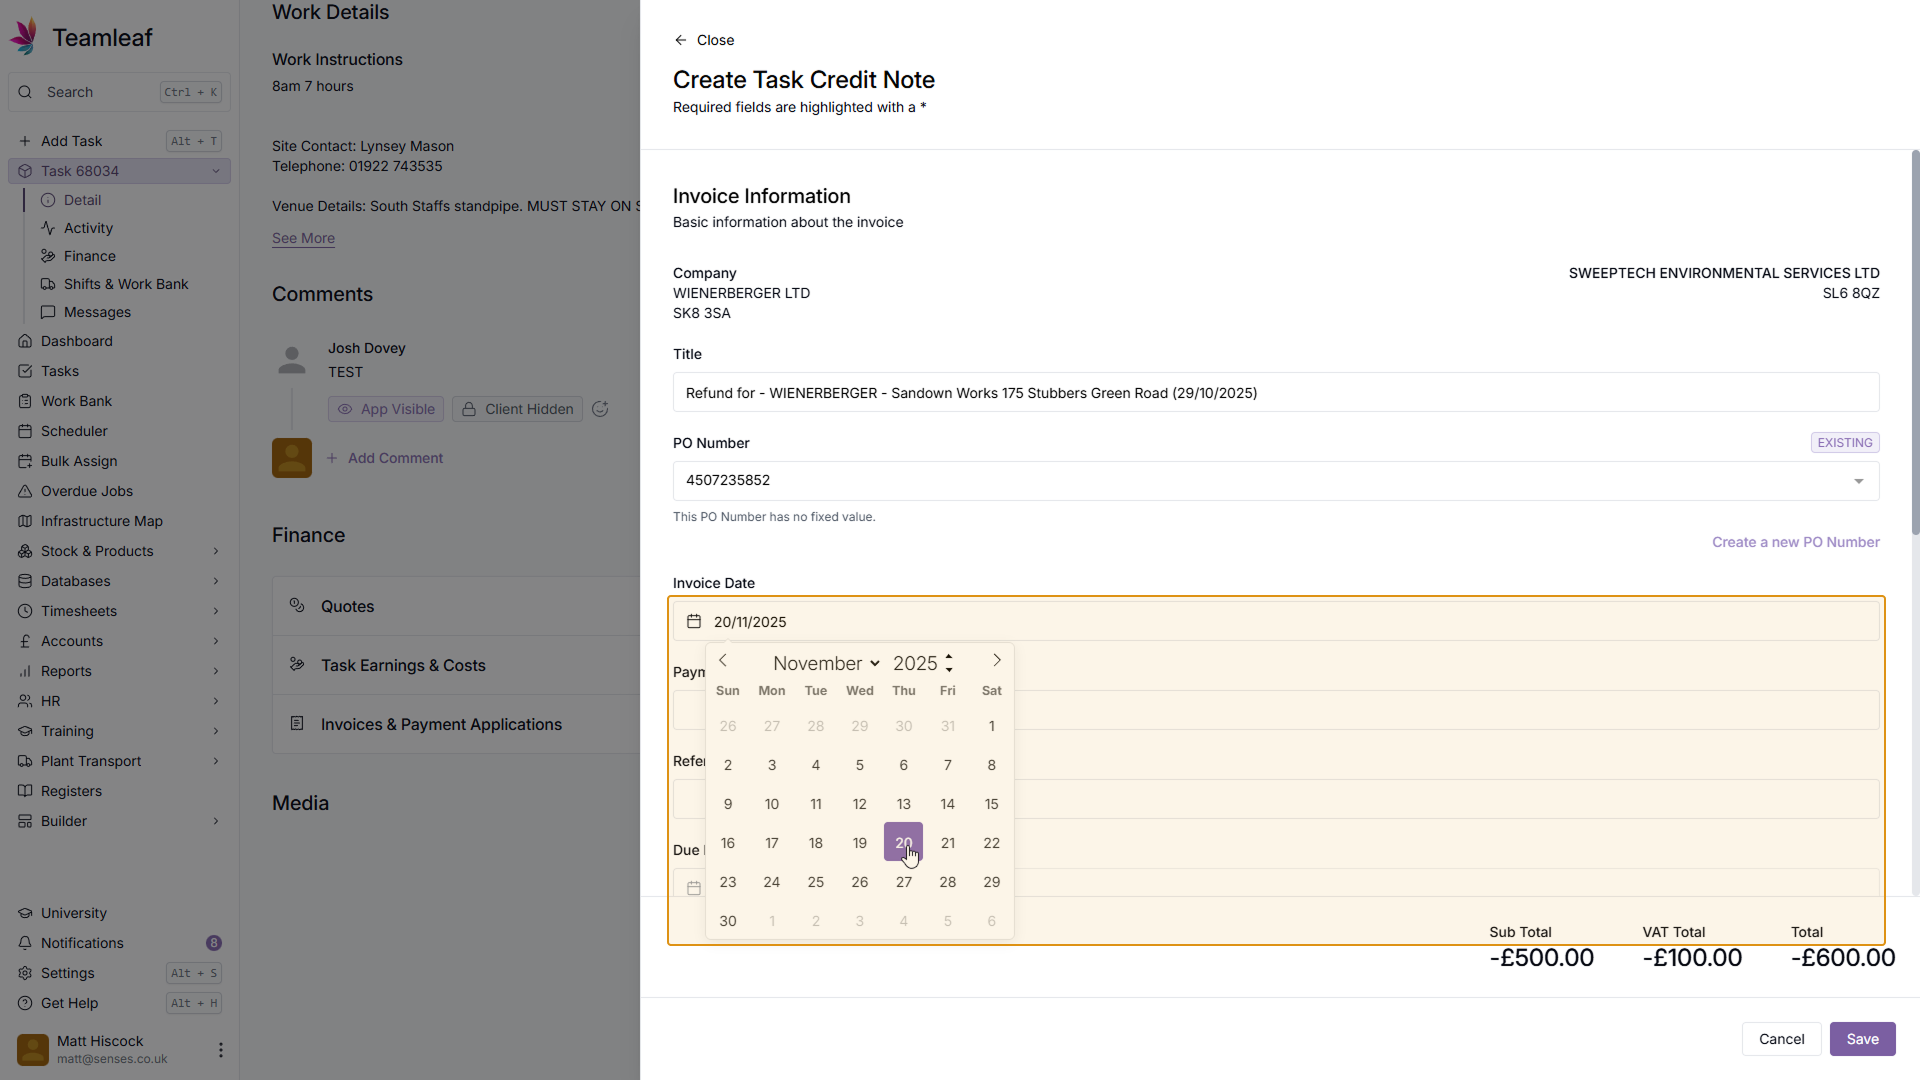
Step 17
(Optional) Update Invoice Date
By default, the invoice date will be today's date, you can update this if you wish.
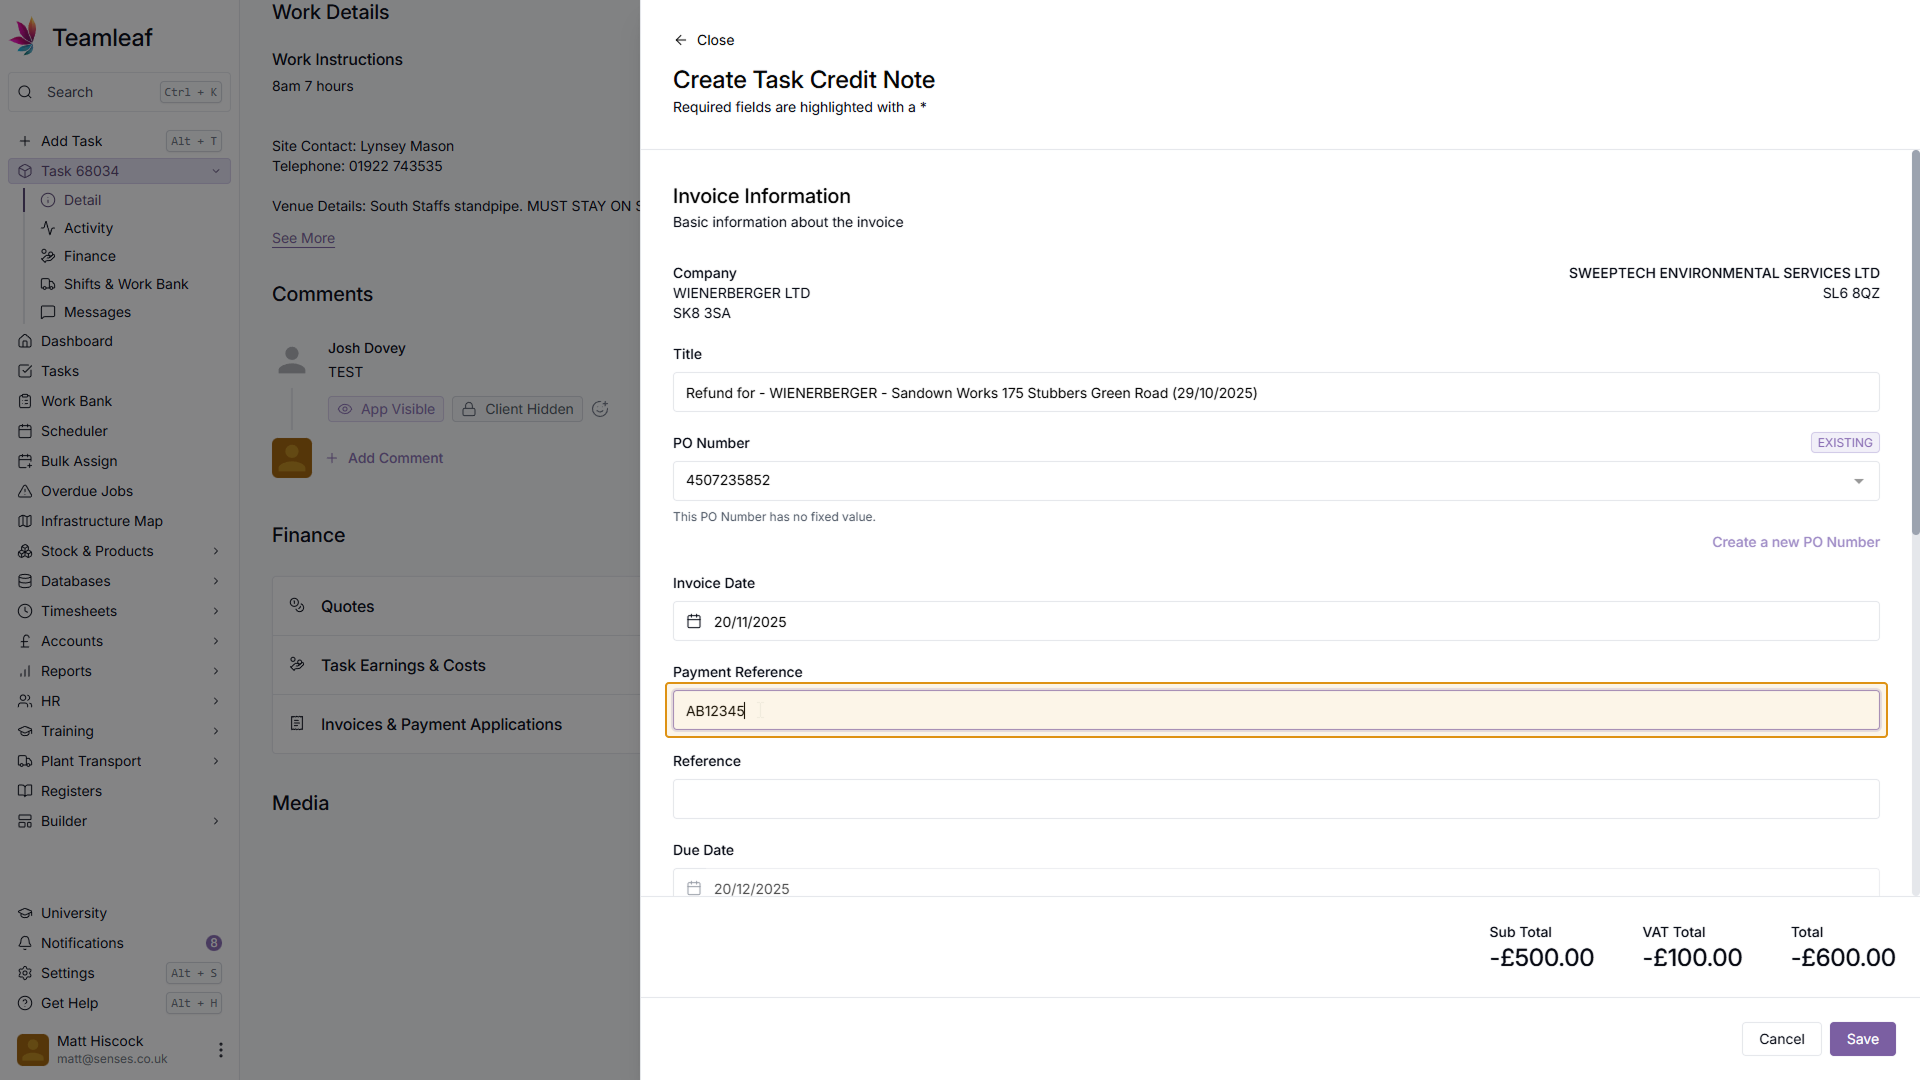
Step 18
(Optional) Add Payment Reference
If you wish, you can add a payment reference to this credit note
Step 19
(Optional) Add Reference
Next, if you wish, you can add a reference to this credit note
Step 20
Select Finance Submit and Sign Off Invoice options
Next, select whether you would like the Finance Submit and the Sign Off Invoice options to be selected
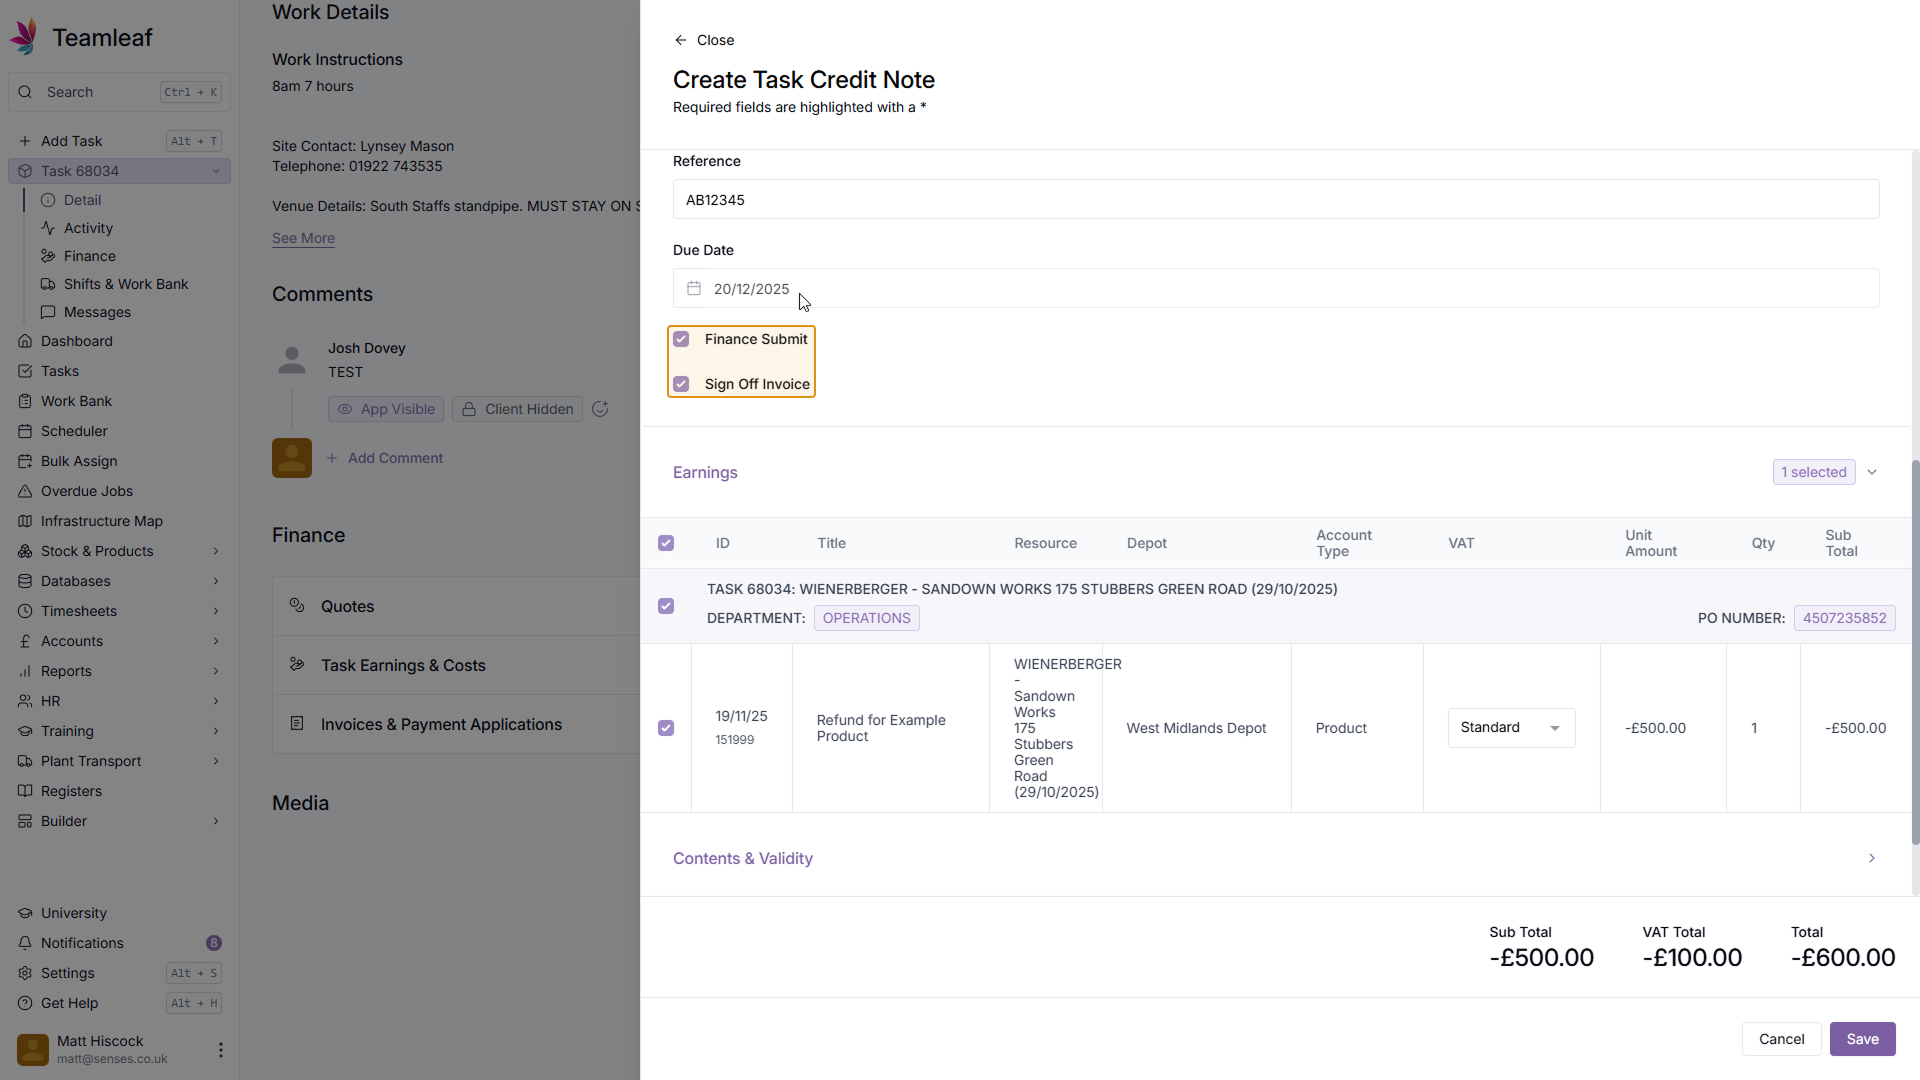
Step 21
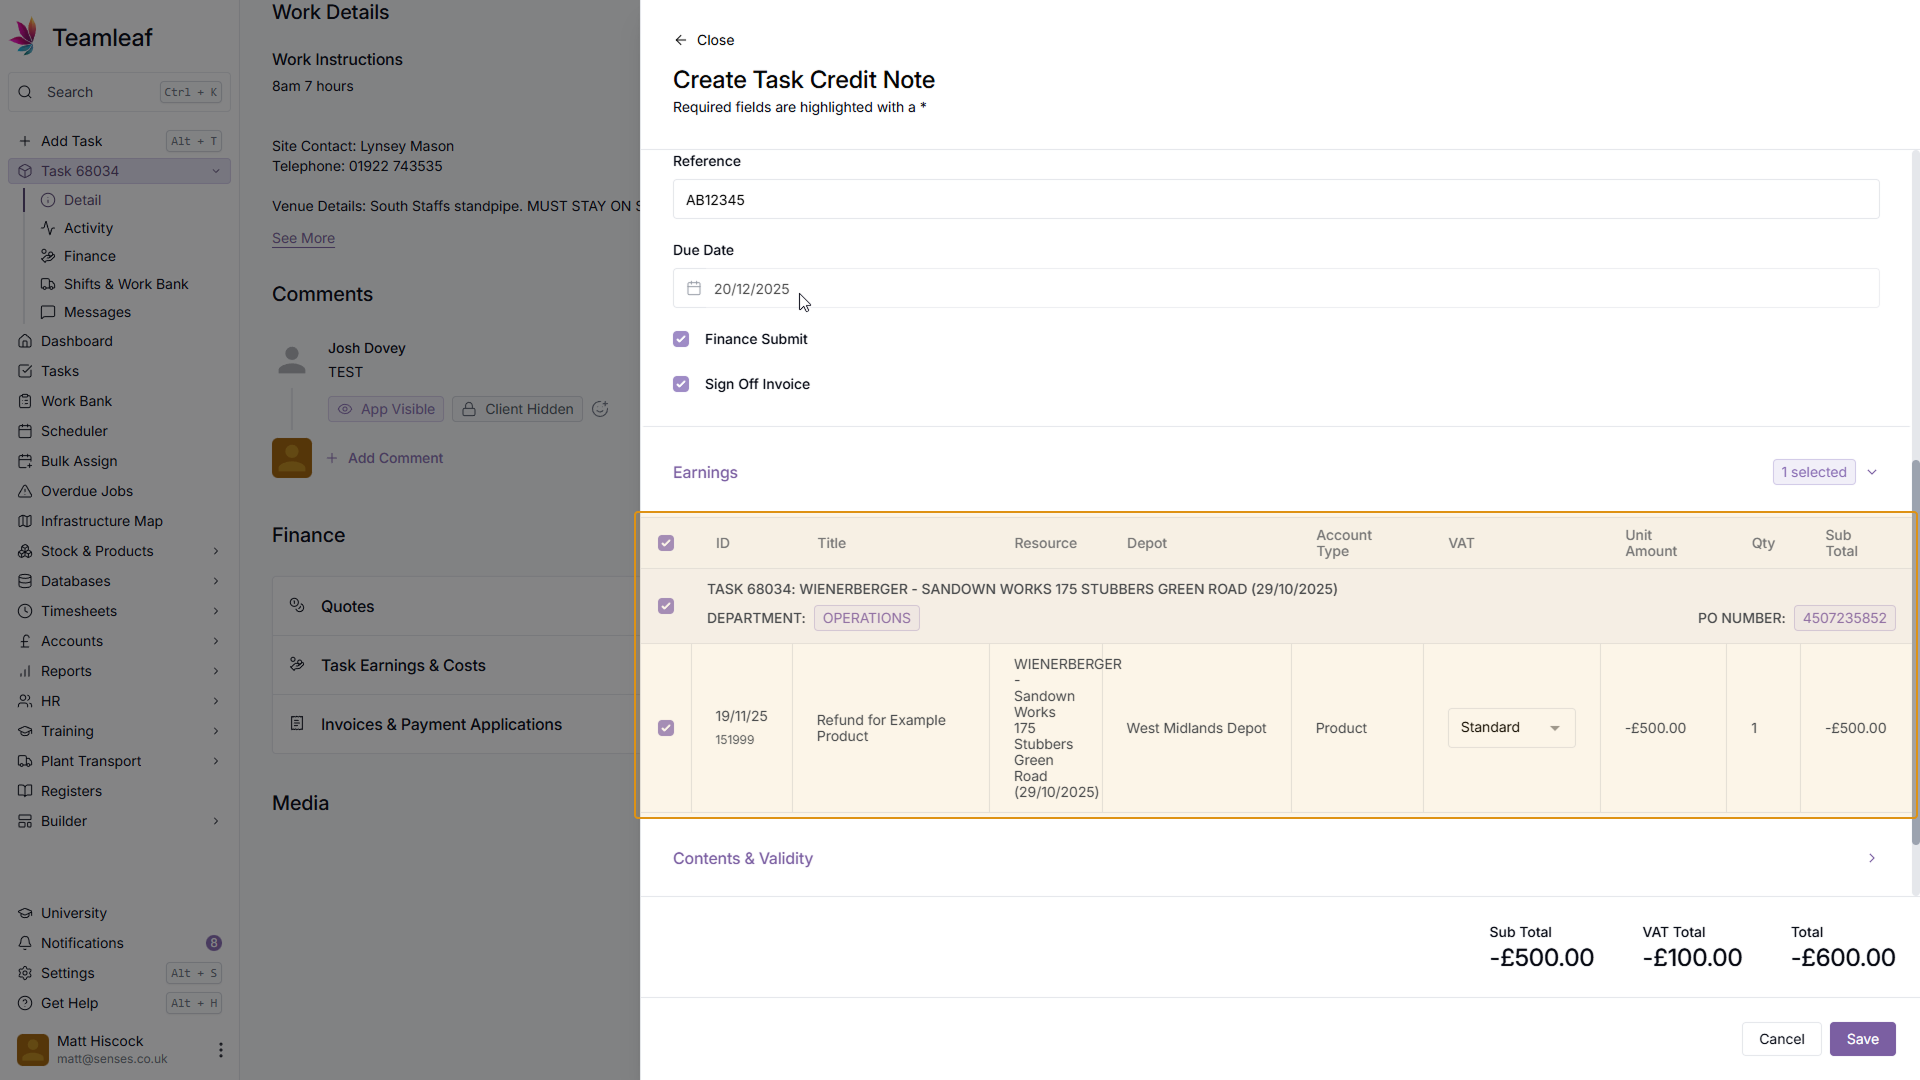
Select Earnings to be added to credit note
Next, select which earnings you'd like to be selected on this Credit Note. You will see the balance of these earnings update at the bottom of the page.
Step 22
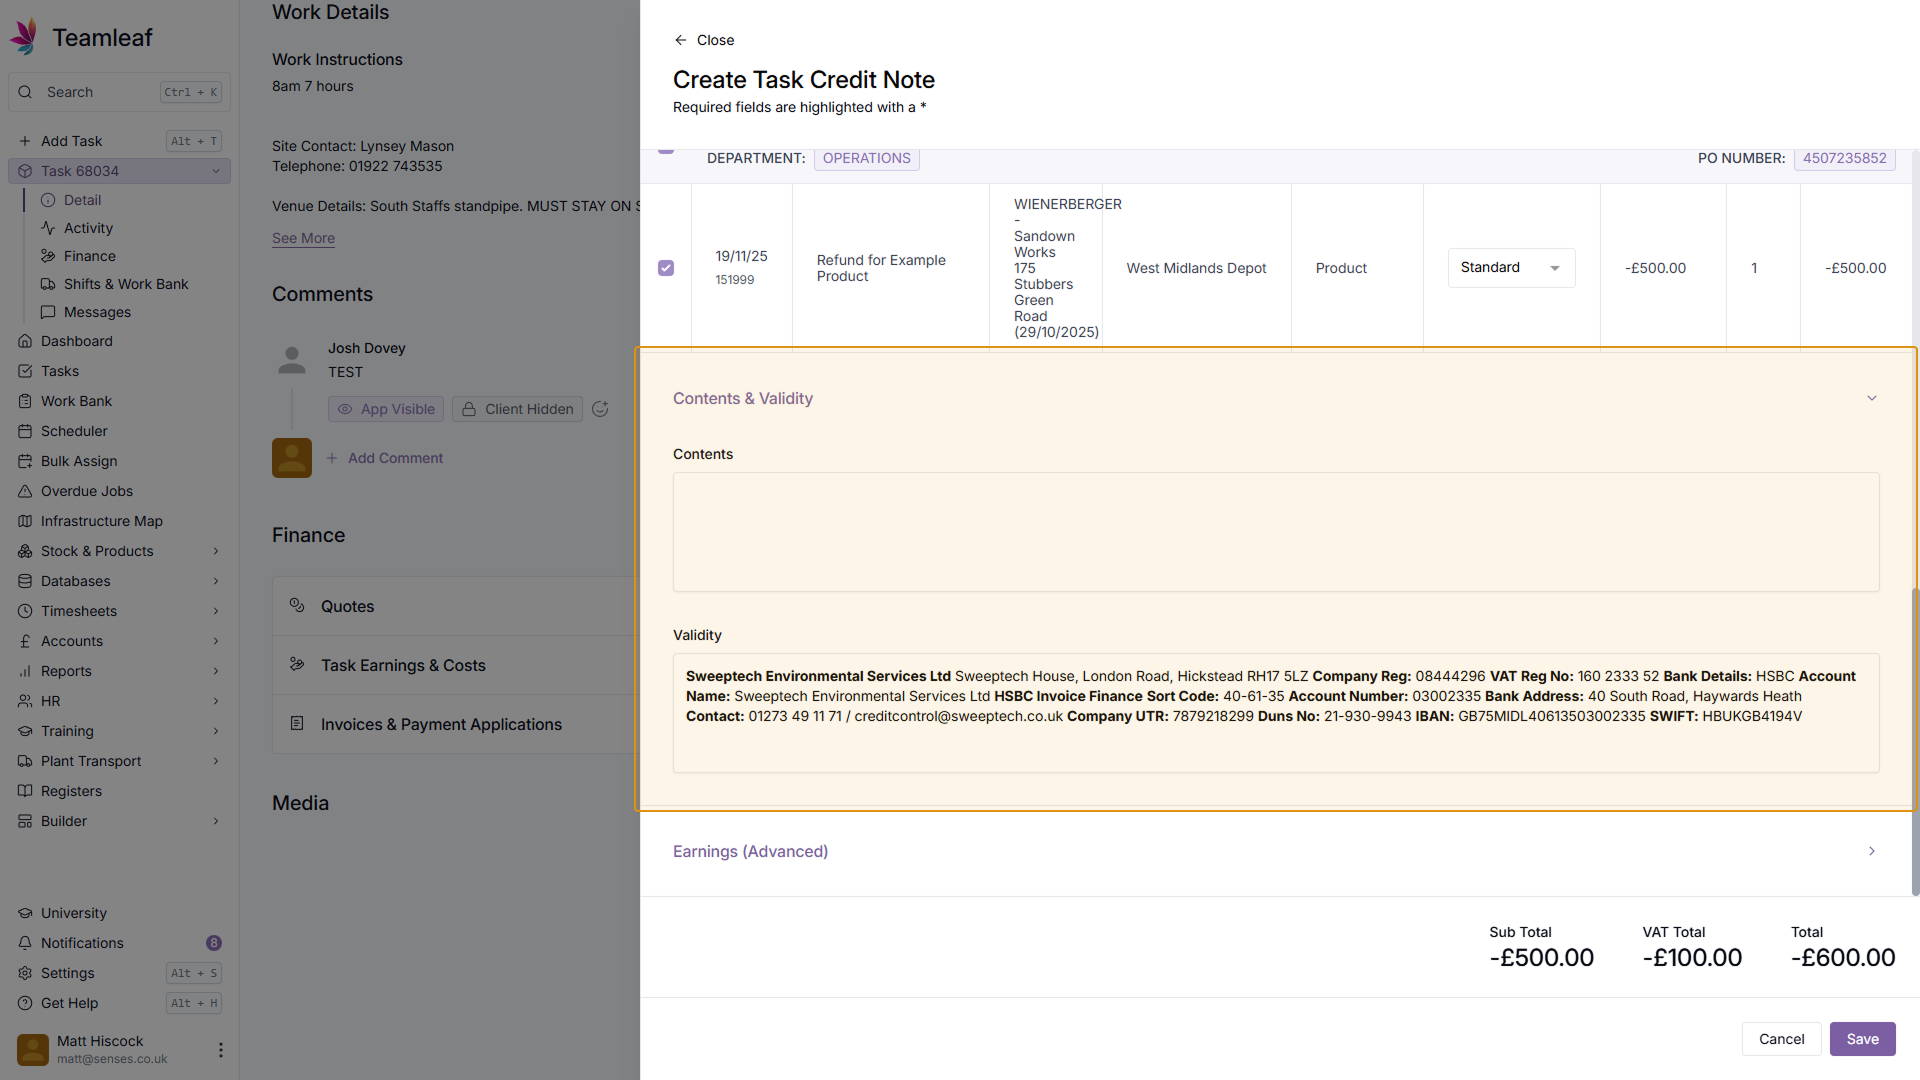
(Optional) Enter Contents & Validity
Next, if you wish, you can enter Contents & Validity Information
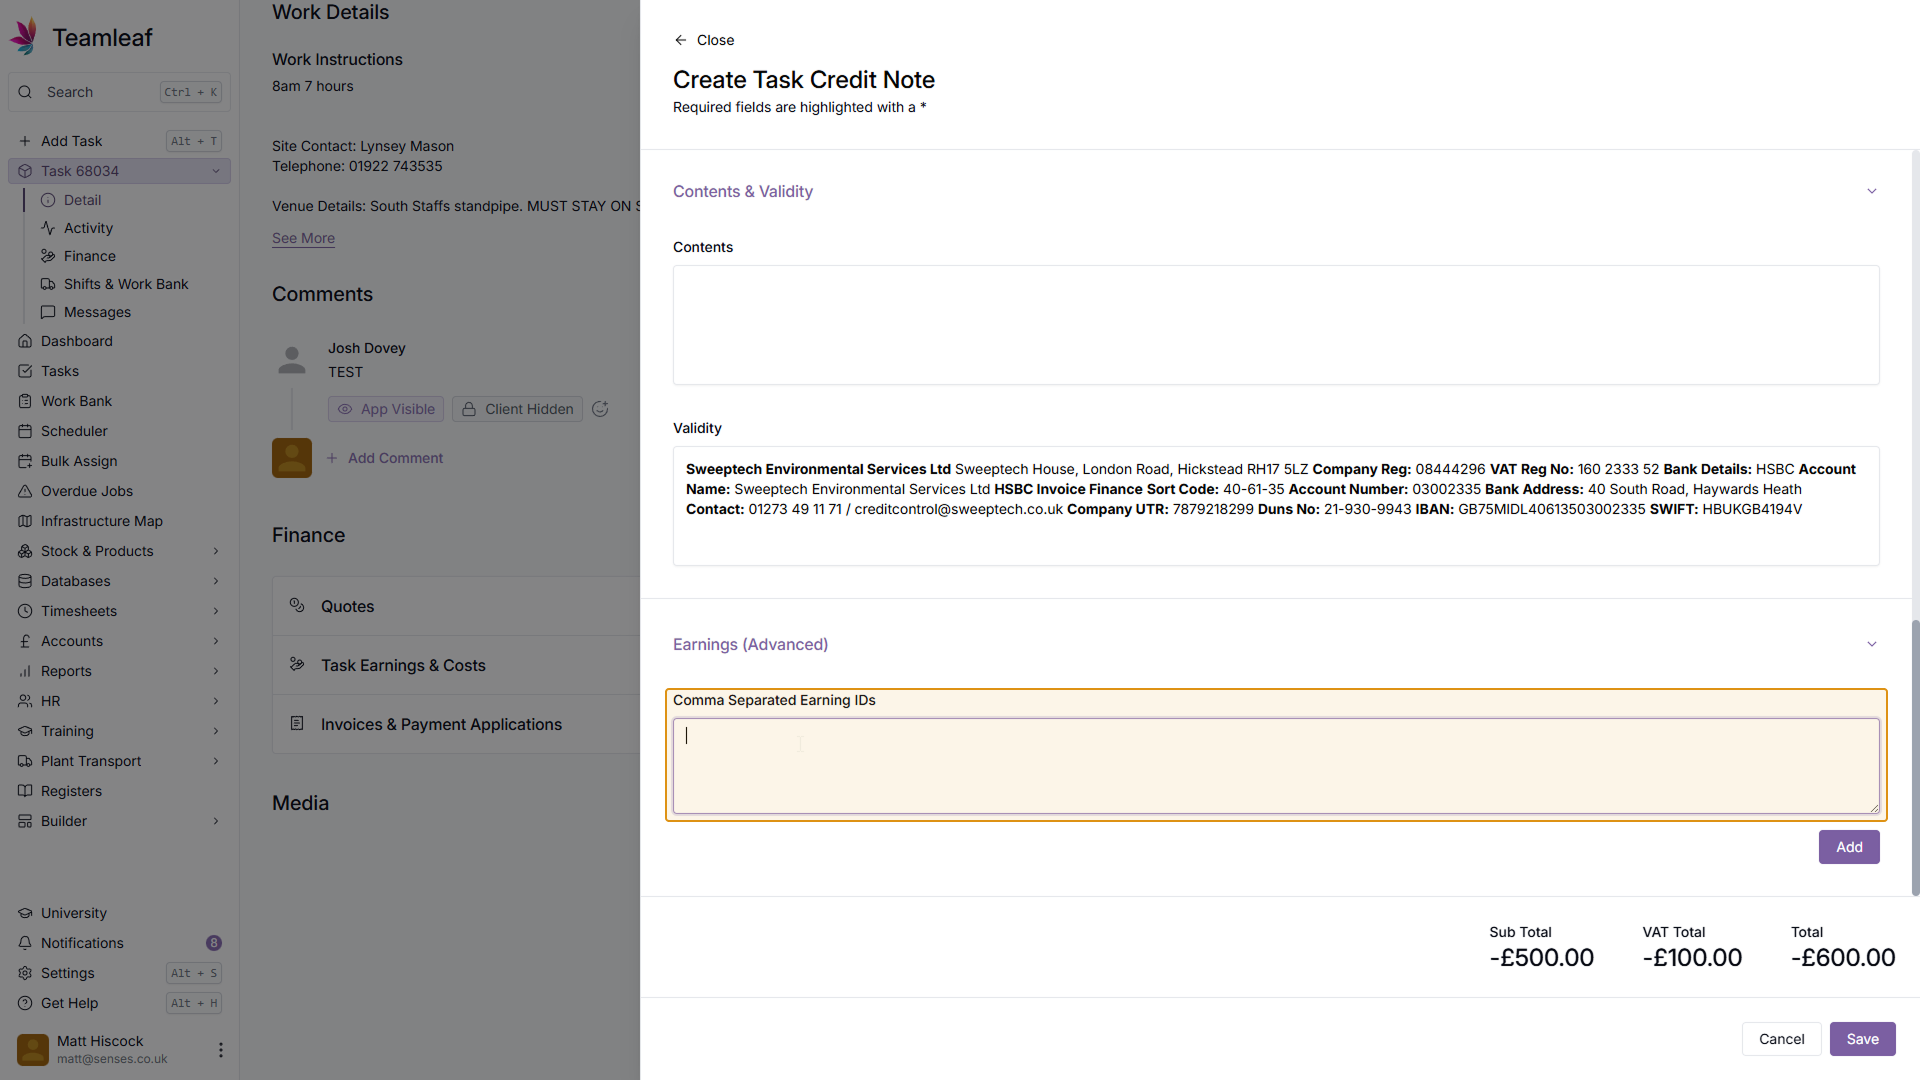
Step 23
(Optional) Add Advanced Earnings
Next, if you wish, you can add Advanced earnings to this credit note by using Earning IDs
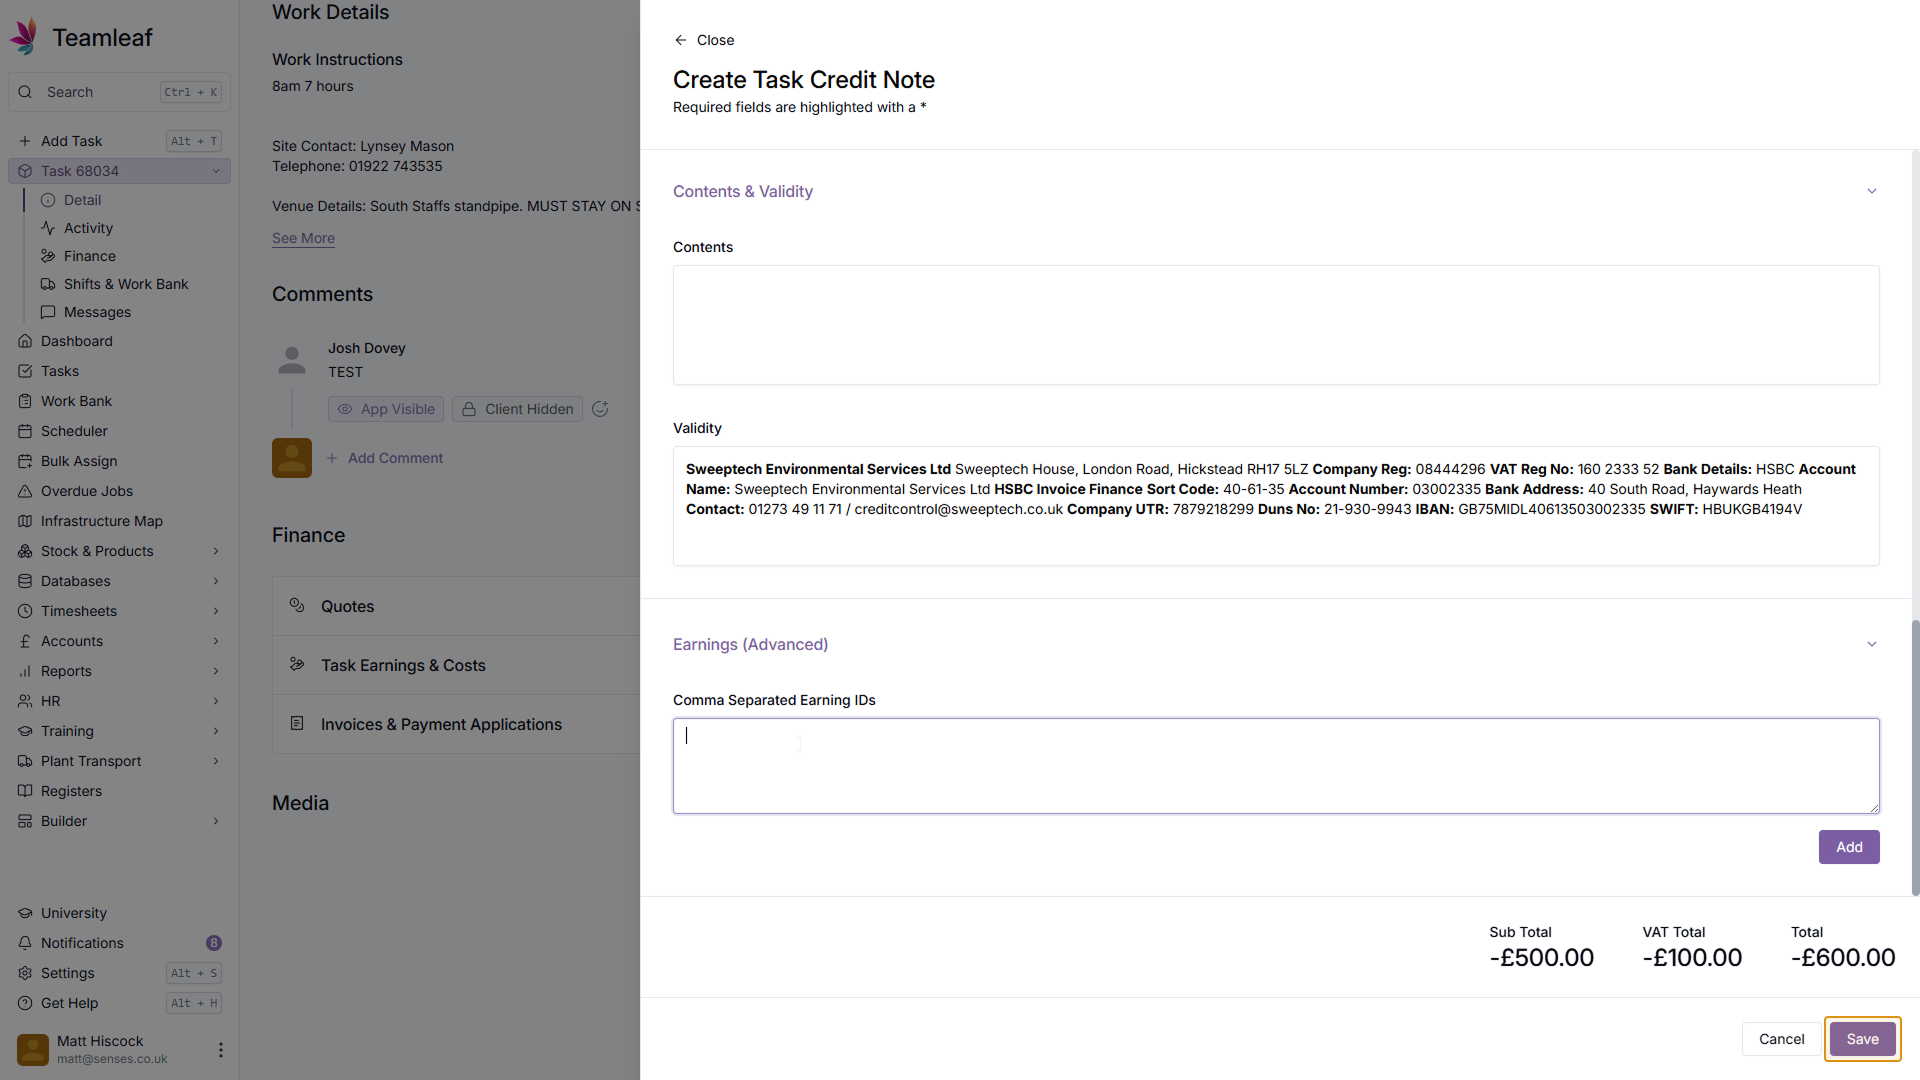
Step 24
Click 'Save'
Once you're happy with your credit note, click the 'Save' button in the bottom right
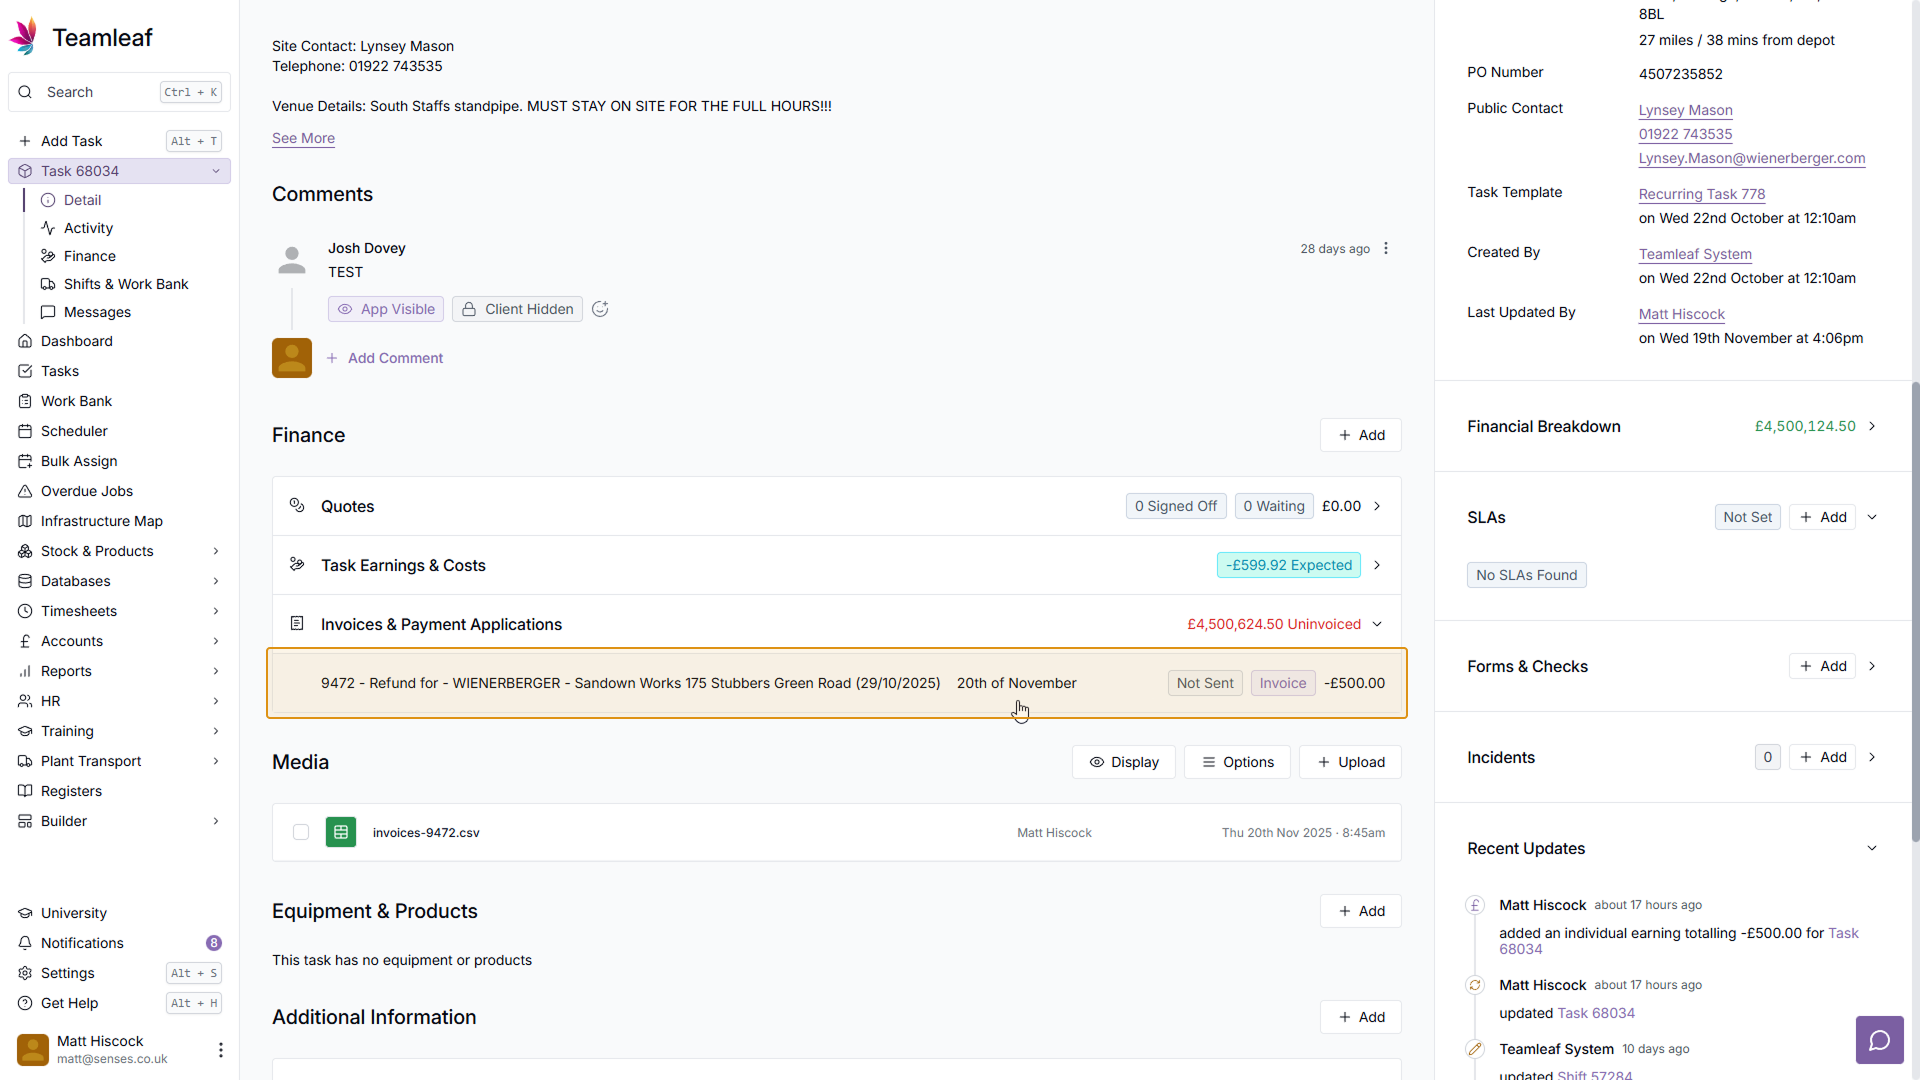
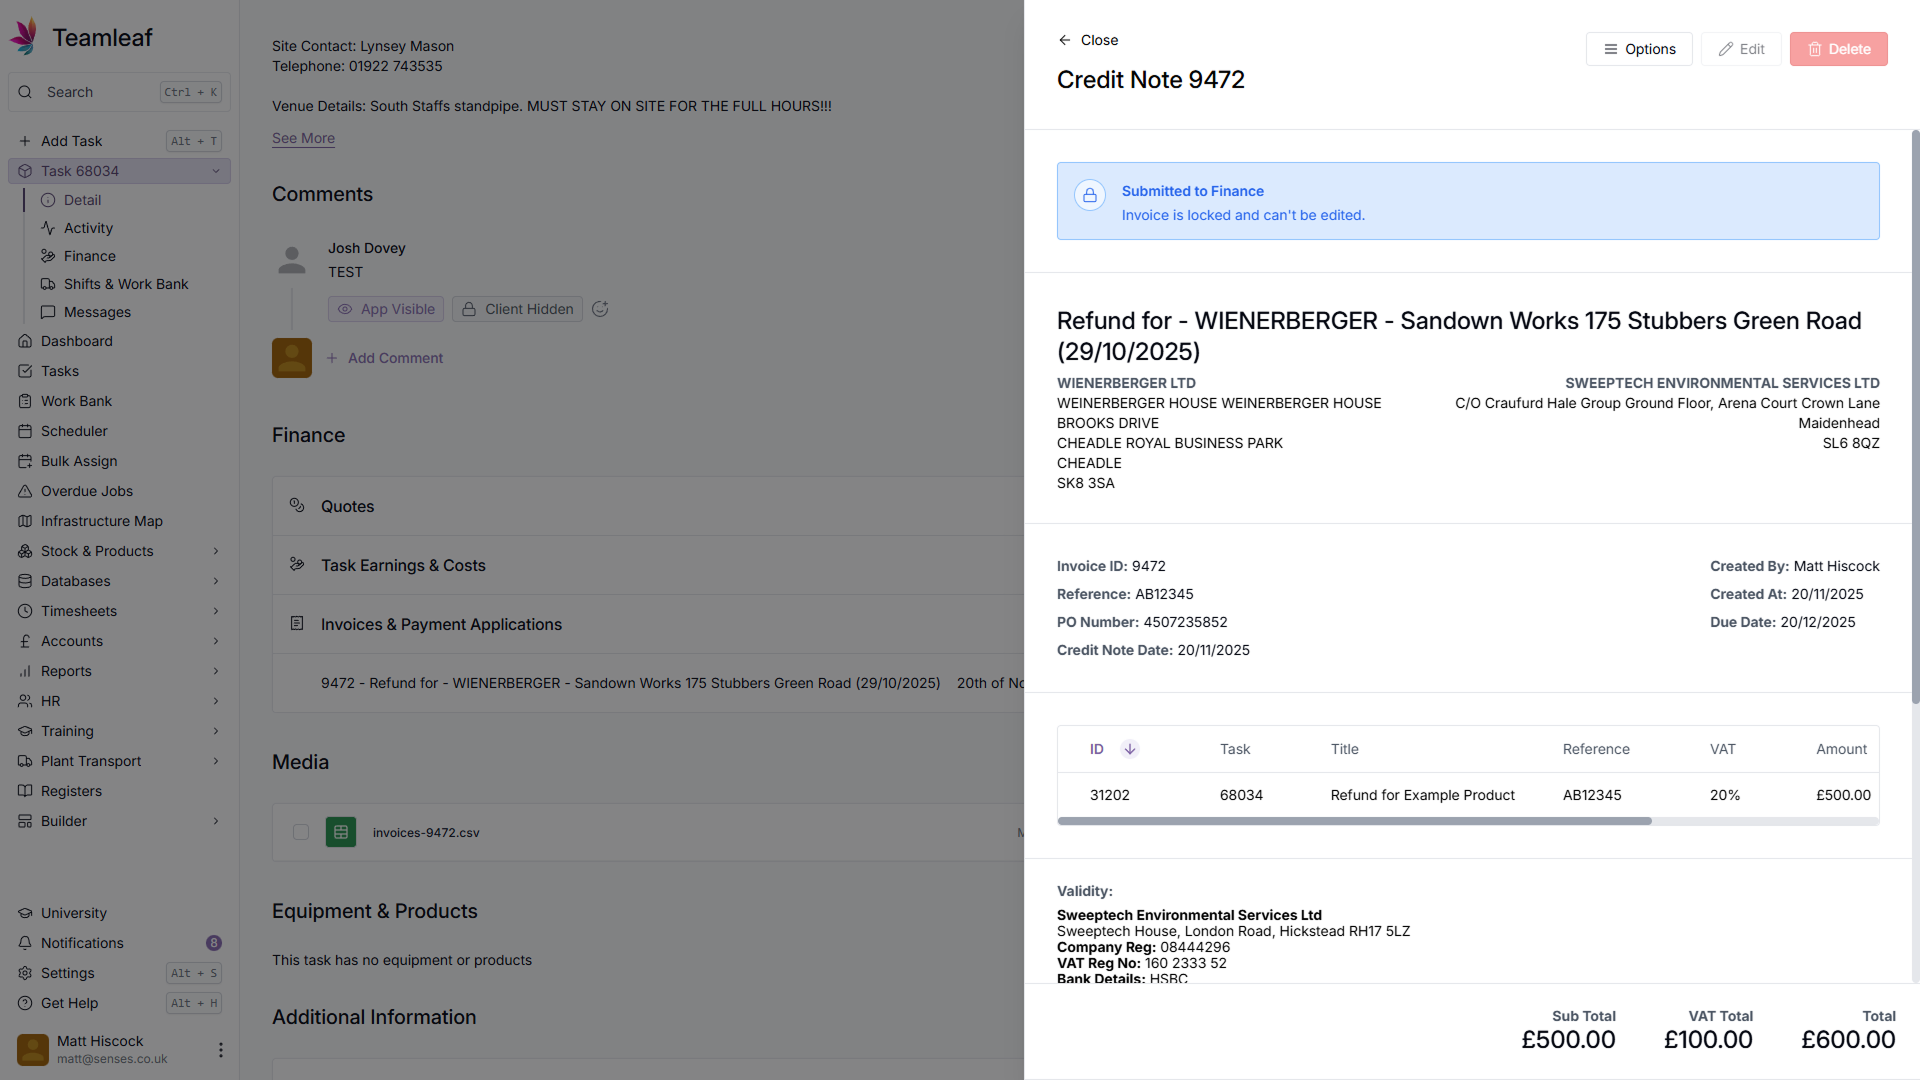
Step 25
Go to Credit Note
You're now successfully added your credit note. Whenever you'd like to view this credit note,
Related Courses
Intracompany
Invoicing
Scheduler
Shifts
Tasks
Drains Direct Essentials
Understand the Essentials for Drains Direct, Scheduling, Intracompany, Invoicing and more...
View Course
→
Intracompany
Invoicing
Scheduler
Shifts
Tasks
EVCSL Essentials
Understand the Essentials for EVCSL, Scheduling, Intracompany, Invoicing and more...
View Course
→
Intracompany
Invoicing
Scheduler
Shifts
Tasks
Lanes Group Essentials
Understand the Essentials for Lanes Group, Scheduling, Intracompany, Invoicing and more...
View Course
→
Related Tutorials
Finance
Setup
Adding and Updating Rates
In this tutorial you will learn how to add new rates, and update existing rates.
View Tutorials
→
Finance
Quoting
Creating a Quote
In this tutorial you will learn how to create a basic quote in Teamleaf
View Tutorials
→
Finance
Invoicing
Creating an Invoice
Learn how to create an invoice in Teamleaf, made simple using information you've already added to the Task
View Tutorials
→