Adding an Absence
In this tutorial you will learn how to record an absence of any sort in Teamleaf
Step-by-Step Guide
Human Resources
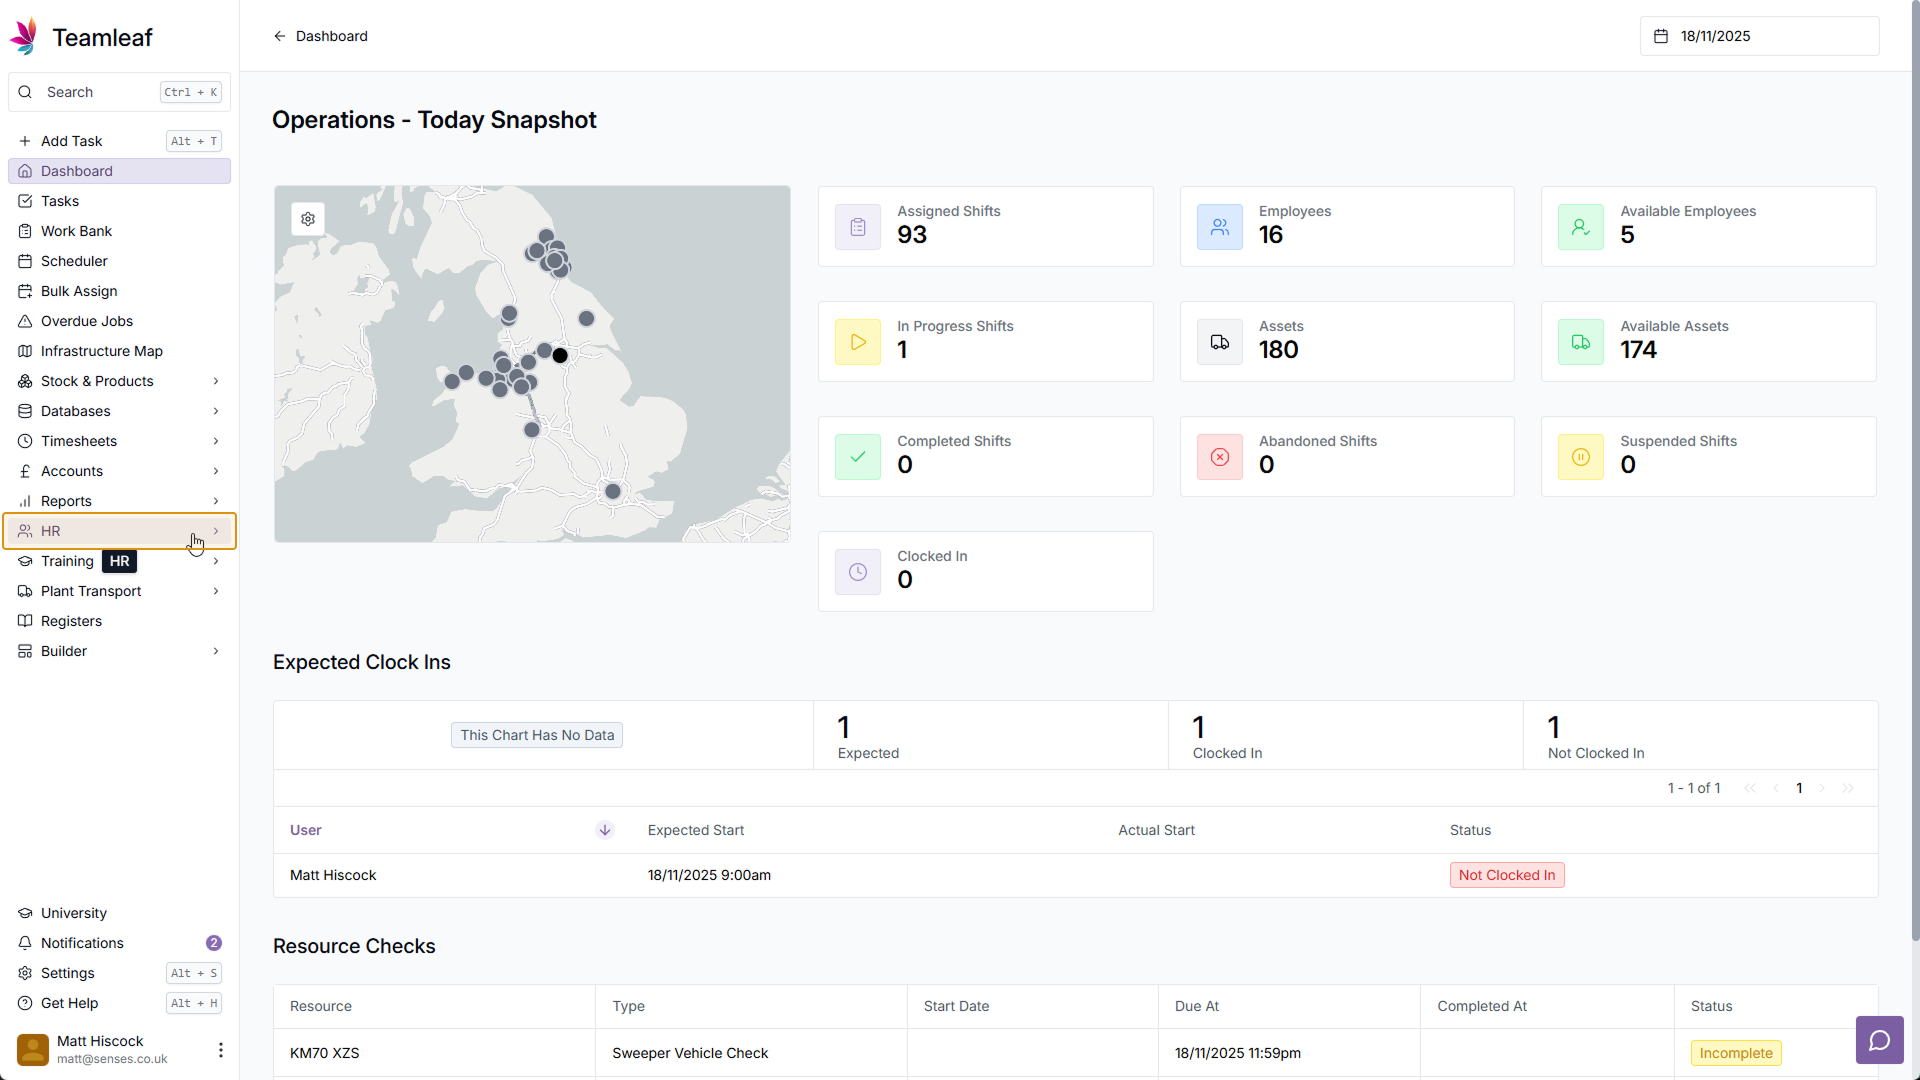
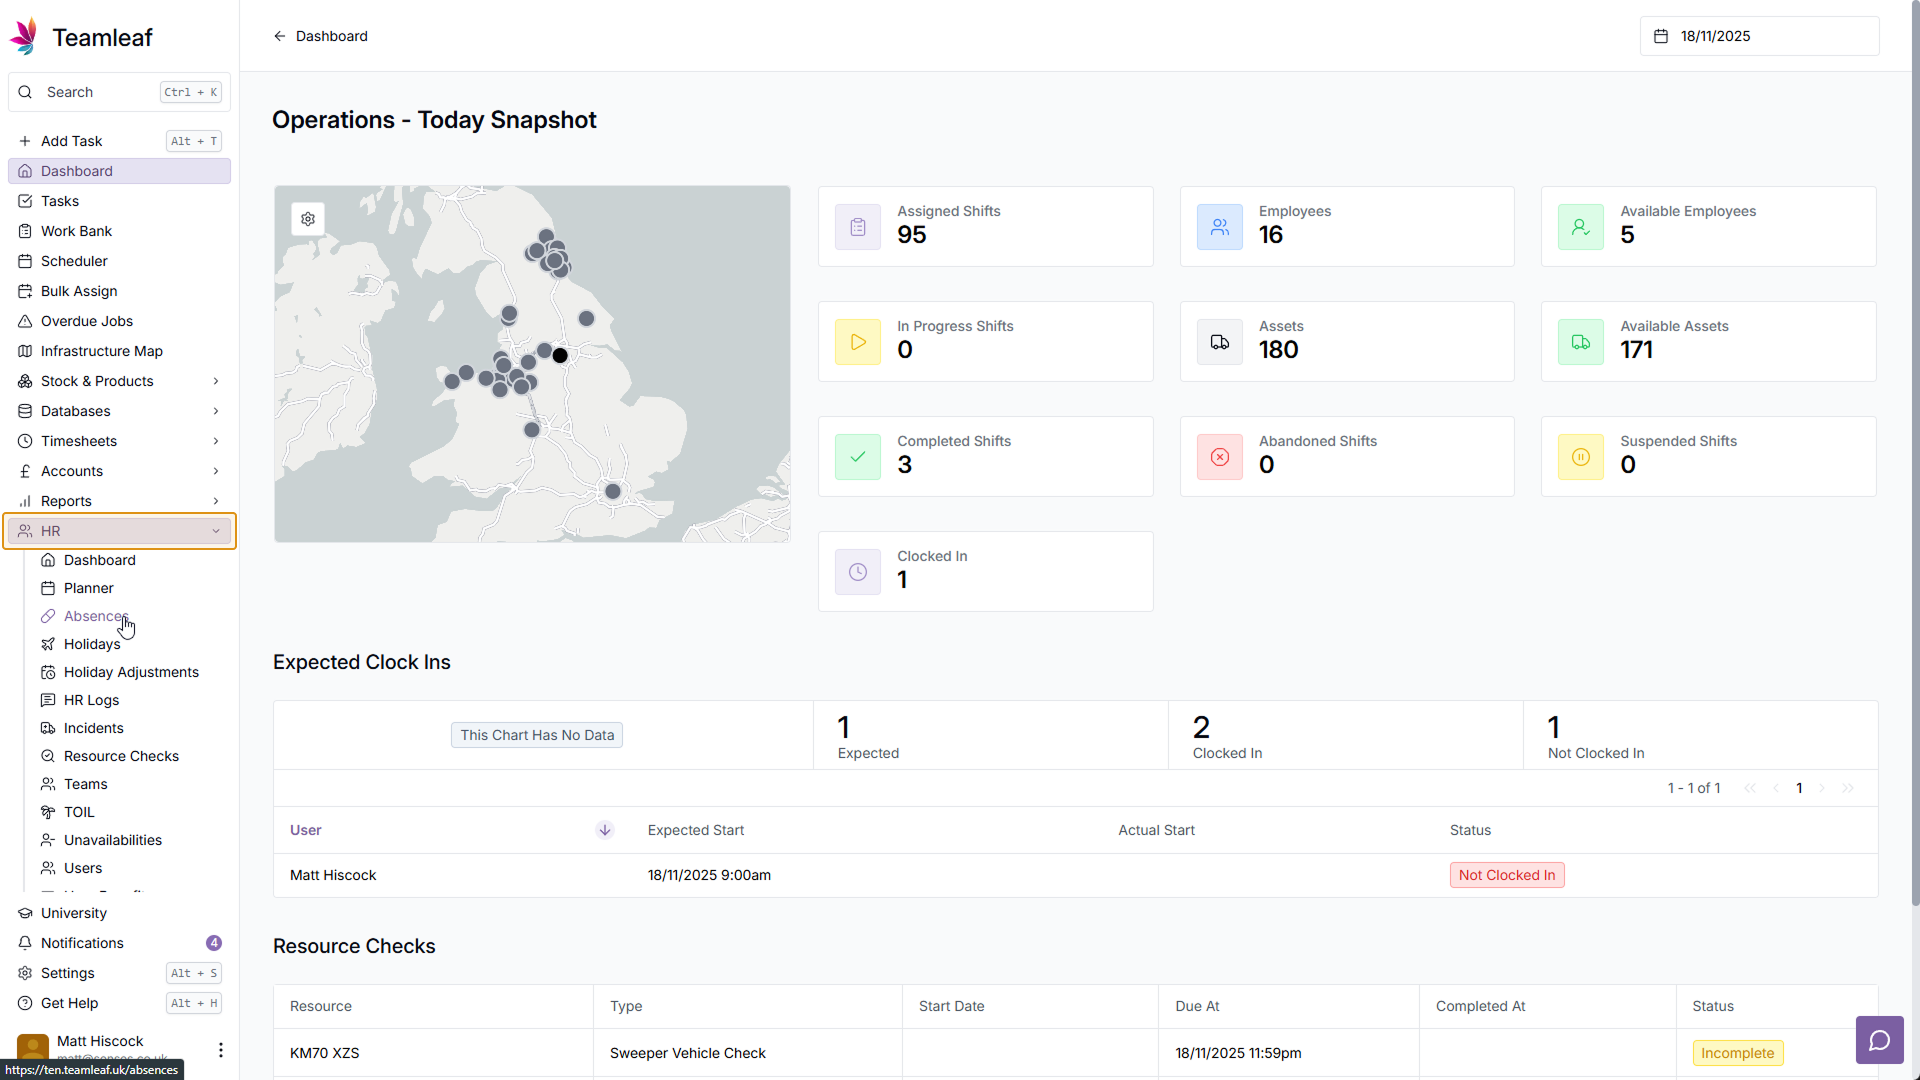
Step 1
Go to Absences
On the left sidebar, click 'HR', then click 'Absences' in the dropdown menu
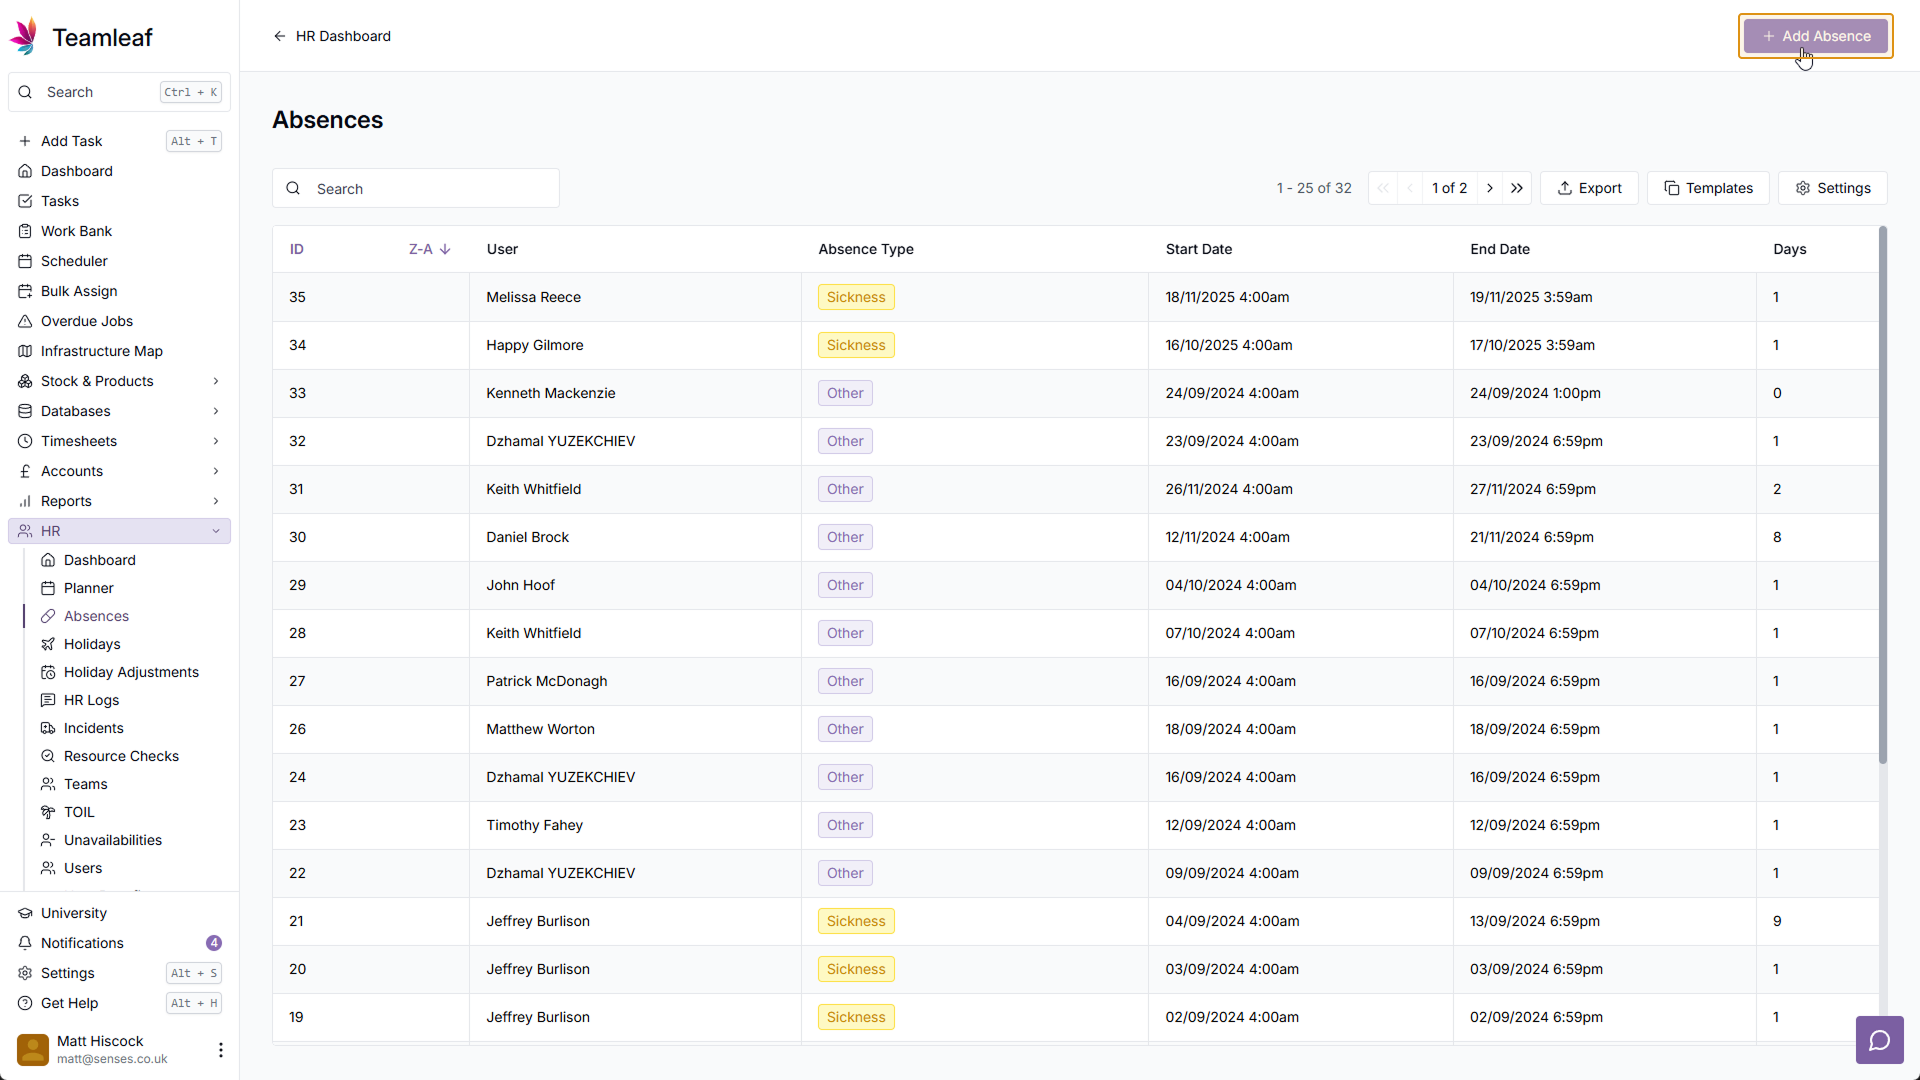
Step 2
Click 'Add Absence'
In the top right corner of the page, click 'Add Absence'
Step 3
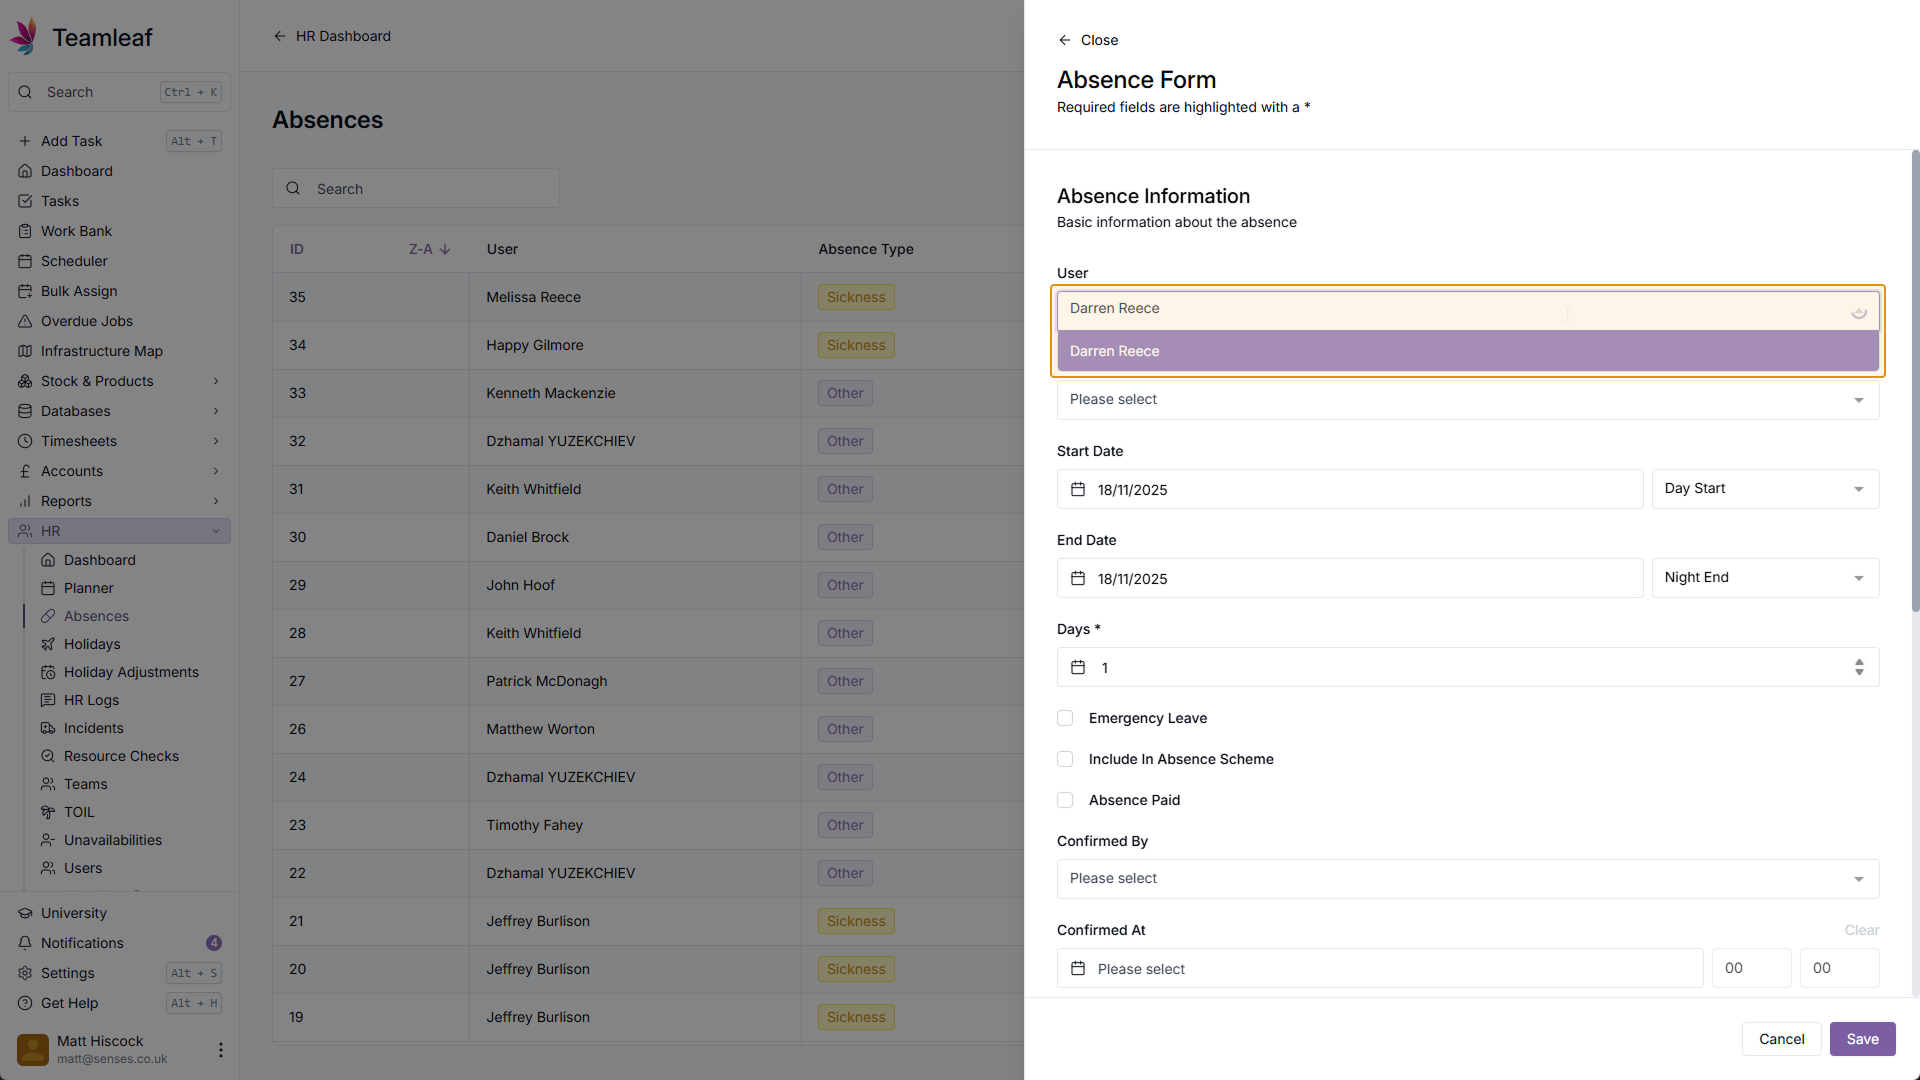
Select a User
Next, select which user you would like to add an absence for
Step 4
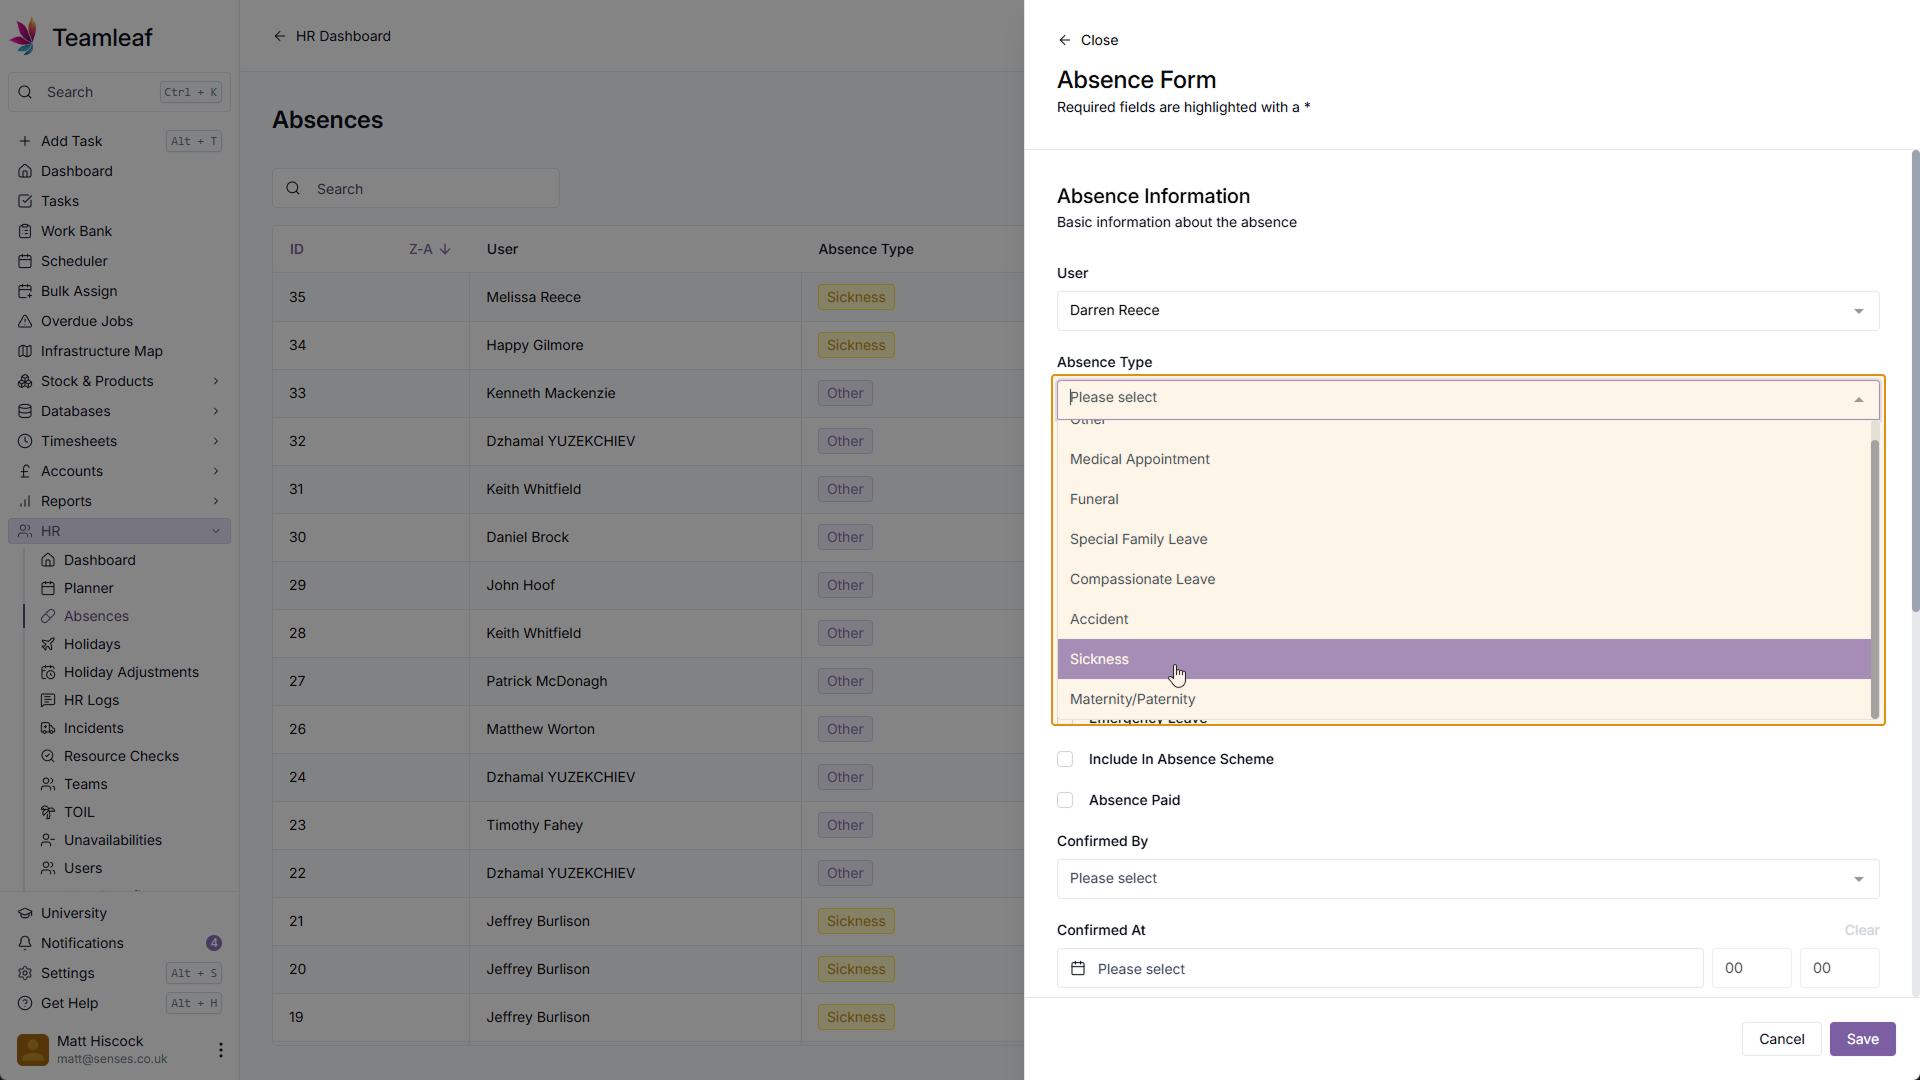
Select an Absence Type
Next, select which Absence type you'd like to record. For any Absence Types that aren't covered in the dropdown menu, select 'Other' and you can add a note with more detail.
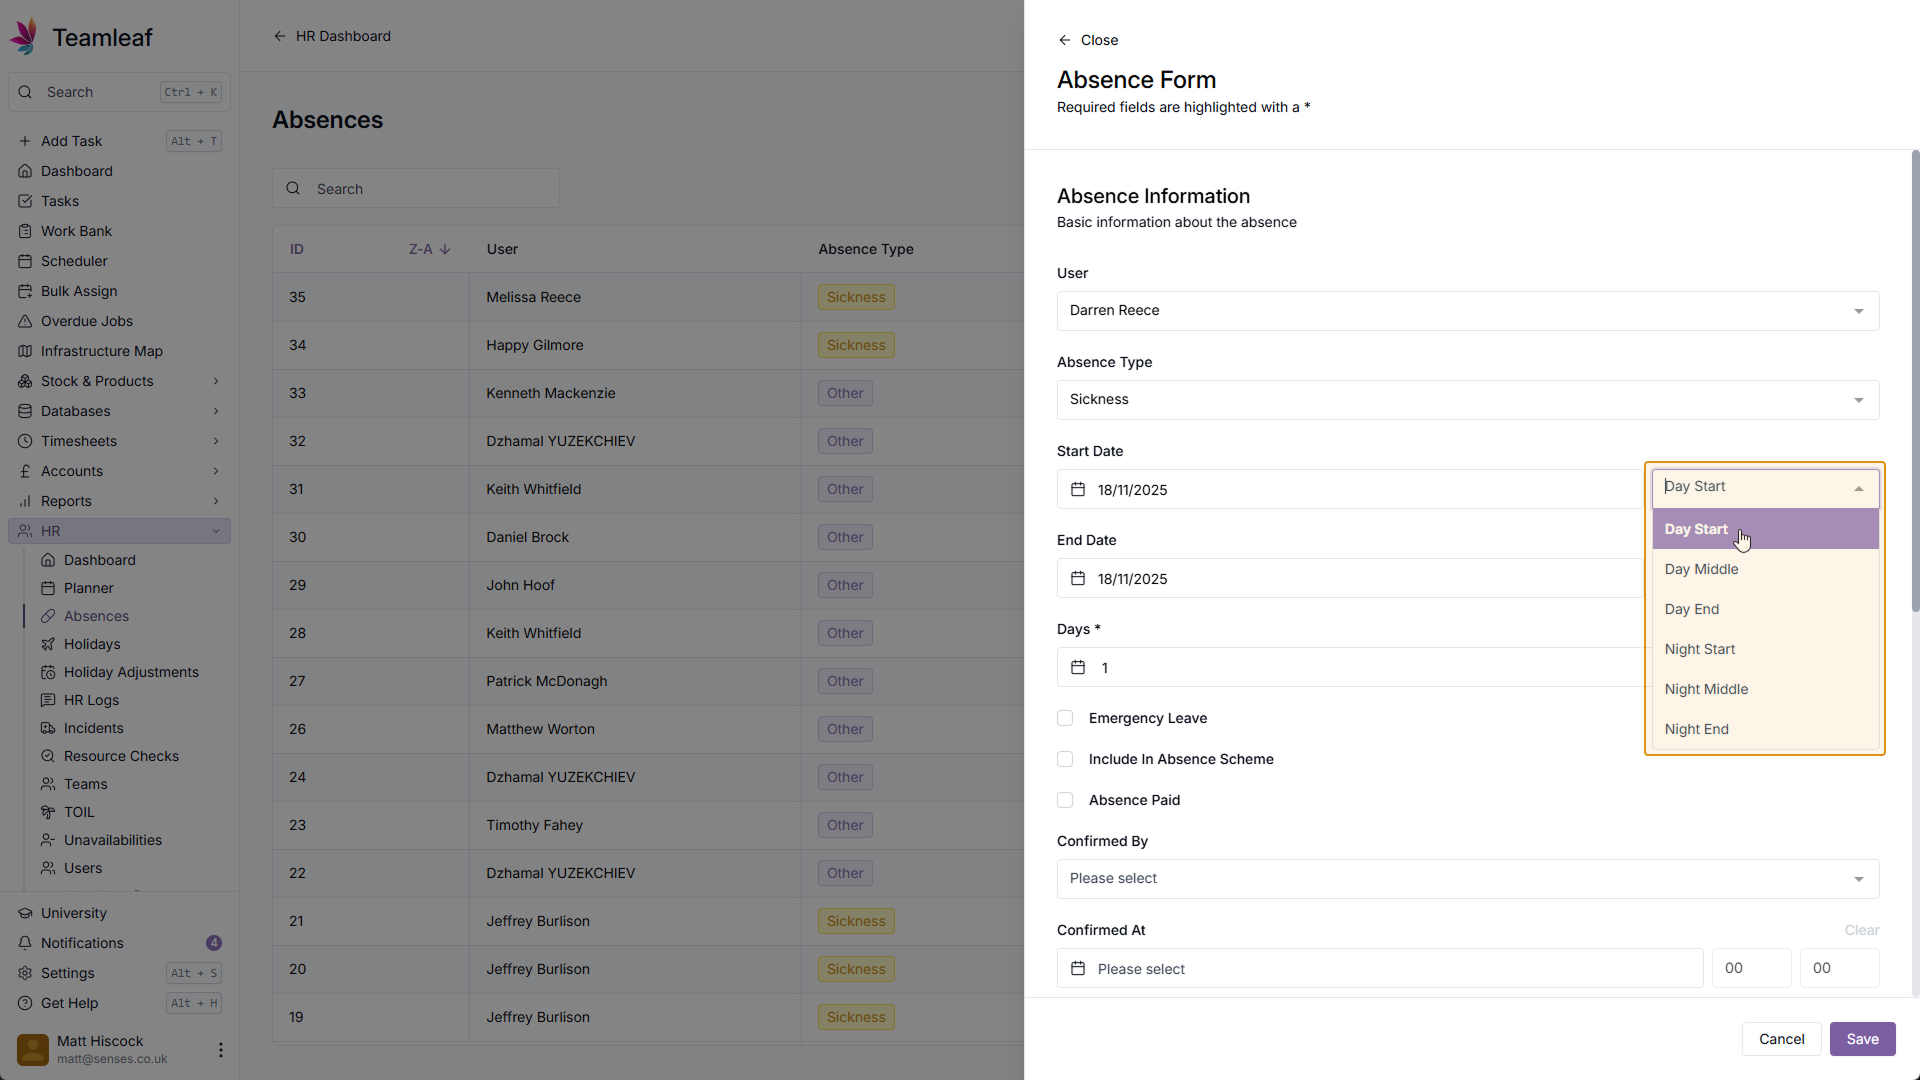
Step 5
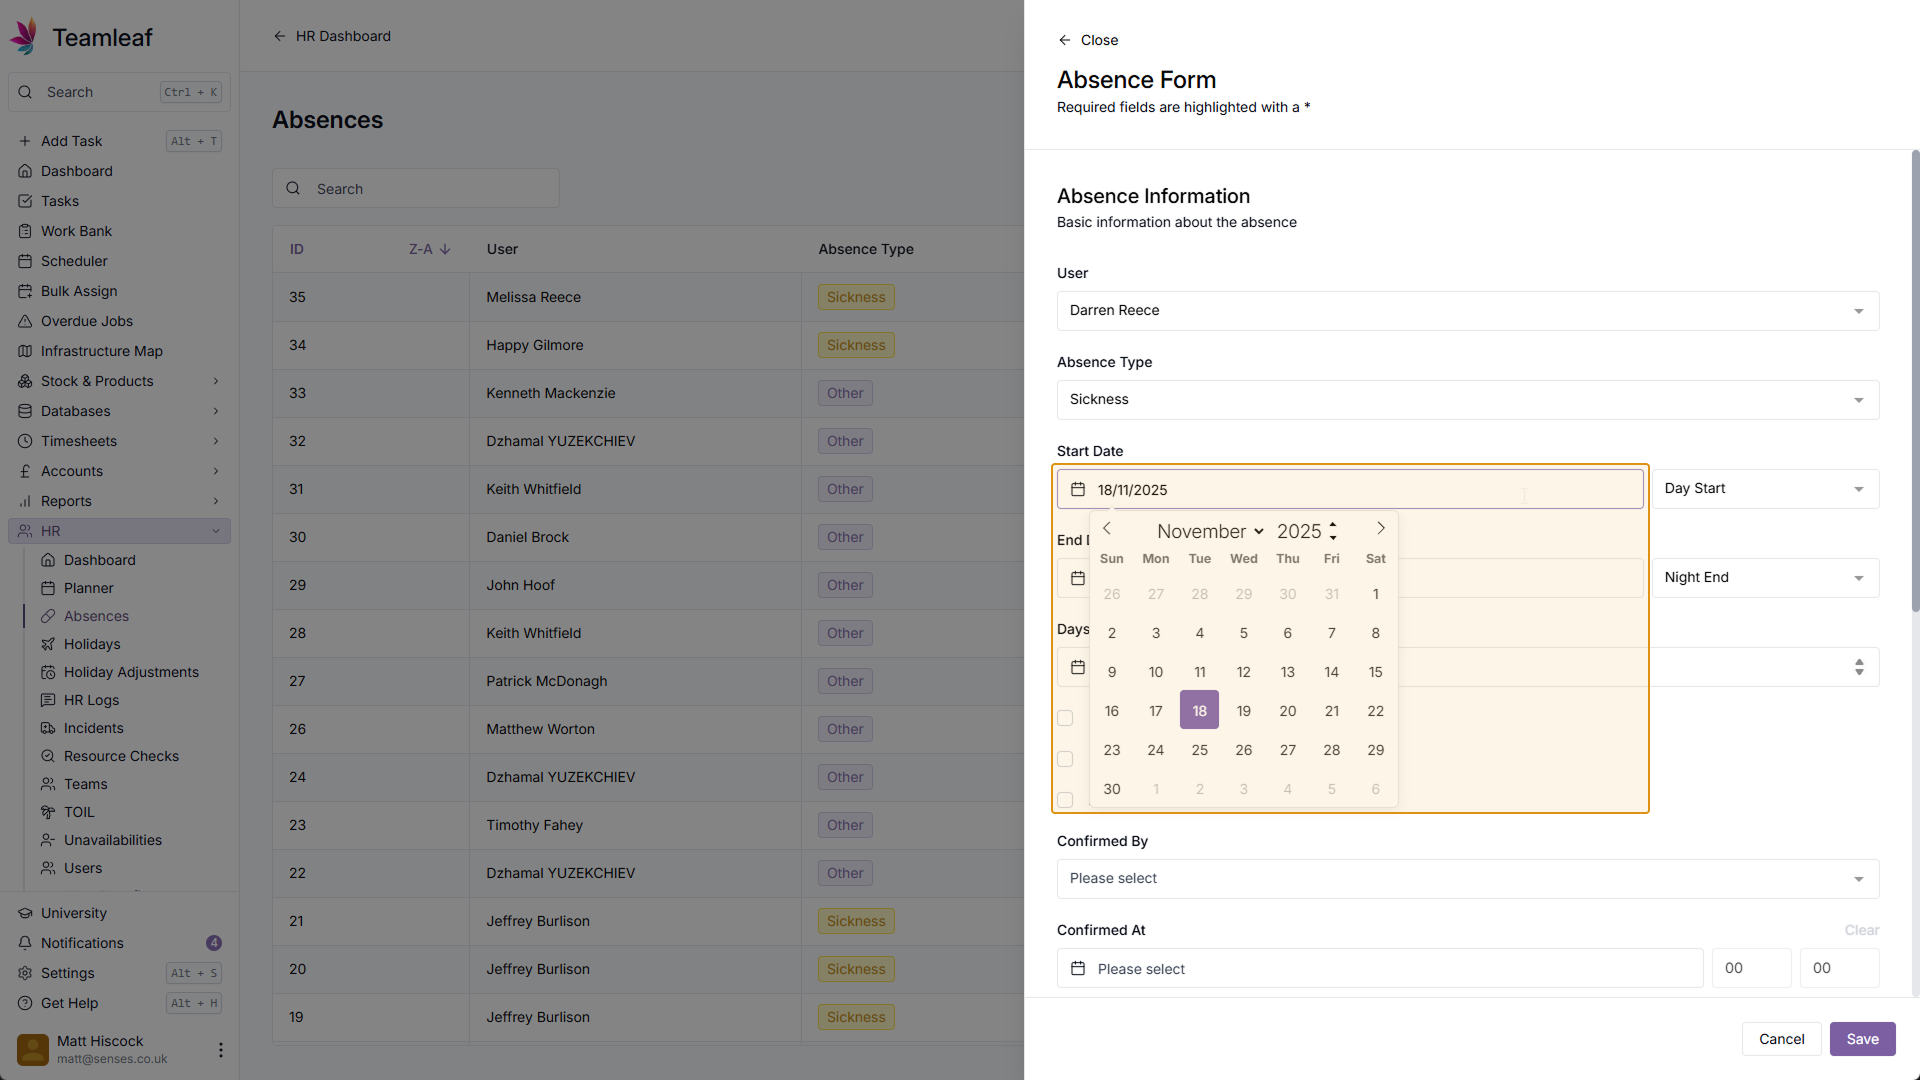
Select Start Date and Time
Next, select when you would like to record the start of this absence from
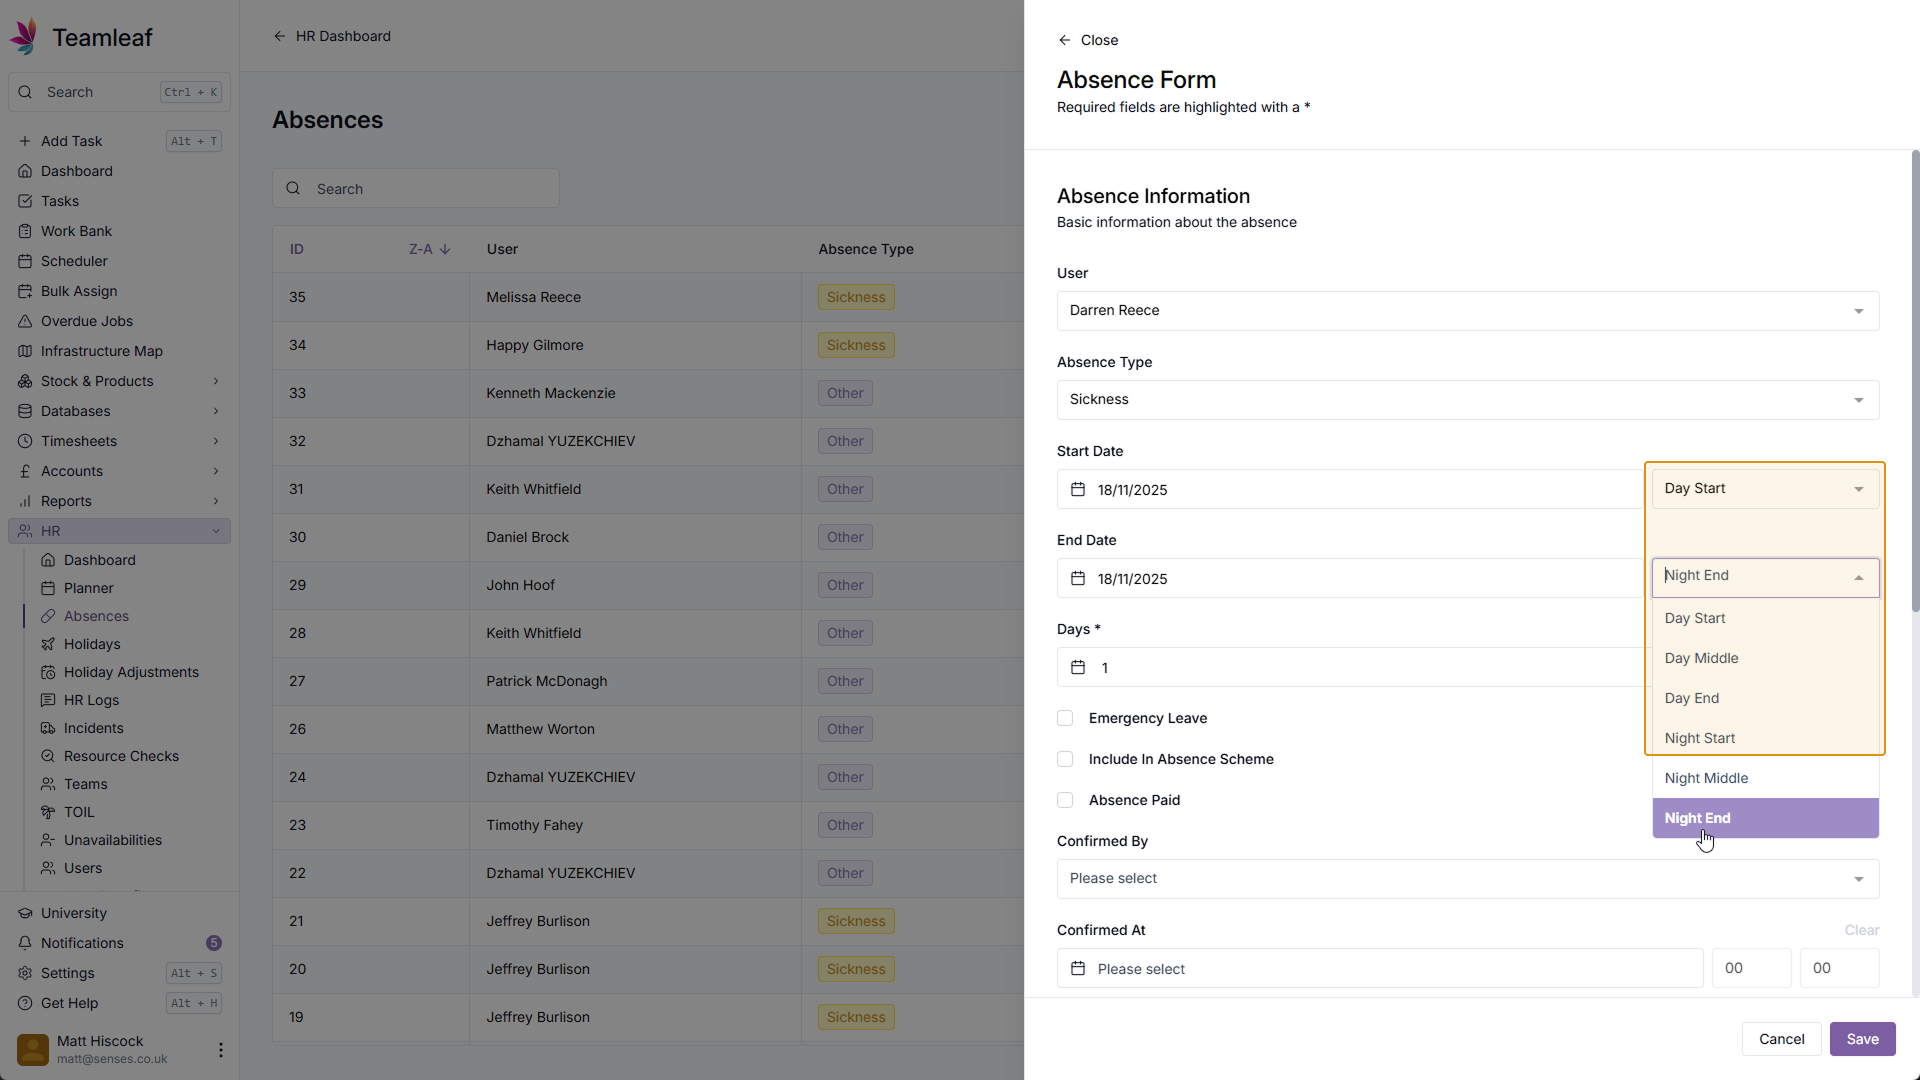
Step 6
Select End Date and Time
Then, select when this absence should end

Step 7
Select Days Absent
This will then fill in the number of absent days automatically, if you wish, you can manually override this.
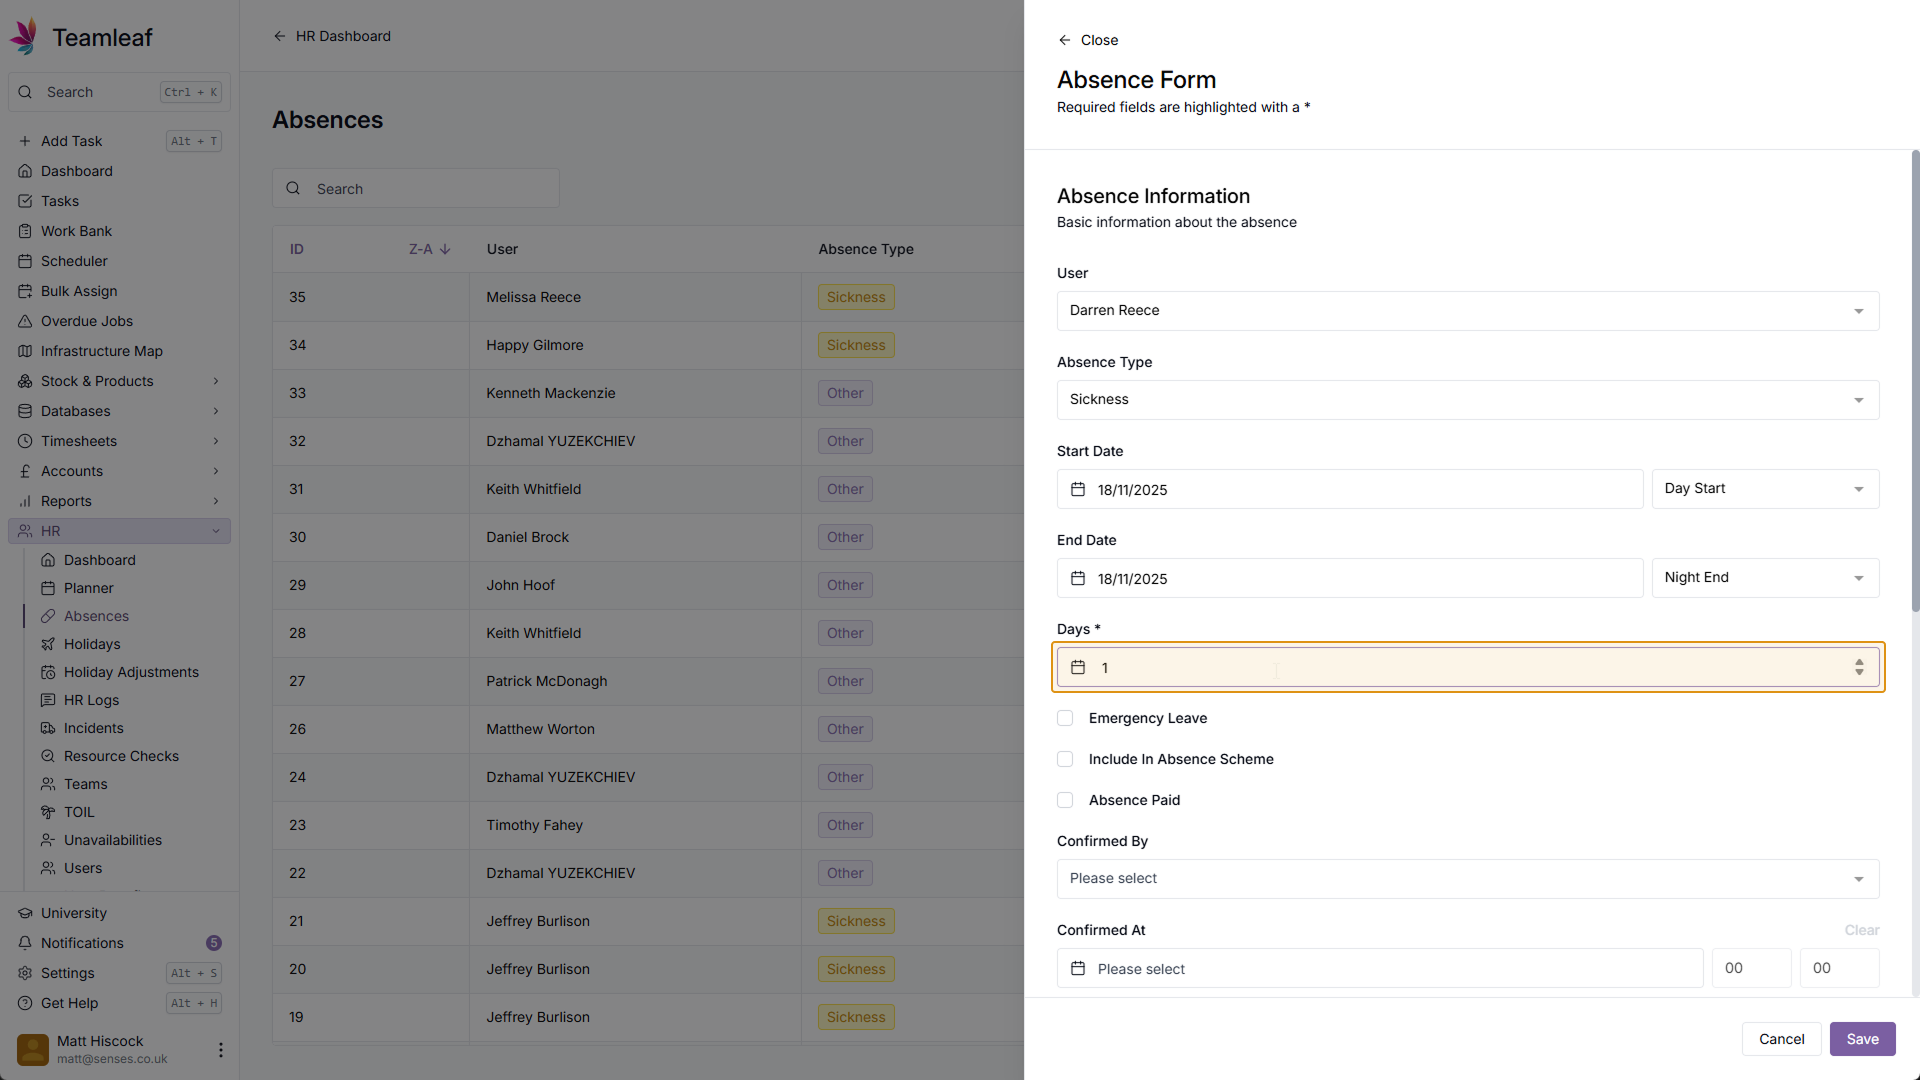
Step 8
Additional Options
Next, you can tick checkboxes to state whether this is Emergency leave, whether it should be included in Absence scheme, and whether the absence is paid

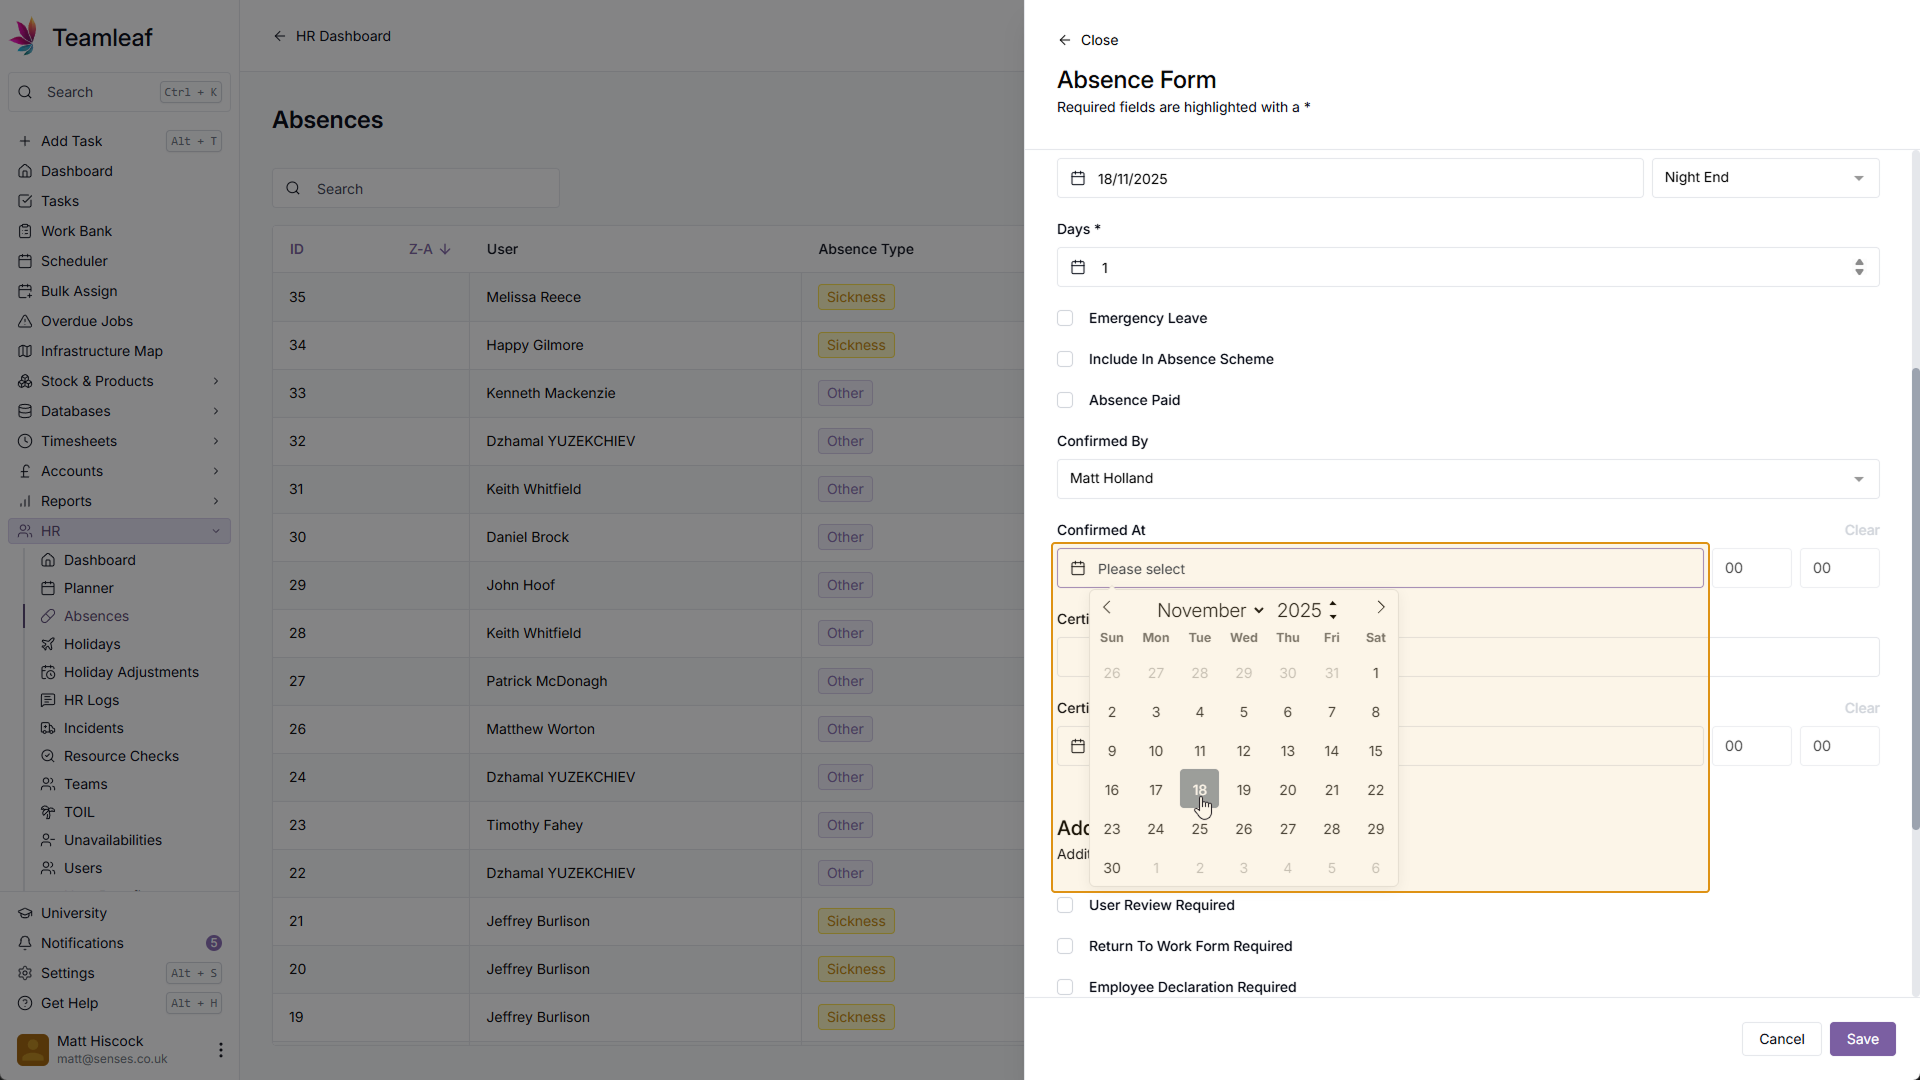
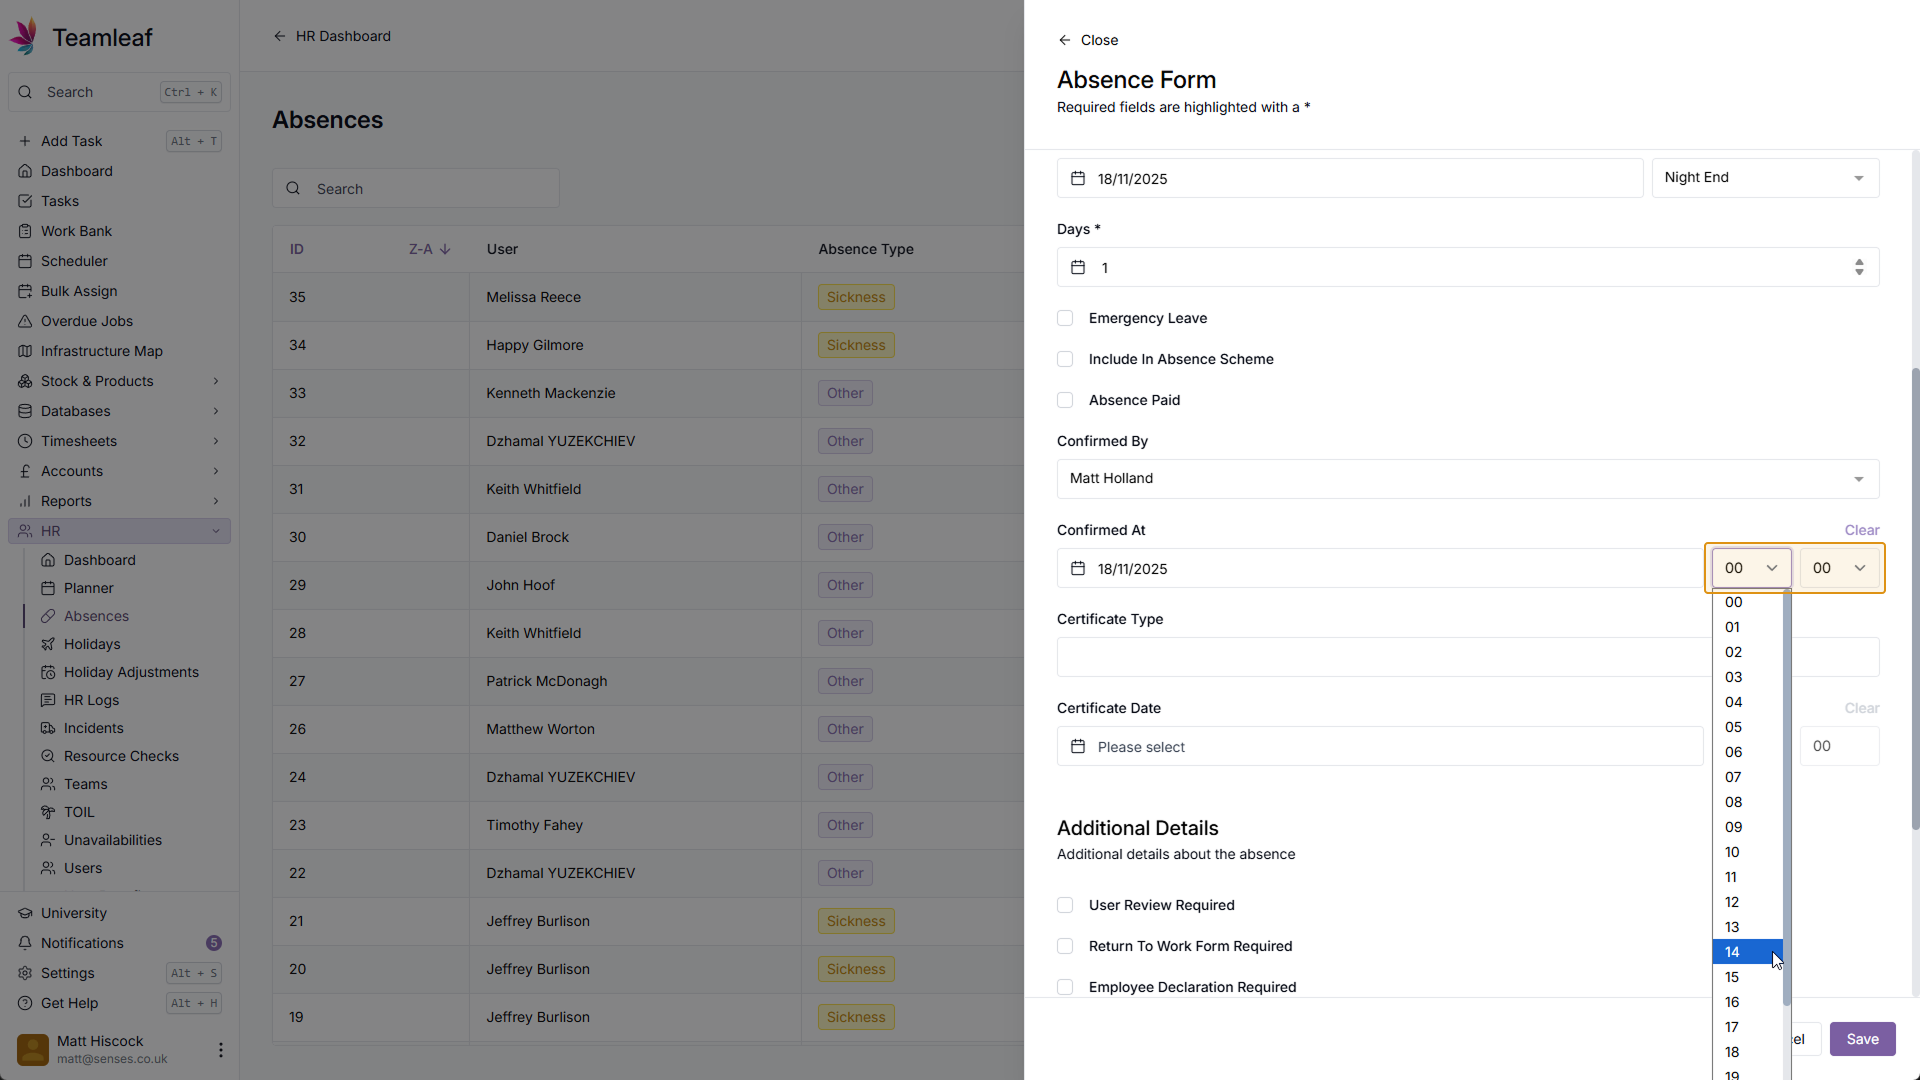
Step 9
Select Confirmed by
Next, you can select who this absence has been confirmed by, and record when it has been confirmed.
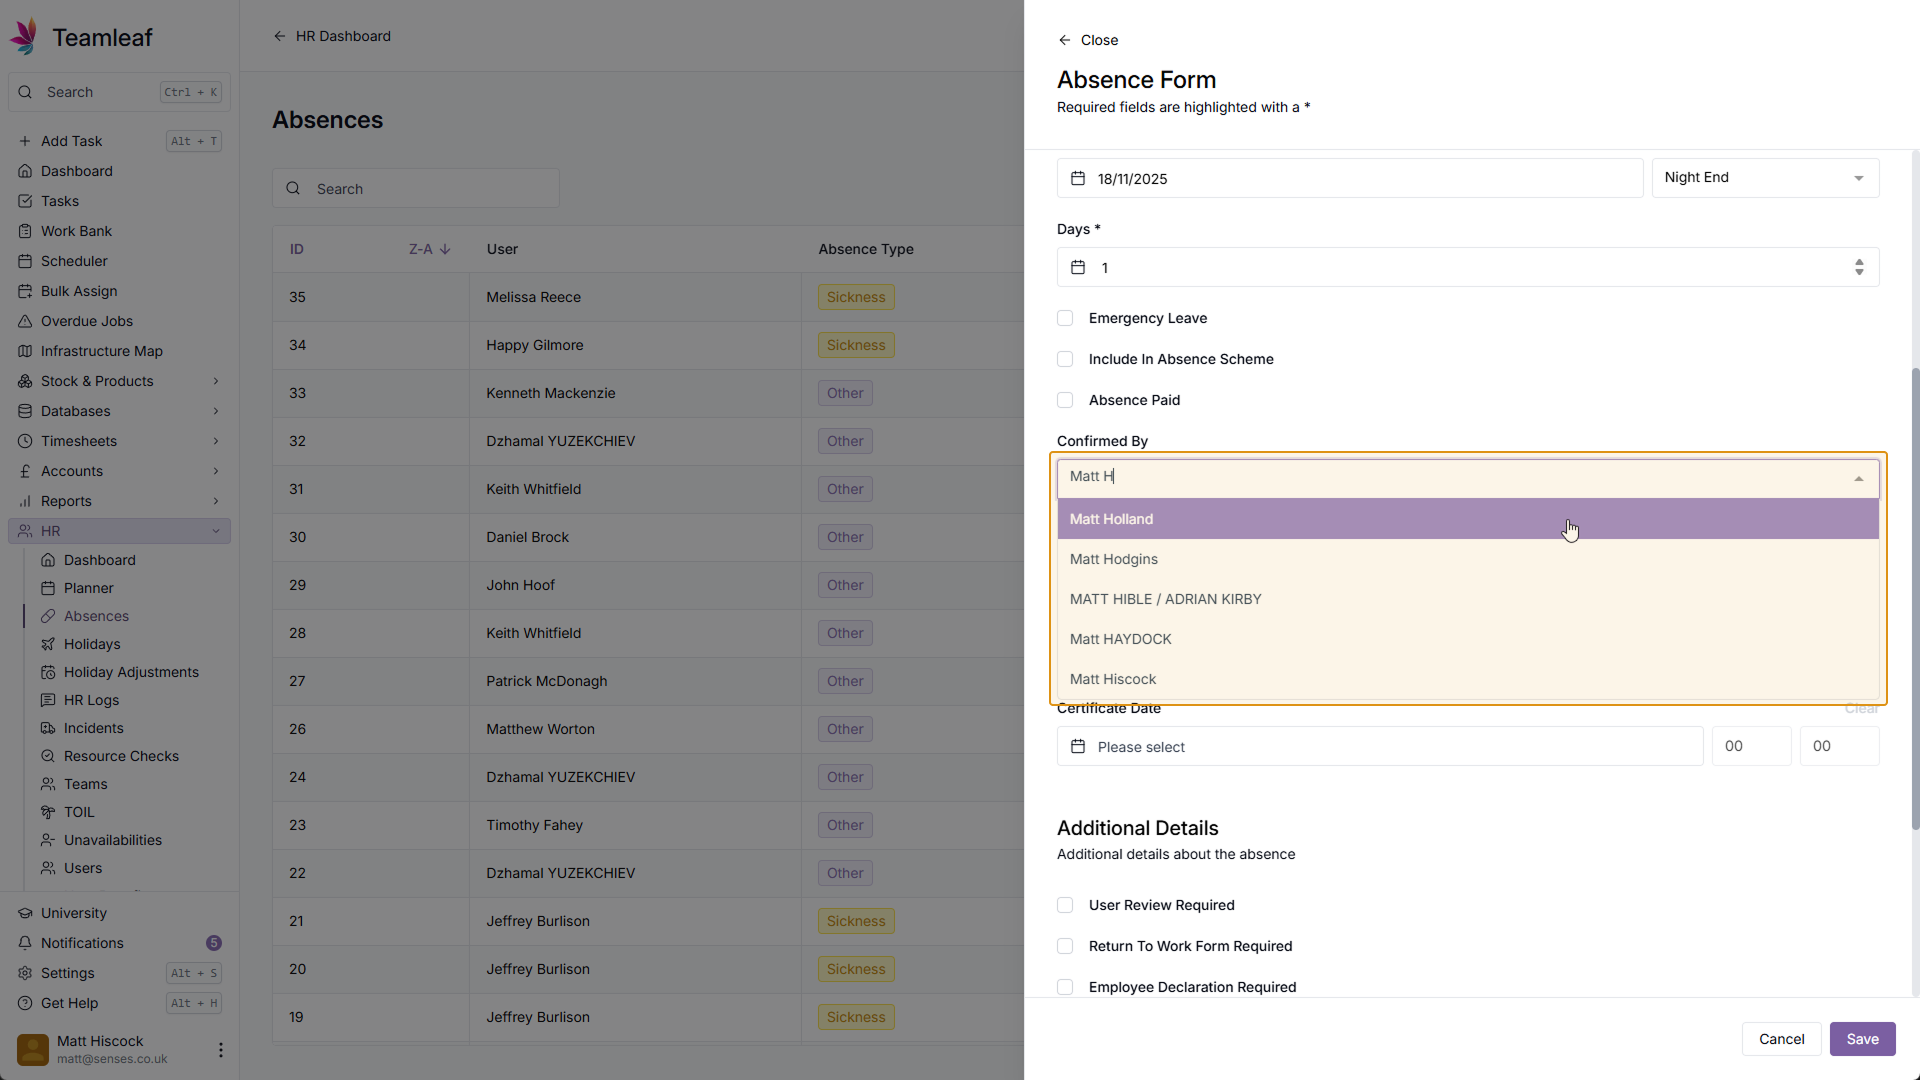
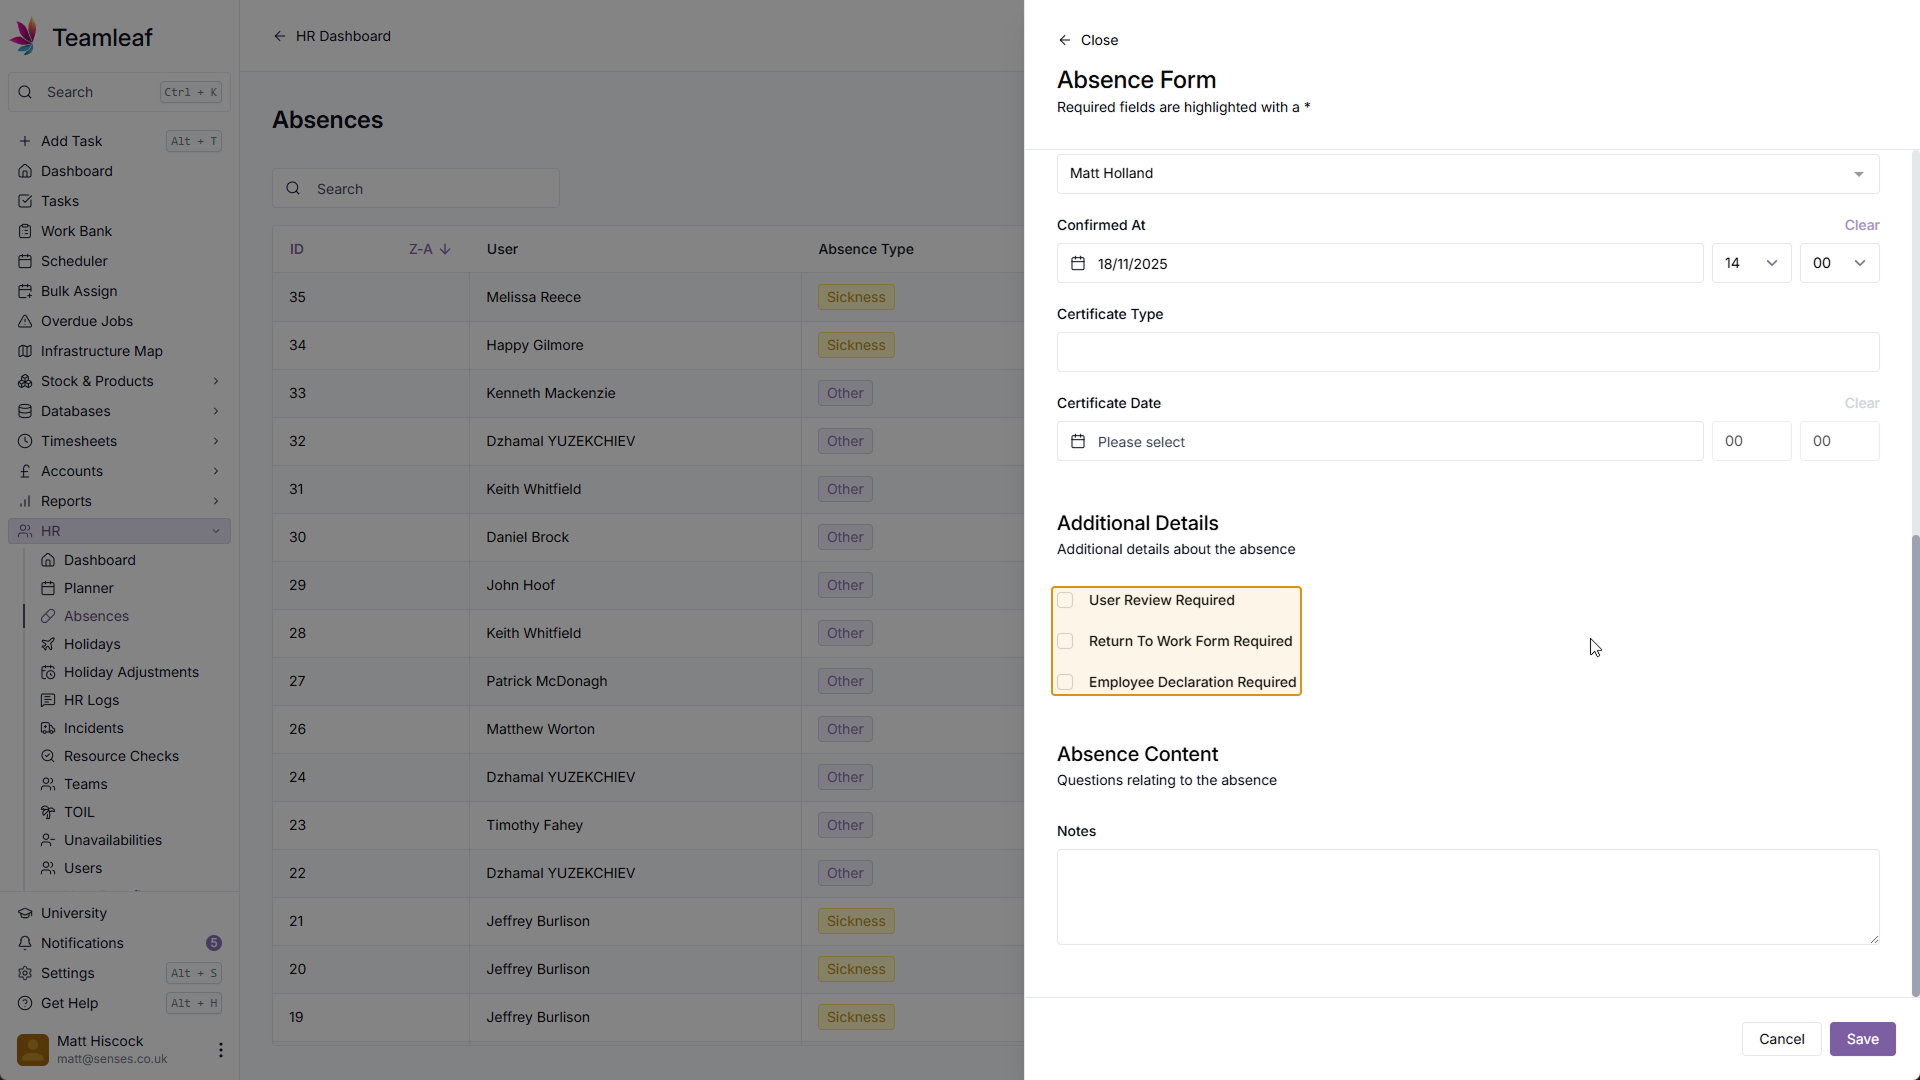
Step 10
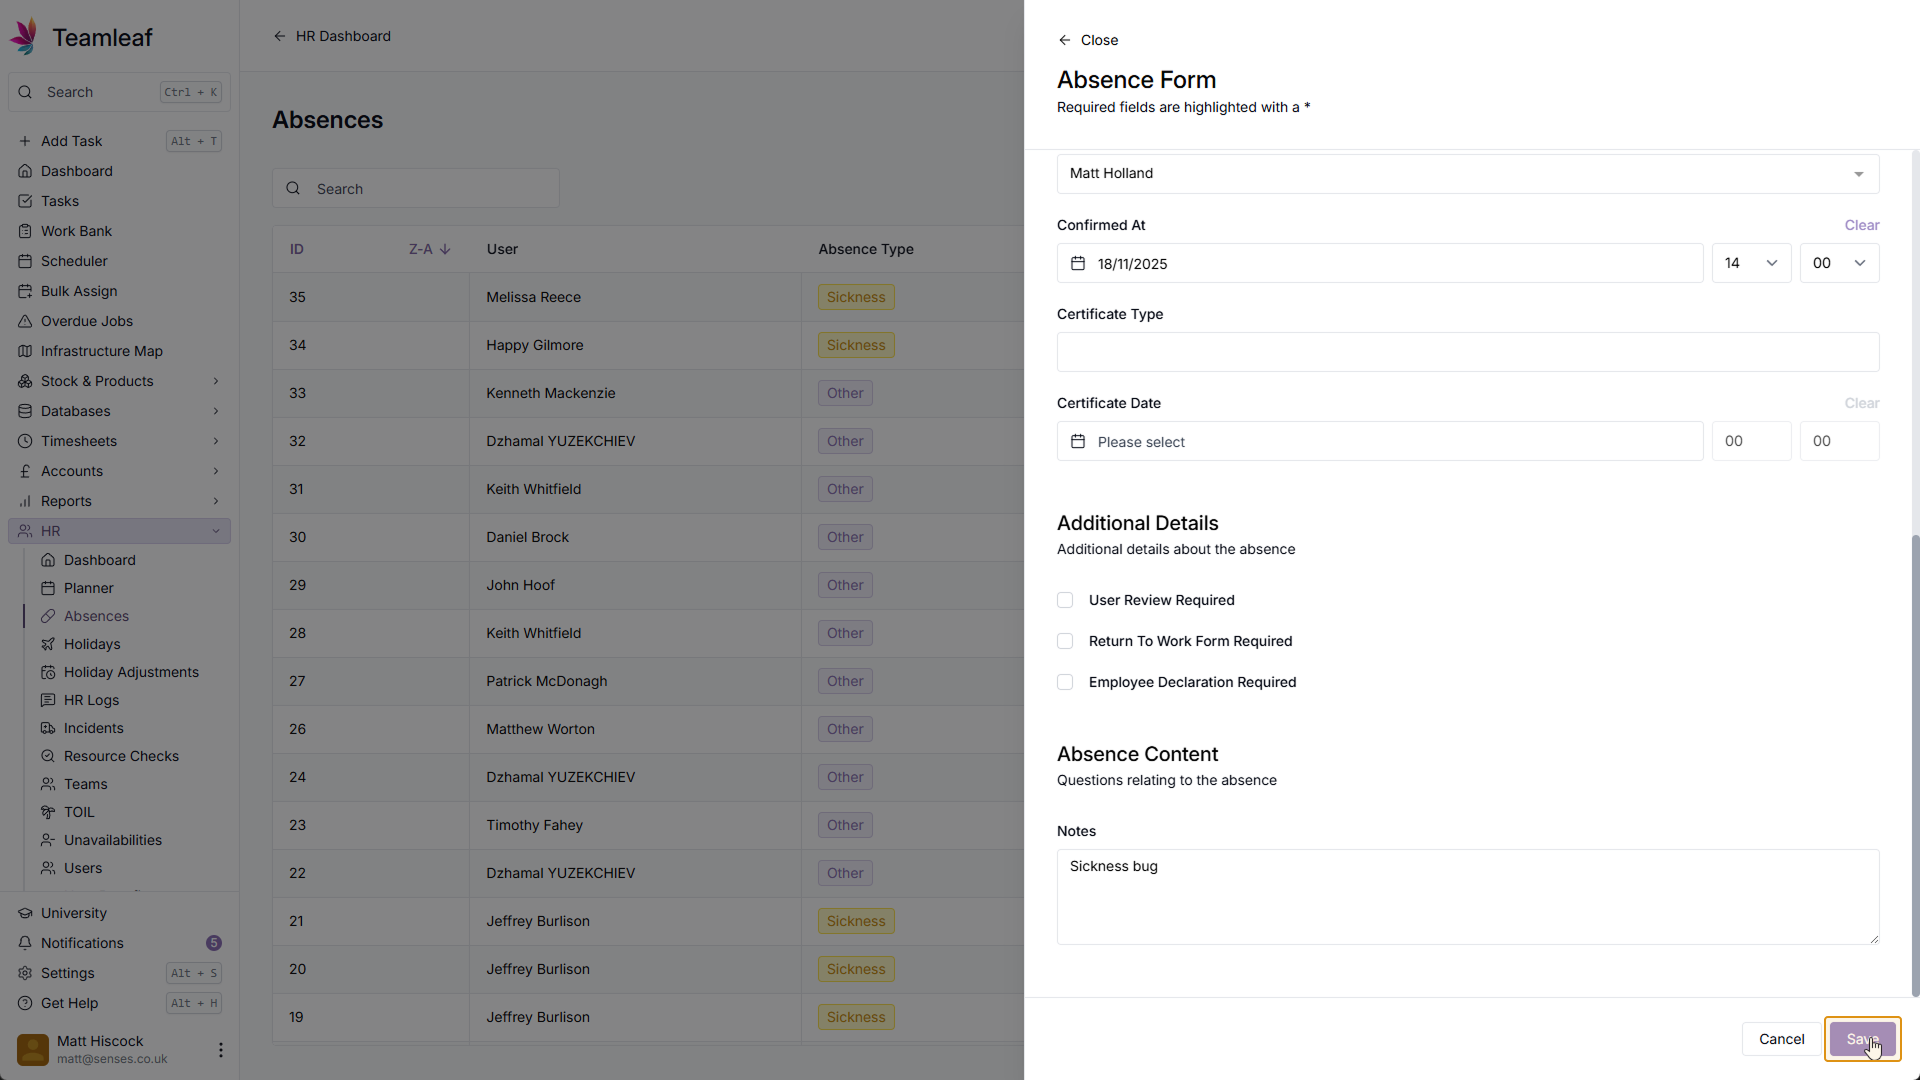
Additional Details
Next, you can select whether this absence requires user review, whether a return to work form is required, and whether an employee declaration is required
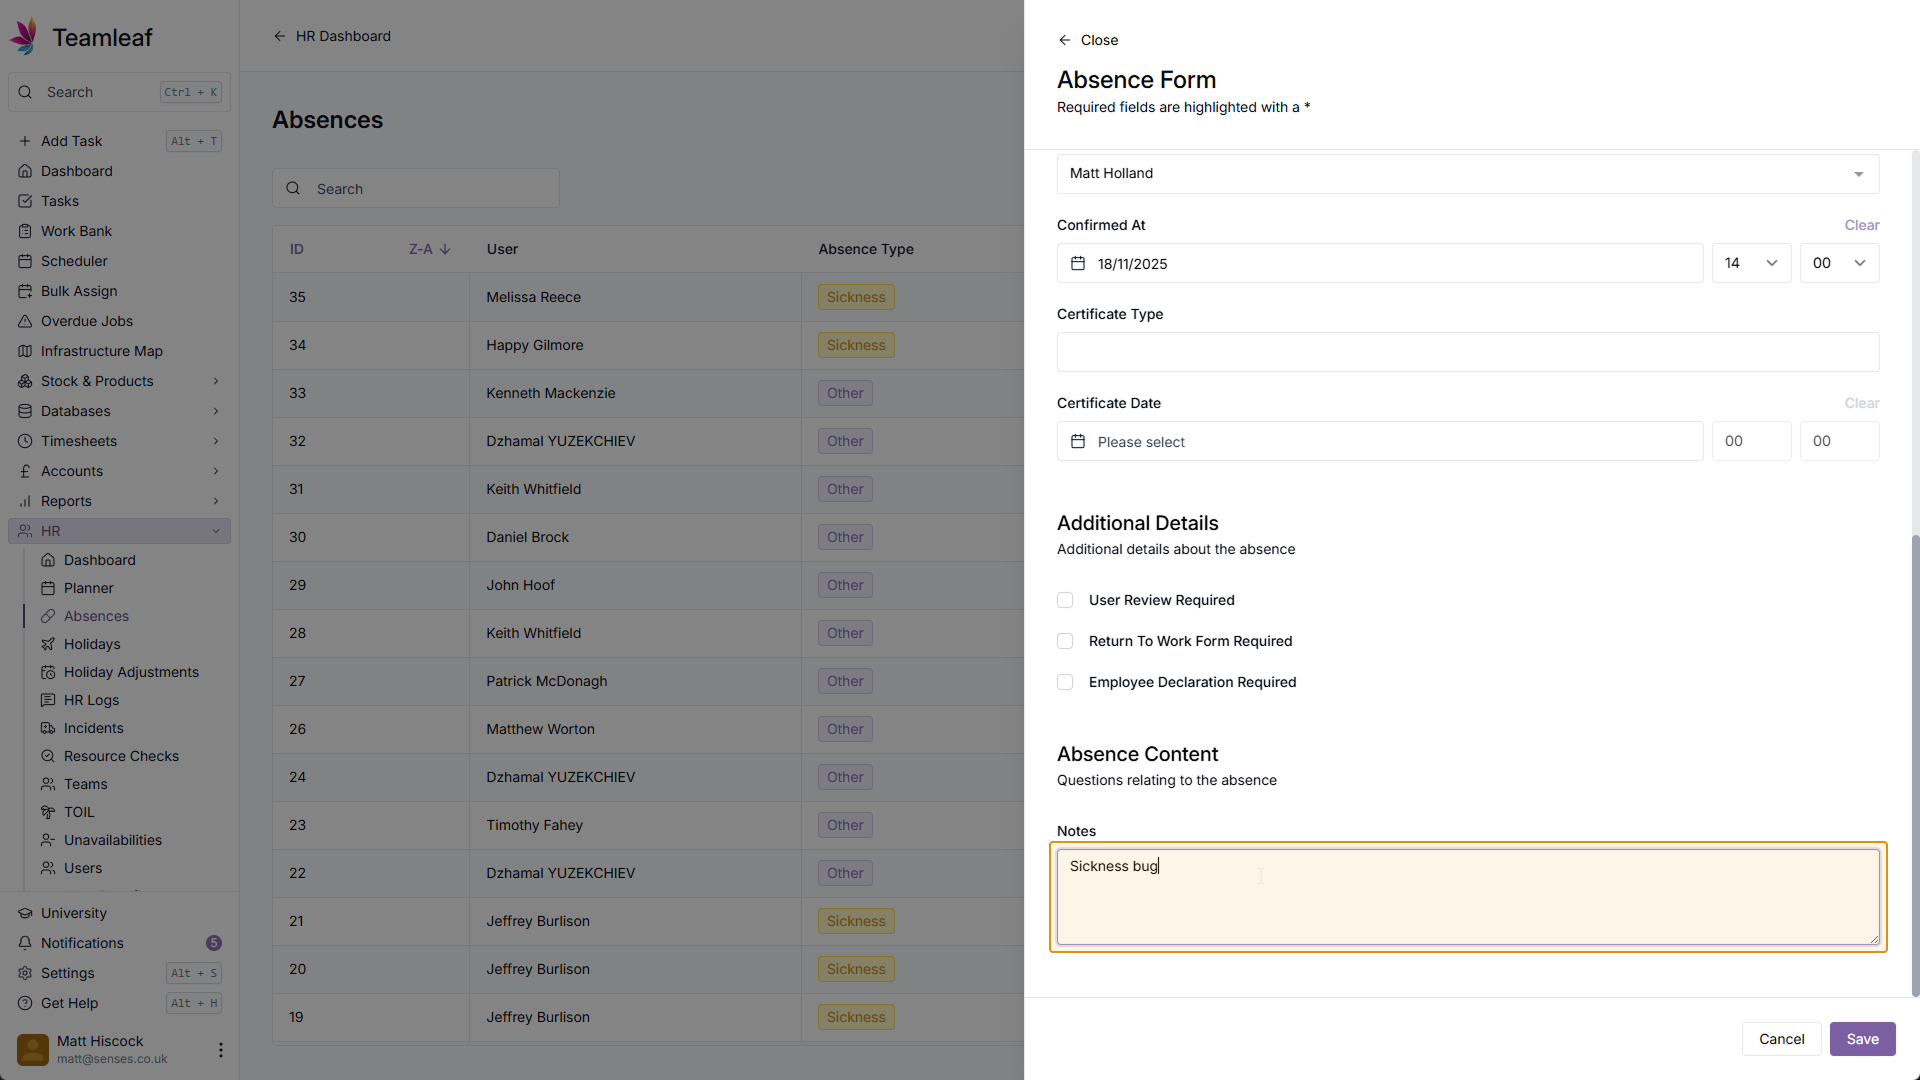
Step 11
(Optional) Add Notes
Next, if you wish, you can add notes to this absence
Step 12
Save Absence
Once you're happy with the absence information, click 'Save' in the bottom right
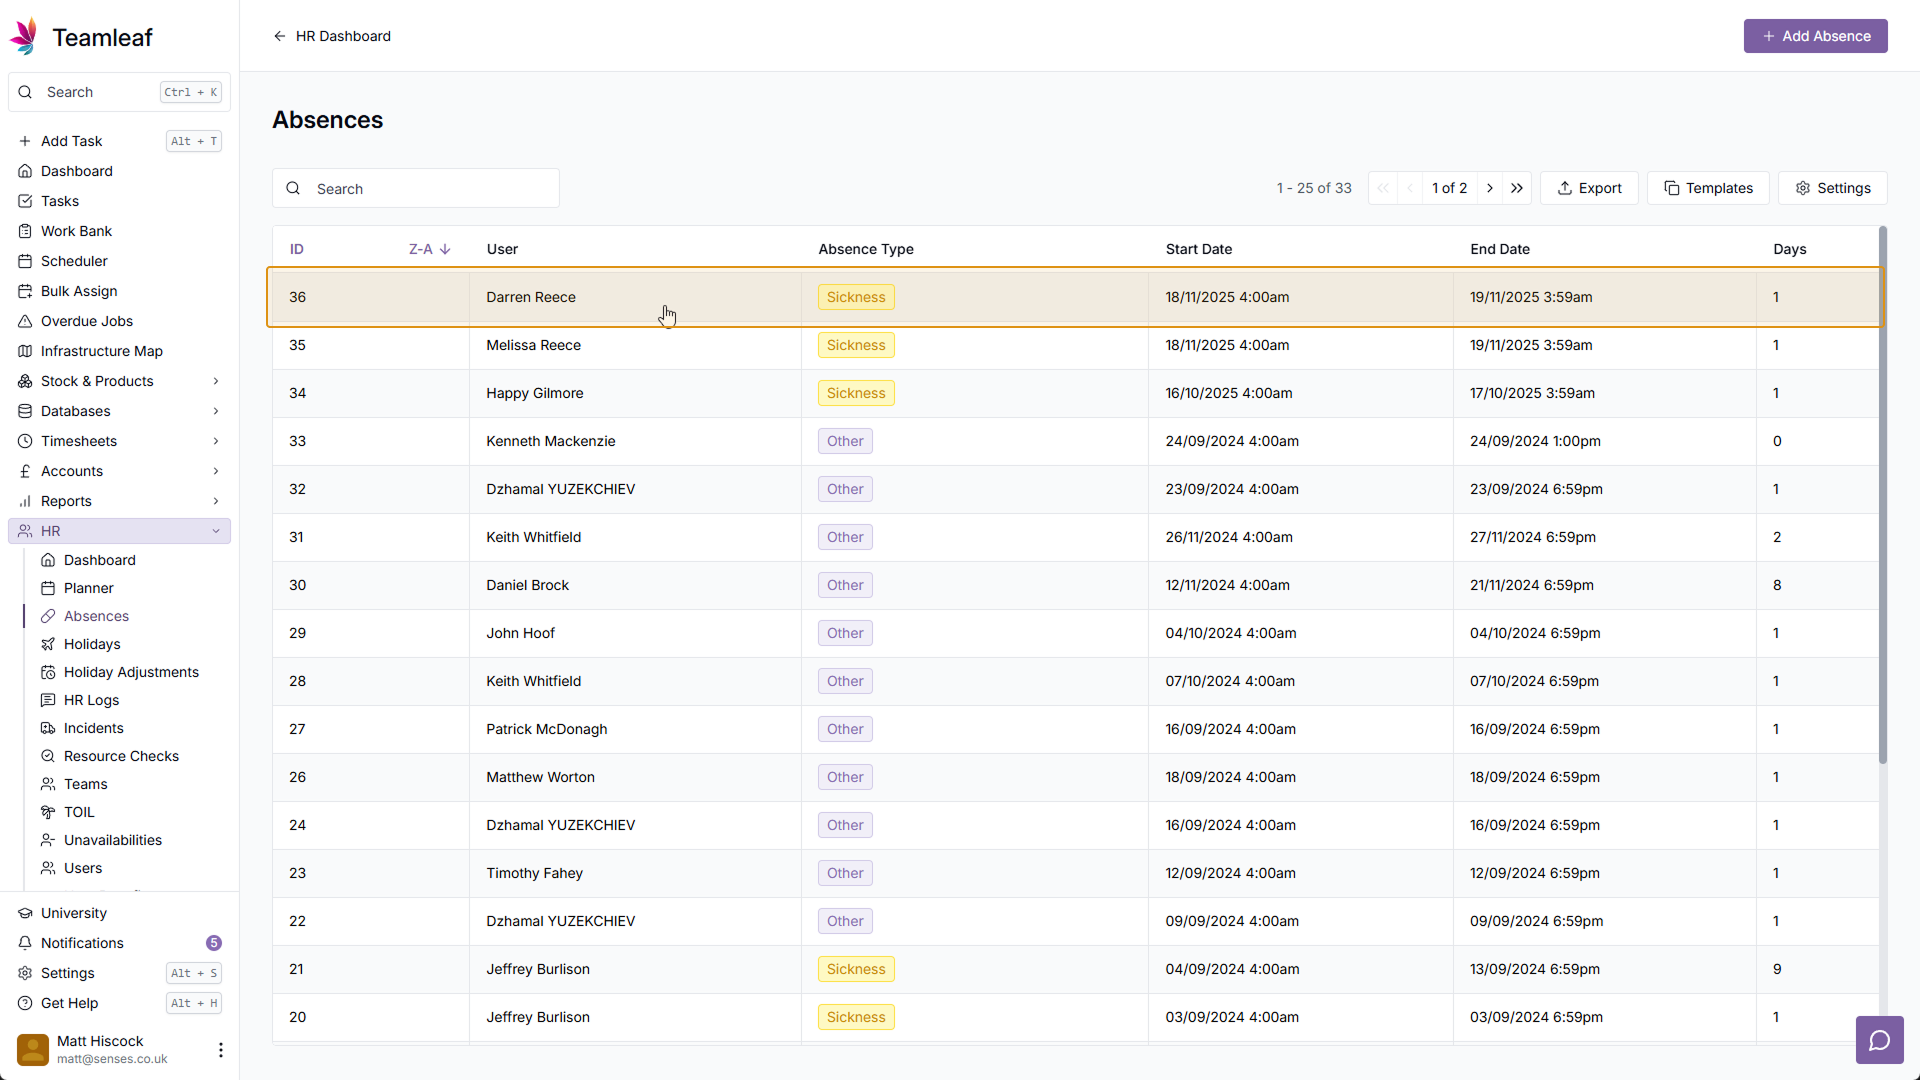
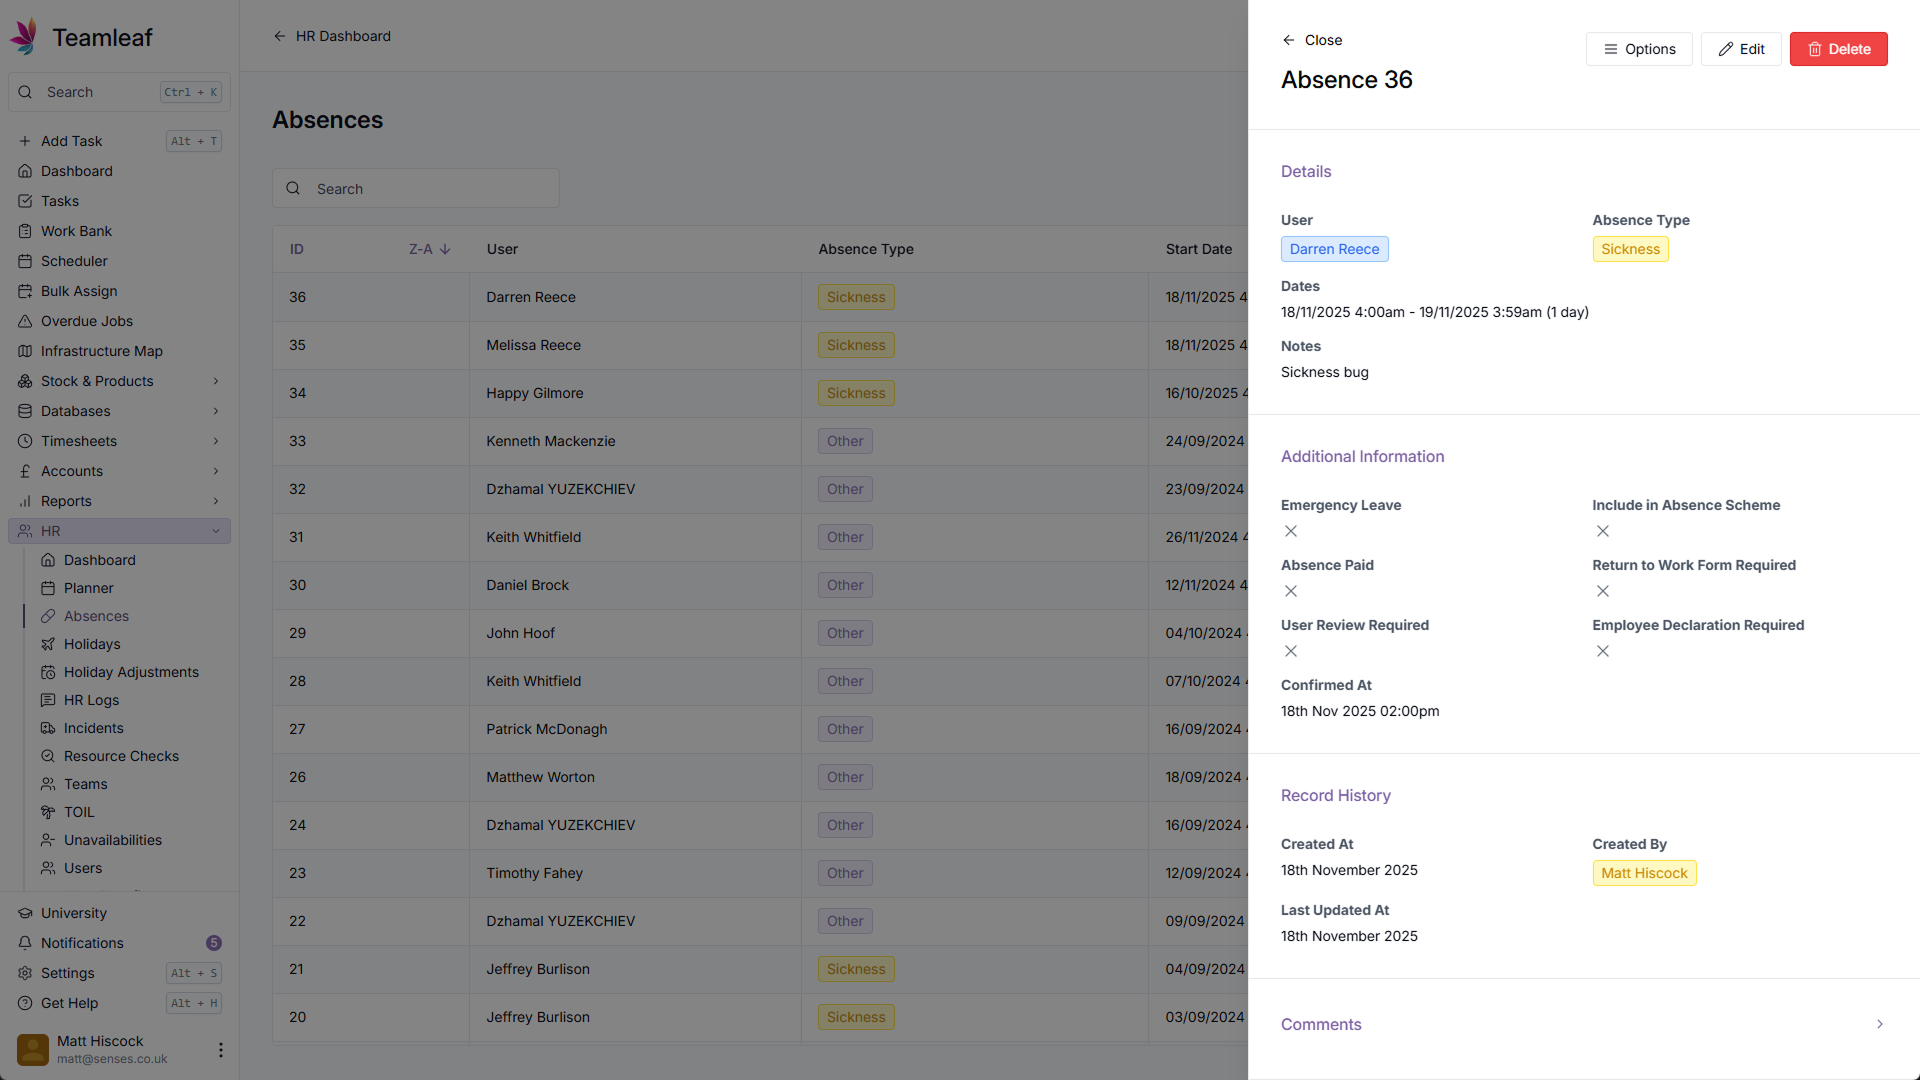
Step 13
(Optional) Edit Absence
The absence you just added will now be at the top of the absences table. To make a change, click the absence row, and click 'Edit' in the top right