Creating a new Shift
Learn how to add a new shift to Teamleaf, including how to add all the relevant information that your team need to carry out the work.
Step-by-Step Guide
Shifts
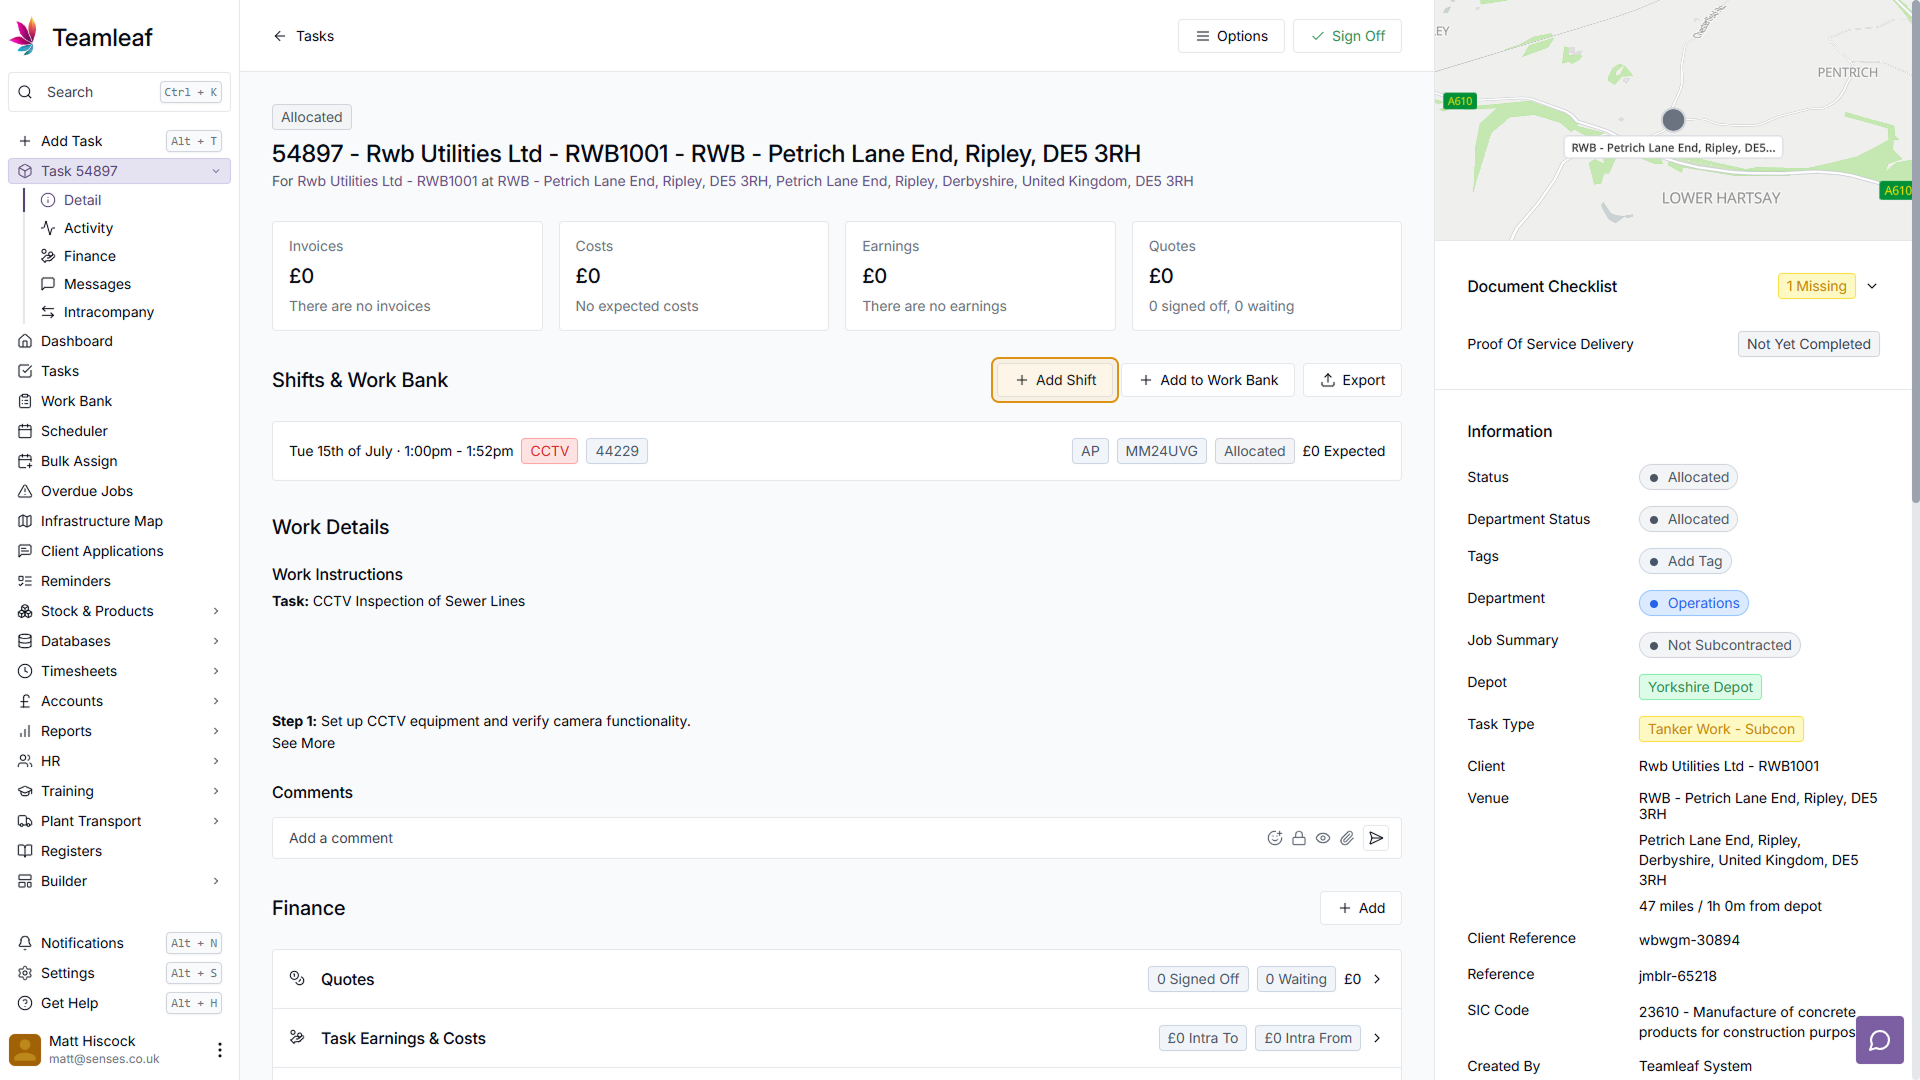
Step 1
Select a Task to add a Shift to
Start by going to the Task page of the Task that you'd like to add a Shift to. Once you're there, click the 'Add Shift' button at the top of the 'Shifts & Work Bank' section
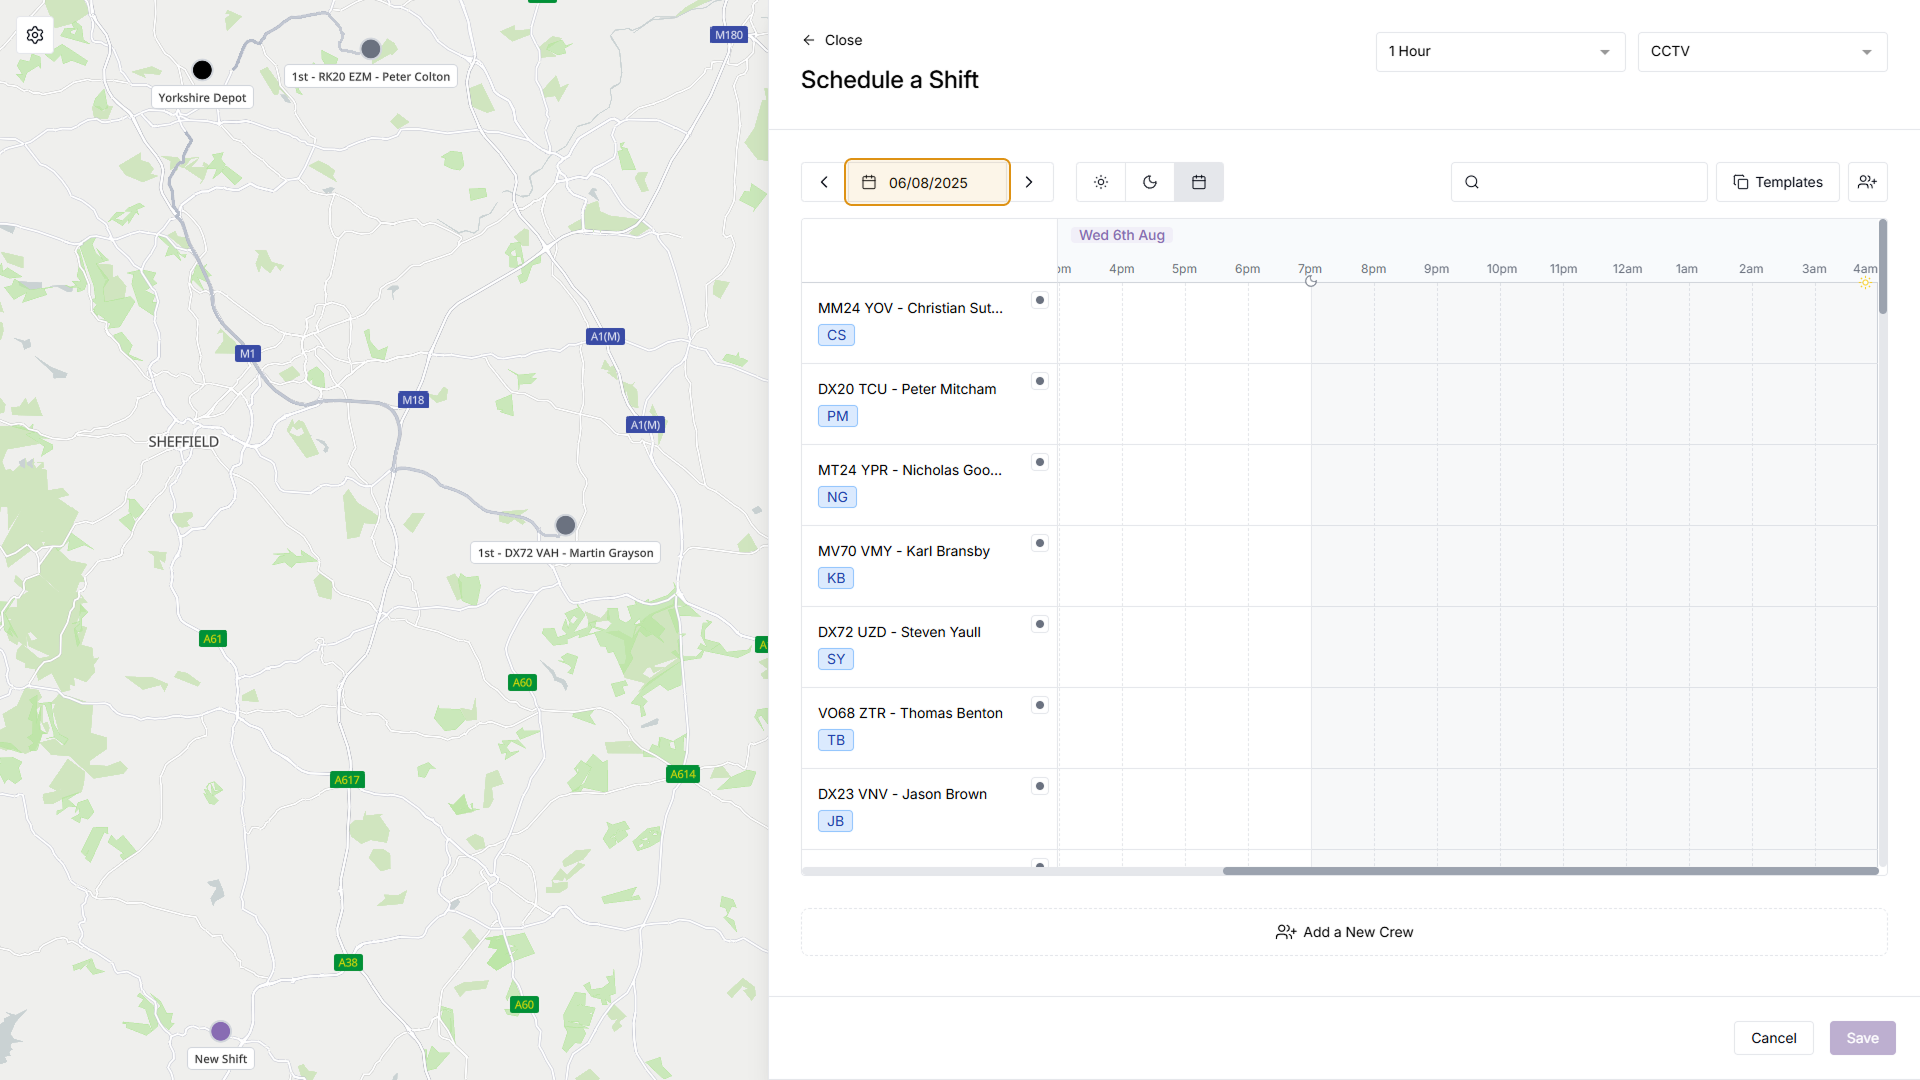
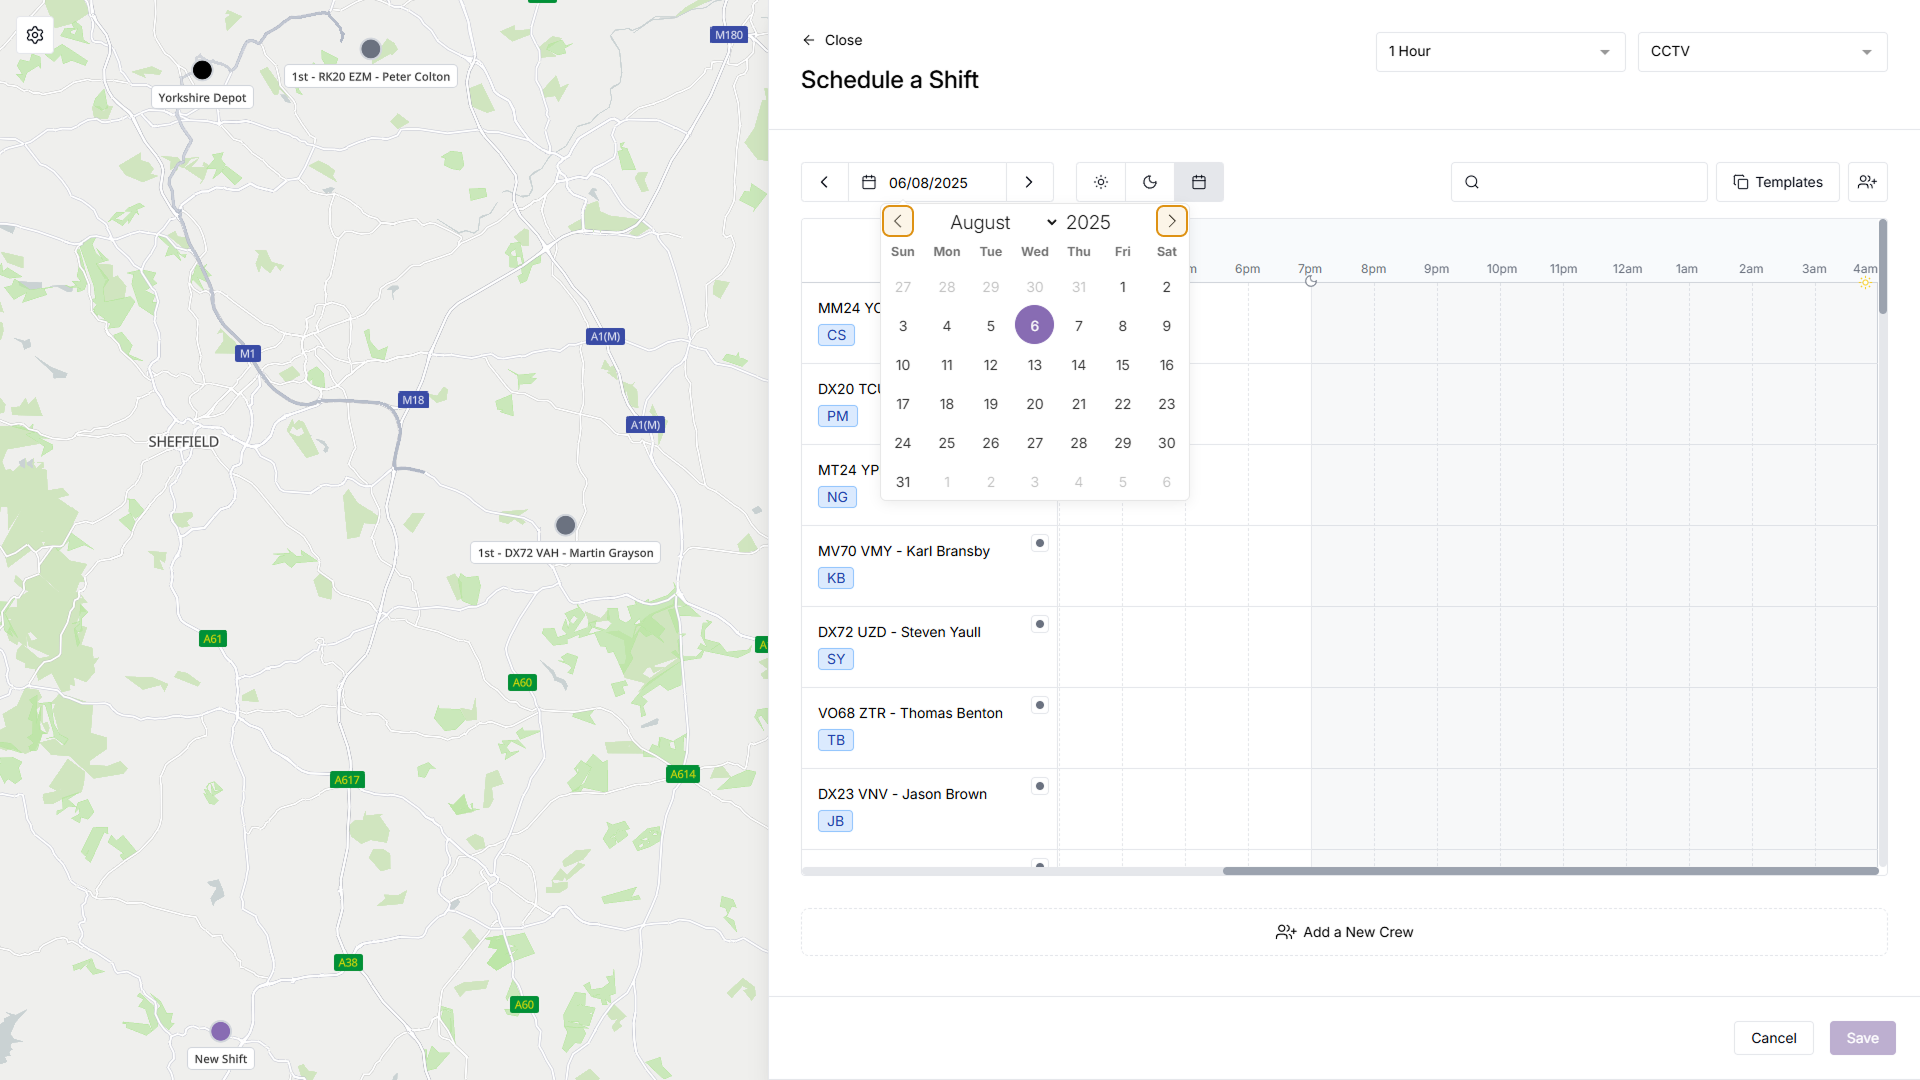
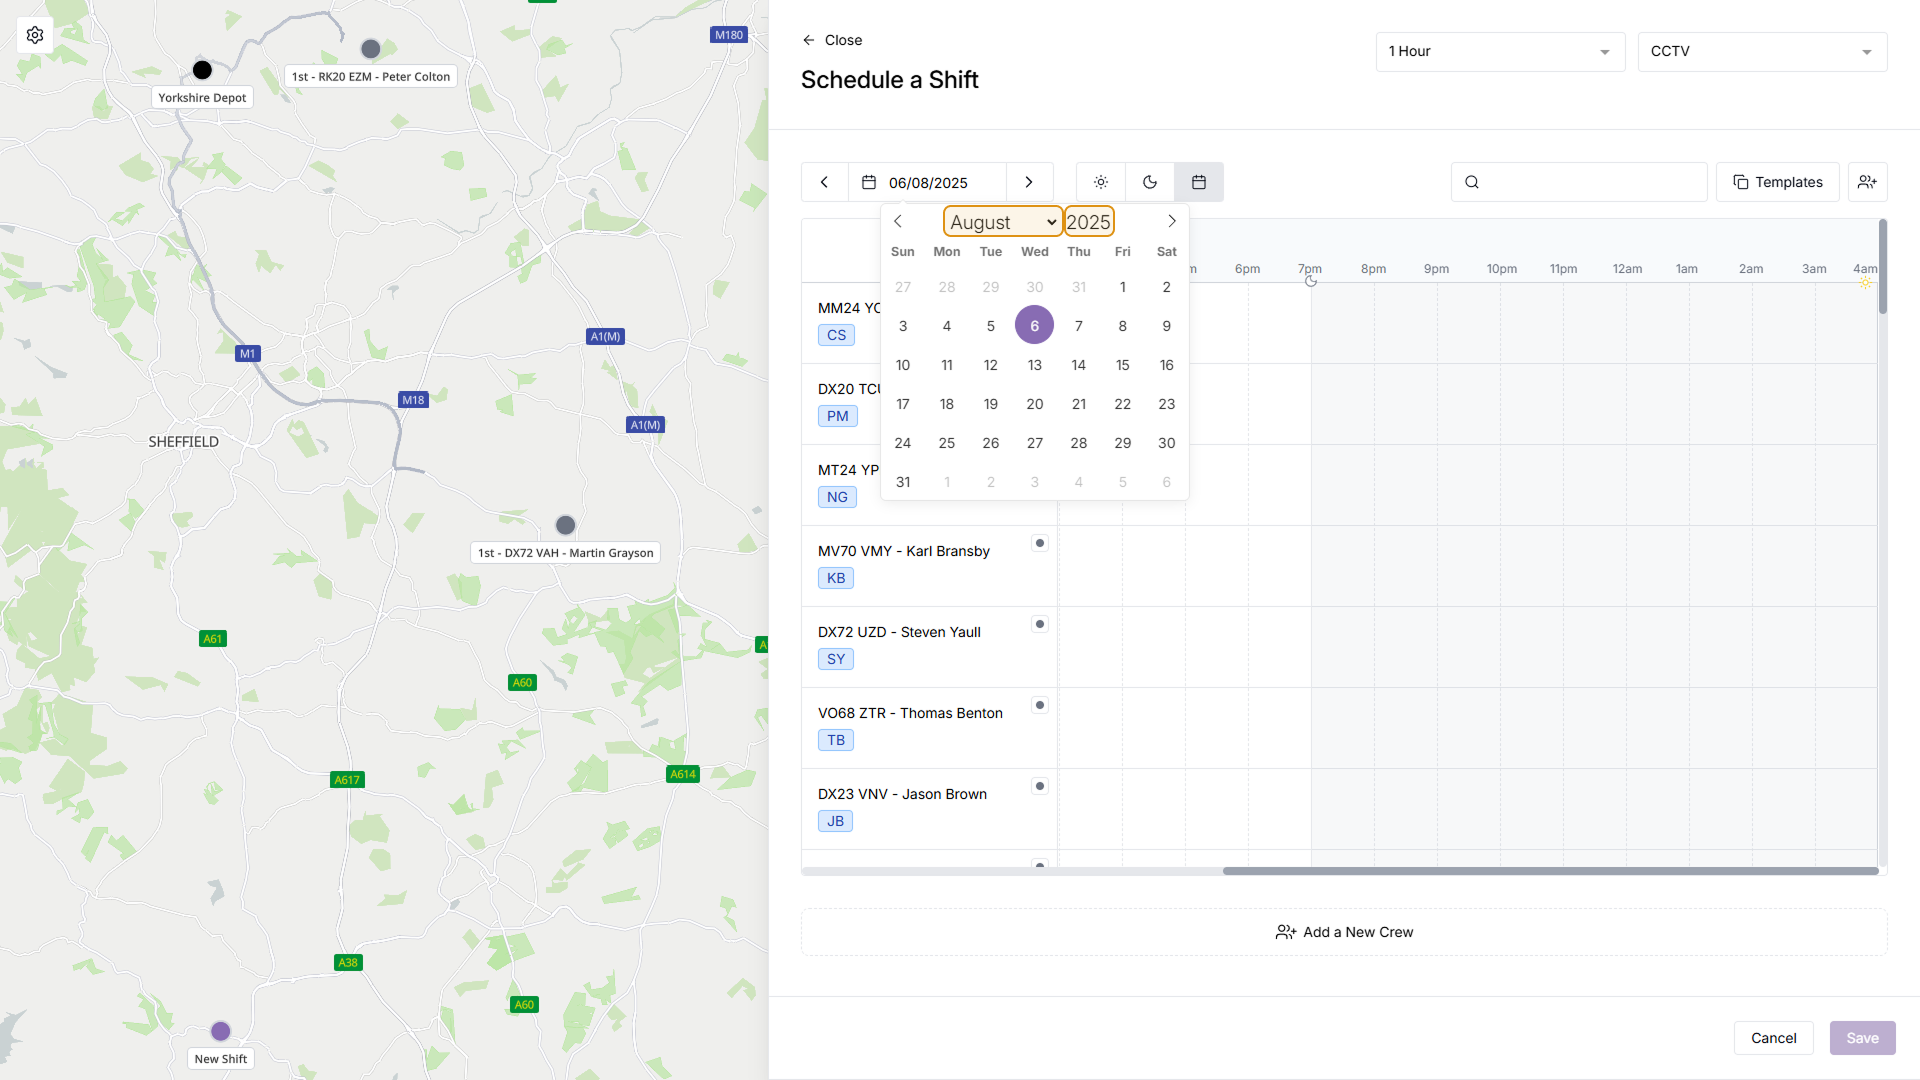
Step 2
Select a date to assign the Shift to
A new menu will appear where you can add your Shift. Start by selecting which date you'd like to add the shift to, click the date field, and use the arrows to go forwards or backwards a month, or click the month and year directly to open a dropdown to select a month directly. Once you've found the correct month, click the date you'd like to add the Shift to

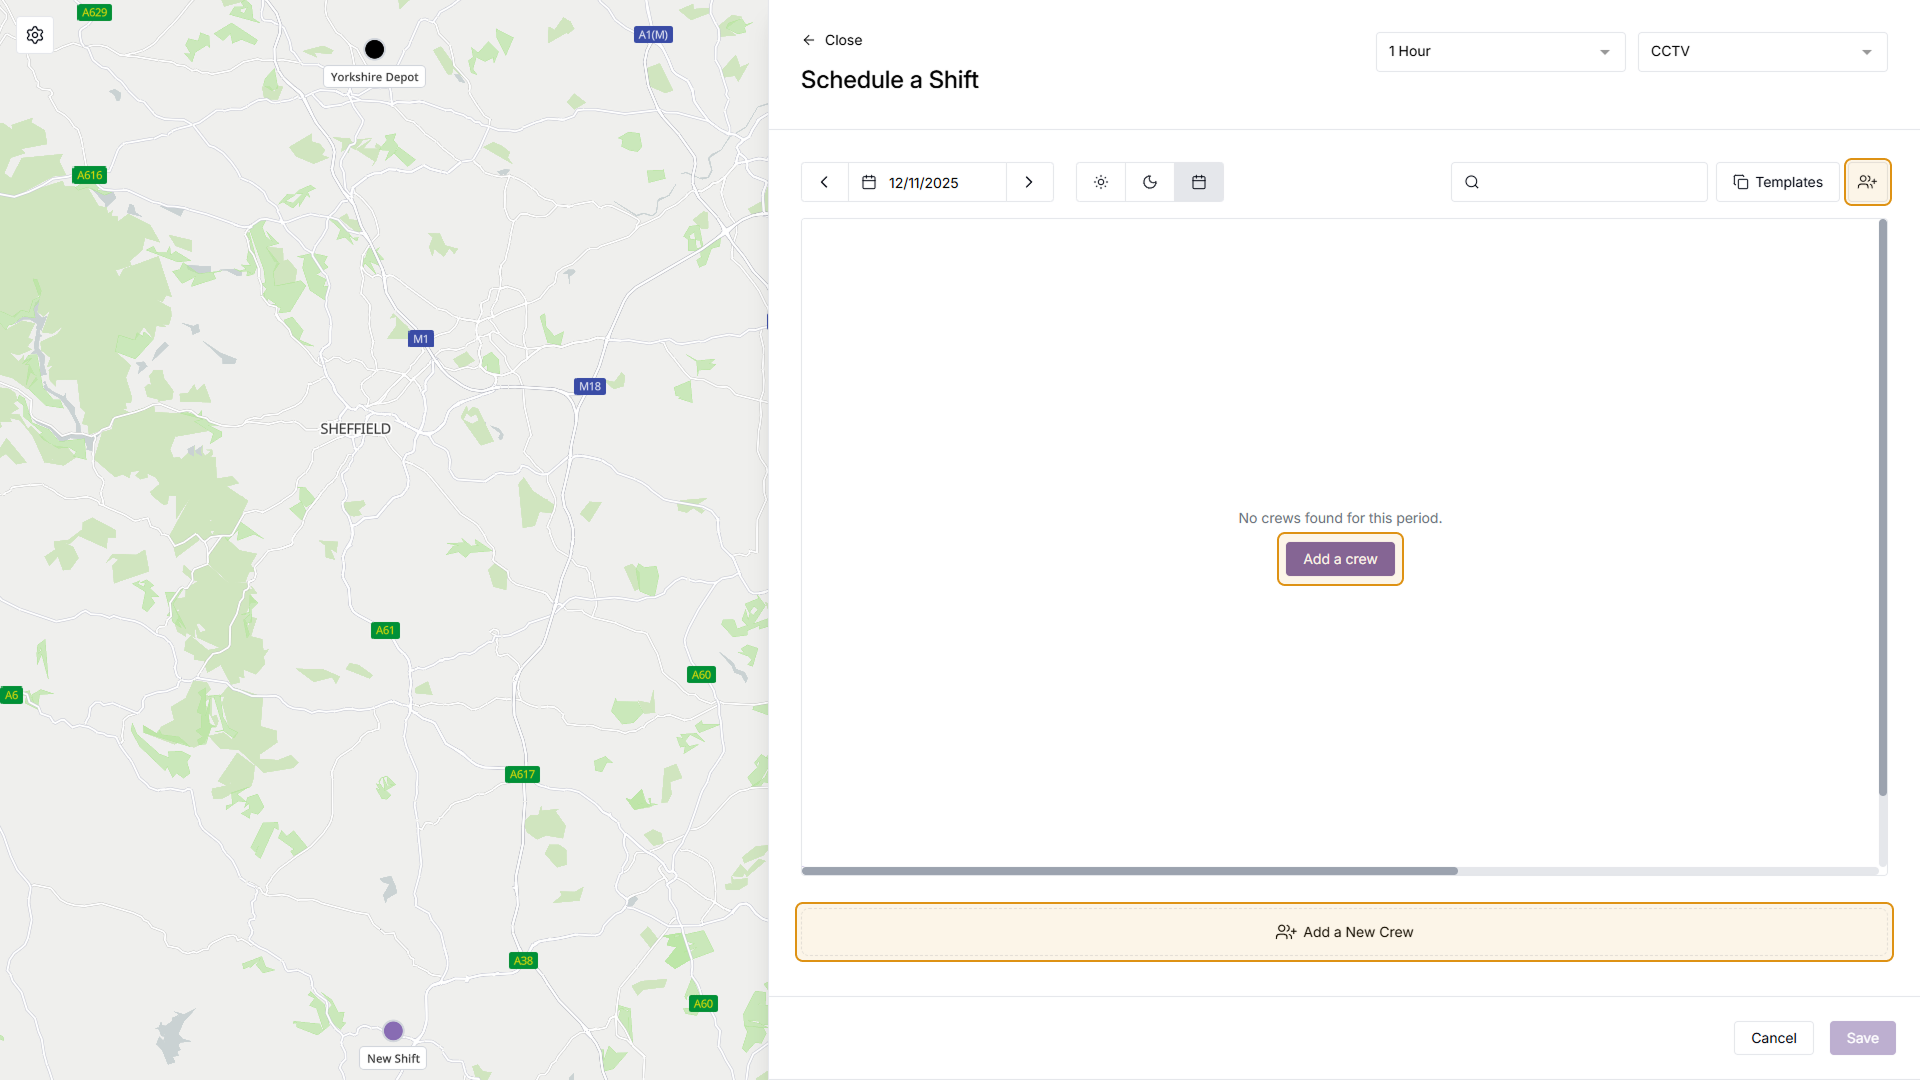
Step 3
Crew Selection
Assuming your crew isn't already on the Schedule, you will now want to add your crew to the Schedule. If your crew is already on the schedule, please skip to step 5
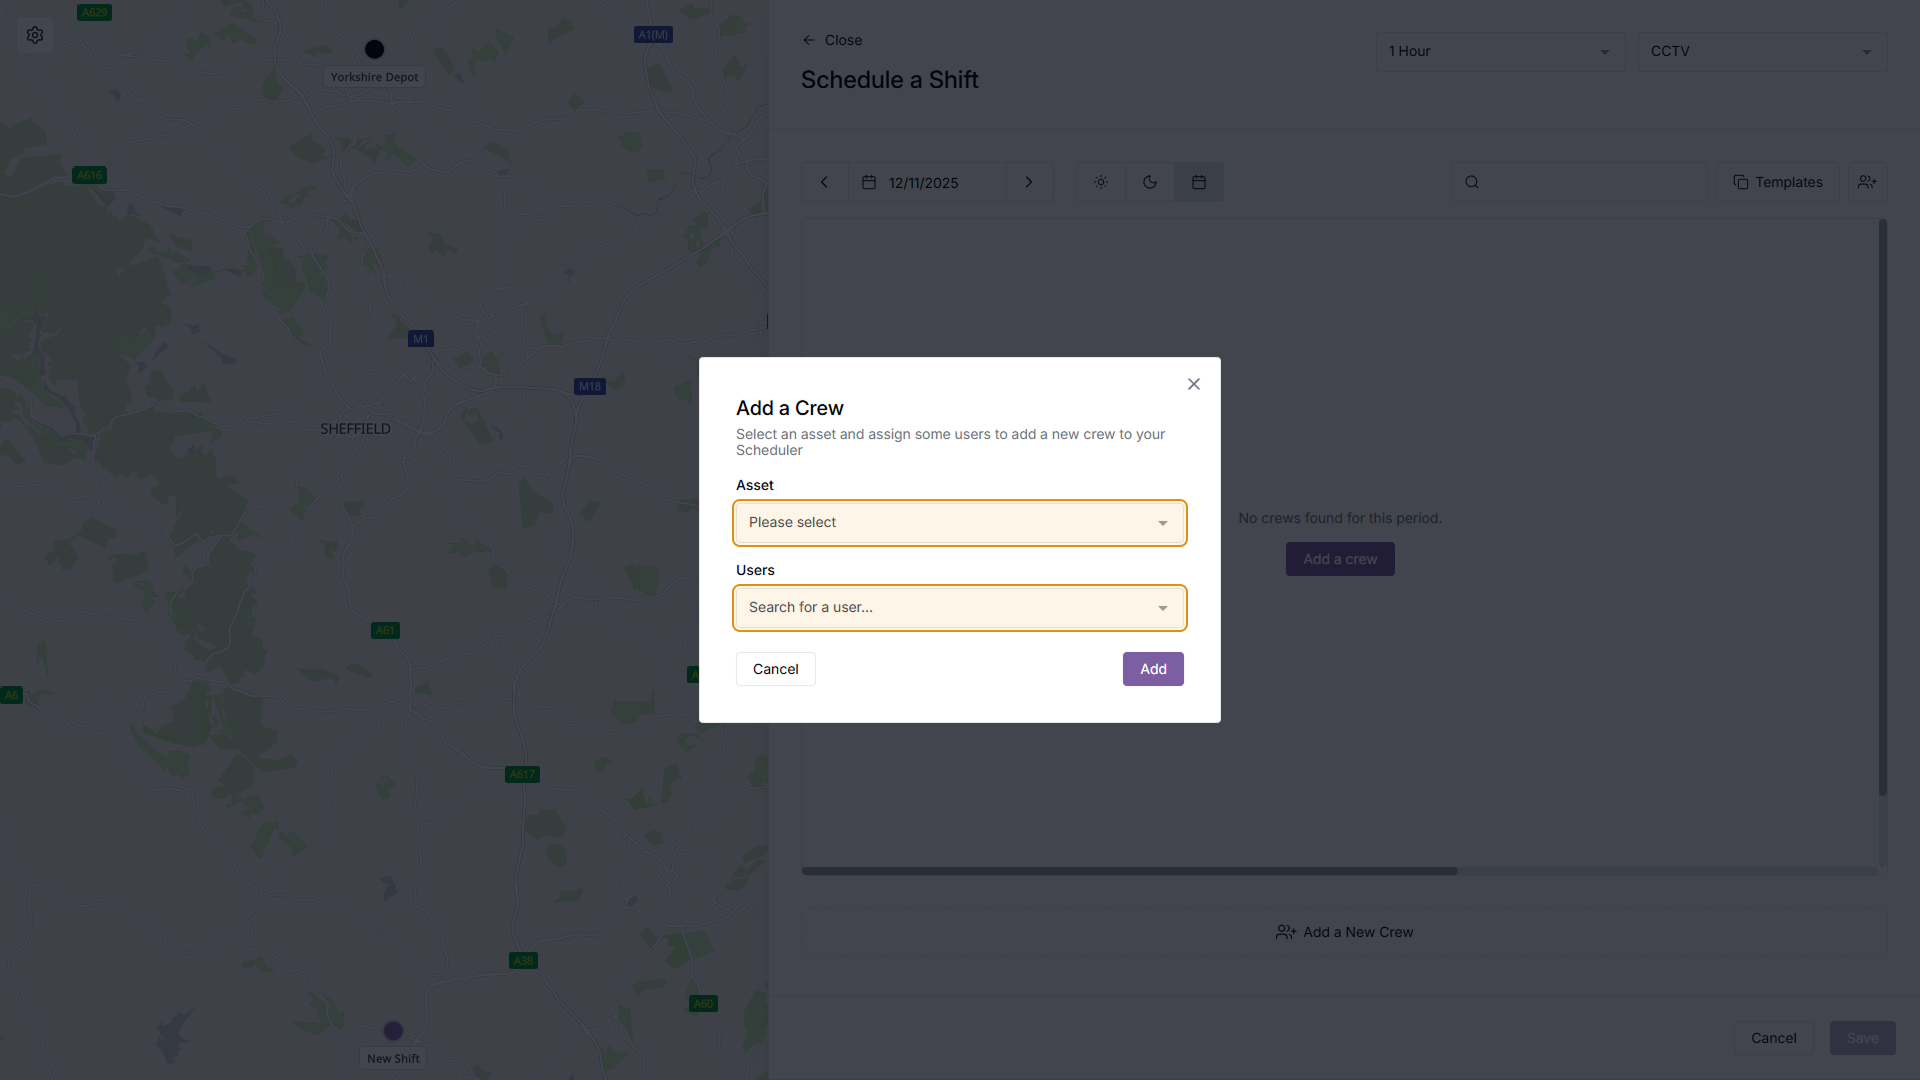
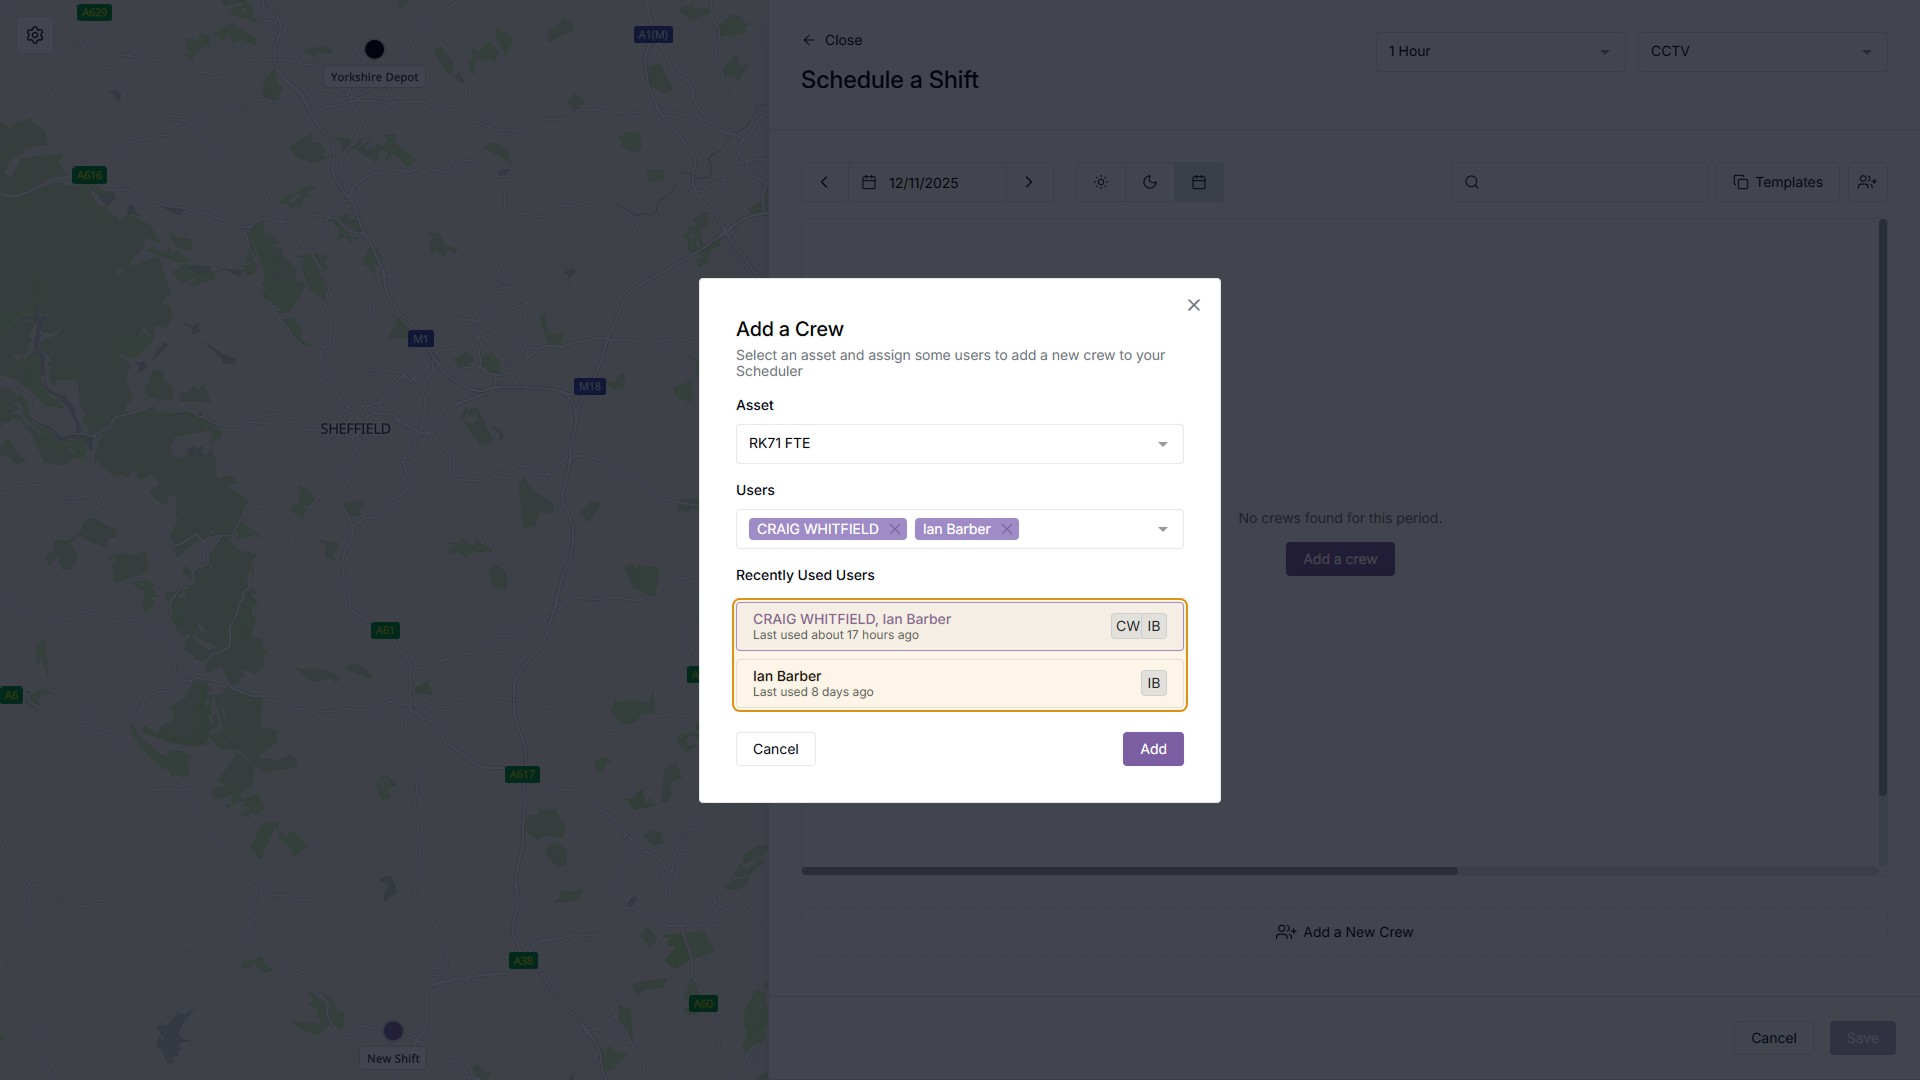
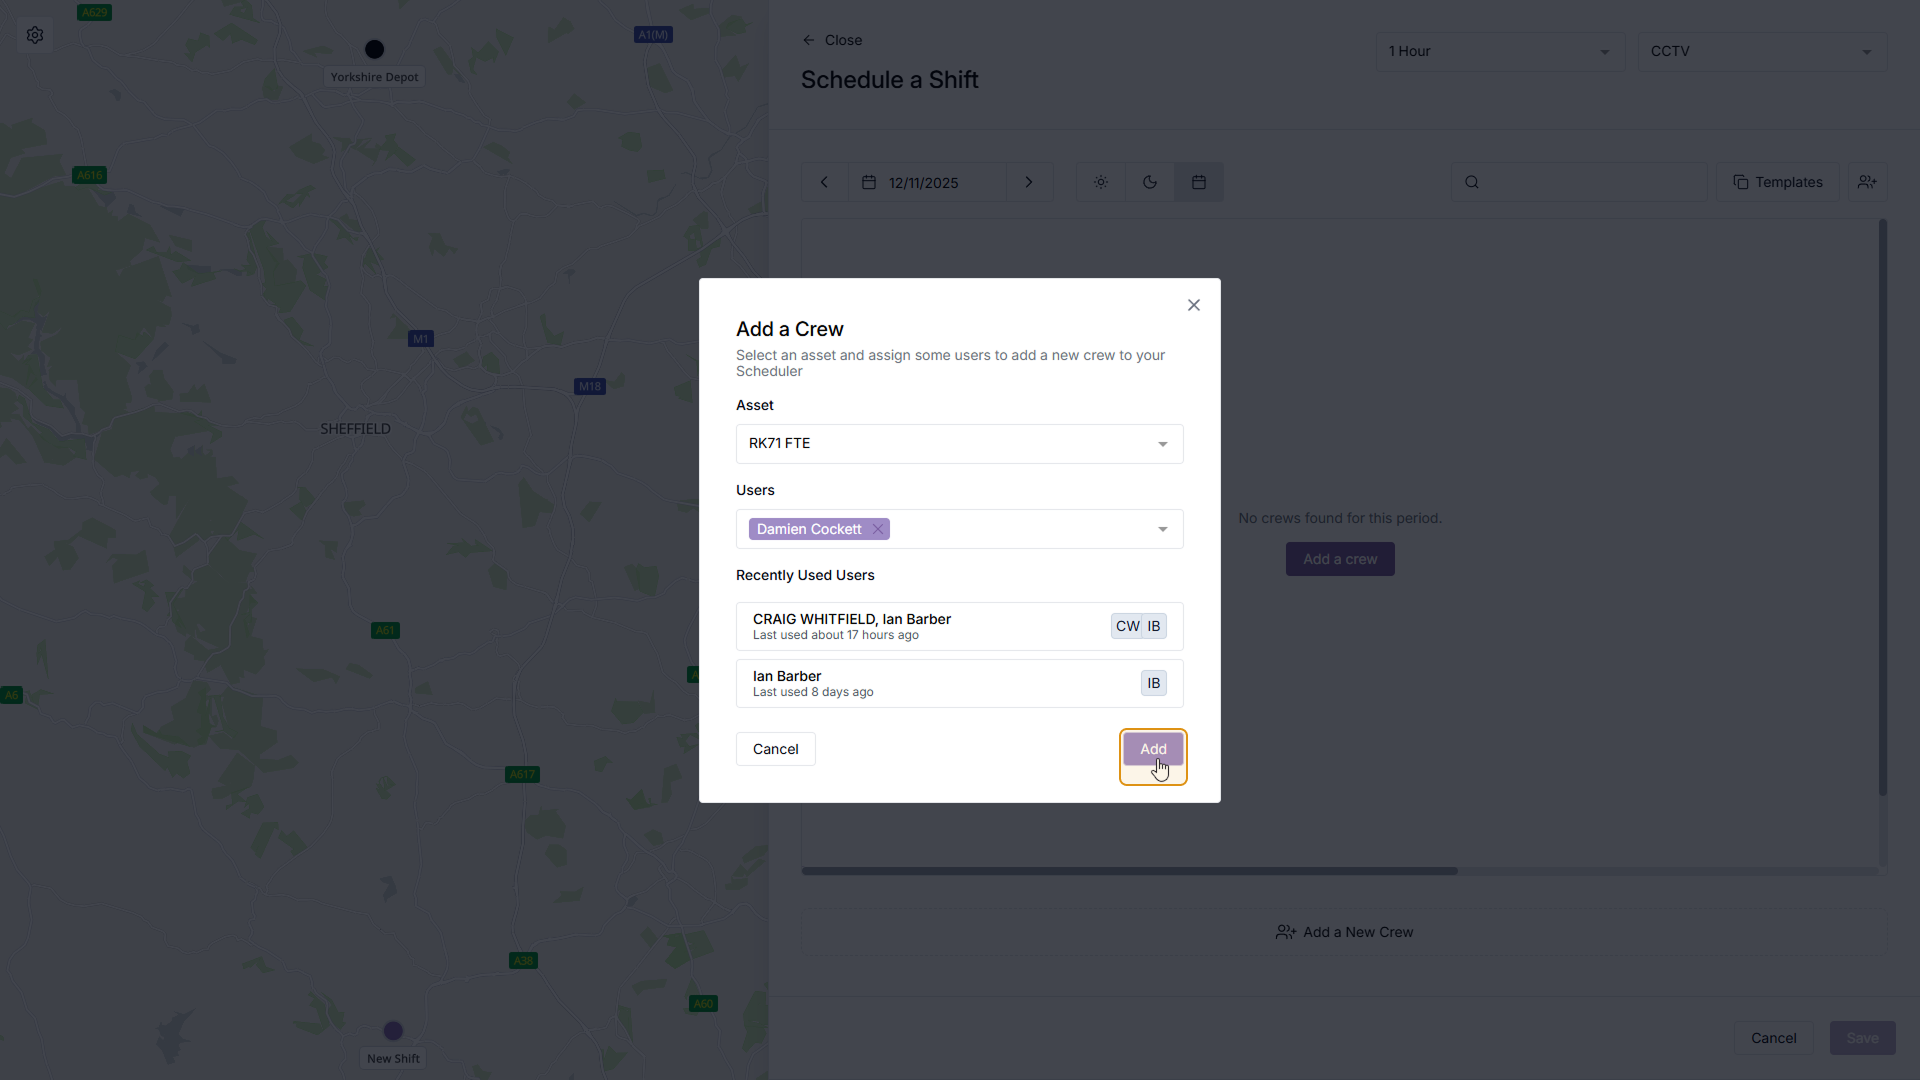
Step 4
Add a Crew
A new menu will appear, prompting you to select either a user or an asset. Add one to the crew, and a suggested crew will be automatically selected based on previous crews. From here you can keep the crew the same, remove the suggested crew, or change the crew. Once you're happy with your crew, click the 'Add' button in the bottom right
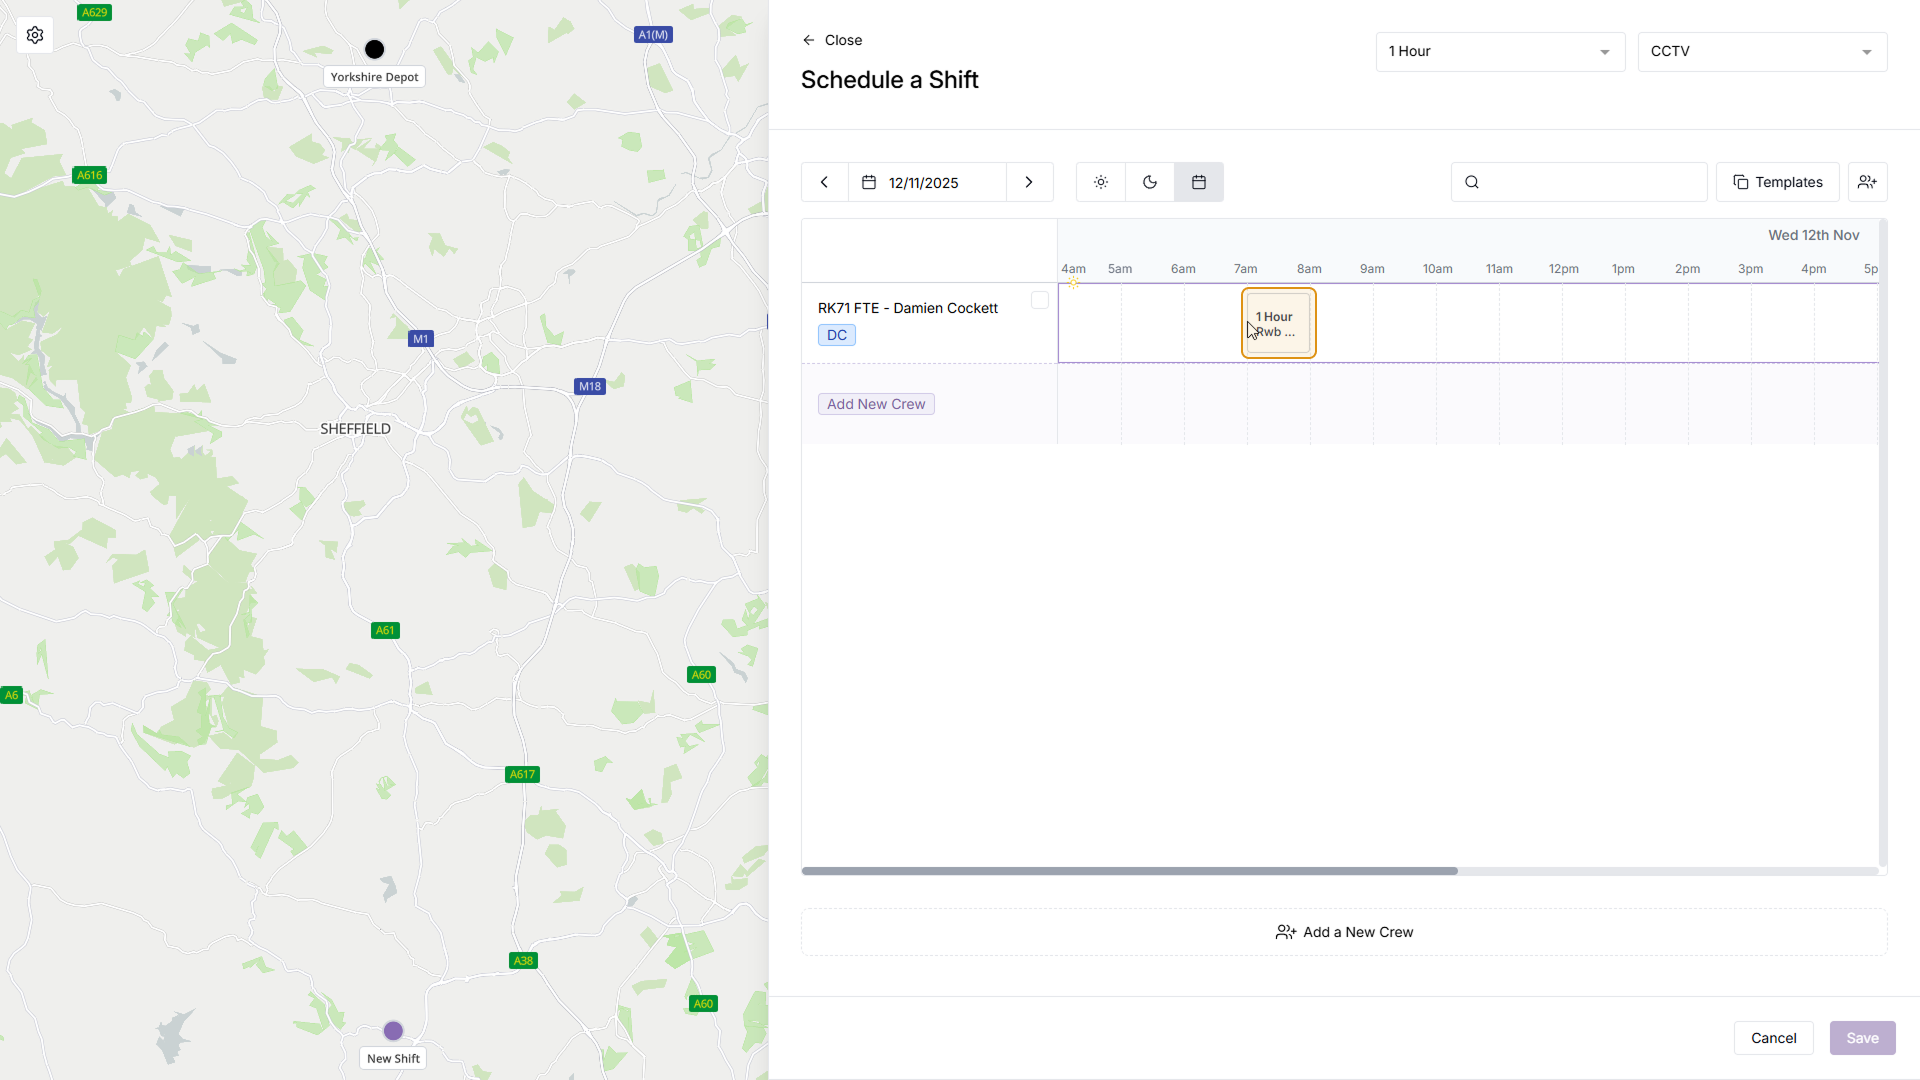
Step 5
Select a Time
With your crew now on the Scheduler, hover over the time you'd like to add the shift, and click to add it.
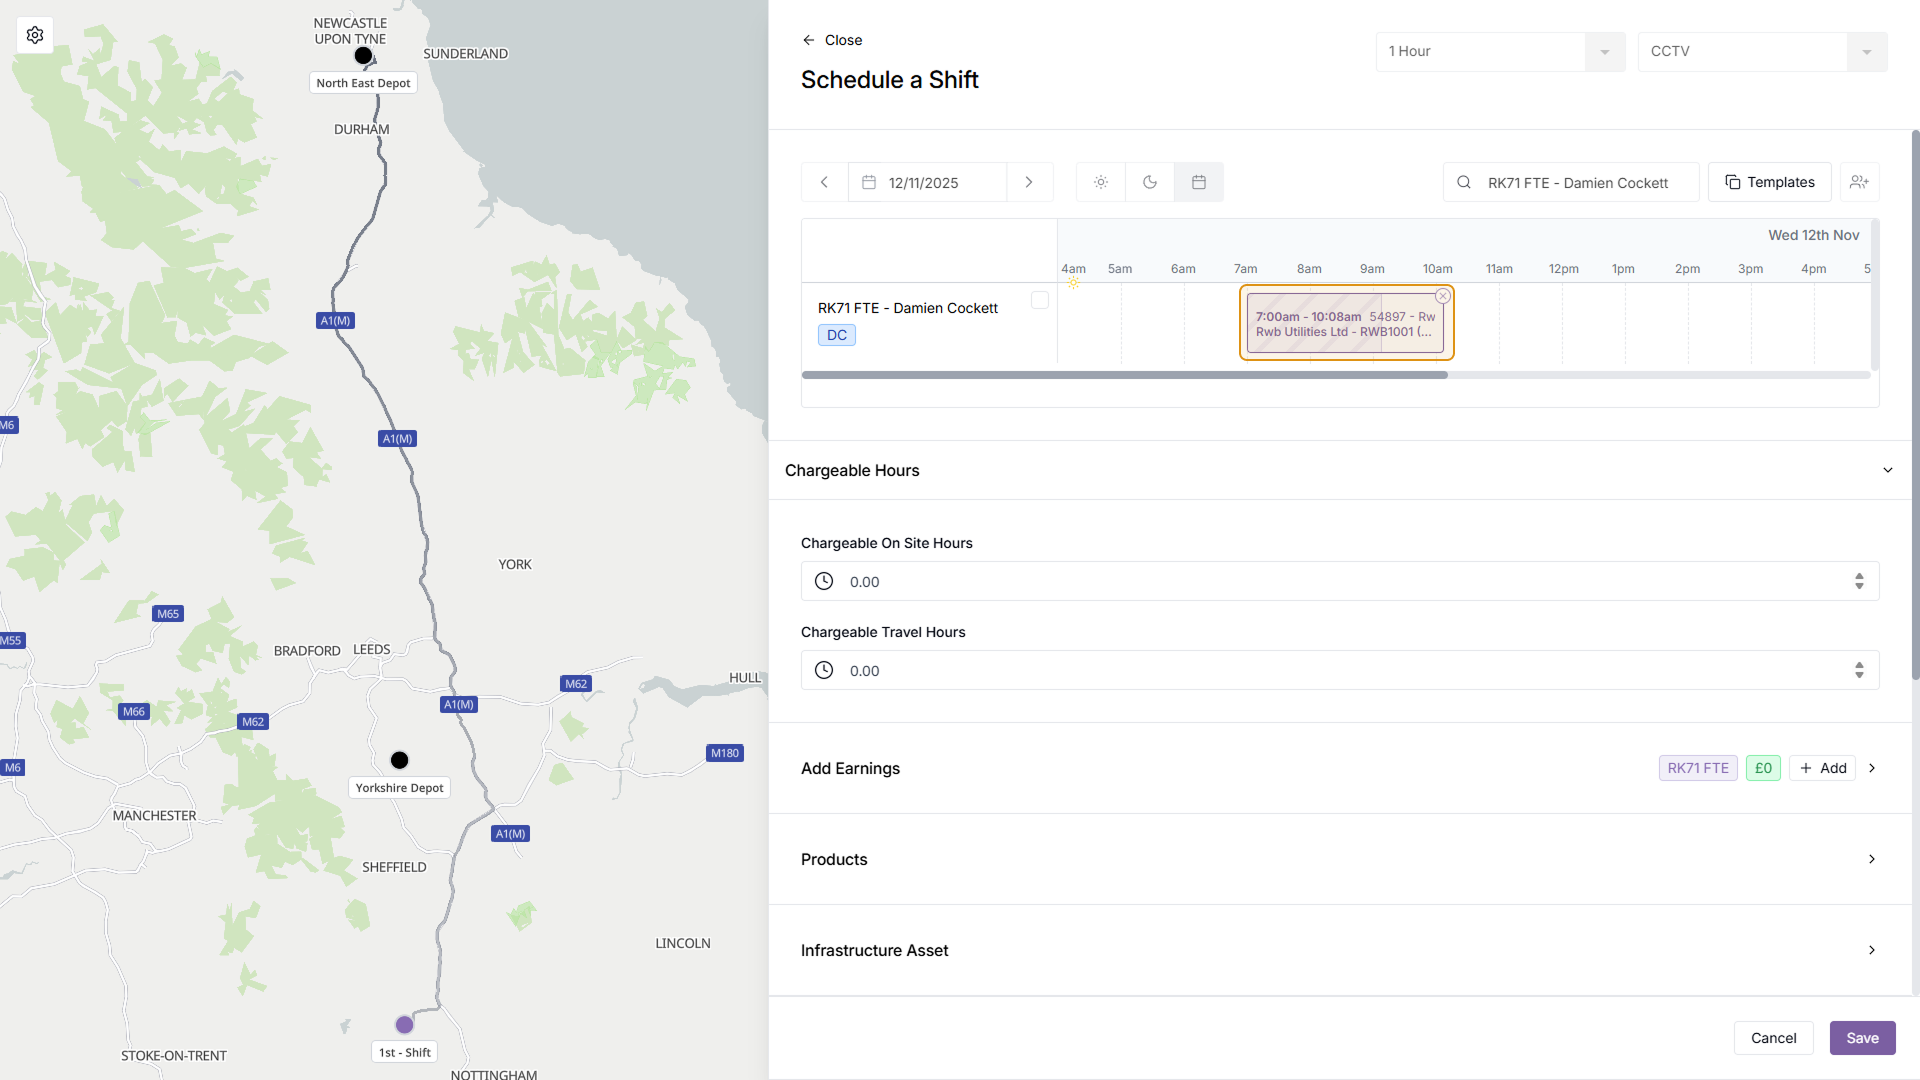
Step 6
Updated Shift Schedule
After adding the shift, the size of the shift may change, as the expected travel time has now been calculated. The expected travel time is represented with the diagonal striped markings on the shift, with the rest of the shift showing the on-site time. If you wish to change the shift time, click the 'X' button on the shift and select another time
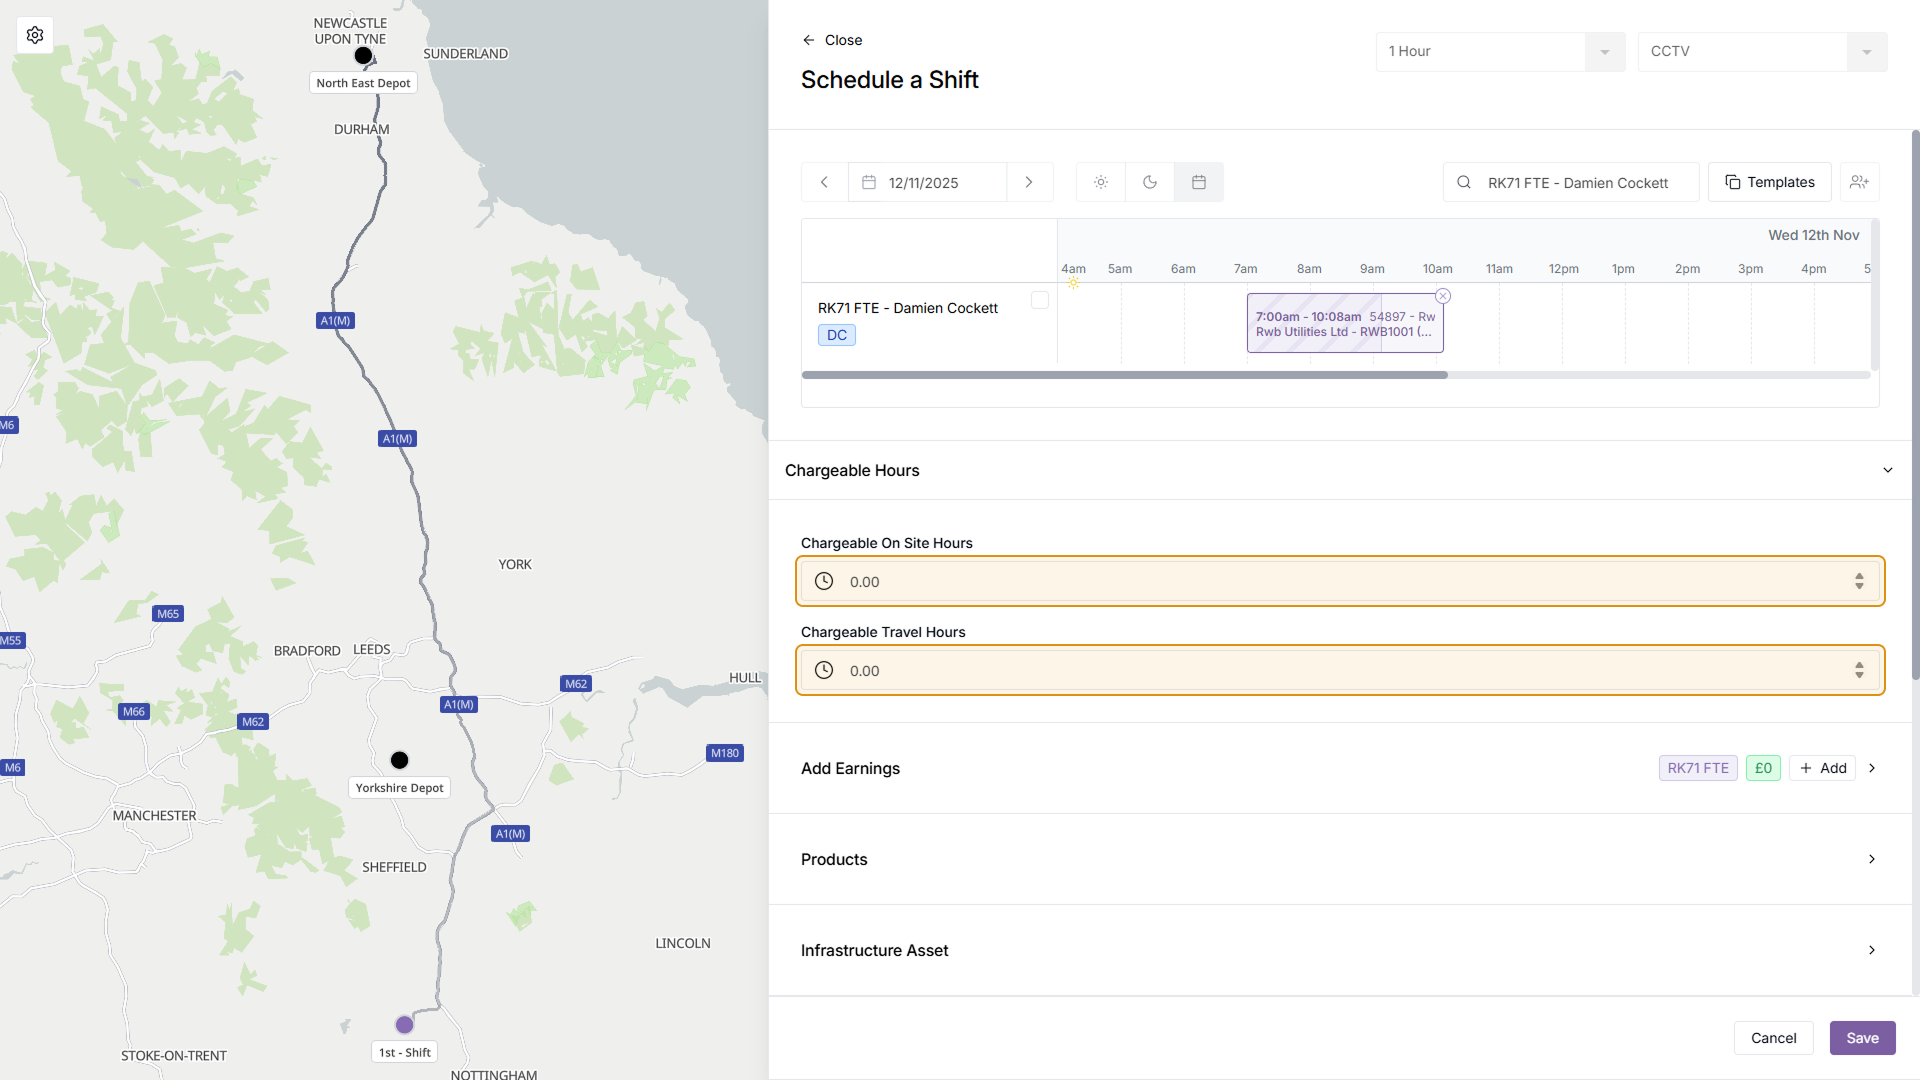
Step 7
Add chargeable hours
Next, enter how many chargeable on-site hours, and chargeable travel hours there are
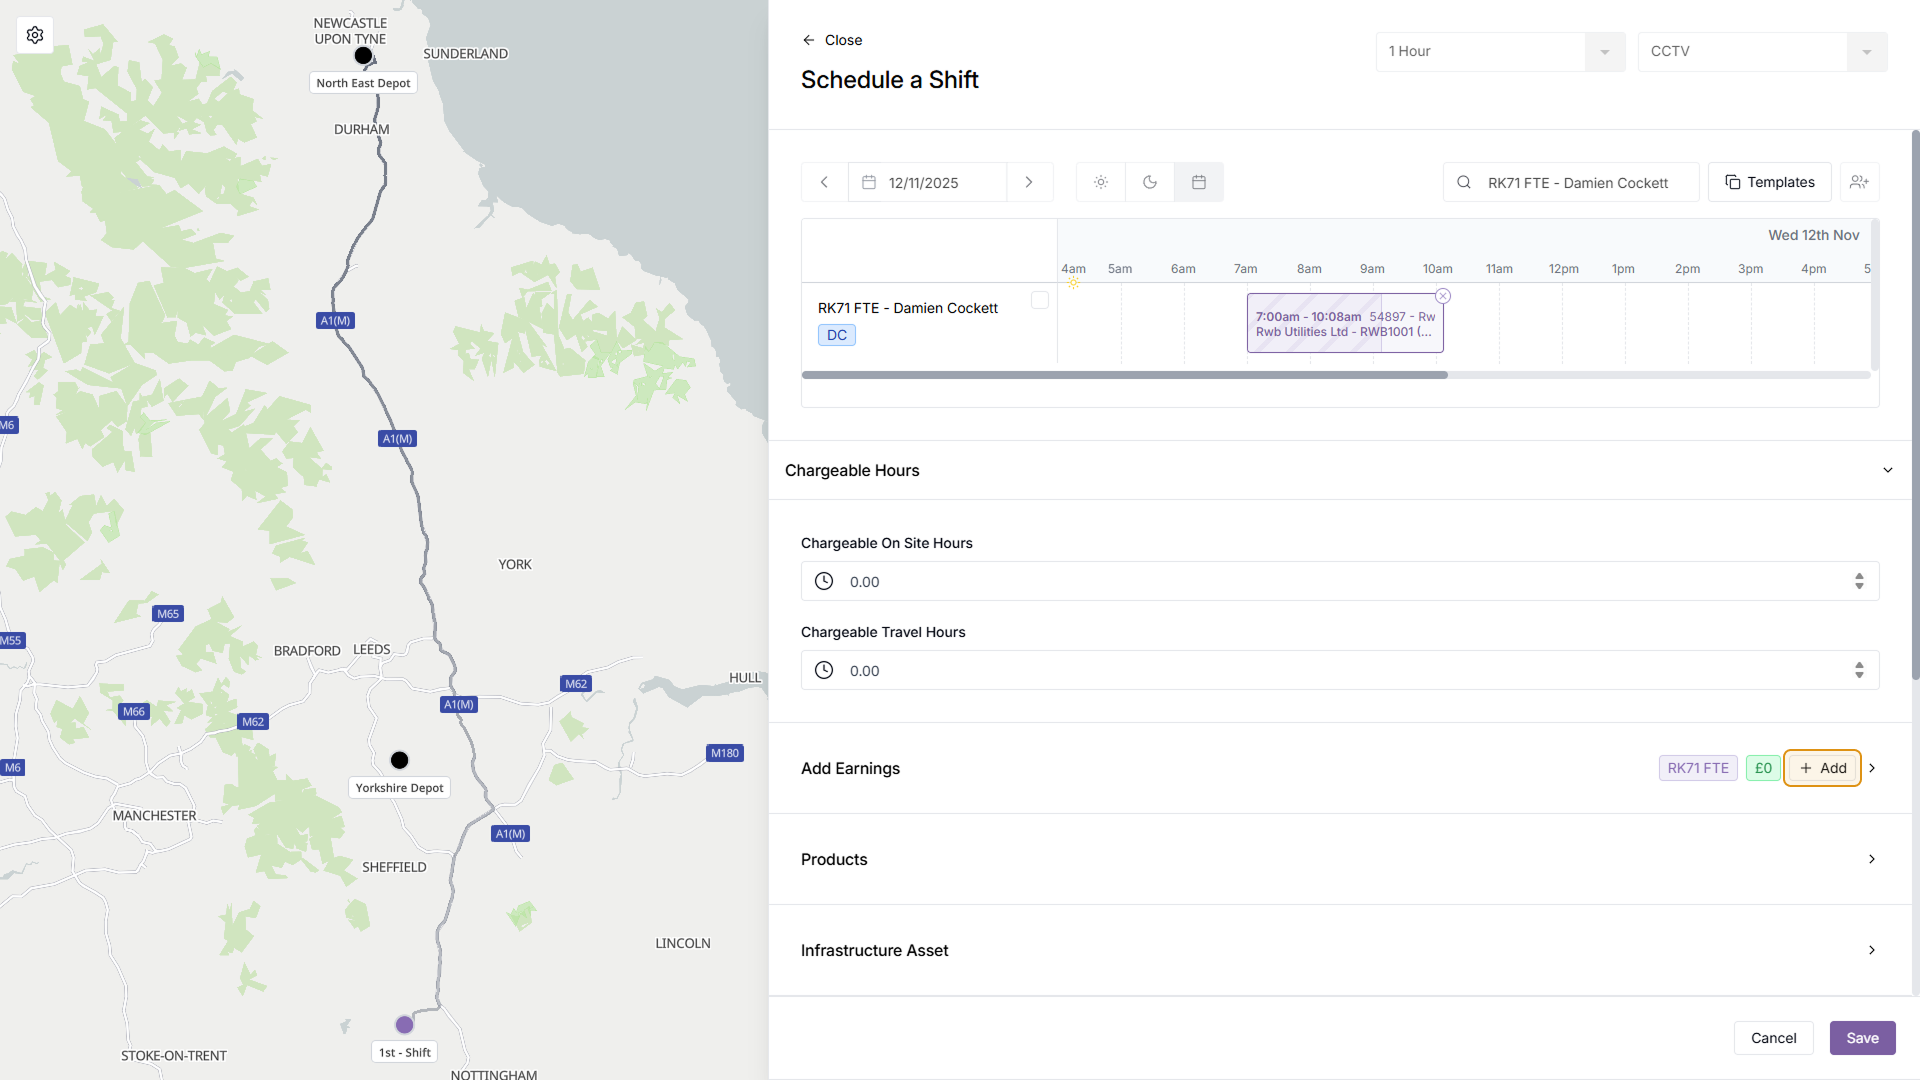
Step 8
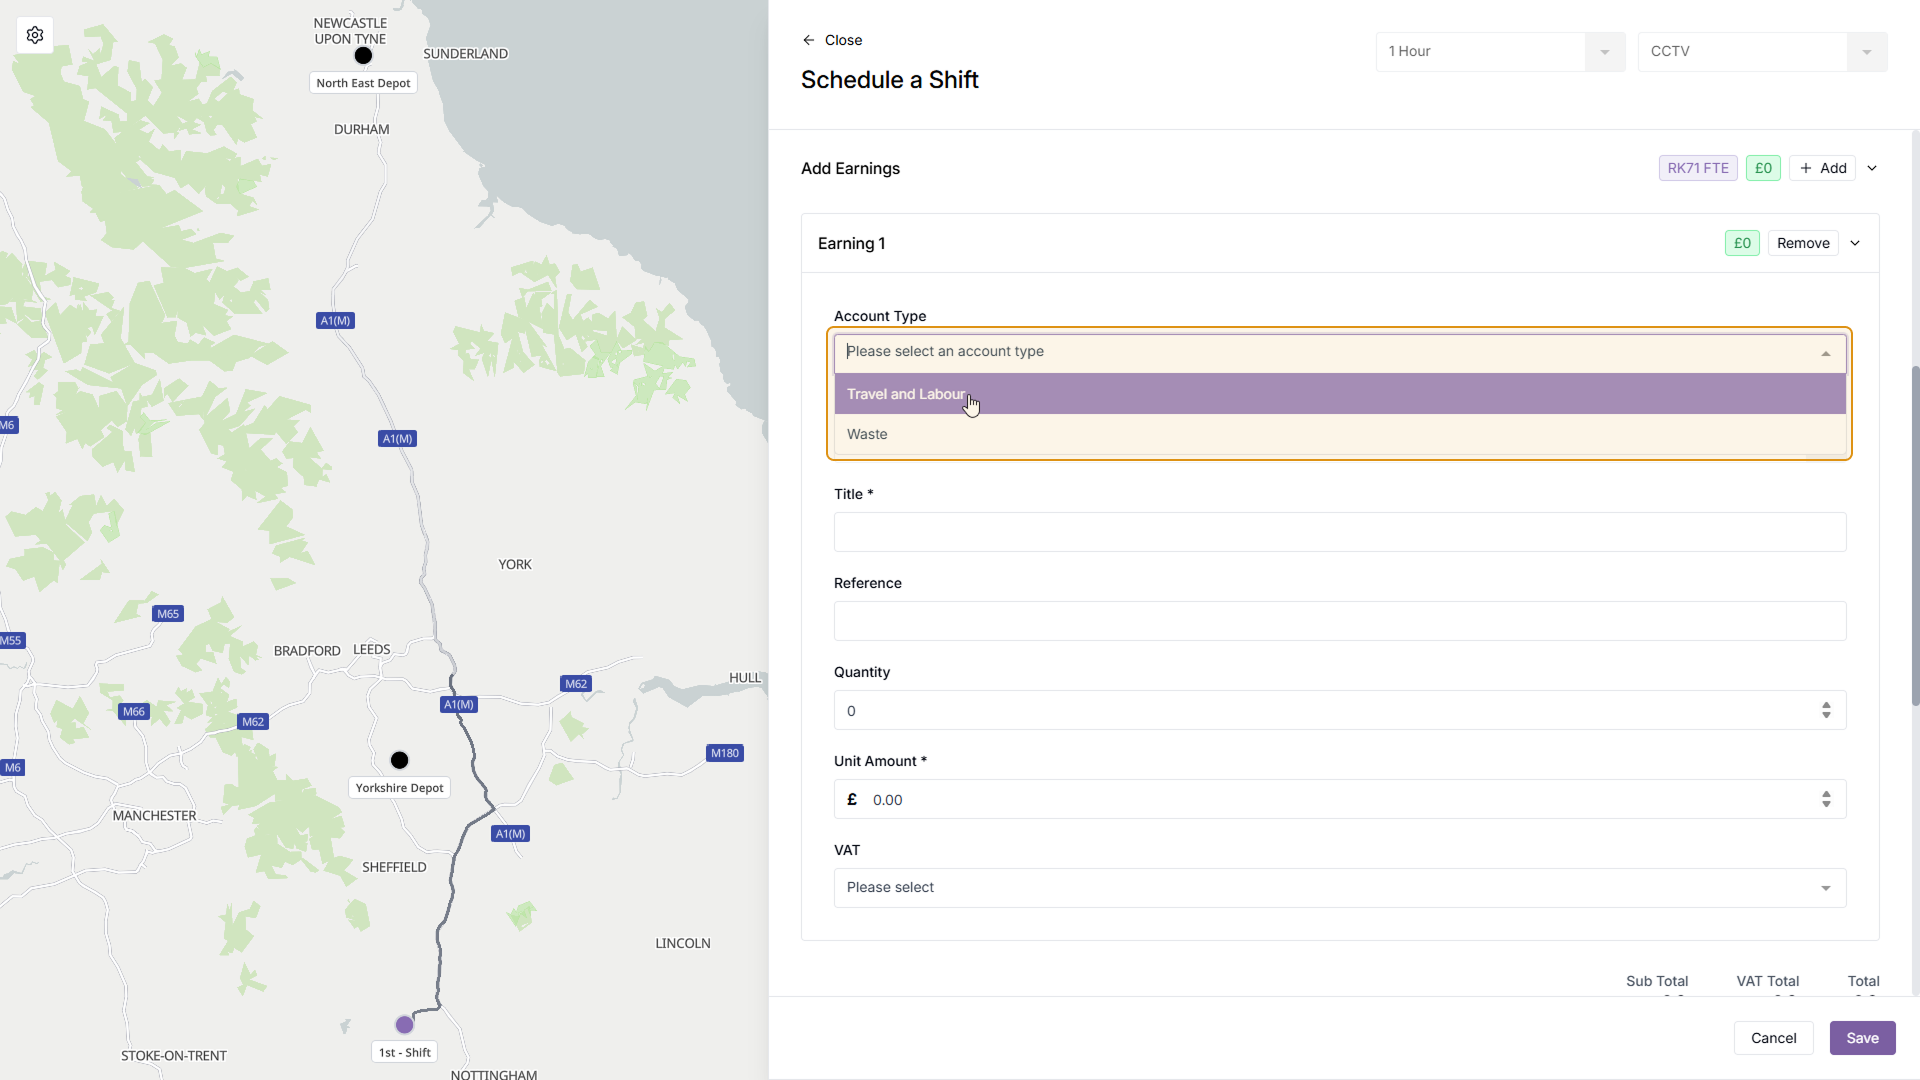
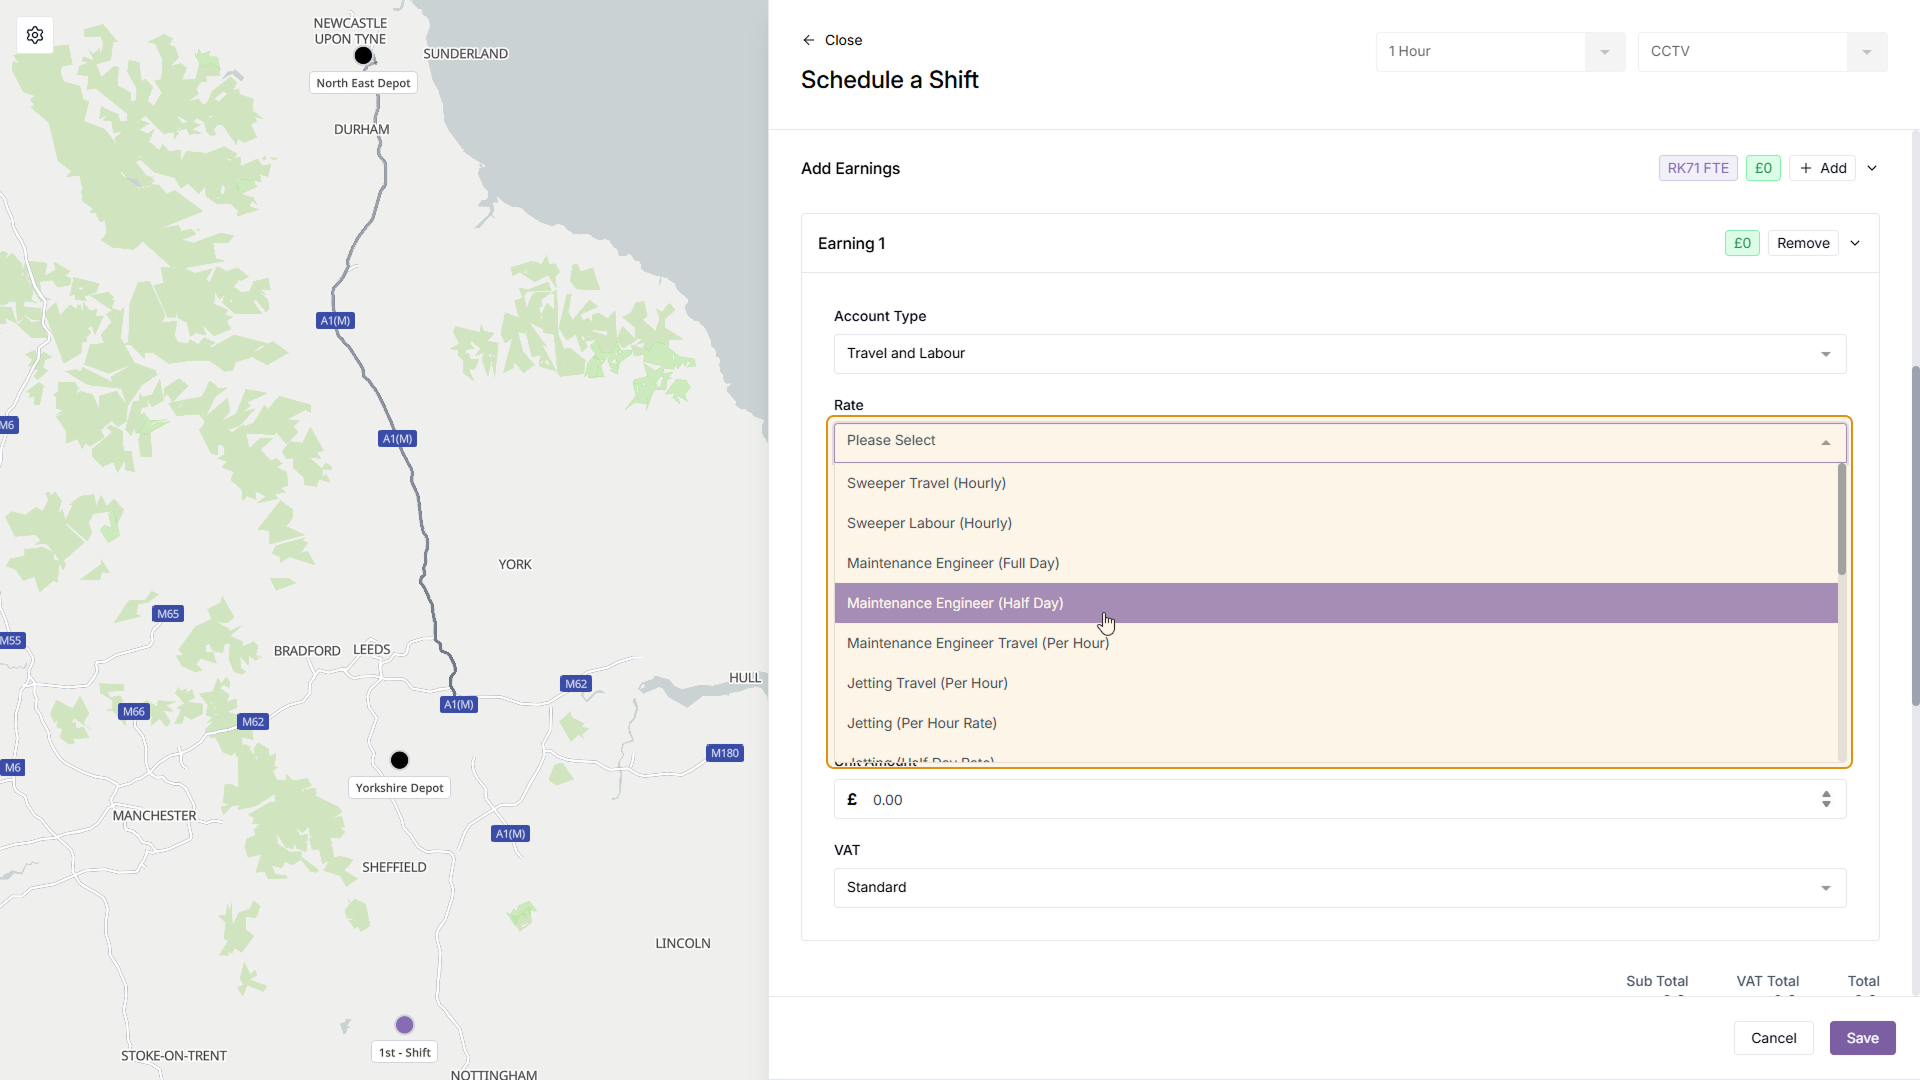
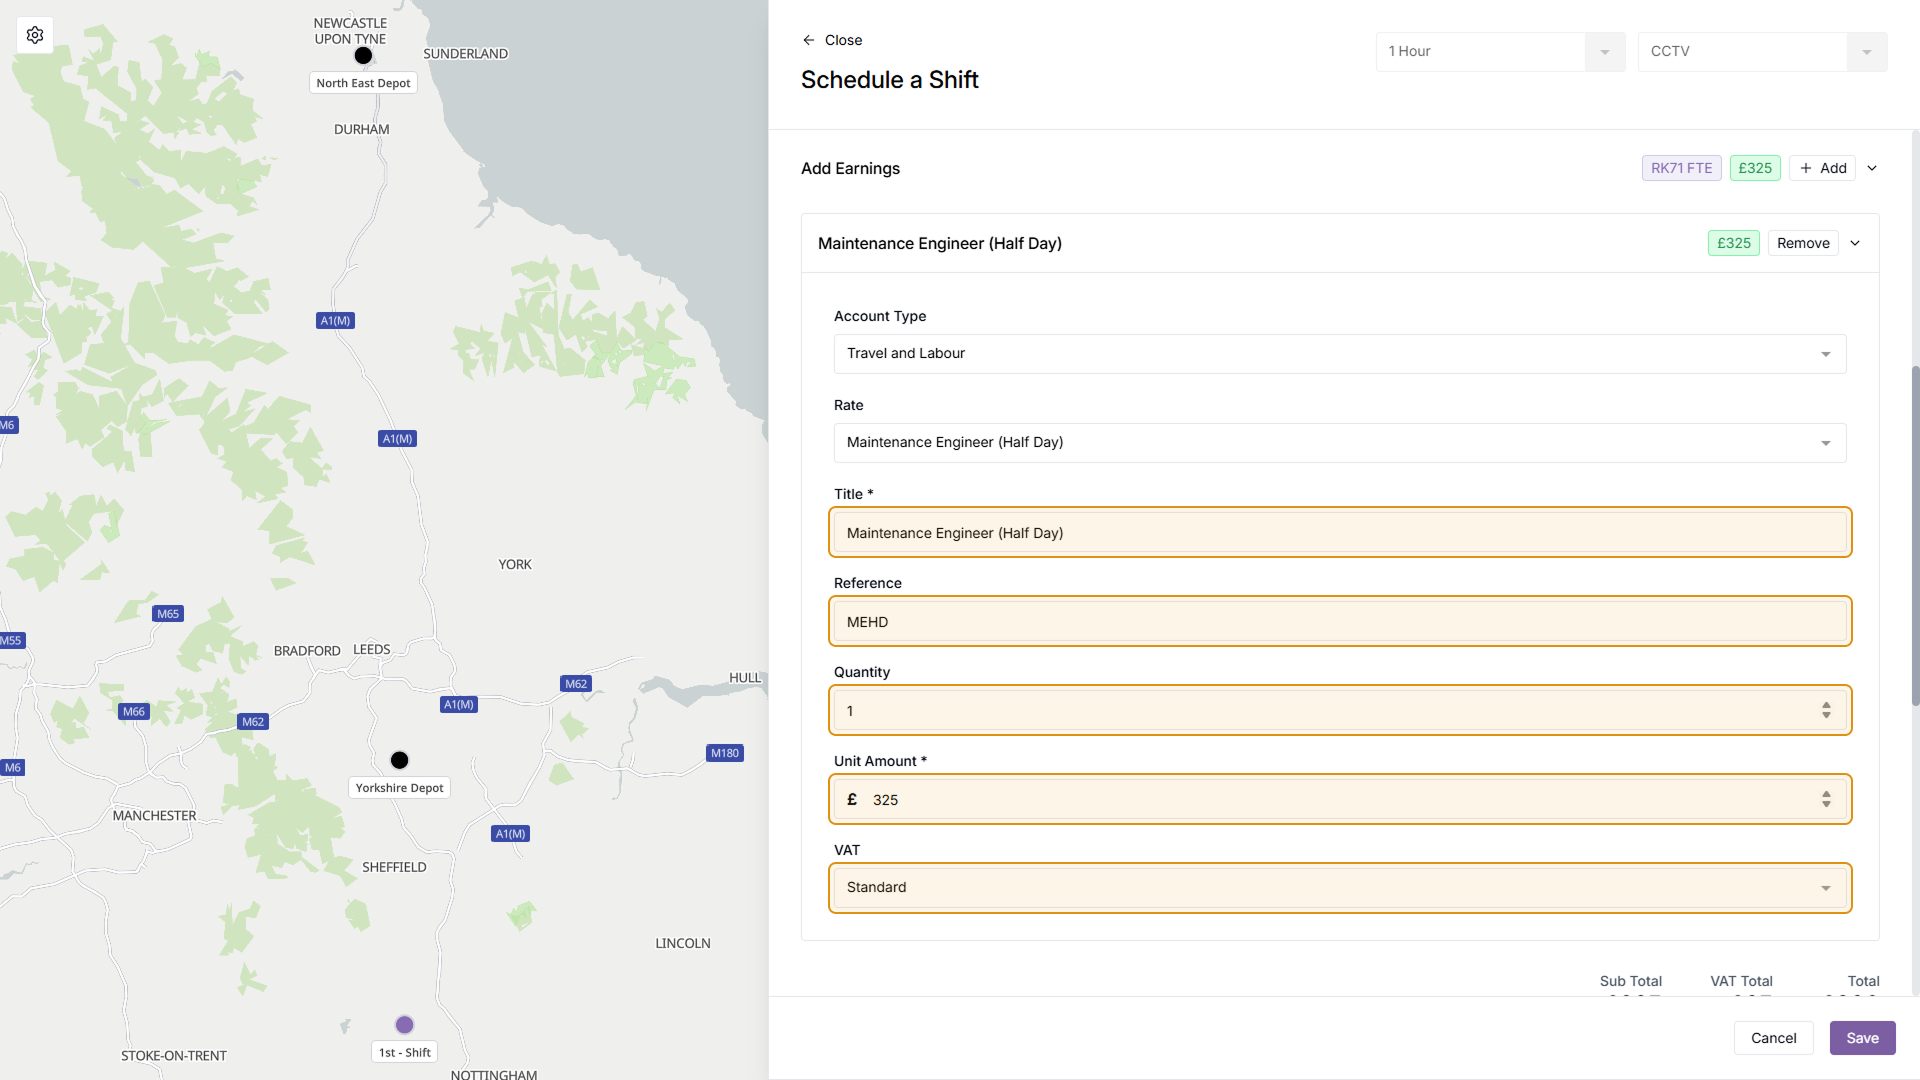
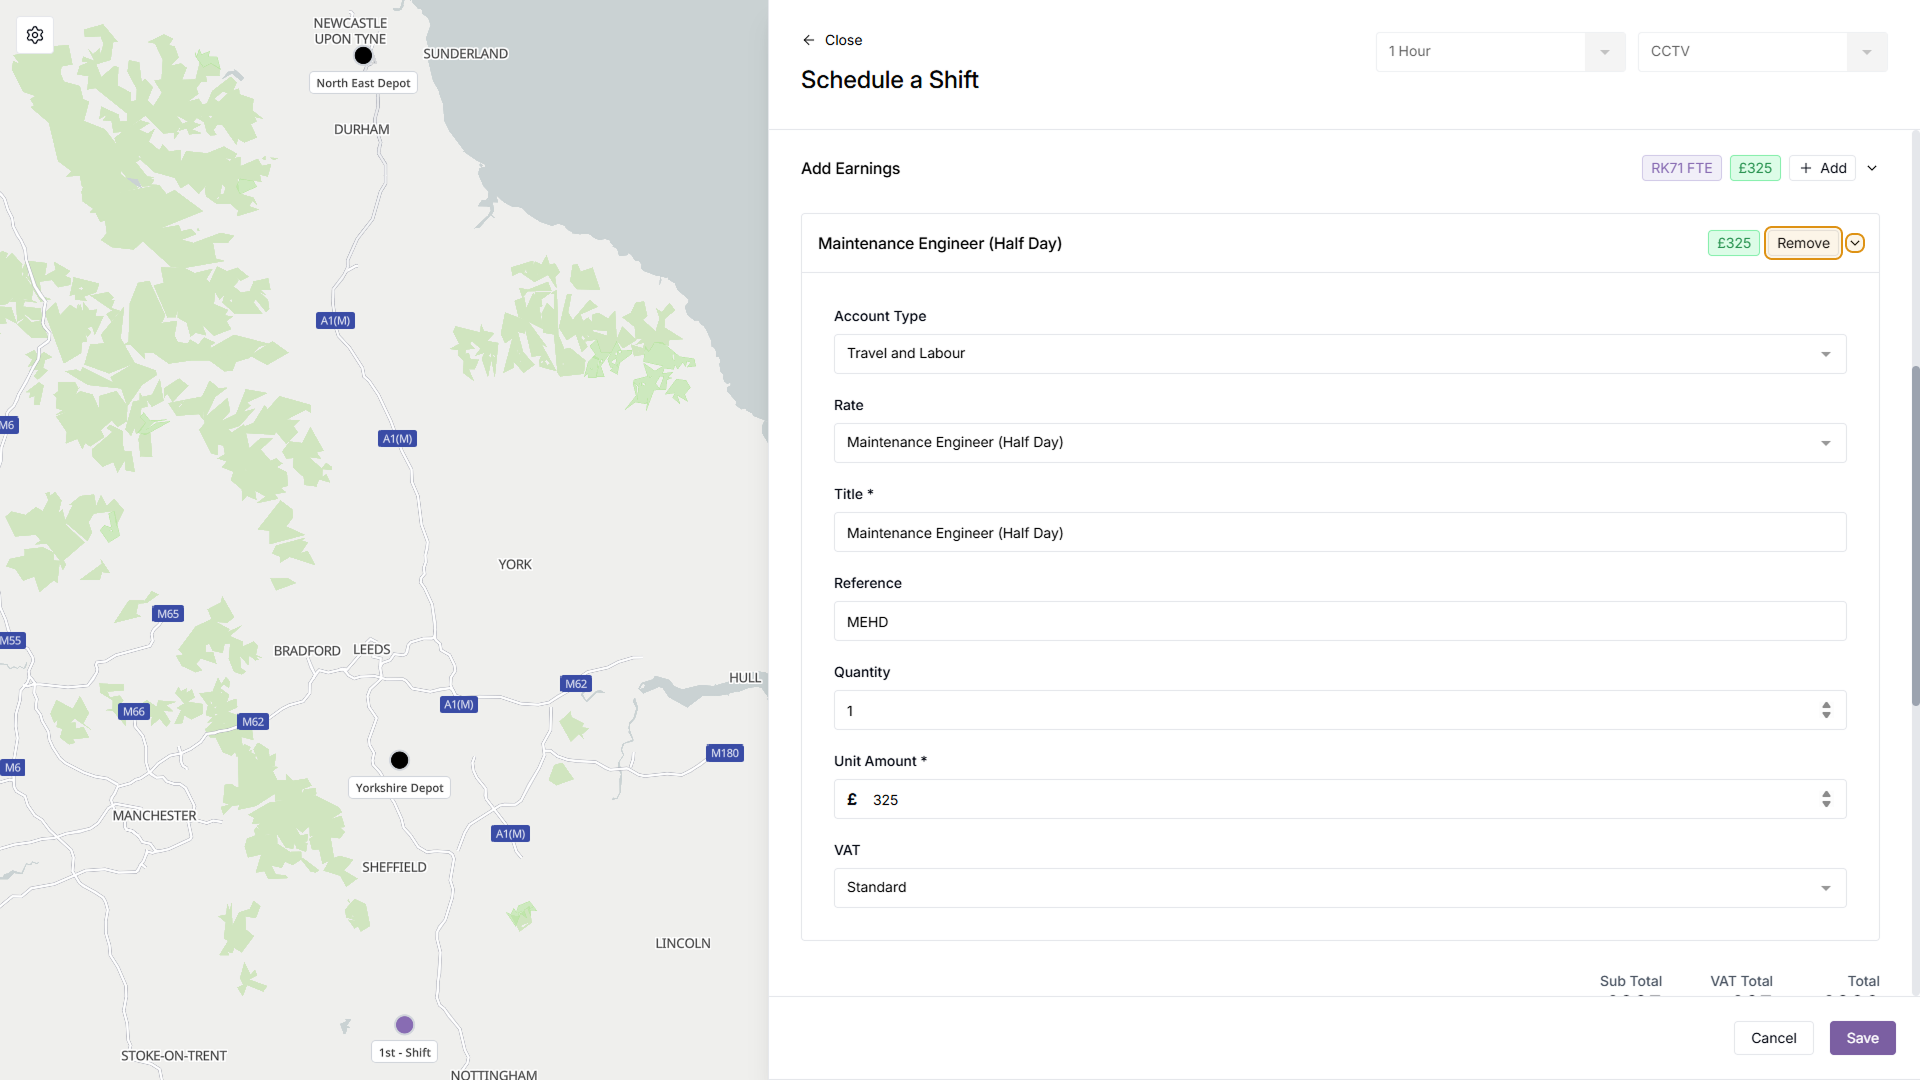
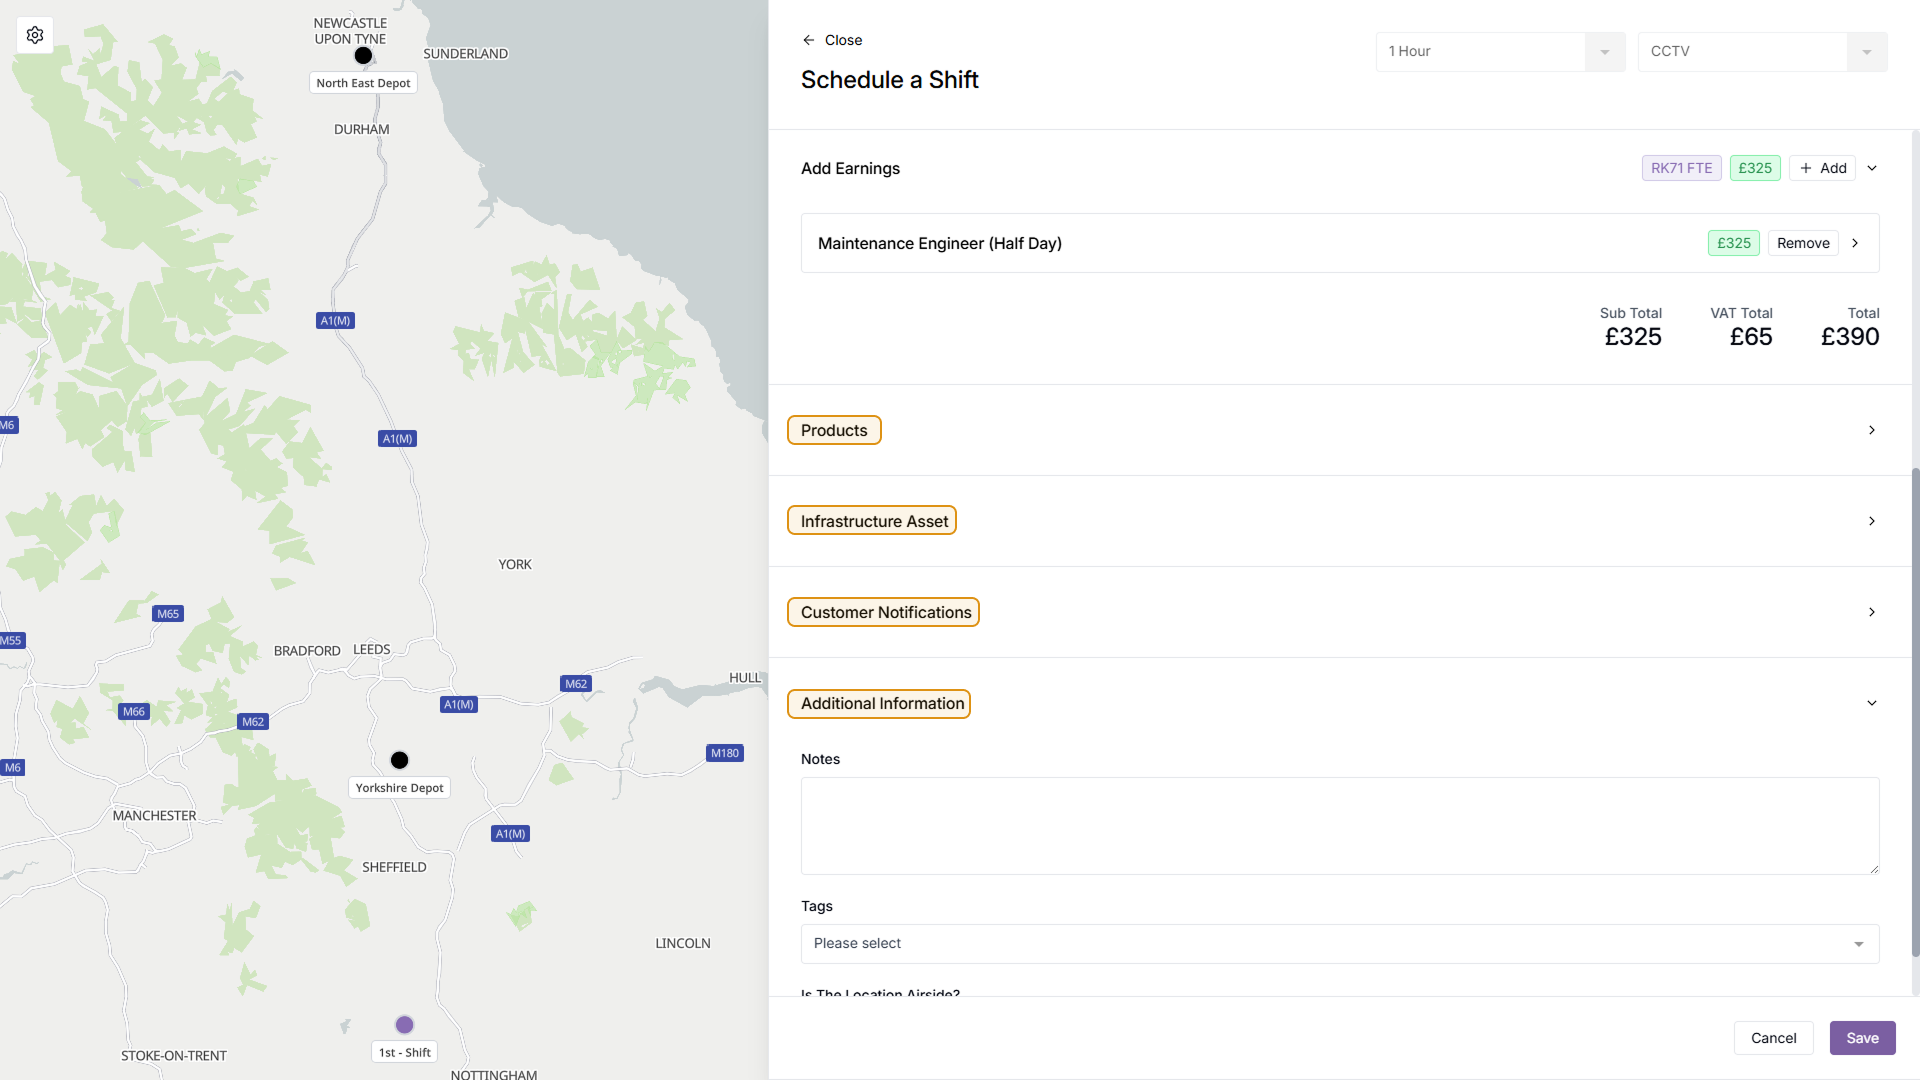
(Optional) Add Earnings
You can now optionally add earnings (this can be done later). To do this, click the 'Add' button to the right of the 'Add Earnings' section, then fill out the Account Type and Rate. After adding a rate, the remaining fields will be automatically filled in, however you can make your own manual changes to these fields. Once you're happy with your earnings, you can use the arrow to collapse the earning, or click the 'Remove' button if you have decided you no longer want this earning.
Step 9
(Optional) Fill in remaining fields
You can now optionally fill in the 'Products', 'Infrastructure Asset', 'Customer Notifications', and 'Additional Information' sections if you wish
Step 10
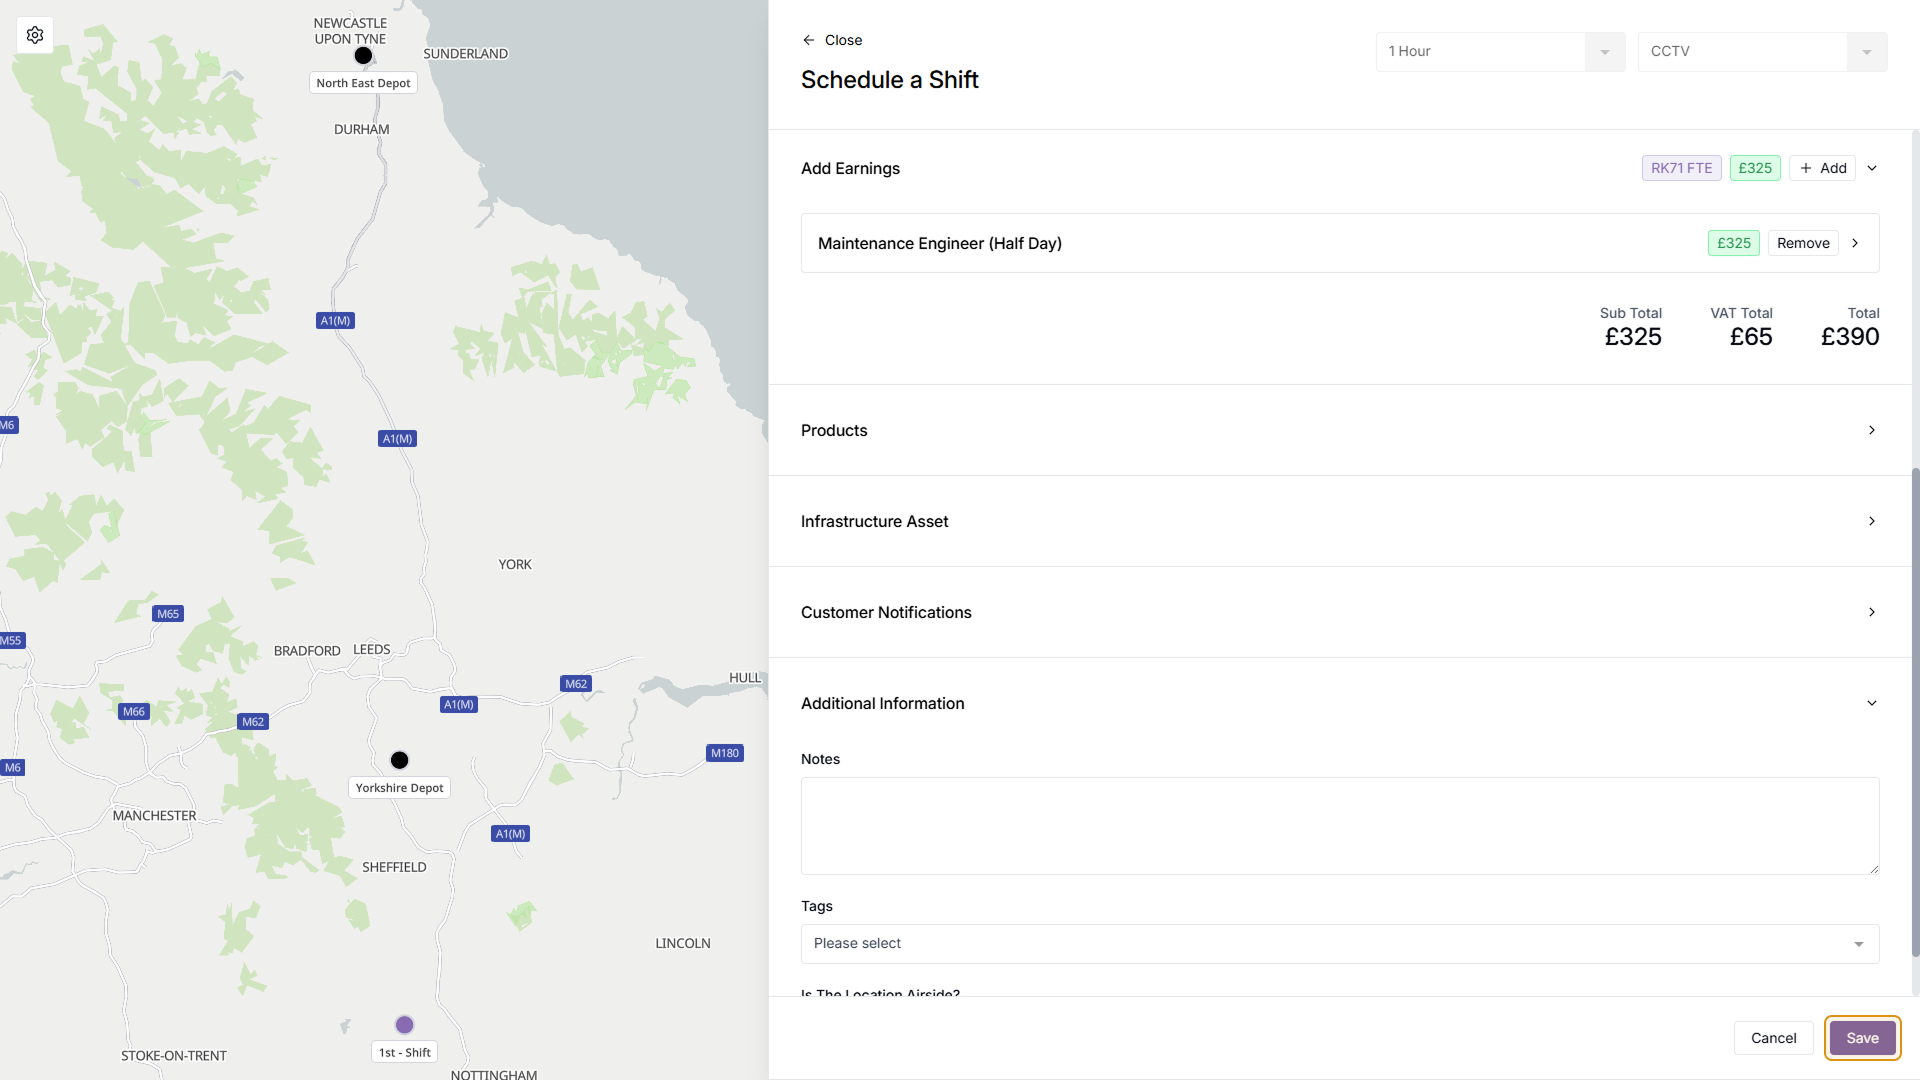
Save Shift
Once you're happy with your Shift information, click the 'Save' button in the bottom right of the menu to add the Shift to the Schedule
Step 11
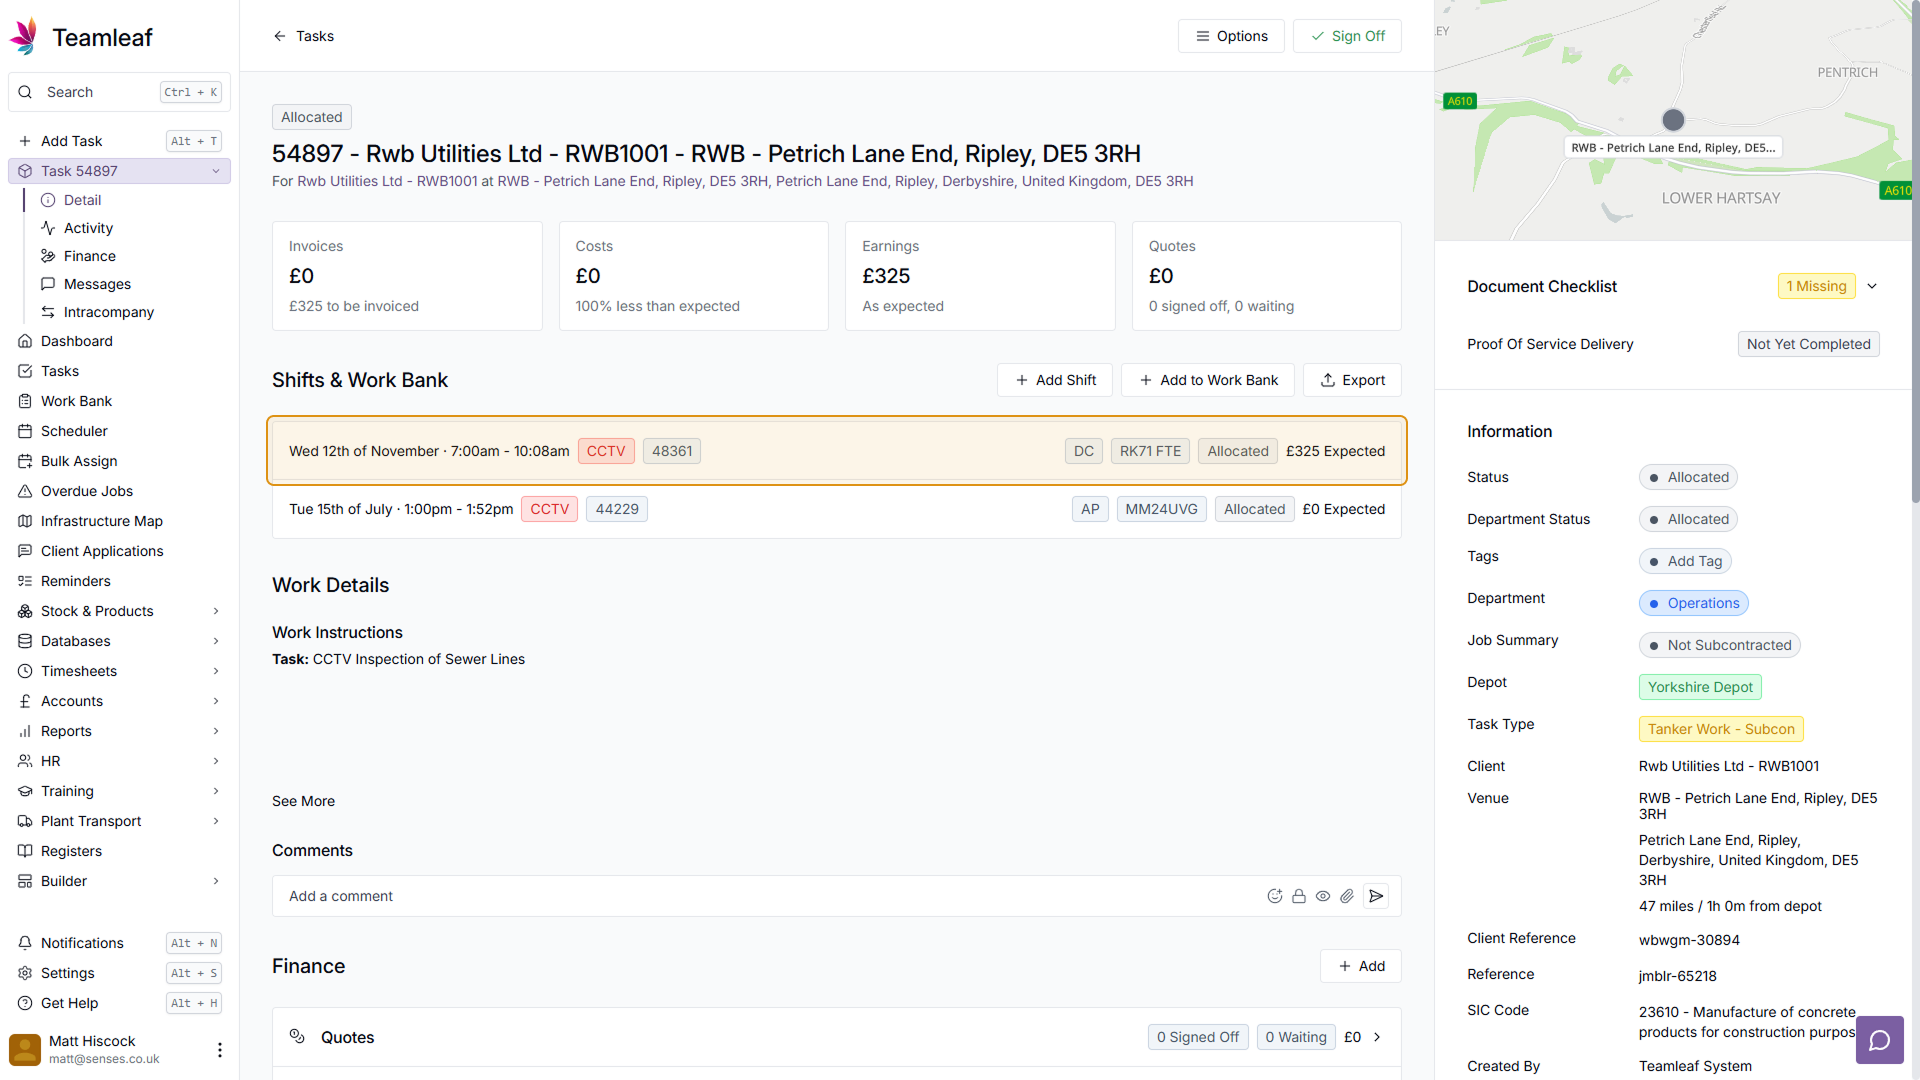
Shift Added Successfully
The Shift has now been added to the Schedule, and you can see the Shift details at a glance on the Task page, under the 'Shifts & Work Bank' section. On the left side of the shift you can see the date, time, Work Type, and Shift ID. On the right side you can see the initials of the users assigned to the shift (hover the initials to see the full name), the number plate of any assets, the status of the shift, and any earnings that have been added.
Related Courses
Intracompany
Invoicing
Scheduler
Shifts
Tasks
Drains Direct Essentials
Understand the Essentials for Drains Direct, Scheduling, Intracompany, Invoicing and more...
View Course
→
Intracompany
Invoicing
Scheduler
Shifts
Tasks
EVCSL Essentials
Understand the Essentials for EVCSL, Scheduling, Intracompany, Invoicing and more...
View Course
→
Intracompany
Invoicing
Scheduler
Shifts
Tasks
Lanes Group Essentials
Understand the Essentials for Lanes Group, Scheduling, Intracompany, Invoicing and more...
View Course
→
Related Tutorials
Shifts
Creating a Recurring Shift
In this tutorial you will learn how to set up a Recurring Shift Template in Teamleaf
View Tutorials
→
Shifts
Deleting a Shift
Learn how you can delete a Shift through either the Task List or the Scheduler
View Tutorials
→
Shifts
Editing a Shift
Learn how to edit a shift, through a Task page and through the Scheduler
View Tutorials
→
Scheduler
Shifts
Using the Scheduler
In this tutorial you will learn how to reschedule shifts, assign shifts to new crews, use Teamleaf Ai, and organise your scheduler with row colours
View Tutorials
→