Understanding the Task Page
Learn how to find and add all the information you need on the task page
Step-by-Step Guide
Tasks
Step 1
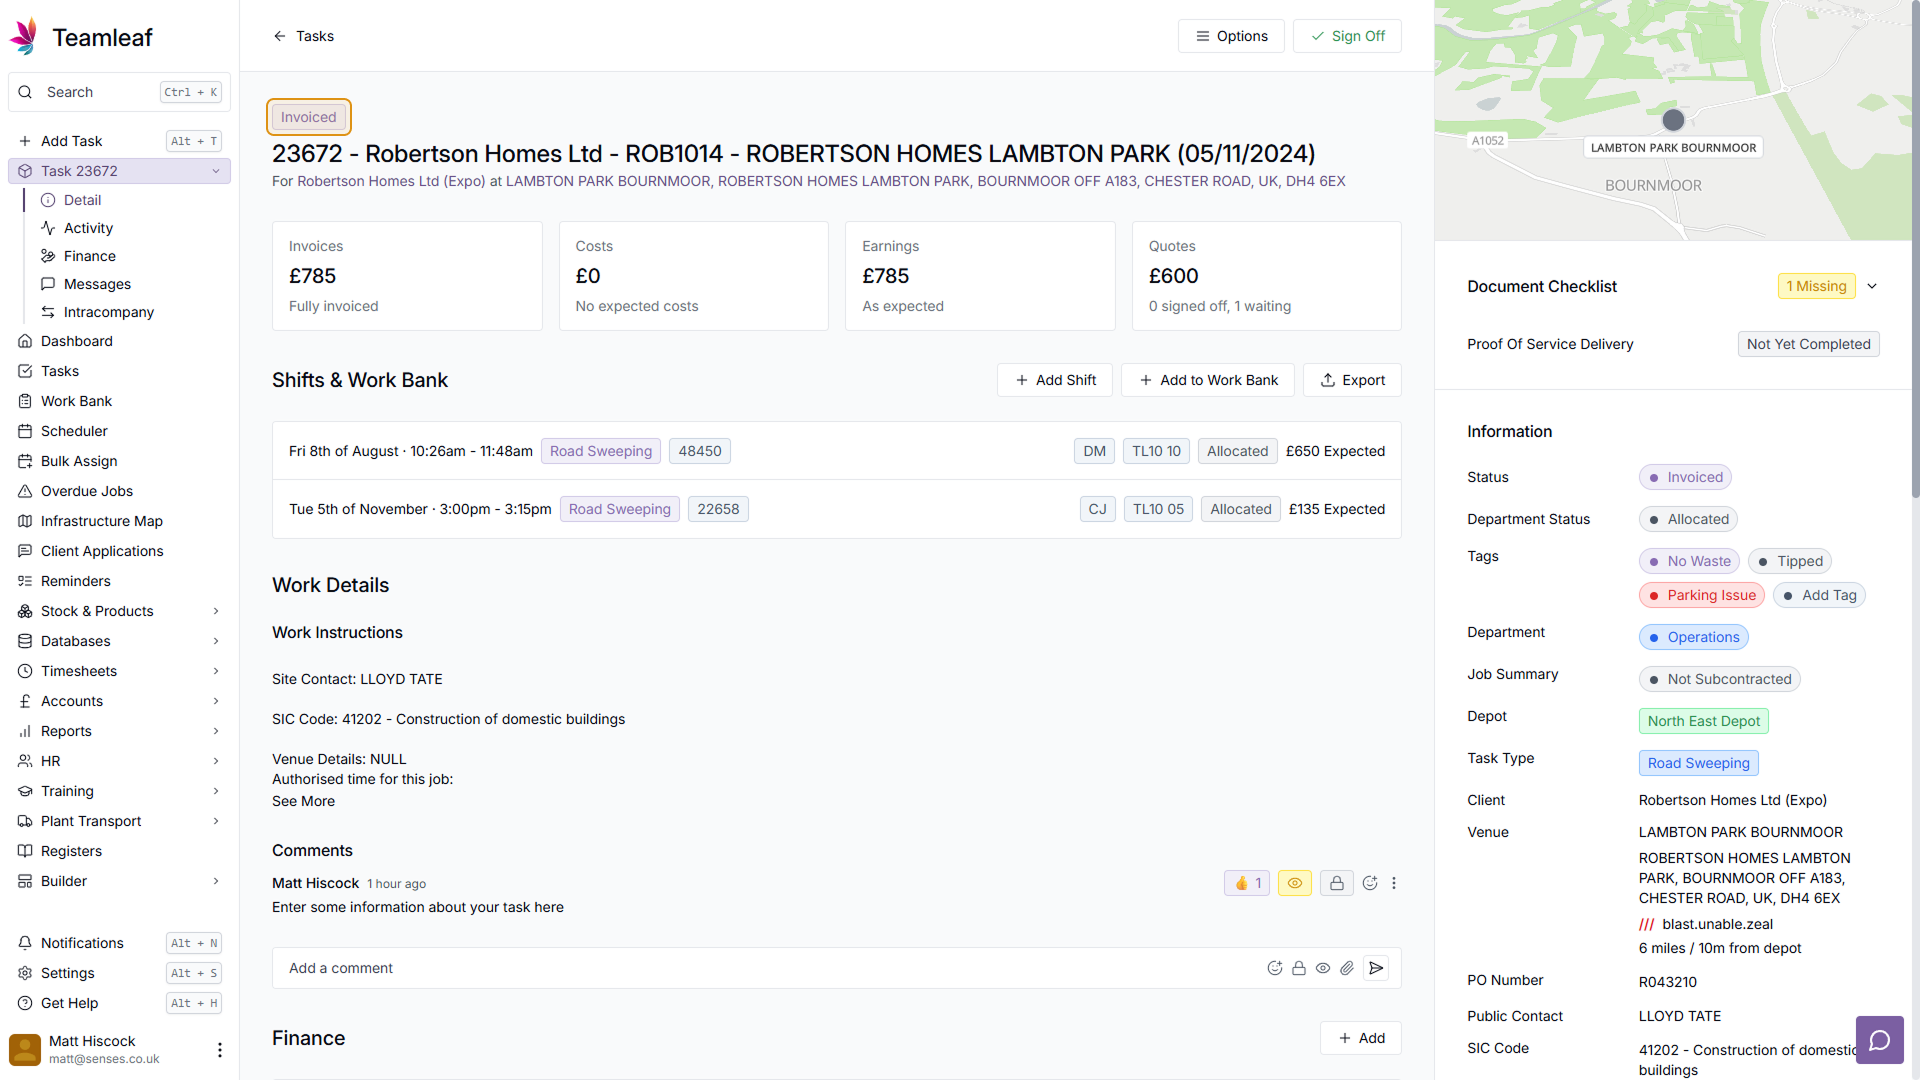
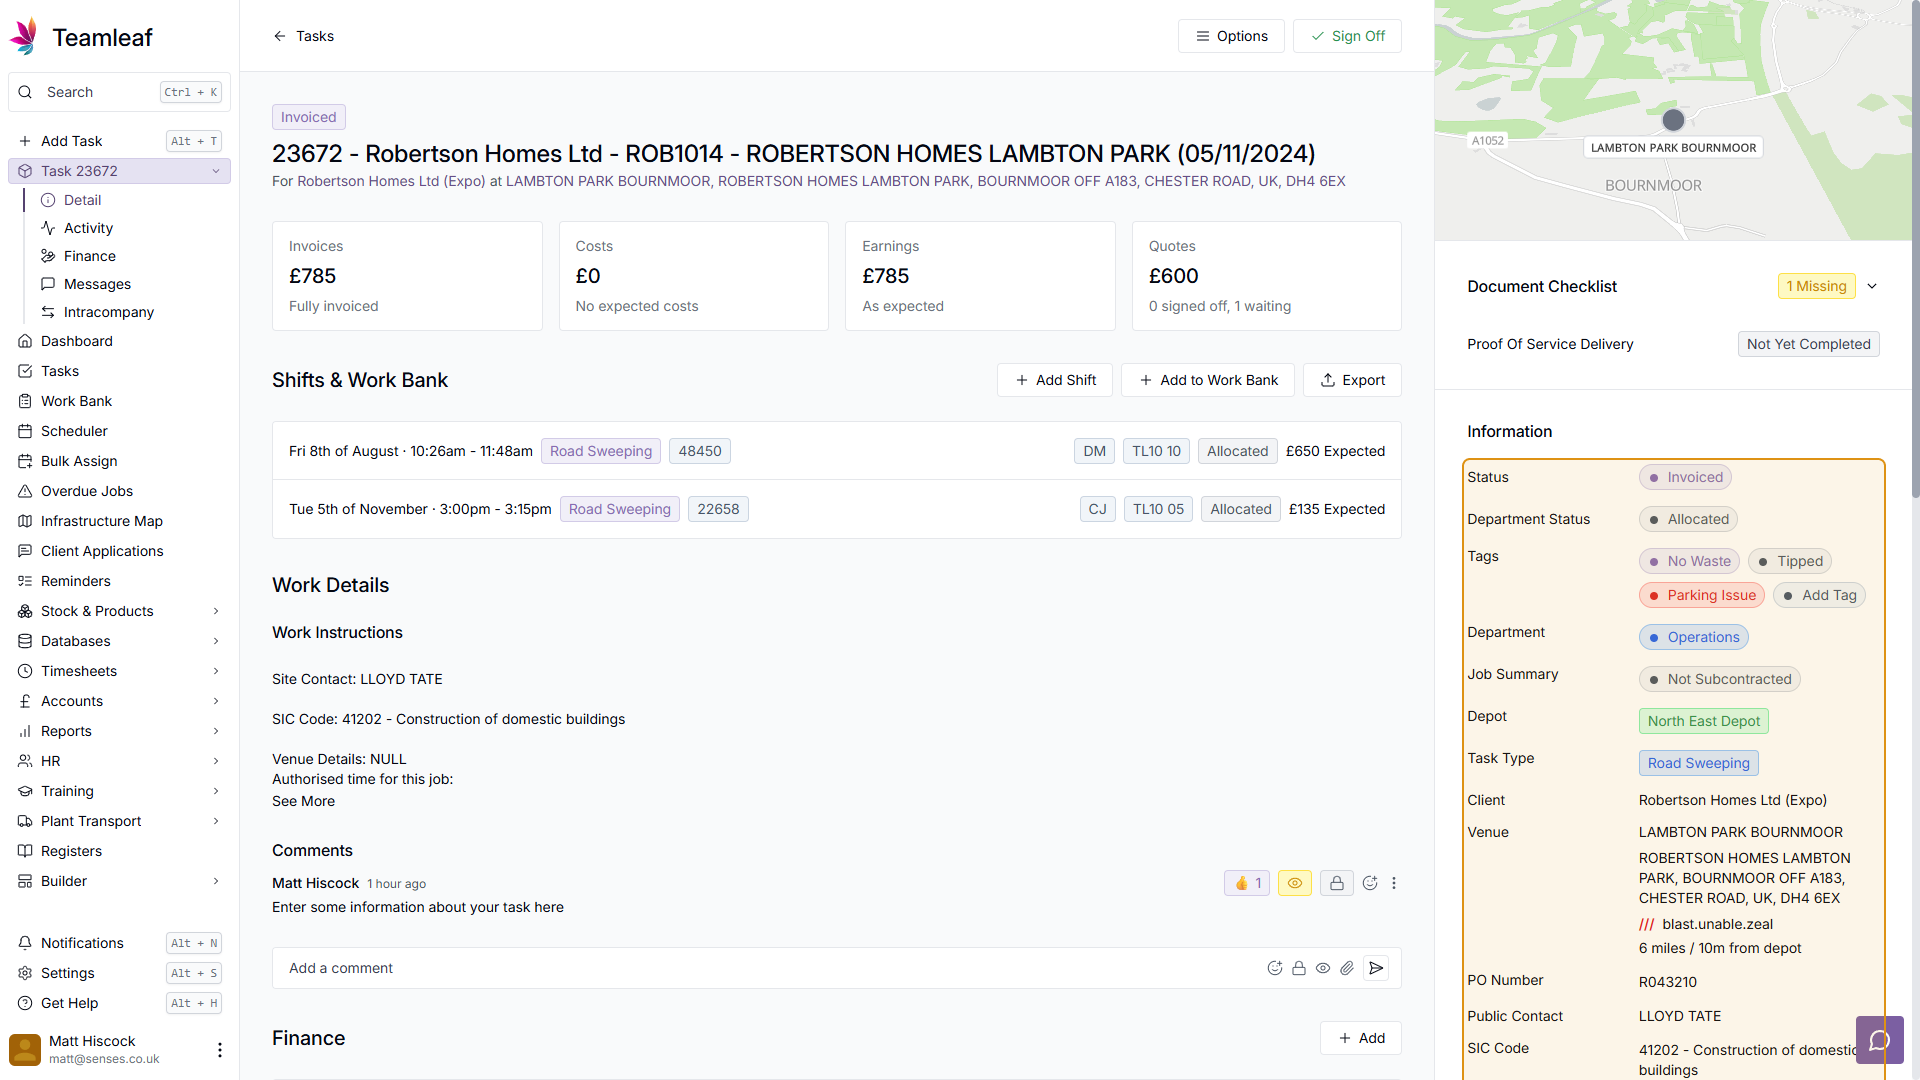
Task Status
In a small badge at the top of the page (Just above the title) you can see the task's current status
Step 2
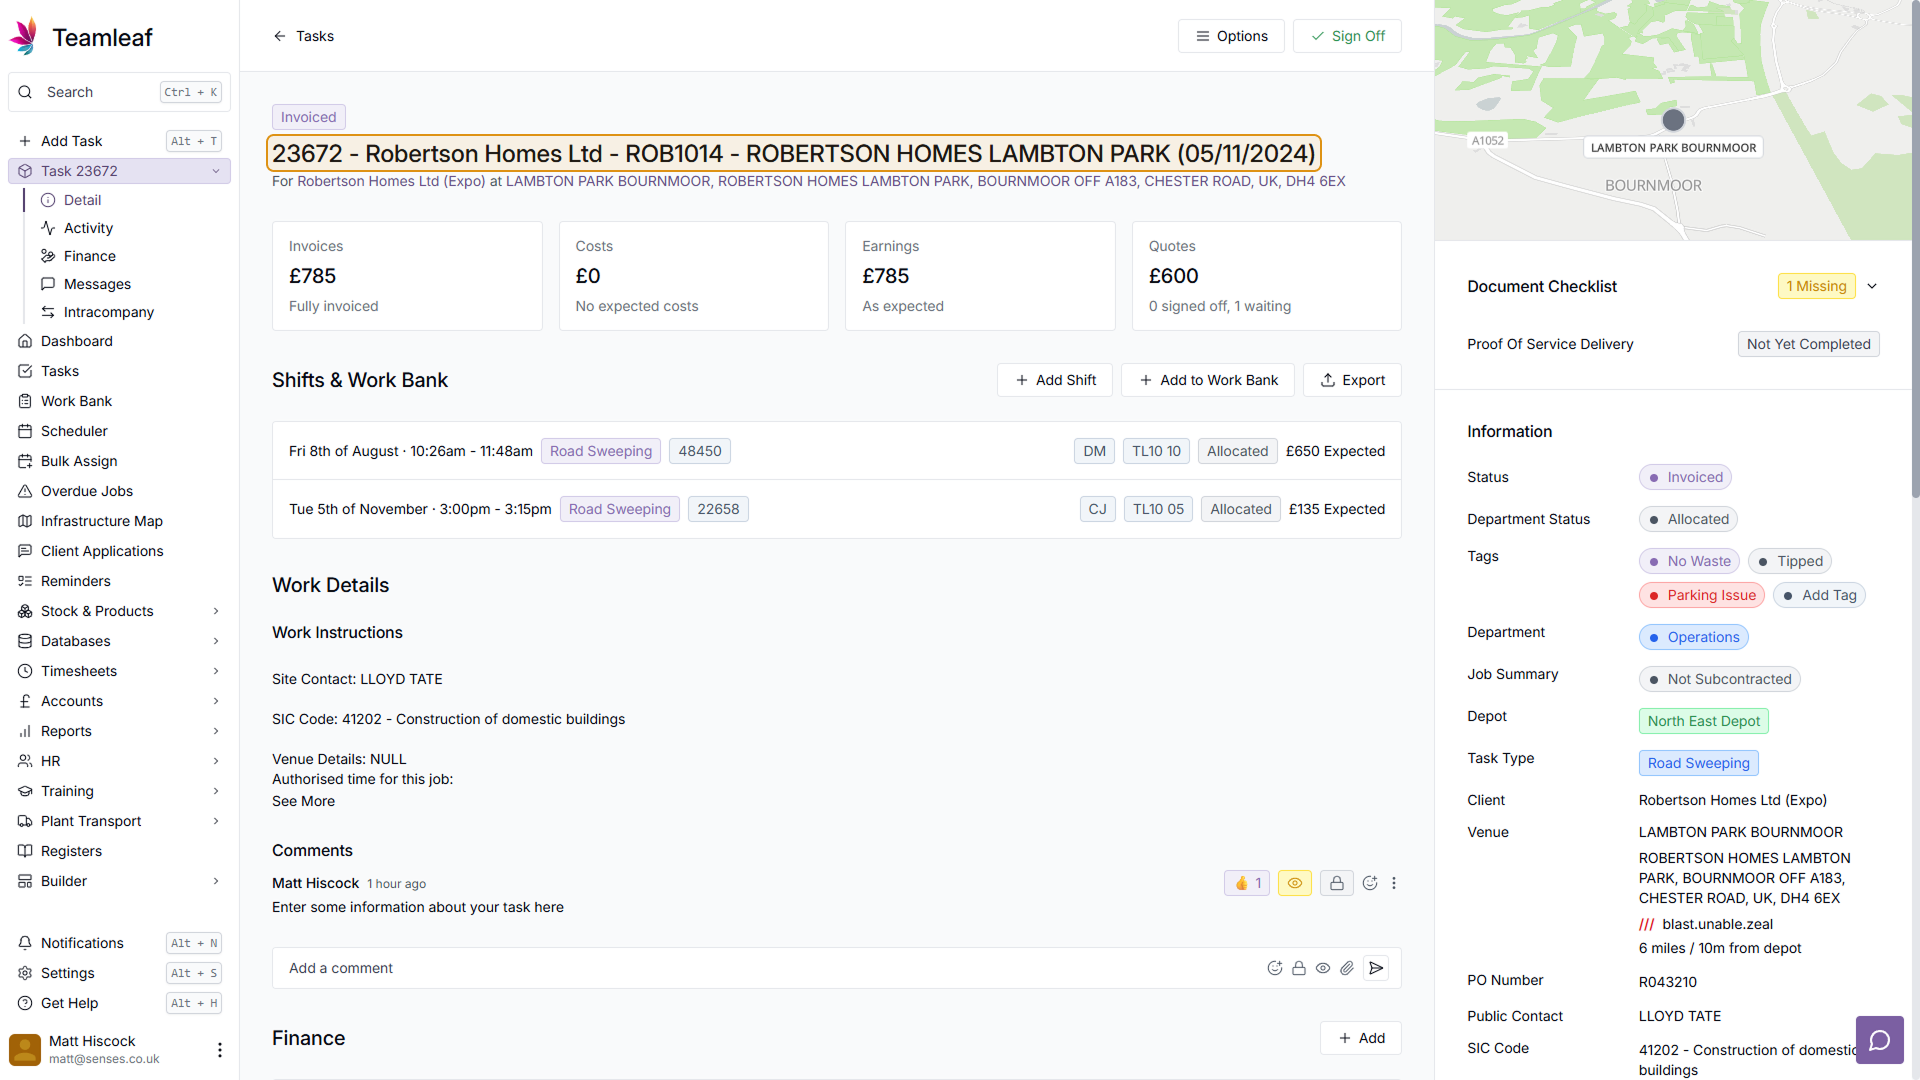
Task Title
Beneath the Task status is the Task's Title
Step 3
Company and Venue information
Beneath the title is the company and venue. Click on the link for either to go to the Company or Venue page

Step 4
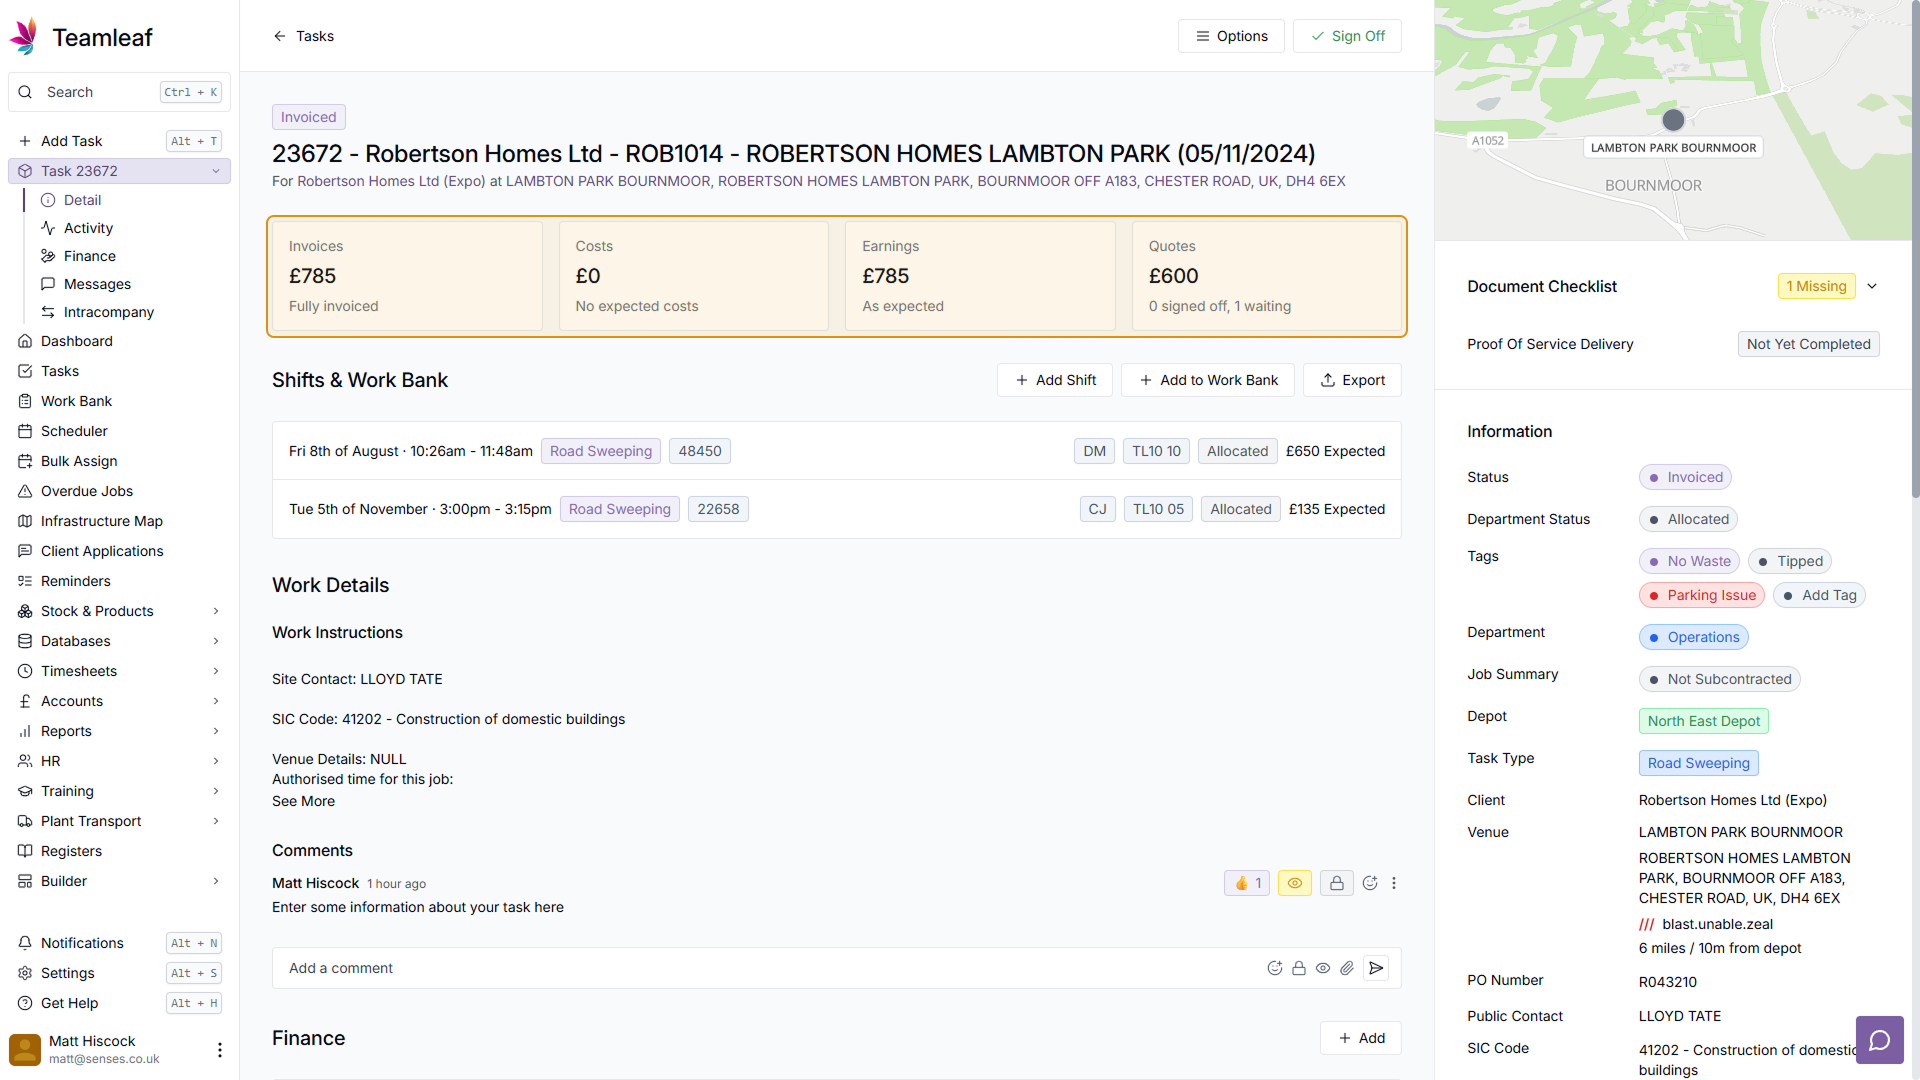
Stat Boxes
Beneath the status, title, company and venue are the Stat Boxes. These show financial information, including invoice information, costs, earnings, and quotes.
Step 5
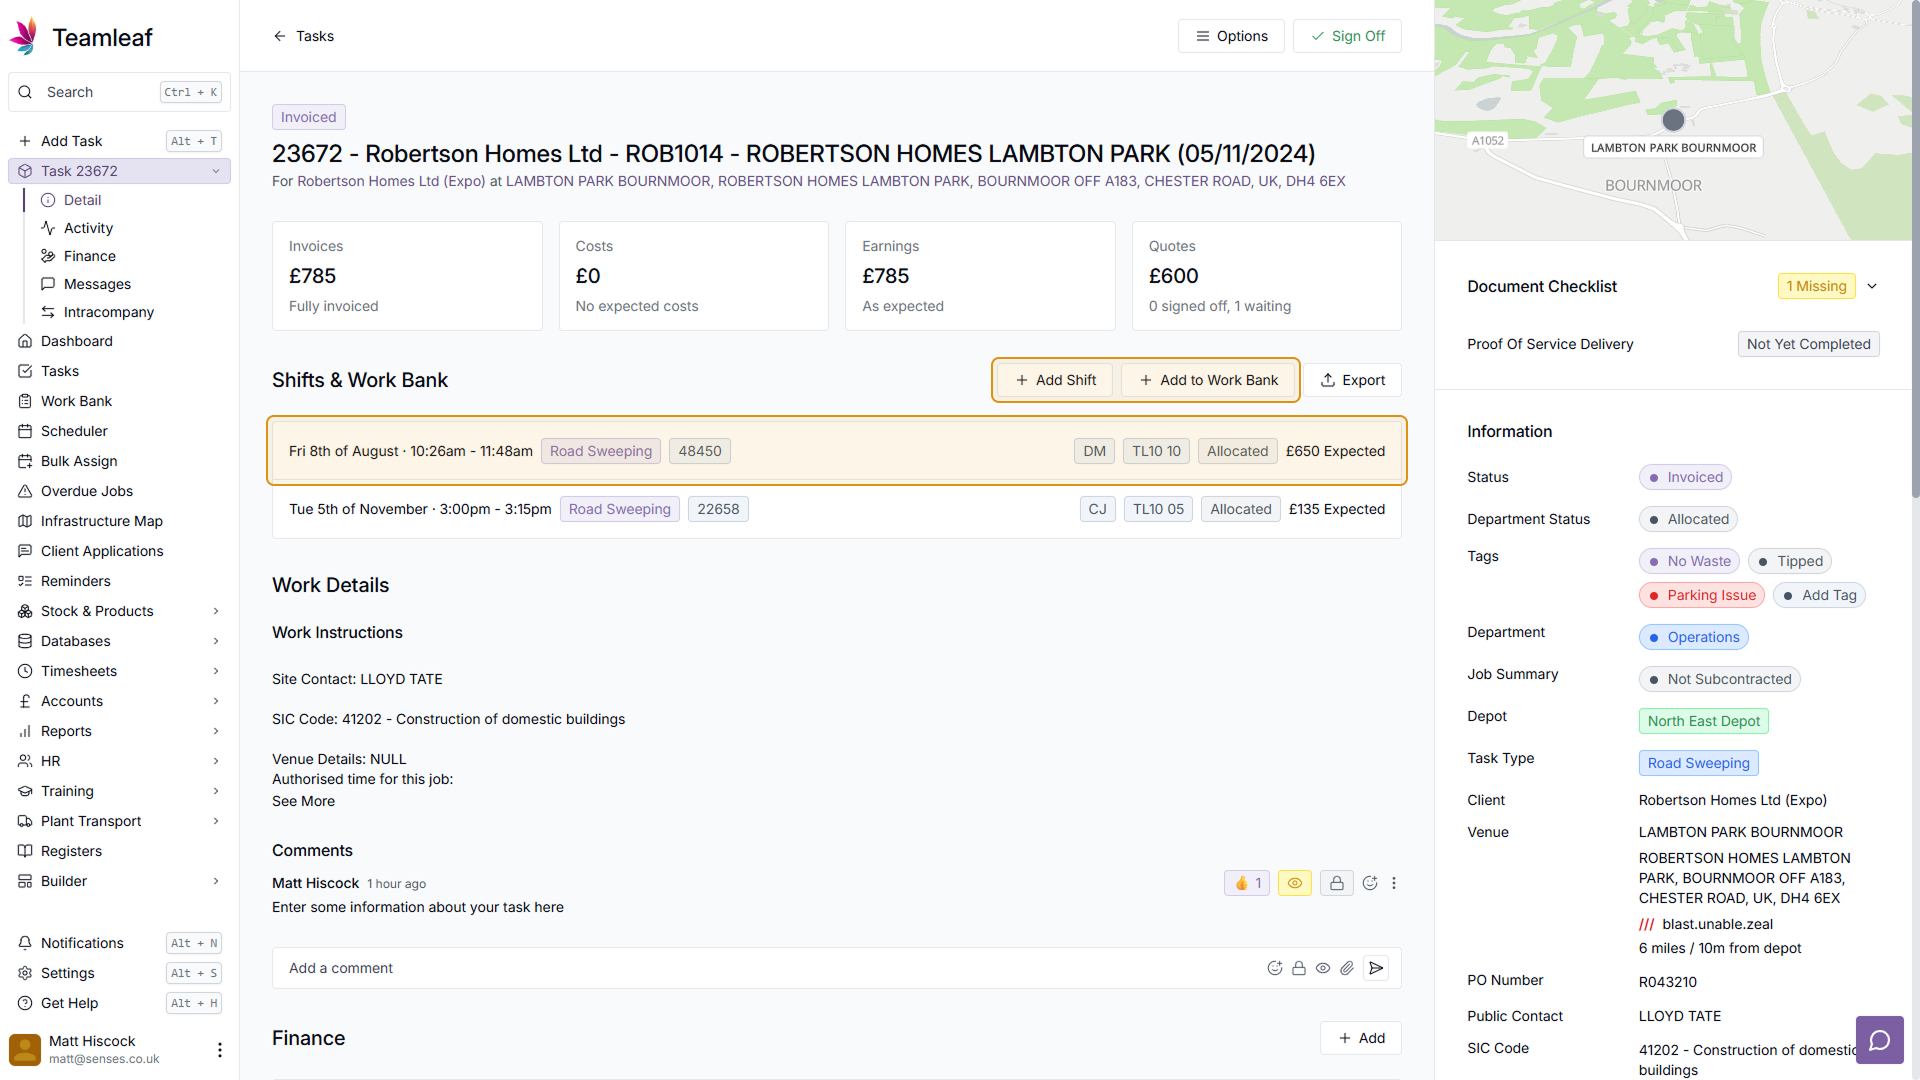
Shifts & Work Bank
Beneath the Stat Boxes is the Shifts & Work Bank section. Here you will see all shifts related to this task (whether they are allocated, in progress, abandoned or completed), and any Work Bank shifts associated with this task. Clicking any row in the Shifts & Work Bank section will take you to that shift's information, which will allow you to see the entire schedule for that crew for that day, alongside detailed Shift Information. This section is also where you add Shifts to the task, and this can be done by clicking the 'Add Shift' or 'Add to Work Bank' buttons in the top right of the section
Step 6
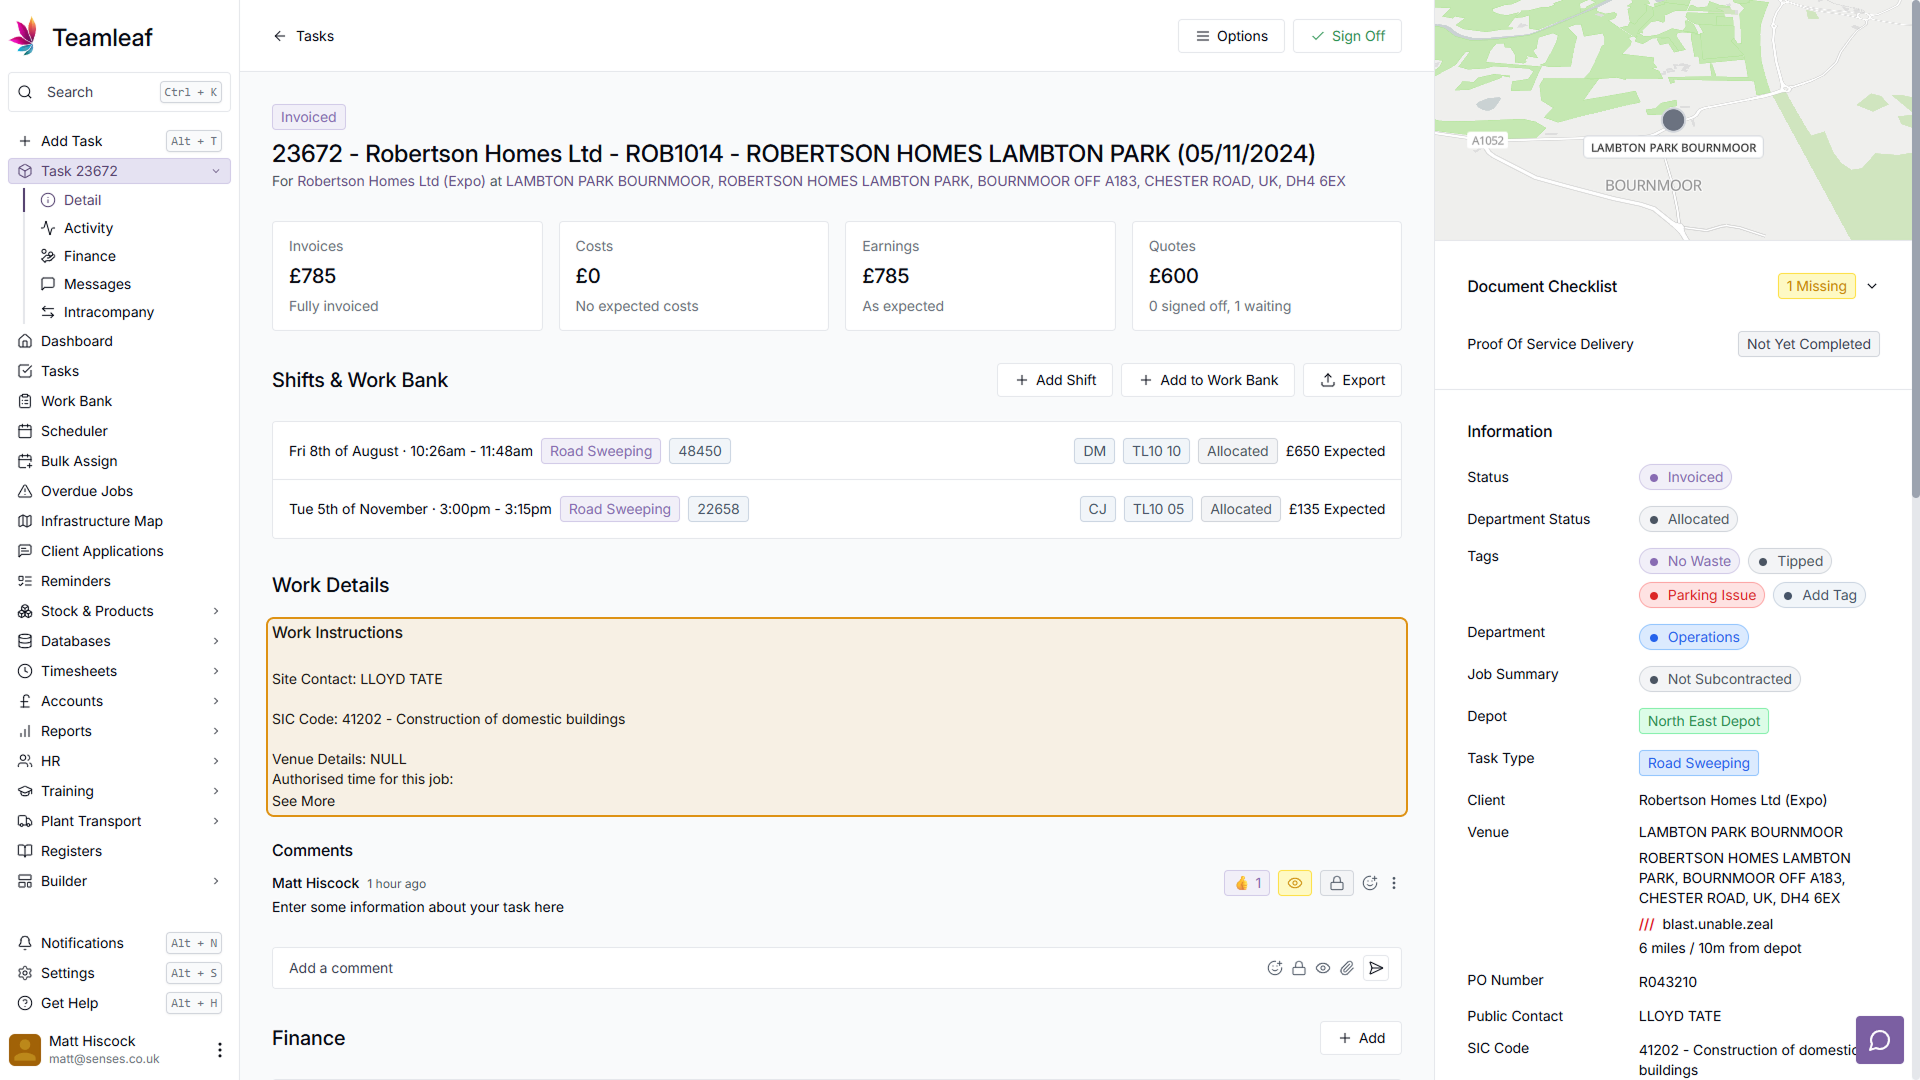
Work Details
Beneath this is the Work Details section, where any instructions to be passed along to the engineers will be found. These can be edited by going to 'Options' at the top of the page, and clicking 'Edit'
Step 7
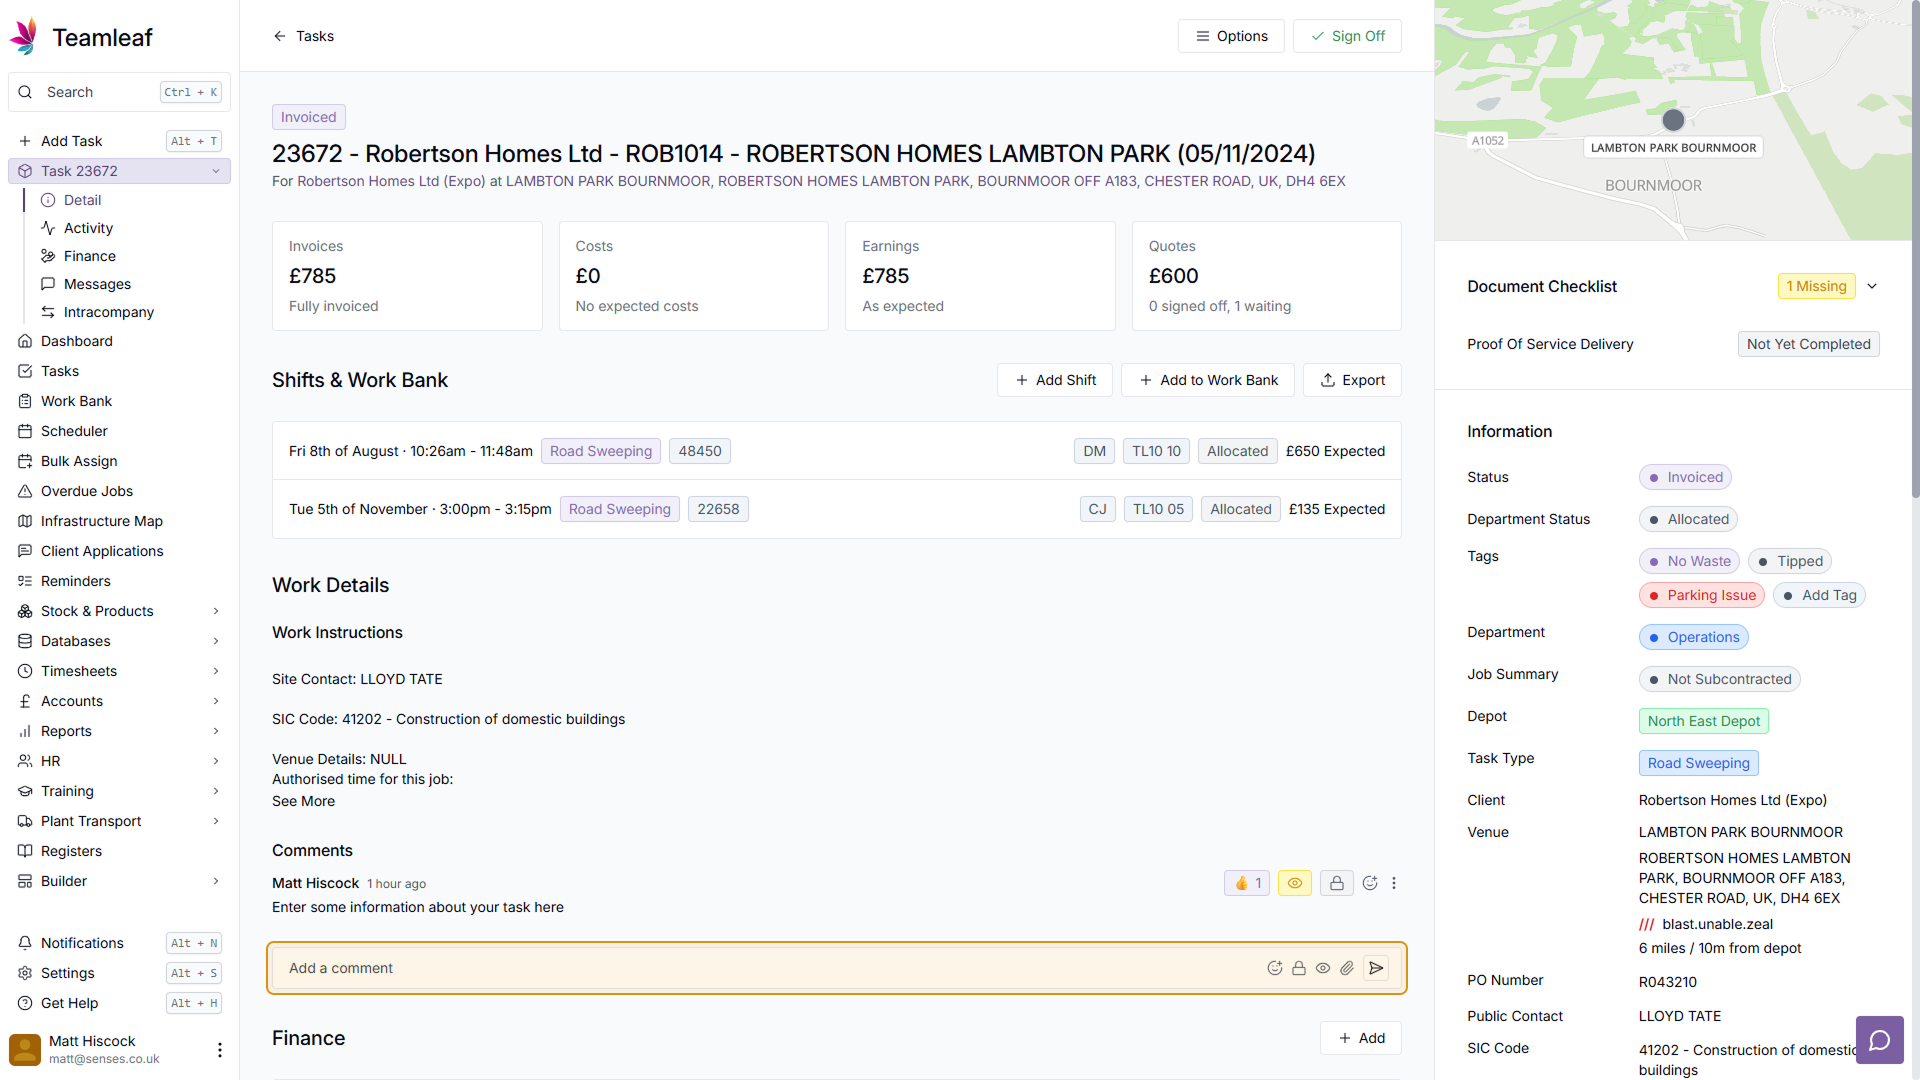
Comments
Next there are comments. These can be used to quickly add notes and pass information along your team. You can select whether comments are visible on the app, who has permission to see each comments, as well as the ability to add files and emoji reactions.
Step 8
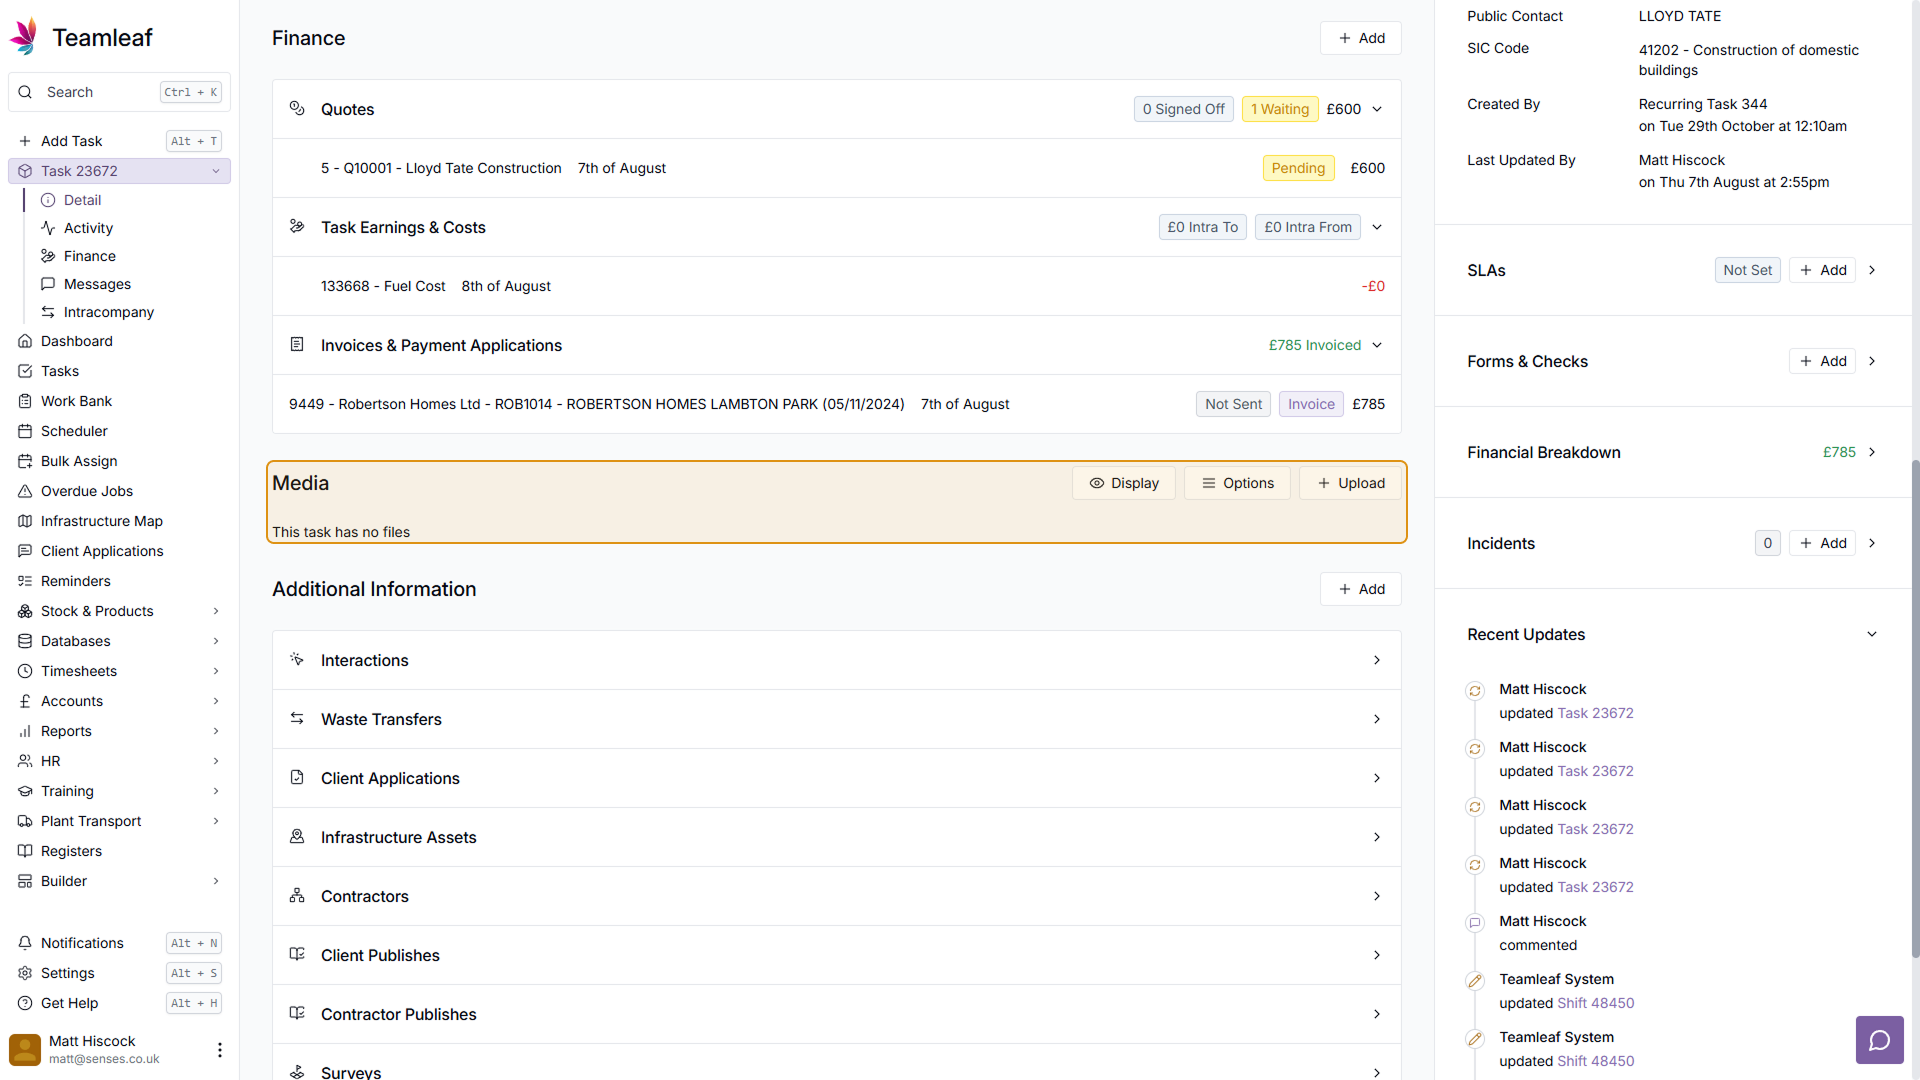
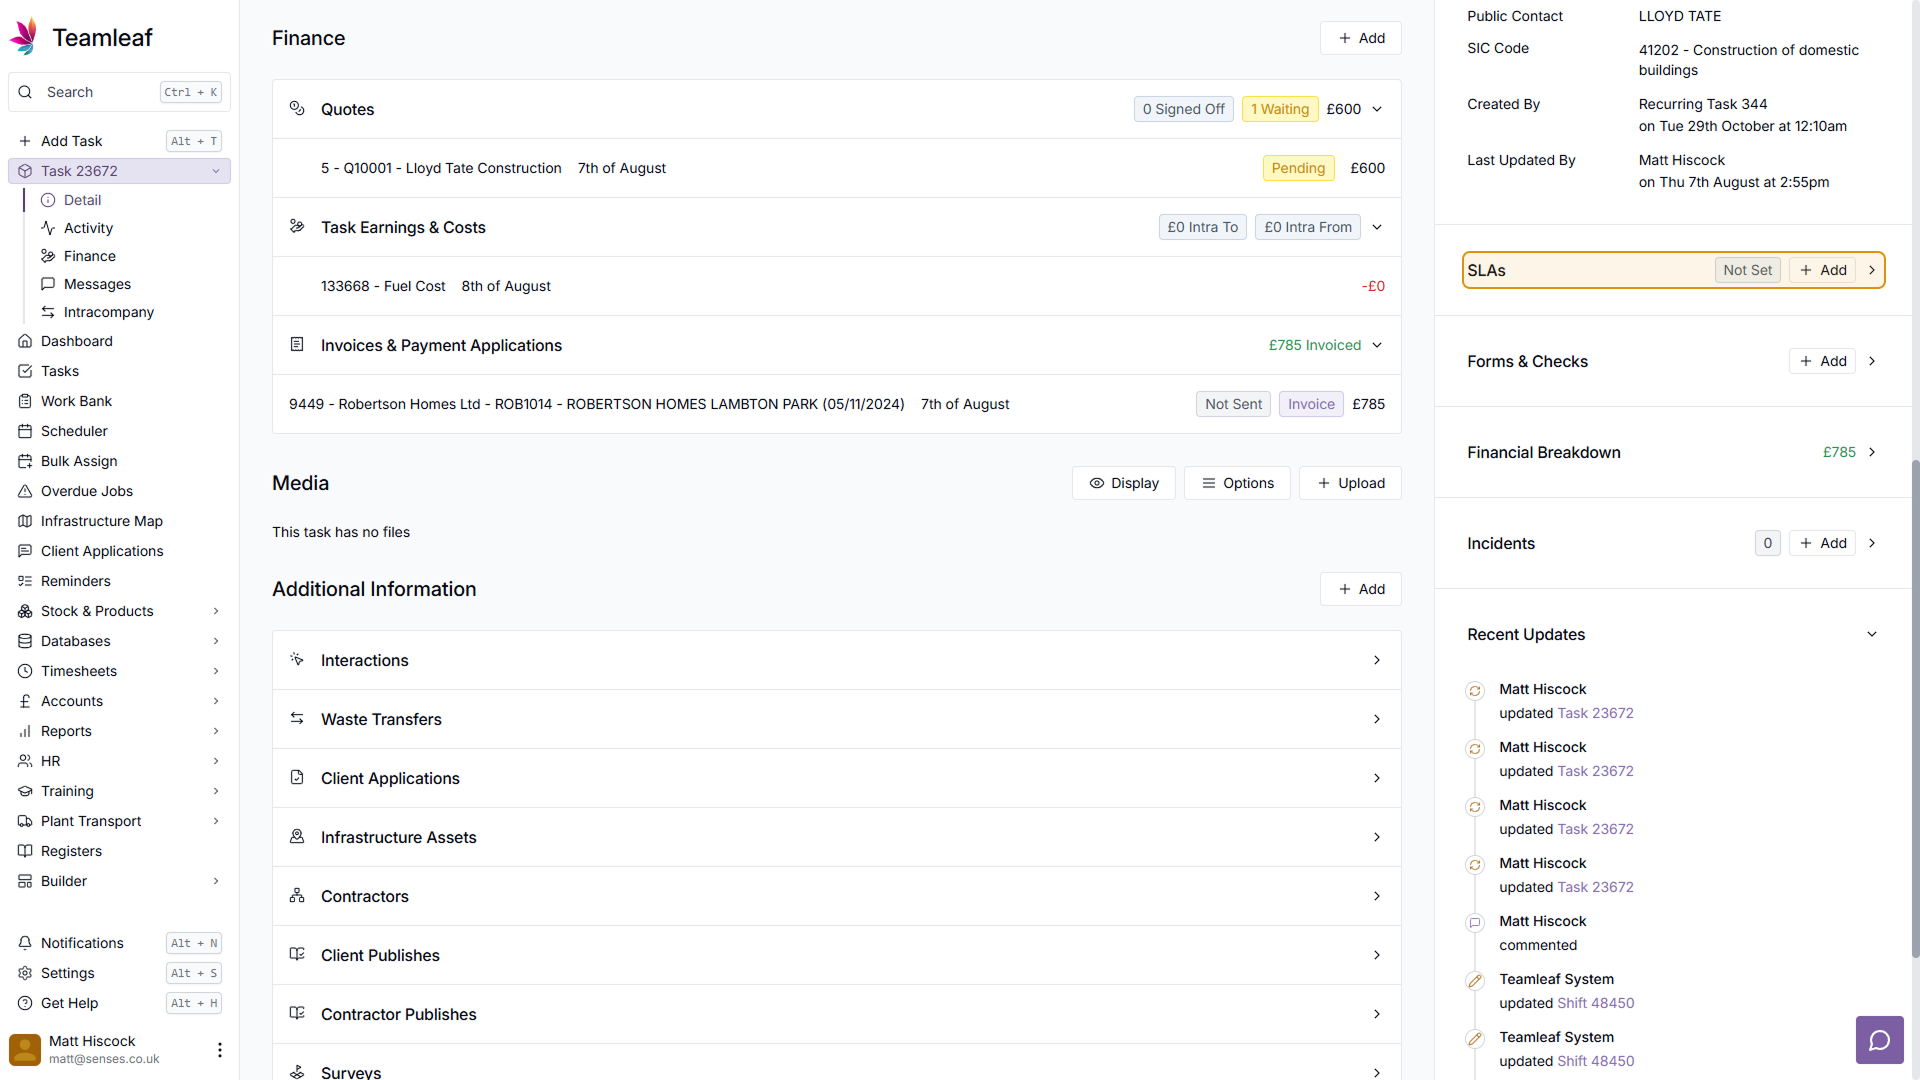
Finance Section
Next is the finance section. Here you can see any quotes, earnings, costs, invoices & payment applications added to this task. Clicking any of the titles in the Finance table will open their respective dropdown, and clicking the rows in those sections will take you to the quote/earning/cost/invoice/payment application that you click

Step 9
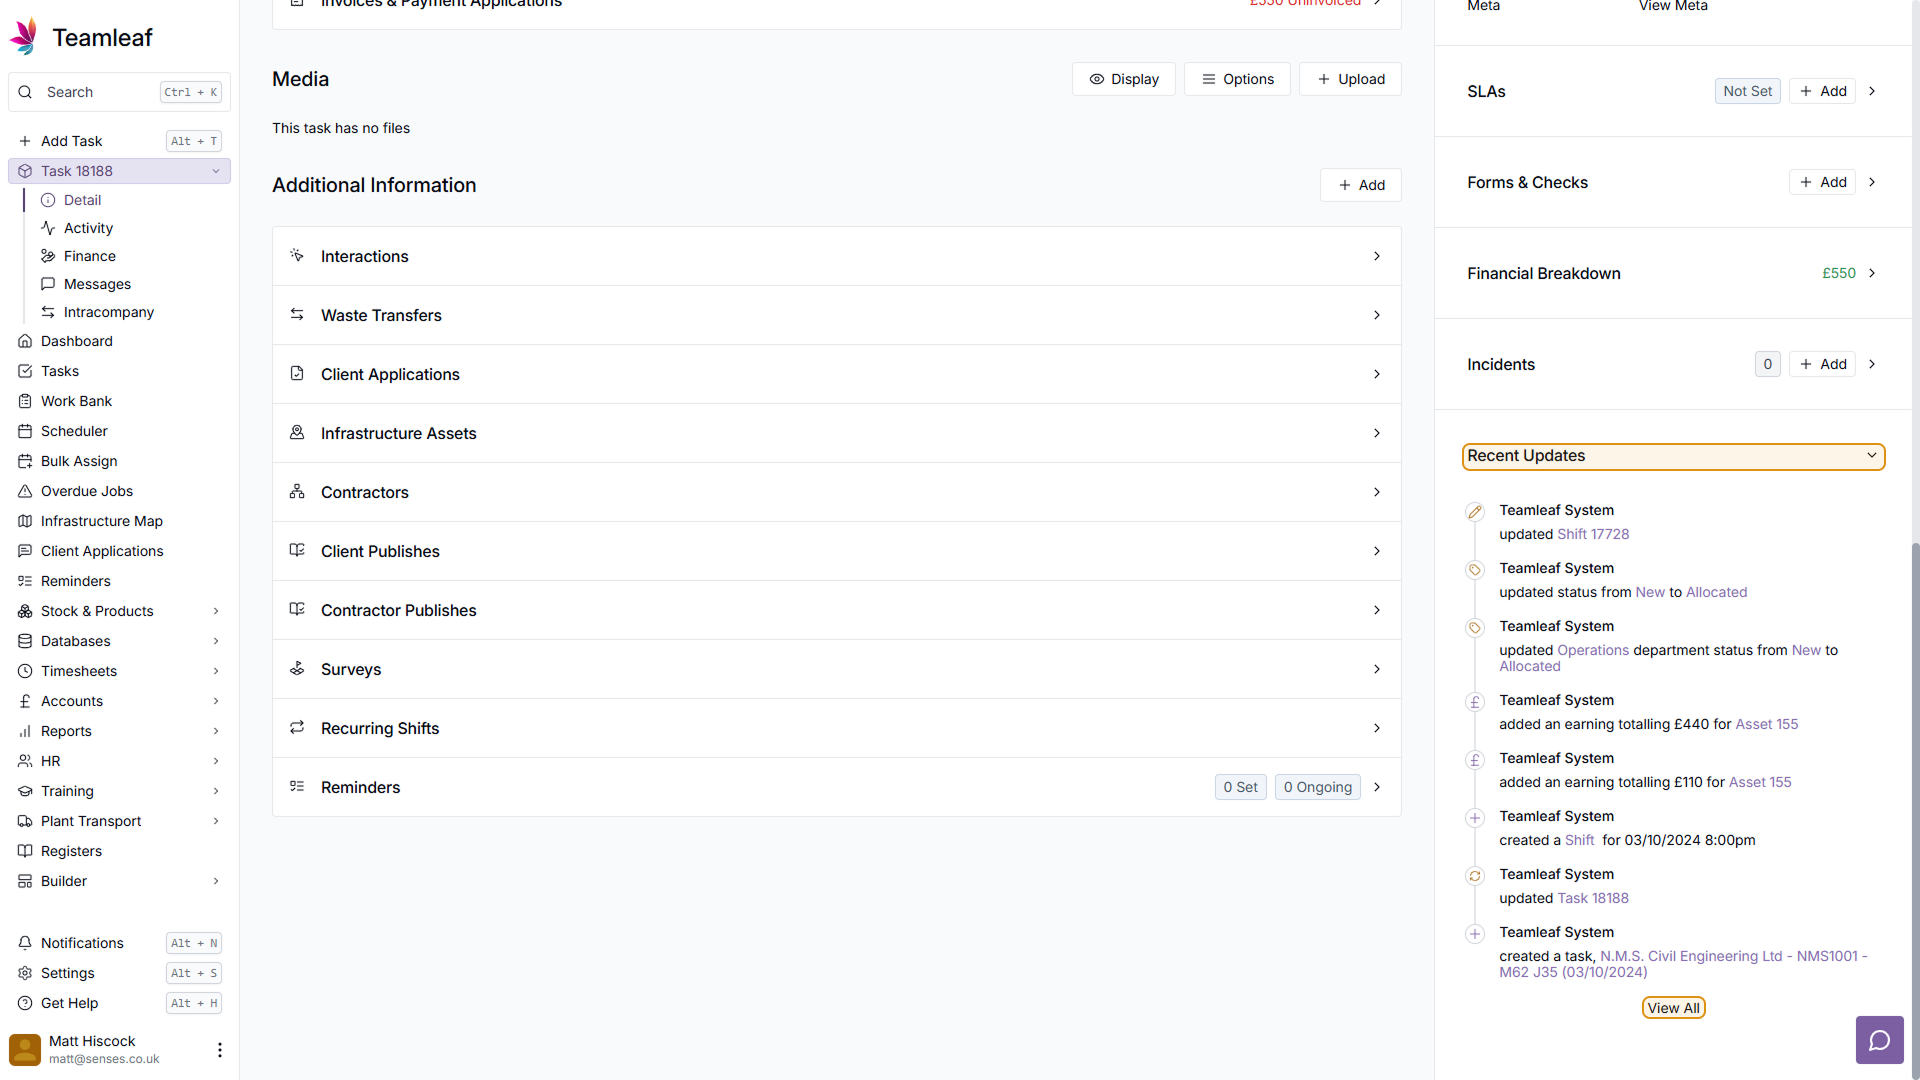
Media Section
In the media section you can find all the files added to this task, including any files added to shifts on this task. You can use the display option to select how the files are shown to you, and upload files directly by clicking the 'Upload' button here.
Step 10
Additional Information
Below this is additional information, here there are a lot of categories where you can find various bits of information, which can be added to by clicking the 'Add' button in the top right of this section.

Step 11
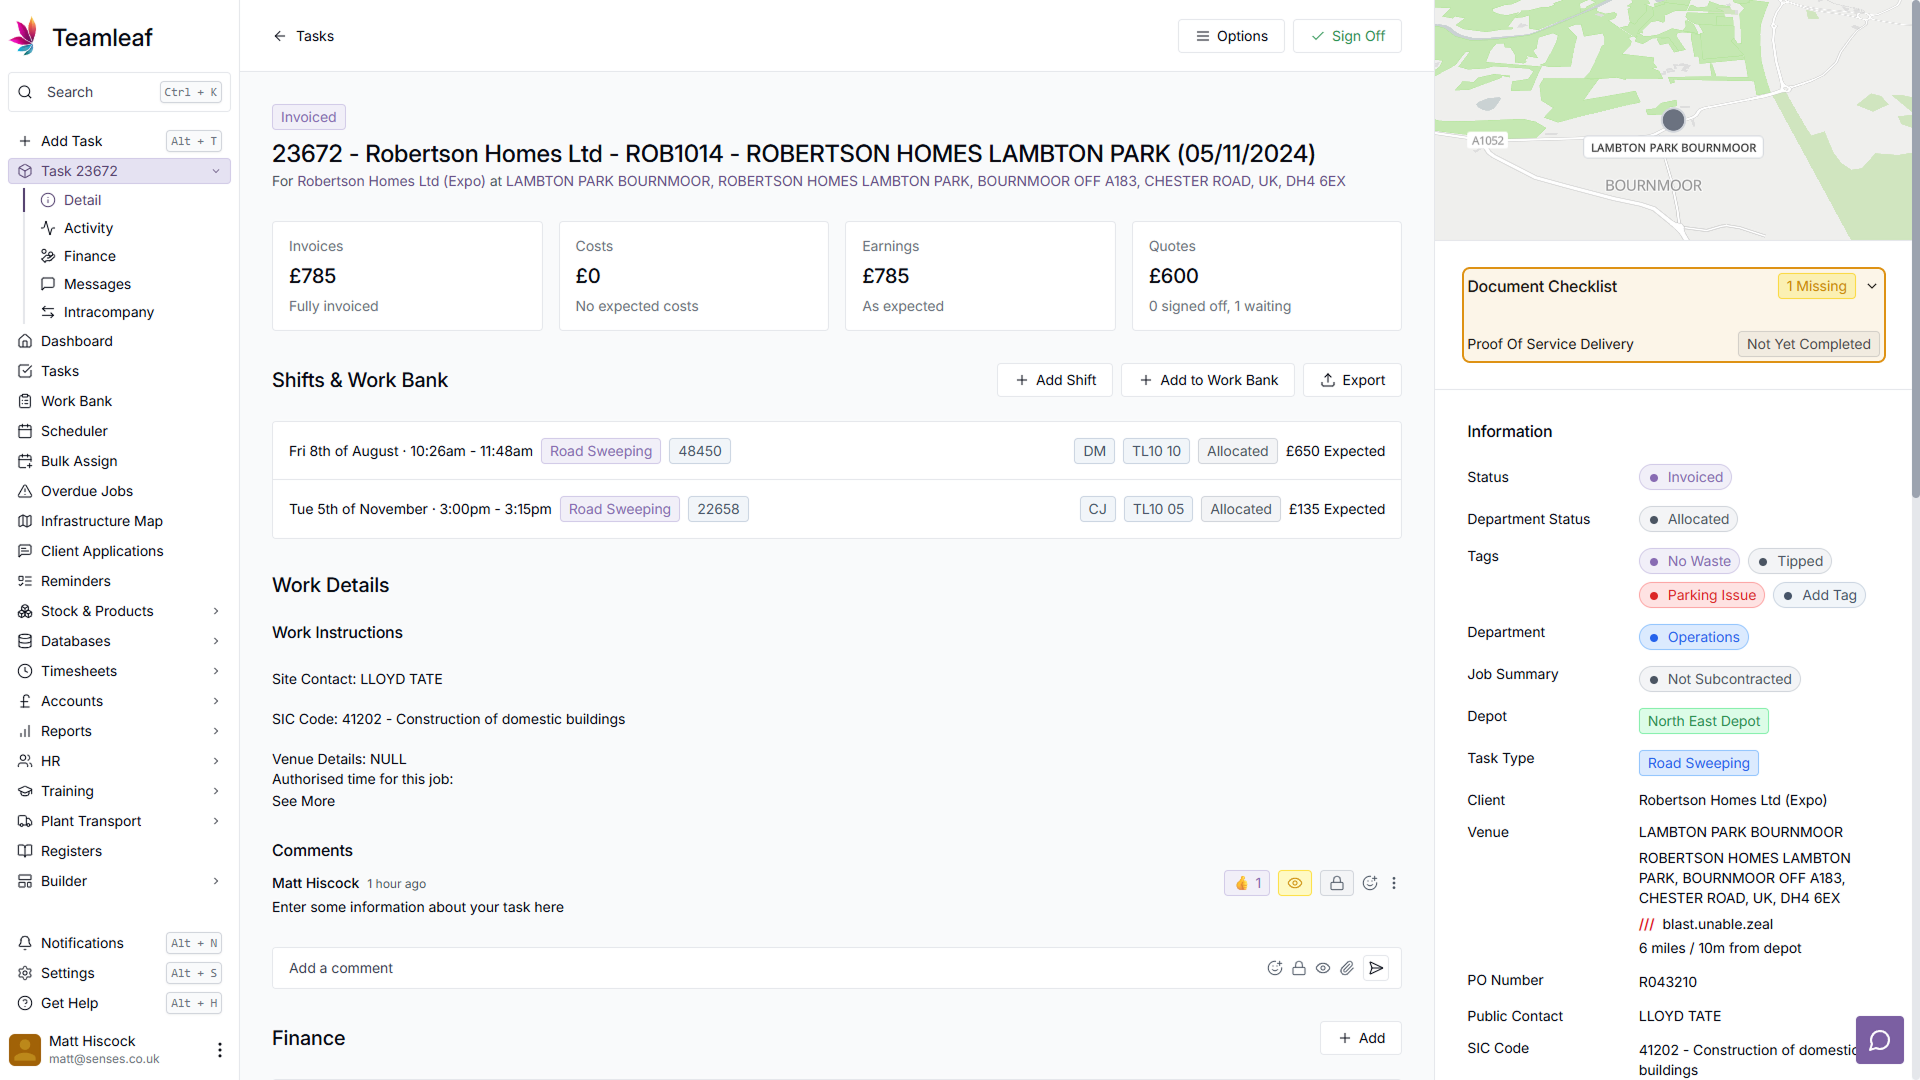
Document Checklist
Coming back to the top of the page, at the top of the right sidebar, you can find the document checklist. Here you can find the required documents for this task, which will highlight if any required documents are missing.
Step 12
Task Information
Next you can find the Task Information. Here, any items which have a coloured dot beside them can be clicked to open a dropdown menu, which you can then use to select a different option. Essential information is found here, from the venue, to contact information, to the Task's status.
Step 13
SLA Section
Next is the SLA section. Here you can view or add SLA information, including whether SLAs have previously been missed, or if there are upcoming SLAs due to be missed.
Step 14
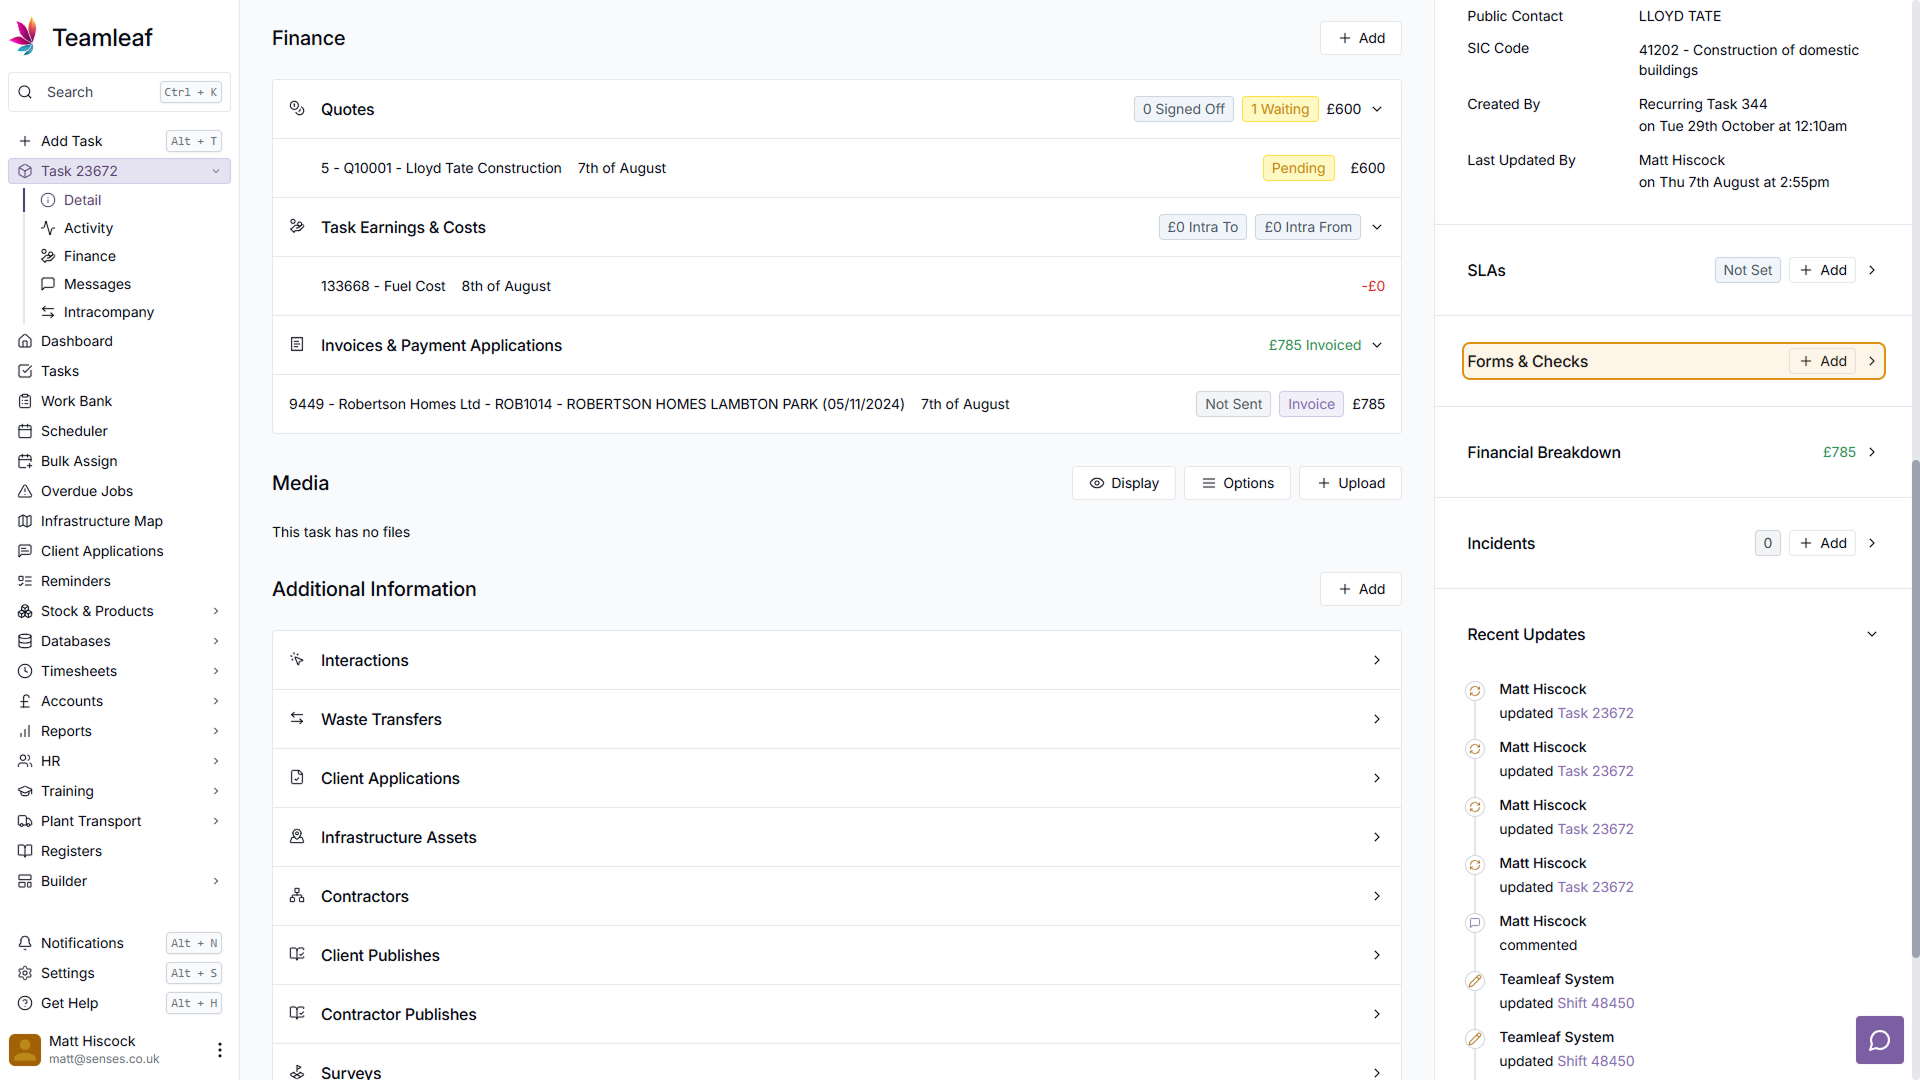
Forms & Checks
Next you can see Form and Check information, passed over from Shifts carried out on this task. You can add forms and checks required to be completed, as well as see what has already been done.
Step 15
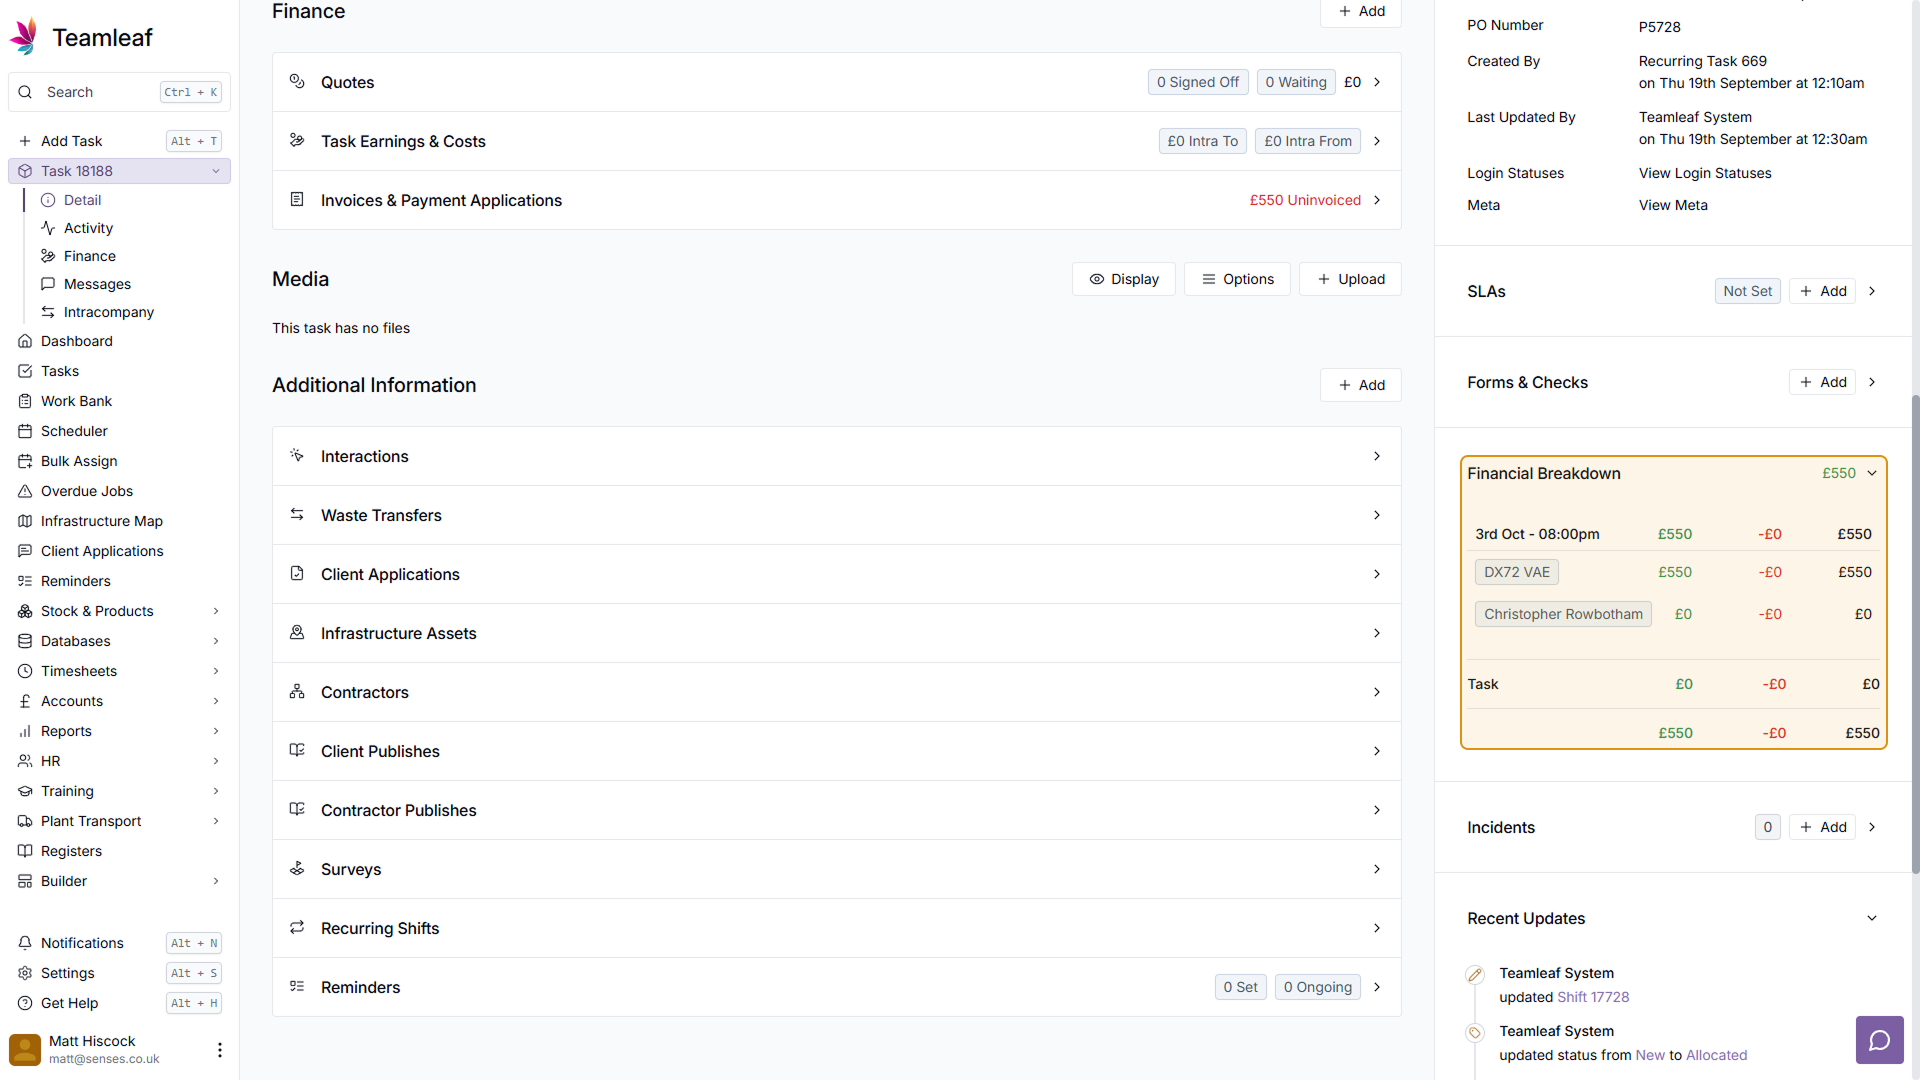
Financial Breakdown
Next is the Financial Breakdown. Here you can see where the earnings and costs are coming from in this task more clearly, with information being broken down into shifts, assets and users.
Step 16
Incidents
If any incidents are reported on the app, information about the incident can be found here in the incidents section. You can also report an incident yourself here by clicking 'Add'
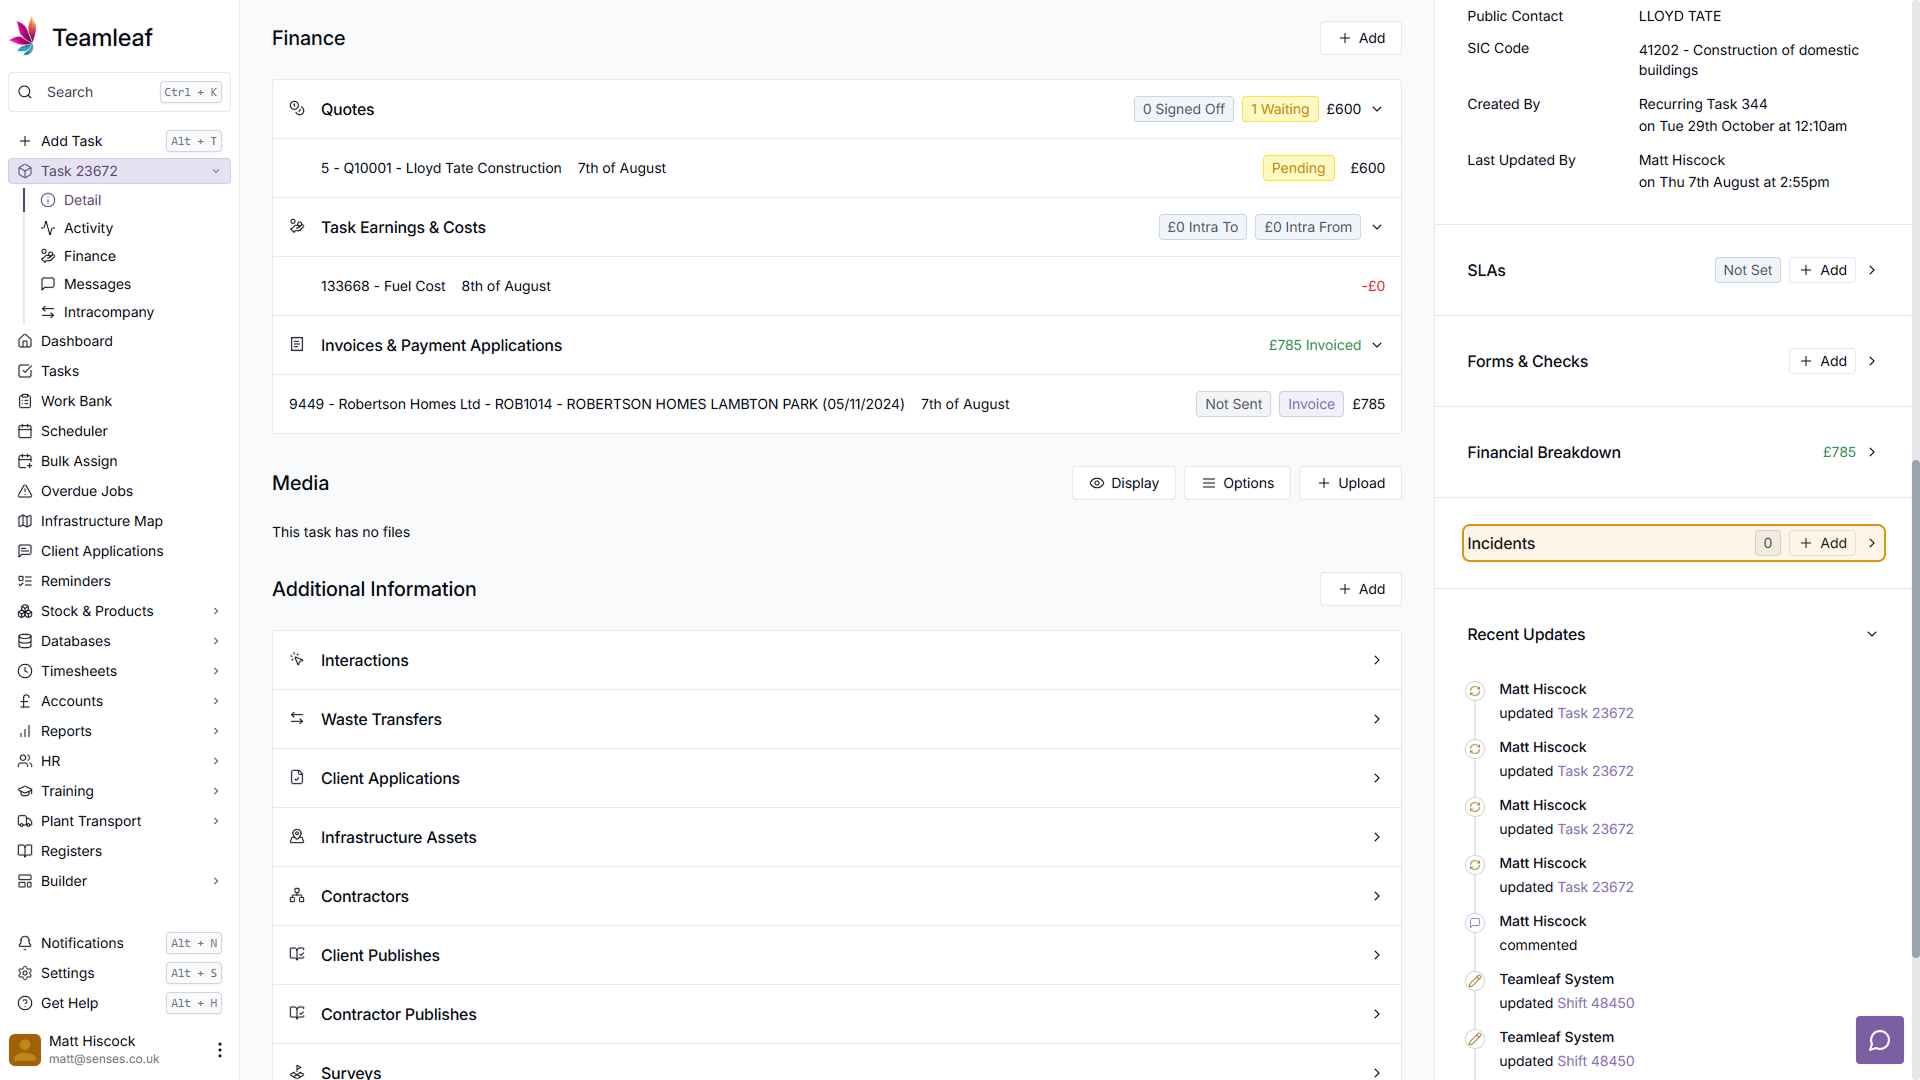
Step 17
Recent Updates
Finally, there is the recent updates section. Here you will see everything that has happened related to this task, with the most recent events at the top of the timeline. To see a full list of the Task's activity, click the 'View all' button, or go to the 'Activity' sub-page in the left sidebar
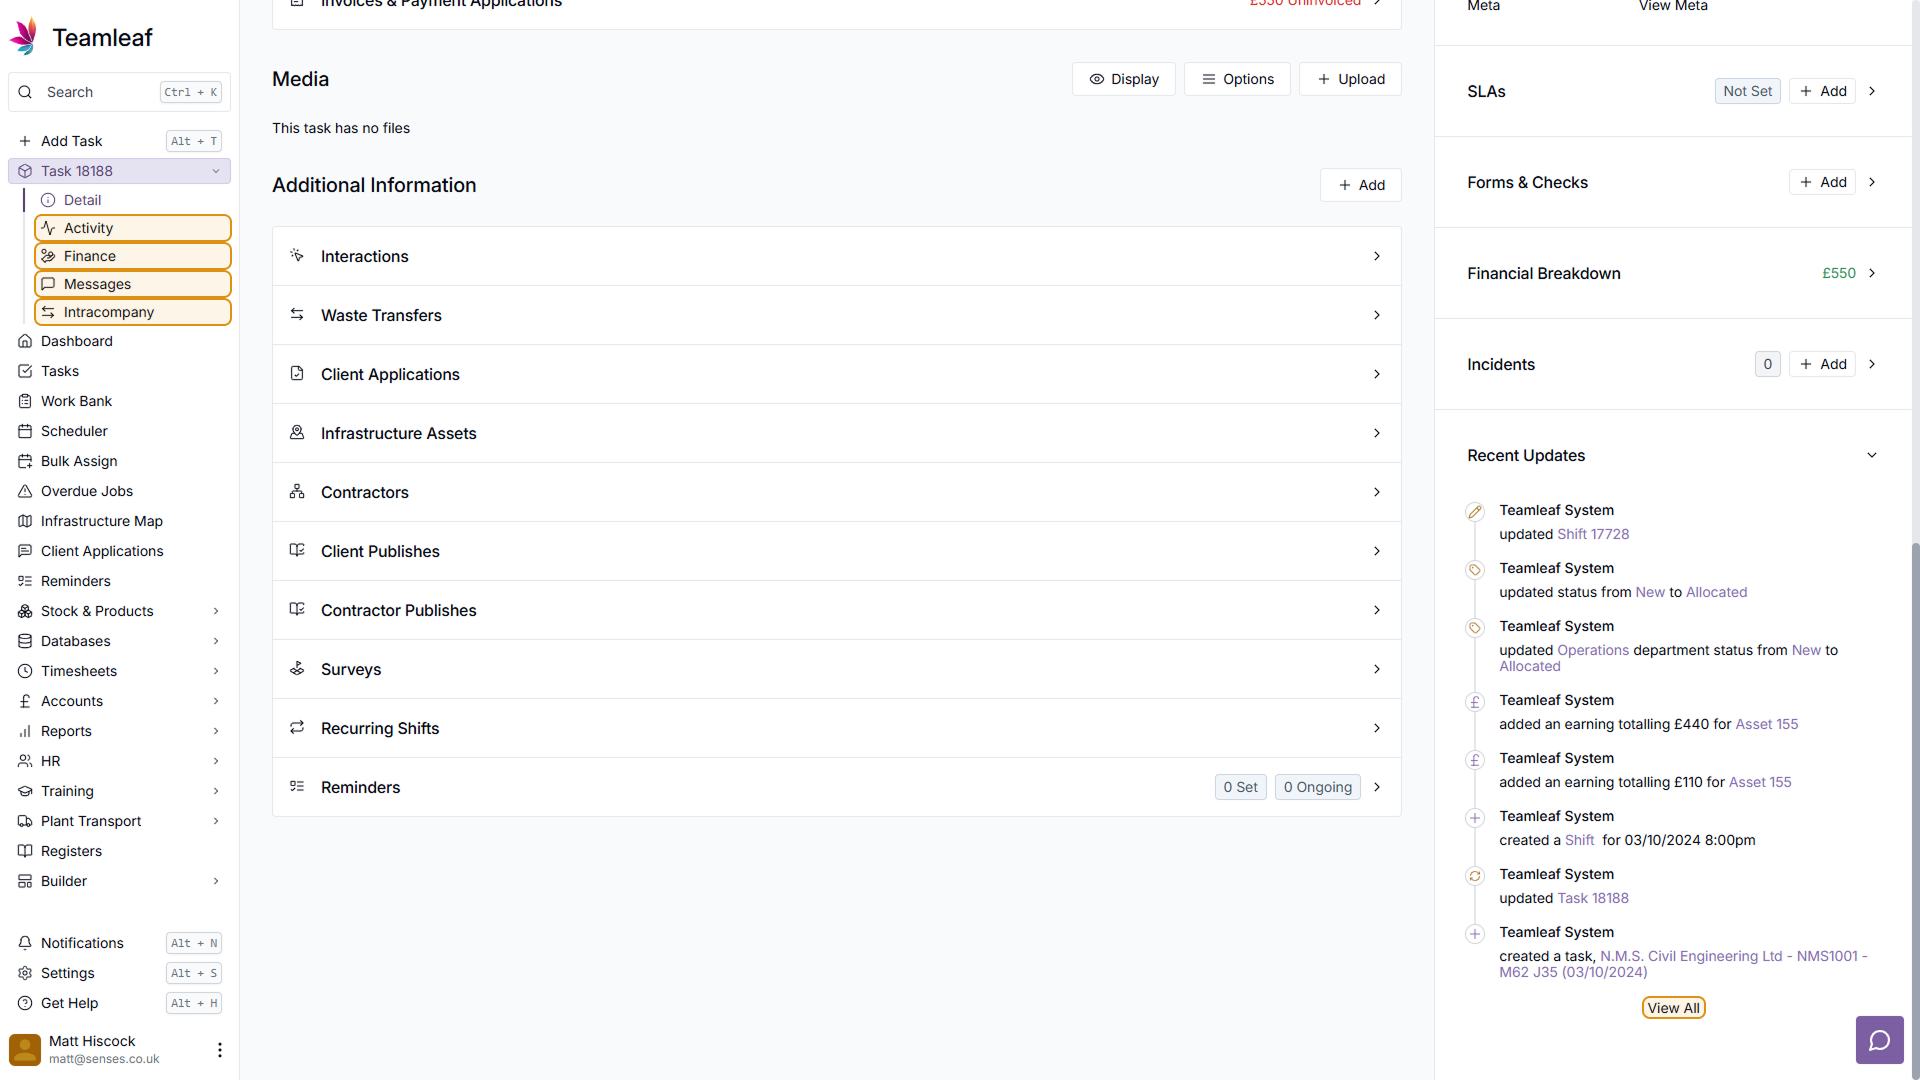
Step 18
Subpages
In the top left sidebar, beneath the open task dropdown, there are four sub-pages. Activity, Finance, Message, and Intracompany. These pages can be used to get more detail about the task, if you require it.
Related Courses
Intracompany
Invoicing
Scheduler
Shifts
Tasks
Drains Direct Essentials
Understand the Essentials for Drains Direct, Scheduling, Intracompany, Invoicing and more...
View Course
→
Intracompany
Invoicing
Scheduler
Shifts
Tasks
EVCSL Essentials
Understand the Essentials for EVCSL, Scheduling, Intracompany, Invoicing and more...
View Course
→
Intracompany
Invoicing
Scheduler
Shifts
Tasks
Lanes Group Essentials
Understand the Essentials for Lanes Group, Scheduling, Intracompany, Invoicing and more...
View Course
→
Related Tutorials
Tasks
Creating a new Task
Learn how to add a Task to Teamleaf, using handy shortcuts to get all the data you need, entered quickly
View Tutorials
→
Setup
Tasks
Customising the Task Table
In this tutorial you will learn how to alter your Task Table settings
View Tutorials
→
Tasks
Signing Off a Task
In this tutorial you will learn how to sign off a Task and how it affects the Task's flow through Departments
View Tutorials
→
Tasks
Using the Task Table
In this tutorial you will learn how to use the Task Table to effectively navigate your work
View Tutorials
→